
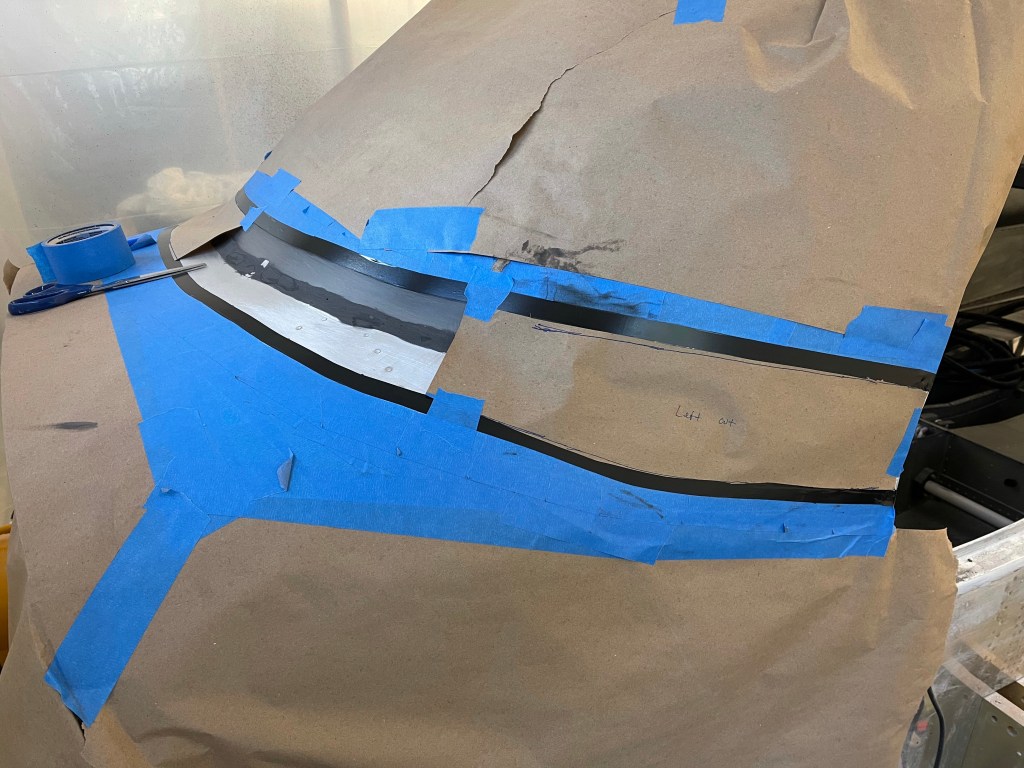
The next part of this process is to do a fiberglass layup along the base of the windscreen and the metal fuselage. To start, you mark the boundaries of the fairing area with high quality electrical tape. For the boundary along the plexiglass, I used my 7″ radius tool to mark where it hit the plexiglass along the center and front areas. I also did that along the sides, but the curve starts changing from an inside radius to flat along the sides. So I sat inside and looked at it visually and adjusted it a little bit downwards until I got something that I thought was visually desirable. In order to make sure the fairing is at an equal height on both sides, I made a template aligned with the skin seam to mark the same location on both sides. Making sure to be as close to 90 degrees as possible to the joggle/Silpruf line I just finished.

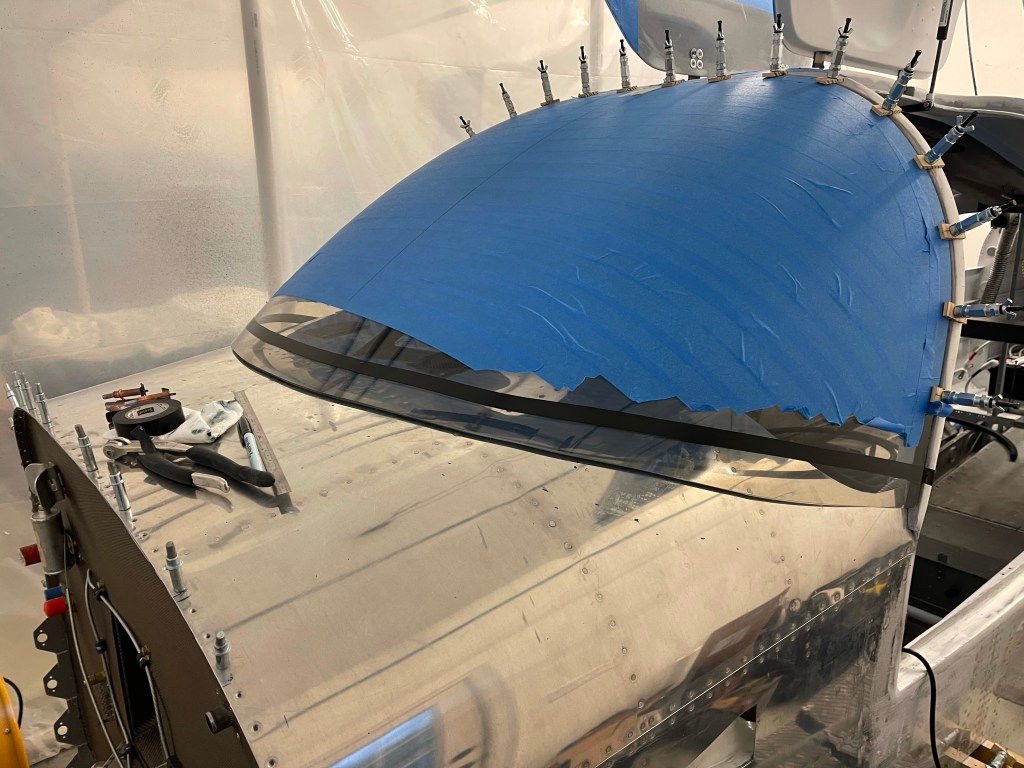
I then marked the line around the bottom part of the fairing on the metal fuselage. I came back approx 2″ from the base of the Plexiglas, but ended up adjusting the sides downward a bit later on.
Everything was then sanded very well with 50 grit sandpaper to ensure proper bonding. I then cleaned the surface really well with distilled alcohol until no sanding residue came off. Next up was to mix up epoxy and micro to fill the gap at the base of the windscreen. I tinted this mixture with black tint. Another hint I got was to paint the insides of the clips that hold the windscreen in place black too, which I had done prior to riveting them in place. As the curve flattens out on the sides, more micro was added downwards to blend the the two surfaces.

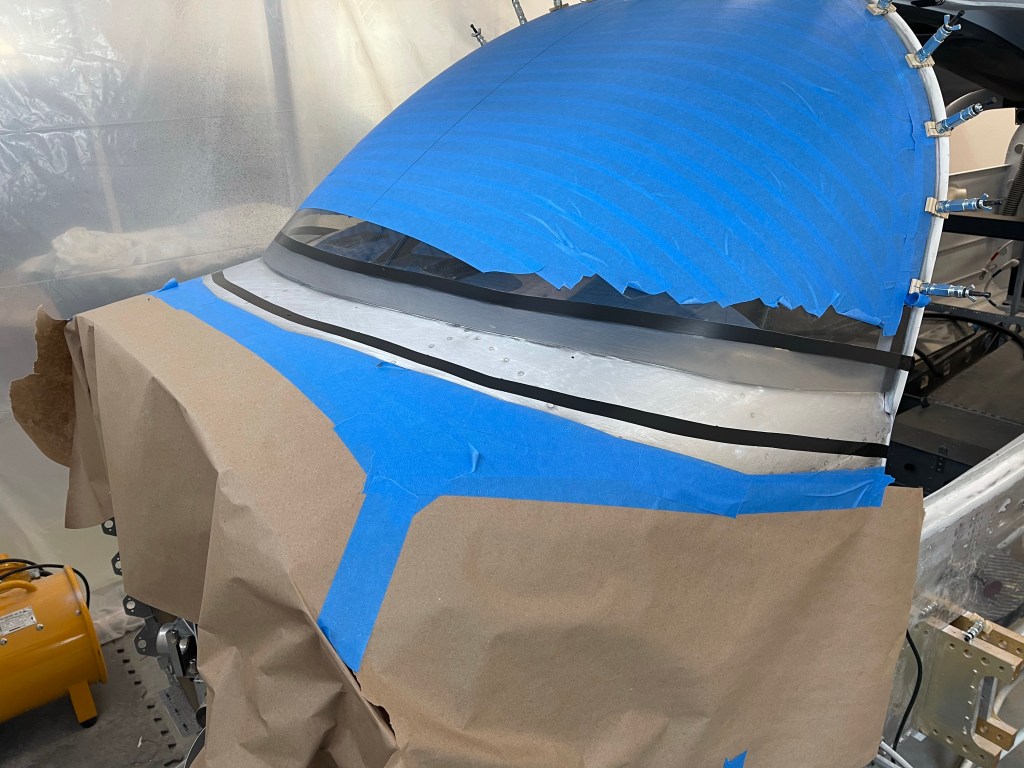
Then I sanded the micro mixture down the next day after it cured. There were a couple of low spots mostly along the sides, so I added a little more and sanded the remainder the next day.


Once the micro was sanded down I re-looked at the gap needing to be filled with fiberglass.

I decided to follow the video series that Van’s put together for the RV-14 here: https://www.vansaircraft.com/faq/canopy-fiberglass-fairing-how-to-video-series/. There are a couple of main differences between the videos and the RV-10 plans. First off the RV-10 plans have you start with small strips of glass and work your way to bigger and bigger strips. The RV-14 videos start with a layer of glass the goes the full width of the tape and it is also tinted so that it produces a completely opaque layer so all you’ll see from the inside is solid black where the layup is. Then the rest is done proceeding with narrow strips to wider strips until you get close to the edge of the first layer. This should create a nice feathered edge. One other slight difference is that the RV-14 videos show a couple of different large side pieces of glass that are cut somewhat on the bias. I cut these too and used them in a similar fashion to the videos.
The RV-14 videos refer to paper templates that come in the plans.. Well since there is no such thing for the 10, I ended up making templates for the first layer in 4 sections.

I then got to cutting the first layer of glass per my templates, two of the larger side pieces per another template I made.. along with smaller side pieces (about 1″ smaller in all dimensions compared to the larger side piece) along with all of the the glass strips called out in the plans.. Adding a couple of 3 ft. 1/4″ strips too. I setup the bench to cut the glass with a craft fabric cutting board underneath along with a rotary cutter, which made fast work of the cuts.

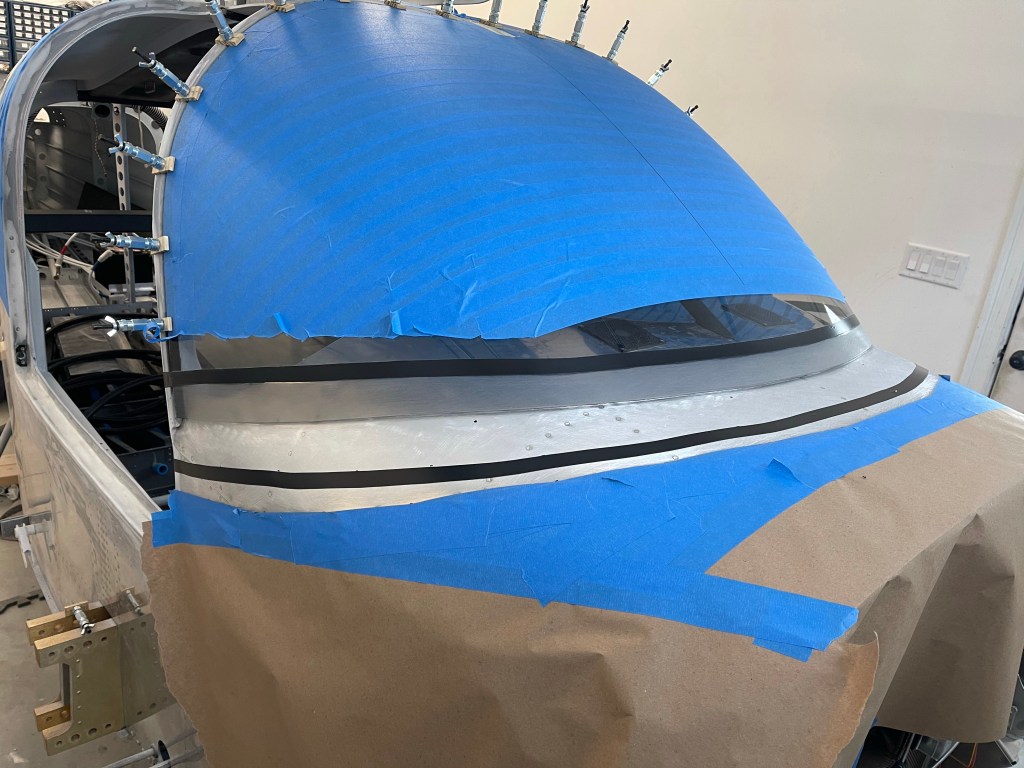
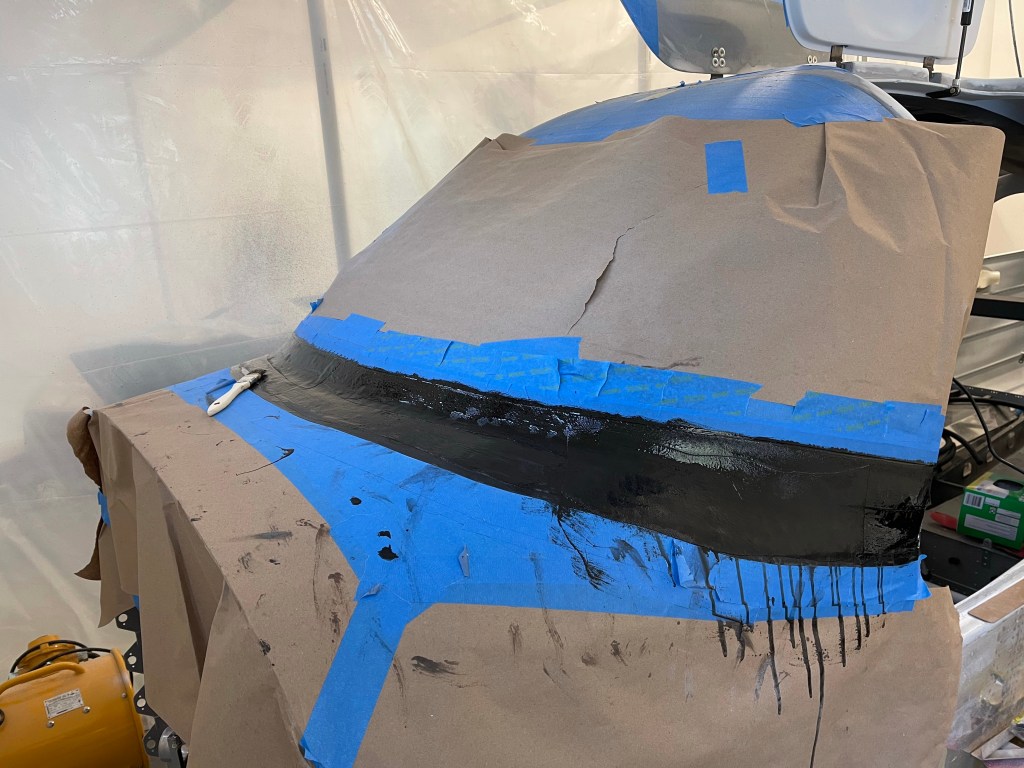
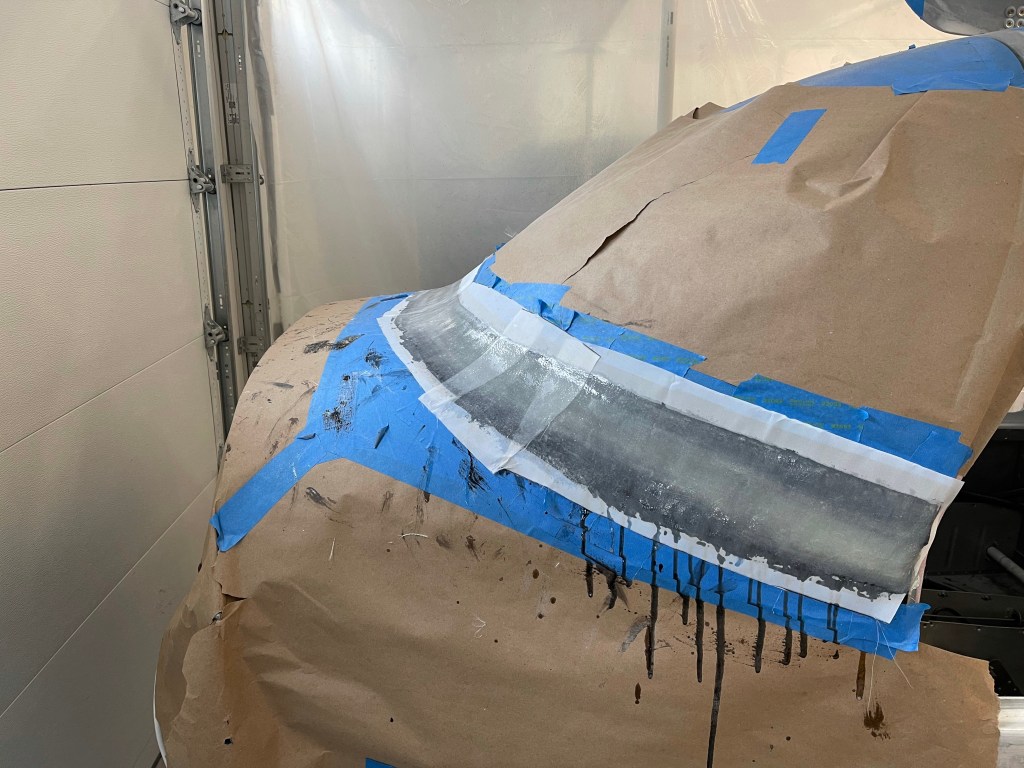
I then mixed up epoxy with the black tint and applied it to the faring area. One thing I noted is that it wasn’t very dark like I saw on the videos. I pressed on all the while thinking something wasn’t right, but figured it might darken up when it cures.. I followed the videos instructions for wetting out the first layers sandwiched in plastic wrap with the tinted resin. I cut them down to size with the templates and placed them into position using a brush to make sure there were minimal air bubbles underneath.

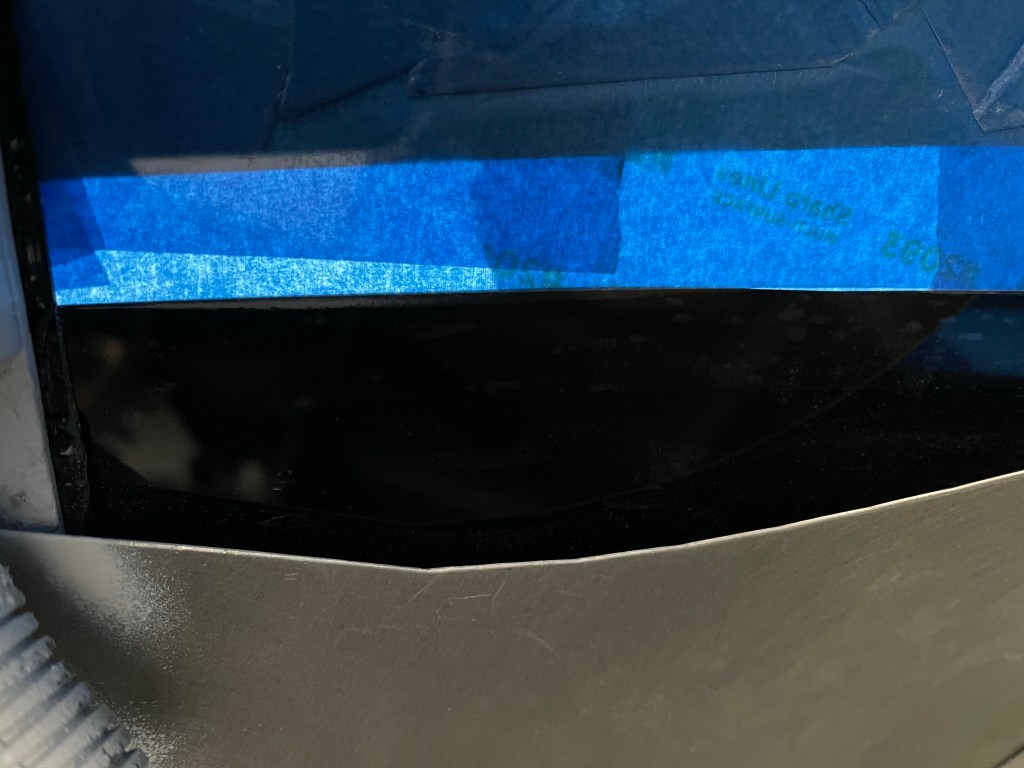
After the layer cured.. I just wasn’t happy. I knew I should have stopped when the resin applied to the windscreen was not thick and opaque like in the videos. Below you can see how translucent the first layer really was.. I talked with another builder who followed this process and a similar thing happened to him too. He also has a friend who has something similar and left it this way and is very unhappy with the results.. The bottom line is the videos depict that there isn’t much tint needed when you mix it up with the epoxy, when in fact I felt like I had to pour half my bottle in to get it to the thickness and opaqueness I desired… Thankfully it’s fiberglass and can be fixed… So I spent a few sessions over the next few days sanding away the layer along the window until I got back down to plexi again. Lesson learned… I didn’t bother sanding the layer on the metal too much other than to rough it up for adhering to the next layer.


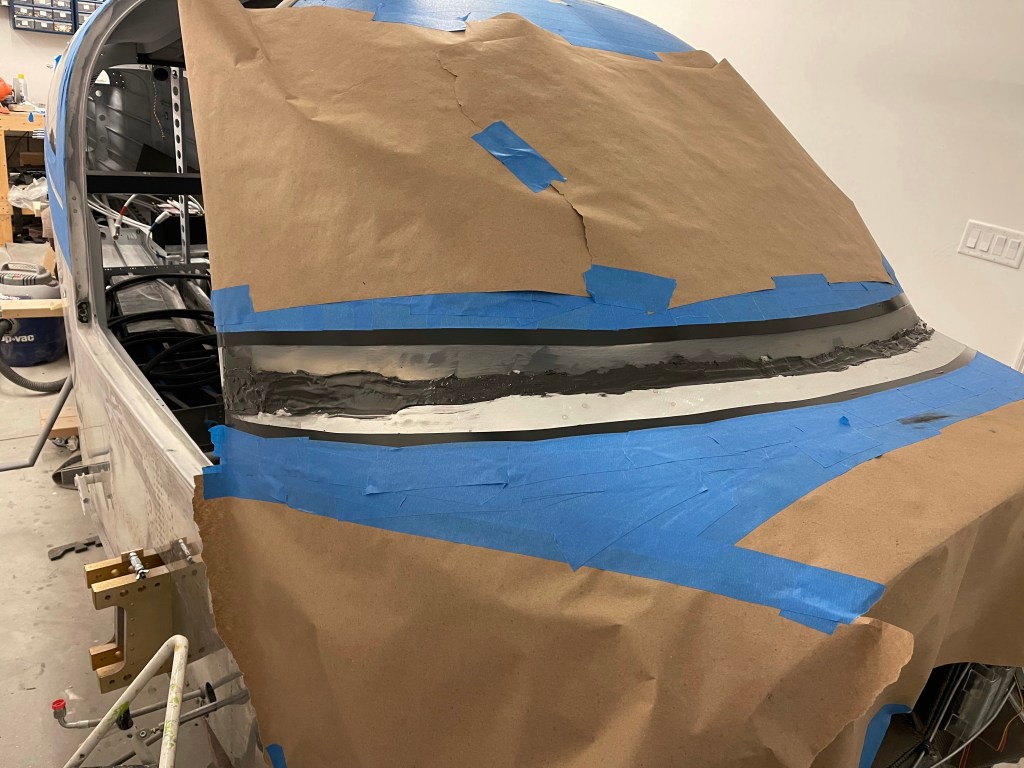
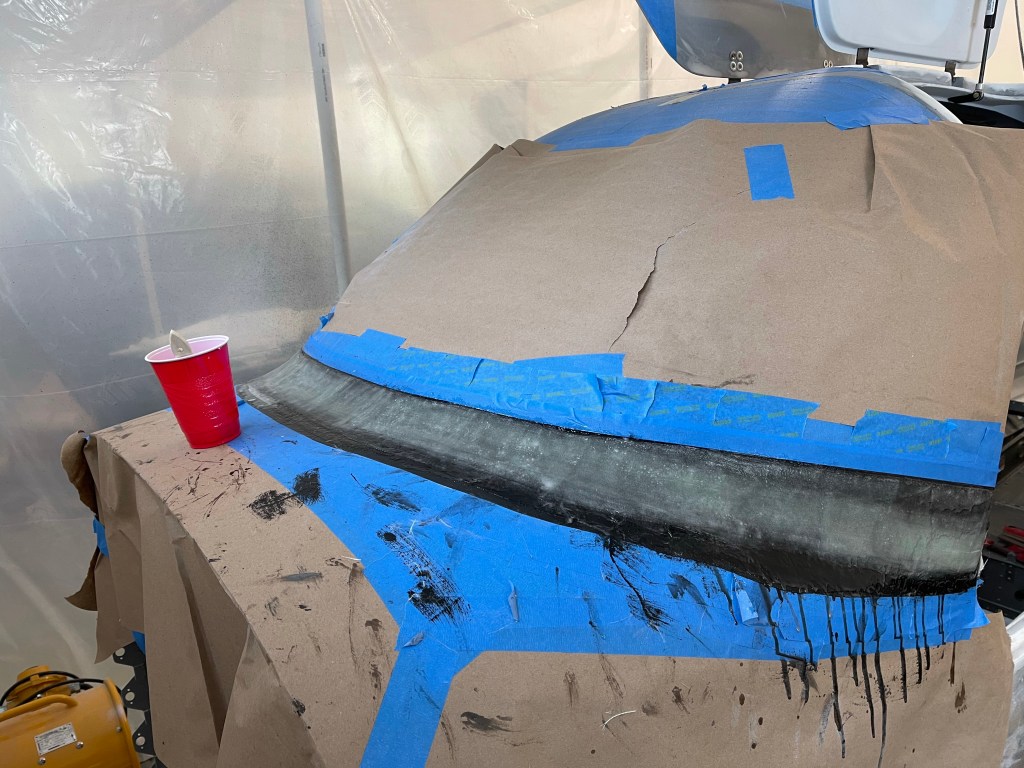
Now with the proper tint to epoxy mixture, I recut some glass from slightly modified templates and applied a new first layer to the windscreen area overlapping somewhat with the existing first layer on the metal.


Then I didn’t take a whole lot of pictures as you’re working with the pre-cut glass strips, placing them into position and wetting them out with a brush and straight epoxy. Here I was getting close to 8 glass layers in place as I’m wetting out this piece. I also ran back to the cutting table and cut some smaller strips needed as I went along. It was a repetitive process of looking at things with the template and occasionally adding some small strips to build up some areas prior to adding the next wider piece for the next layer. I did do some adjustments along the sides too as there was a slight drop off from the plexiglass layer to the metal.I used small strips of cloth to raise that level up before adding some wider sections to finish off the sides and hopefully I’ll end up with a flat surface in that area.

As I approached done.. a Final check of the 7″ radius template shown below pretty close to perfect.

The final step is to brush epoxy on and apply peel ply to finish it off.

So now this will cure for a couple days. Then I will be sanding it down with a 7″ radius sanding block across the front and other blocks along the sides. More on that and filling in any low spots on the next post..
I’ve also started working on the wheels/landing gear section while I’m waiting for this to cure… Next major step is to get this puppy on gear! That’ll be a huge milestone!
