More Goodies

While on vacation in Park City, UT , a number of items arrived.

Baggage door and main door locks. These will be used to lock the baggage door as well as both doors to the cabin in unison with the Planearound 180 door latch system.

VOR/LOC/GS antenna. I plan to mount this on top of the Vertical Stabilizer. Something I didn’t do while working on that originally. I figure I’ll have some time here and there to get this going while waiting for other things.

Locking fuel caps. I’ve never been a fan of the original gas cap. It seems to be very difficult to even get your fingers under the mechanism to open the cap up. These collars proseal into the existing tank opening. The only downside is the fuel opening is a little smaller as a result.

Stainless braided teflon brake line hoses.

And finally, the Andair duplex fuel selector, 6″ extension, and valve

.

Vertical Stabilizer is Done!

I had Good Friday off from work (a new holiday in the acquired companies calendar) which allowed me to spend 2 long days finishing the Vertical Stabilizer!

A real airplane part is now complete. Certainly was interesting reaching into/underneath the skin with one hand while trying to rivet with a flush set in the other hand. Especially connecting the upper portion of the skin to the forward spar. Here you have to remove just enough clecos to bend the skin upwards to slide your hand/arm underneath to hold the bucking bar completely blind. Luckily I had quite a few to buck prior to that so I got a good feel for how to hold the bar with equal spacing on all sides. It actually went better than I expected.


Time to keep making progress on the Rudder.

Vertical Stabilizer Assembly and a Mistake

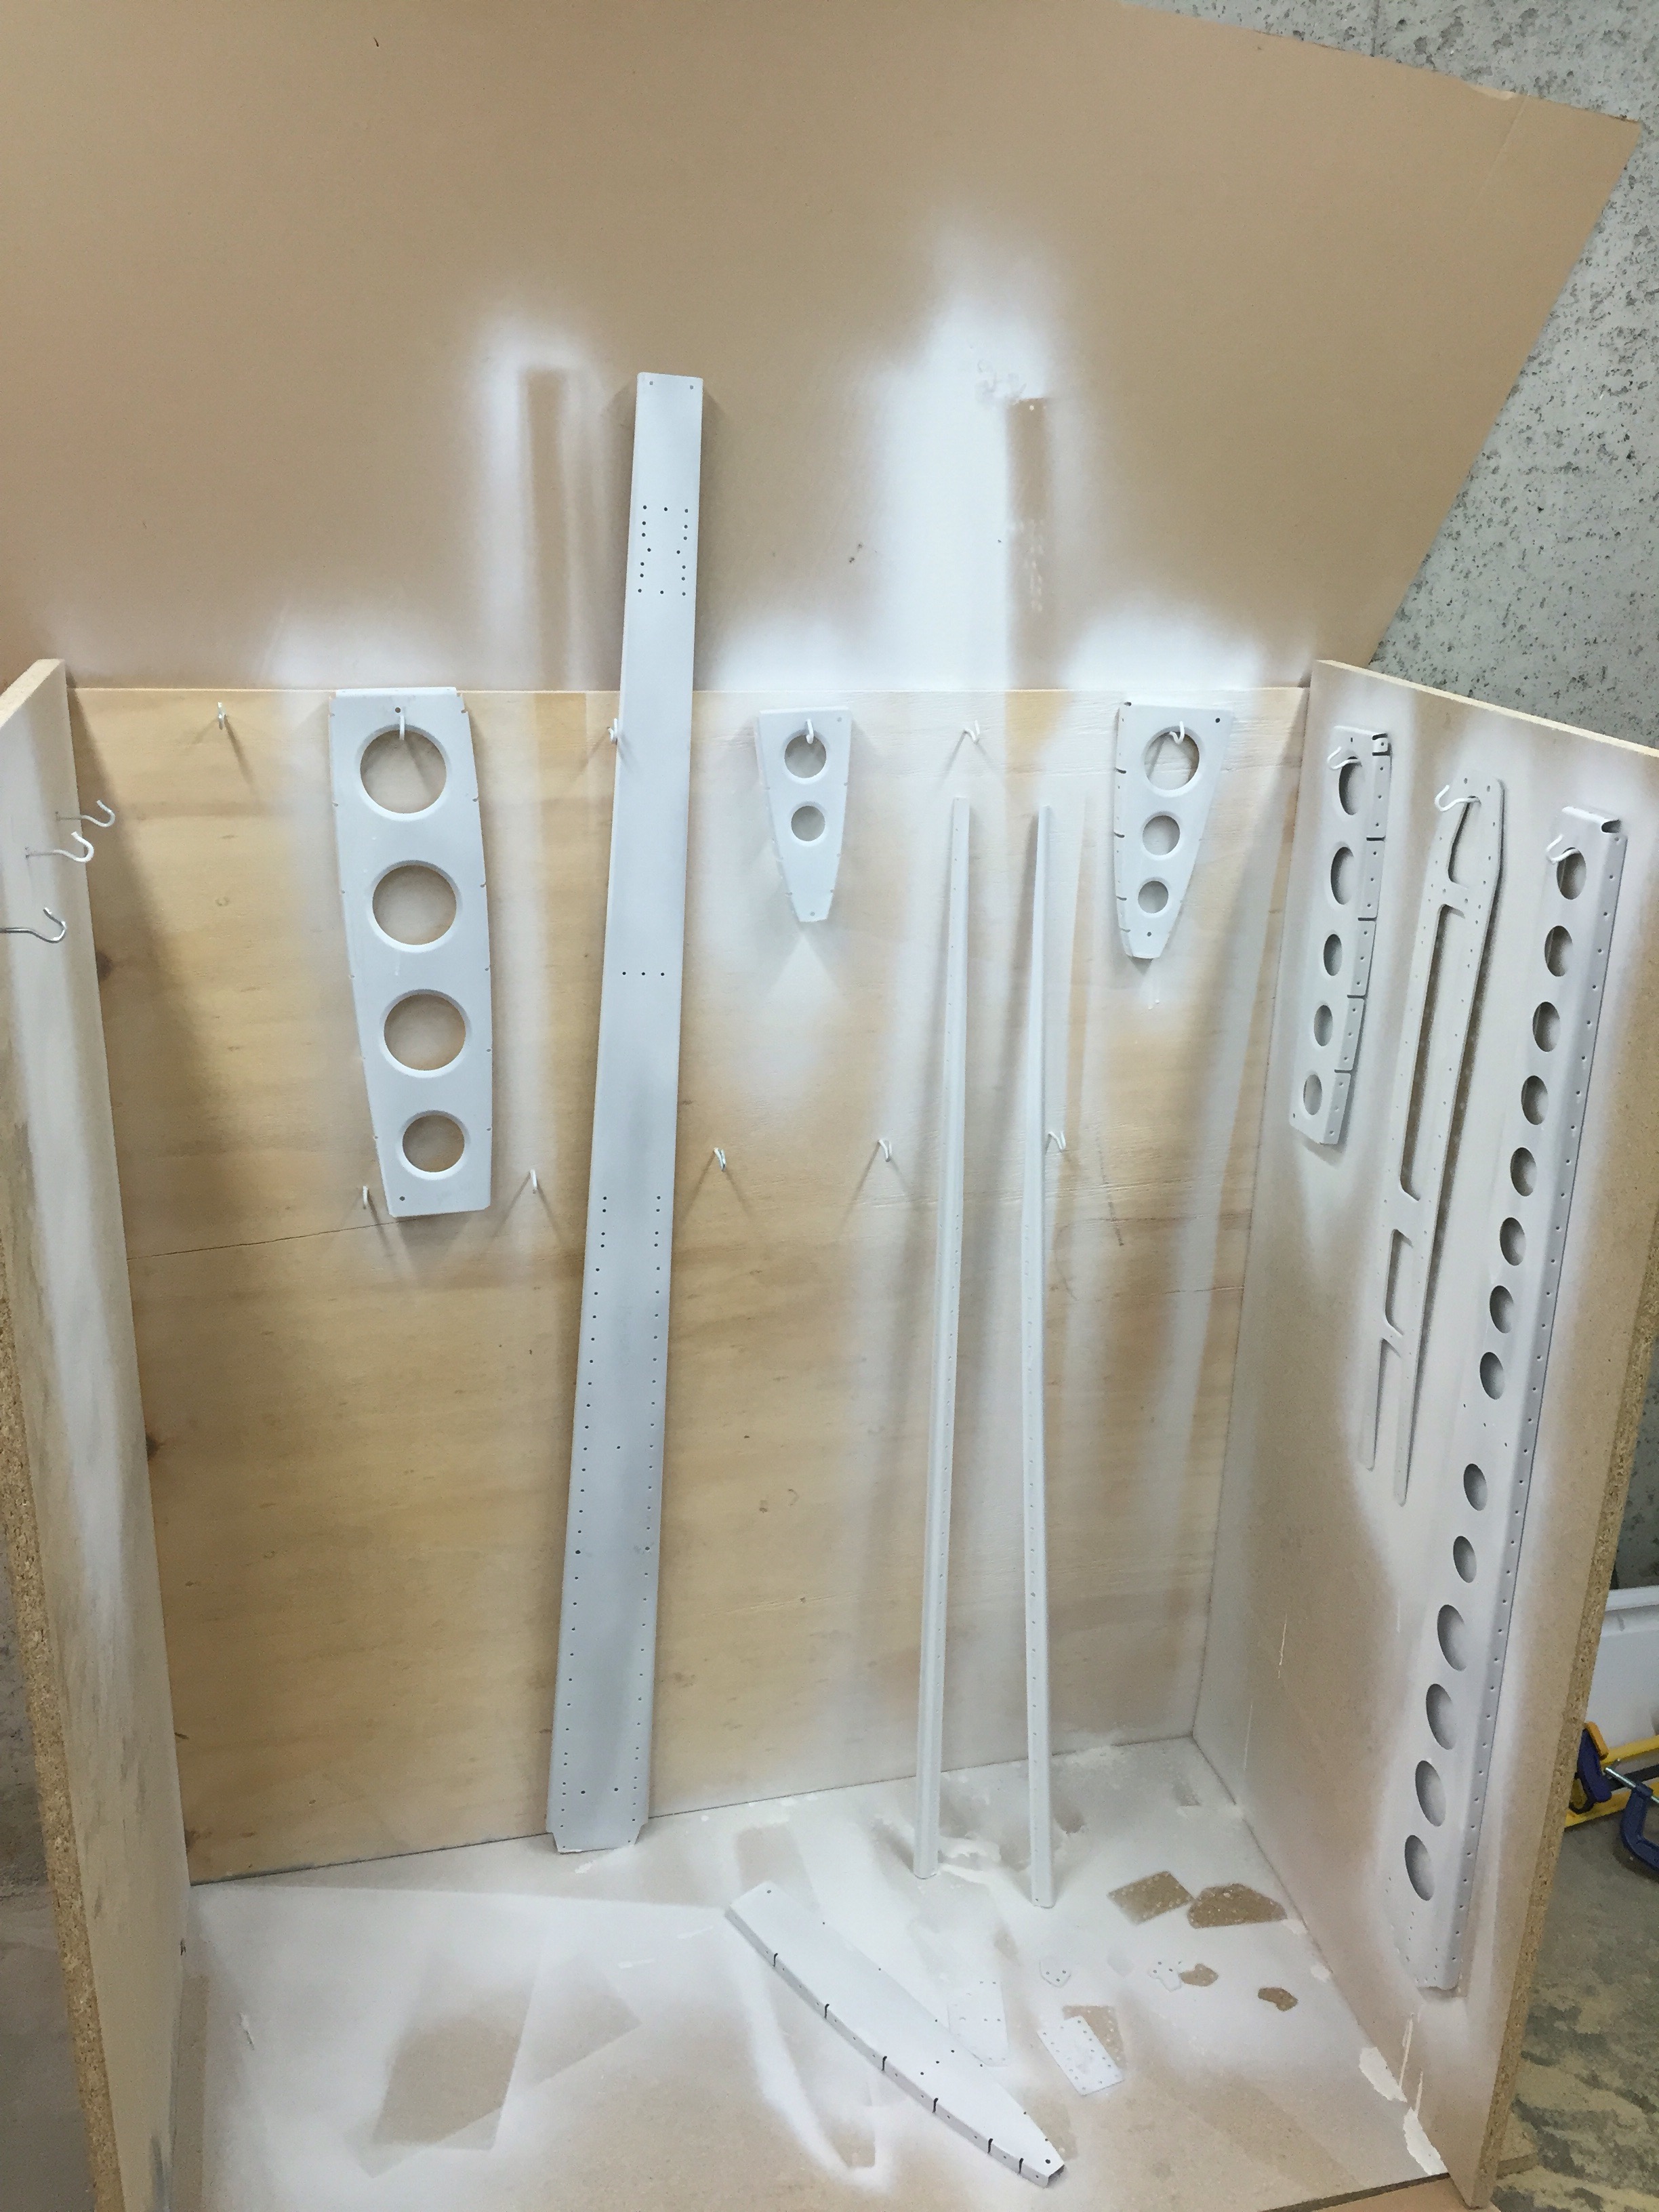
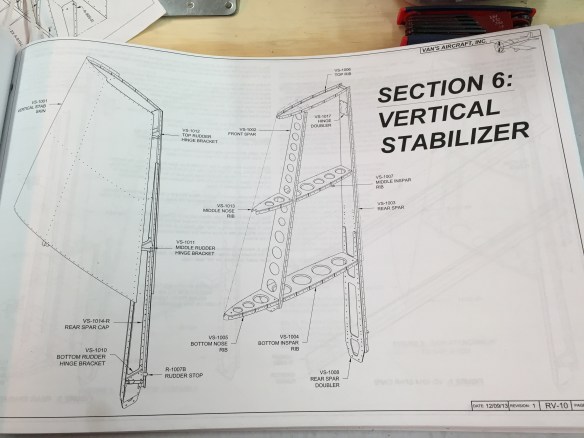
Once all of the primer dried, it was time to start assembling the Vertical Stabilizer!

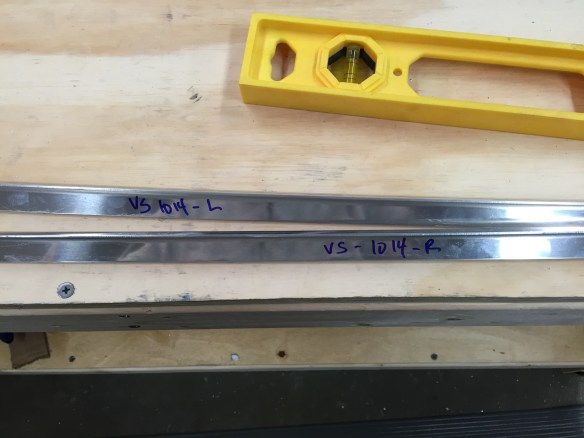
I got started by putting the rudder stops on the bottom-most rudder hinge.

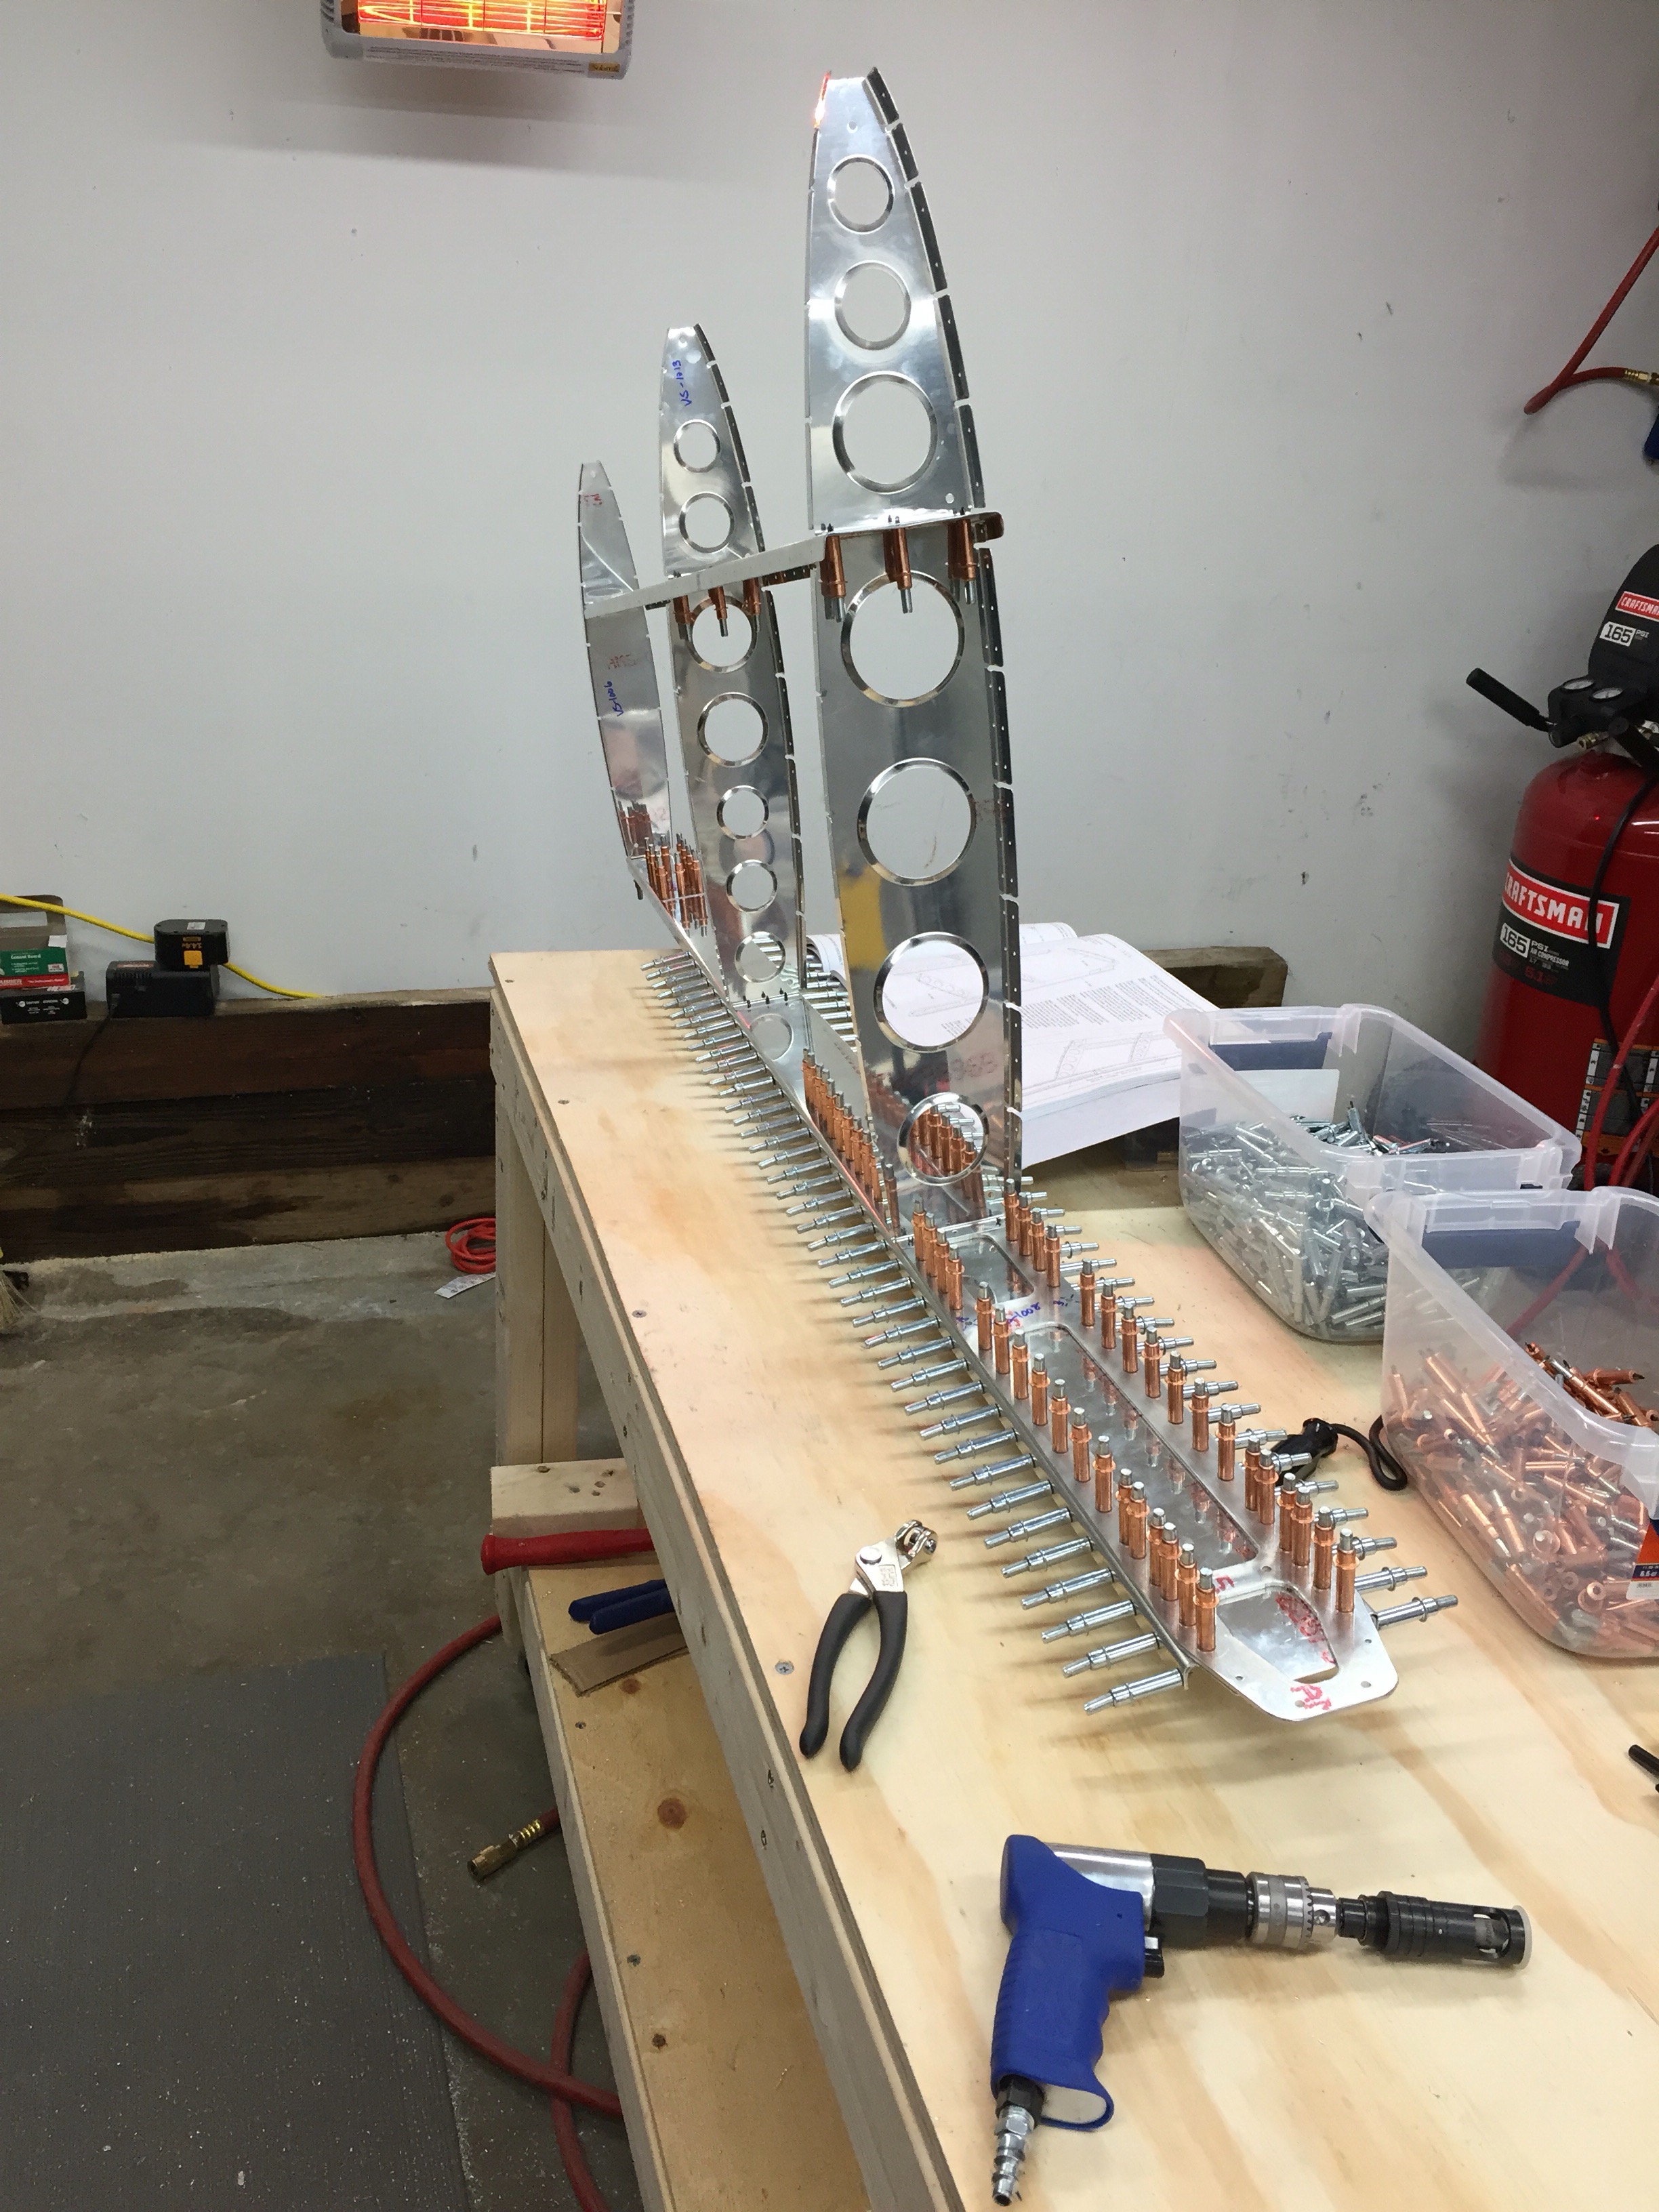
The next step was to assemble the spar, doubler, stiffener plate, and the remaining rudder hinges.  Here I am doing that step.

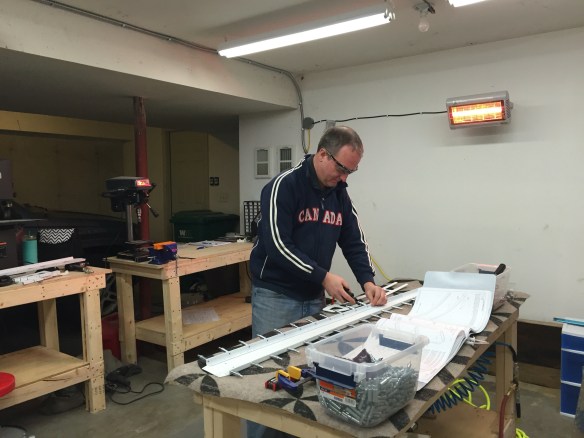
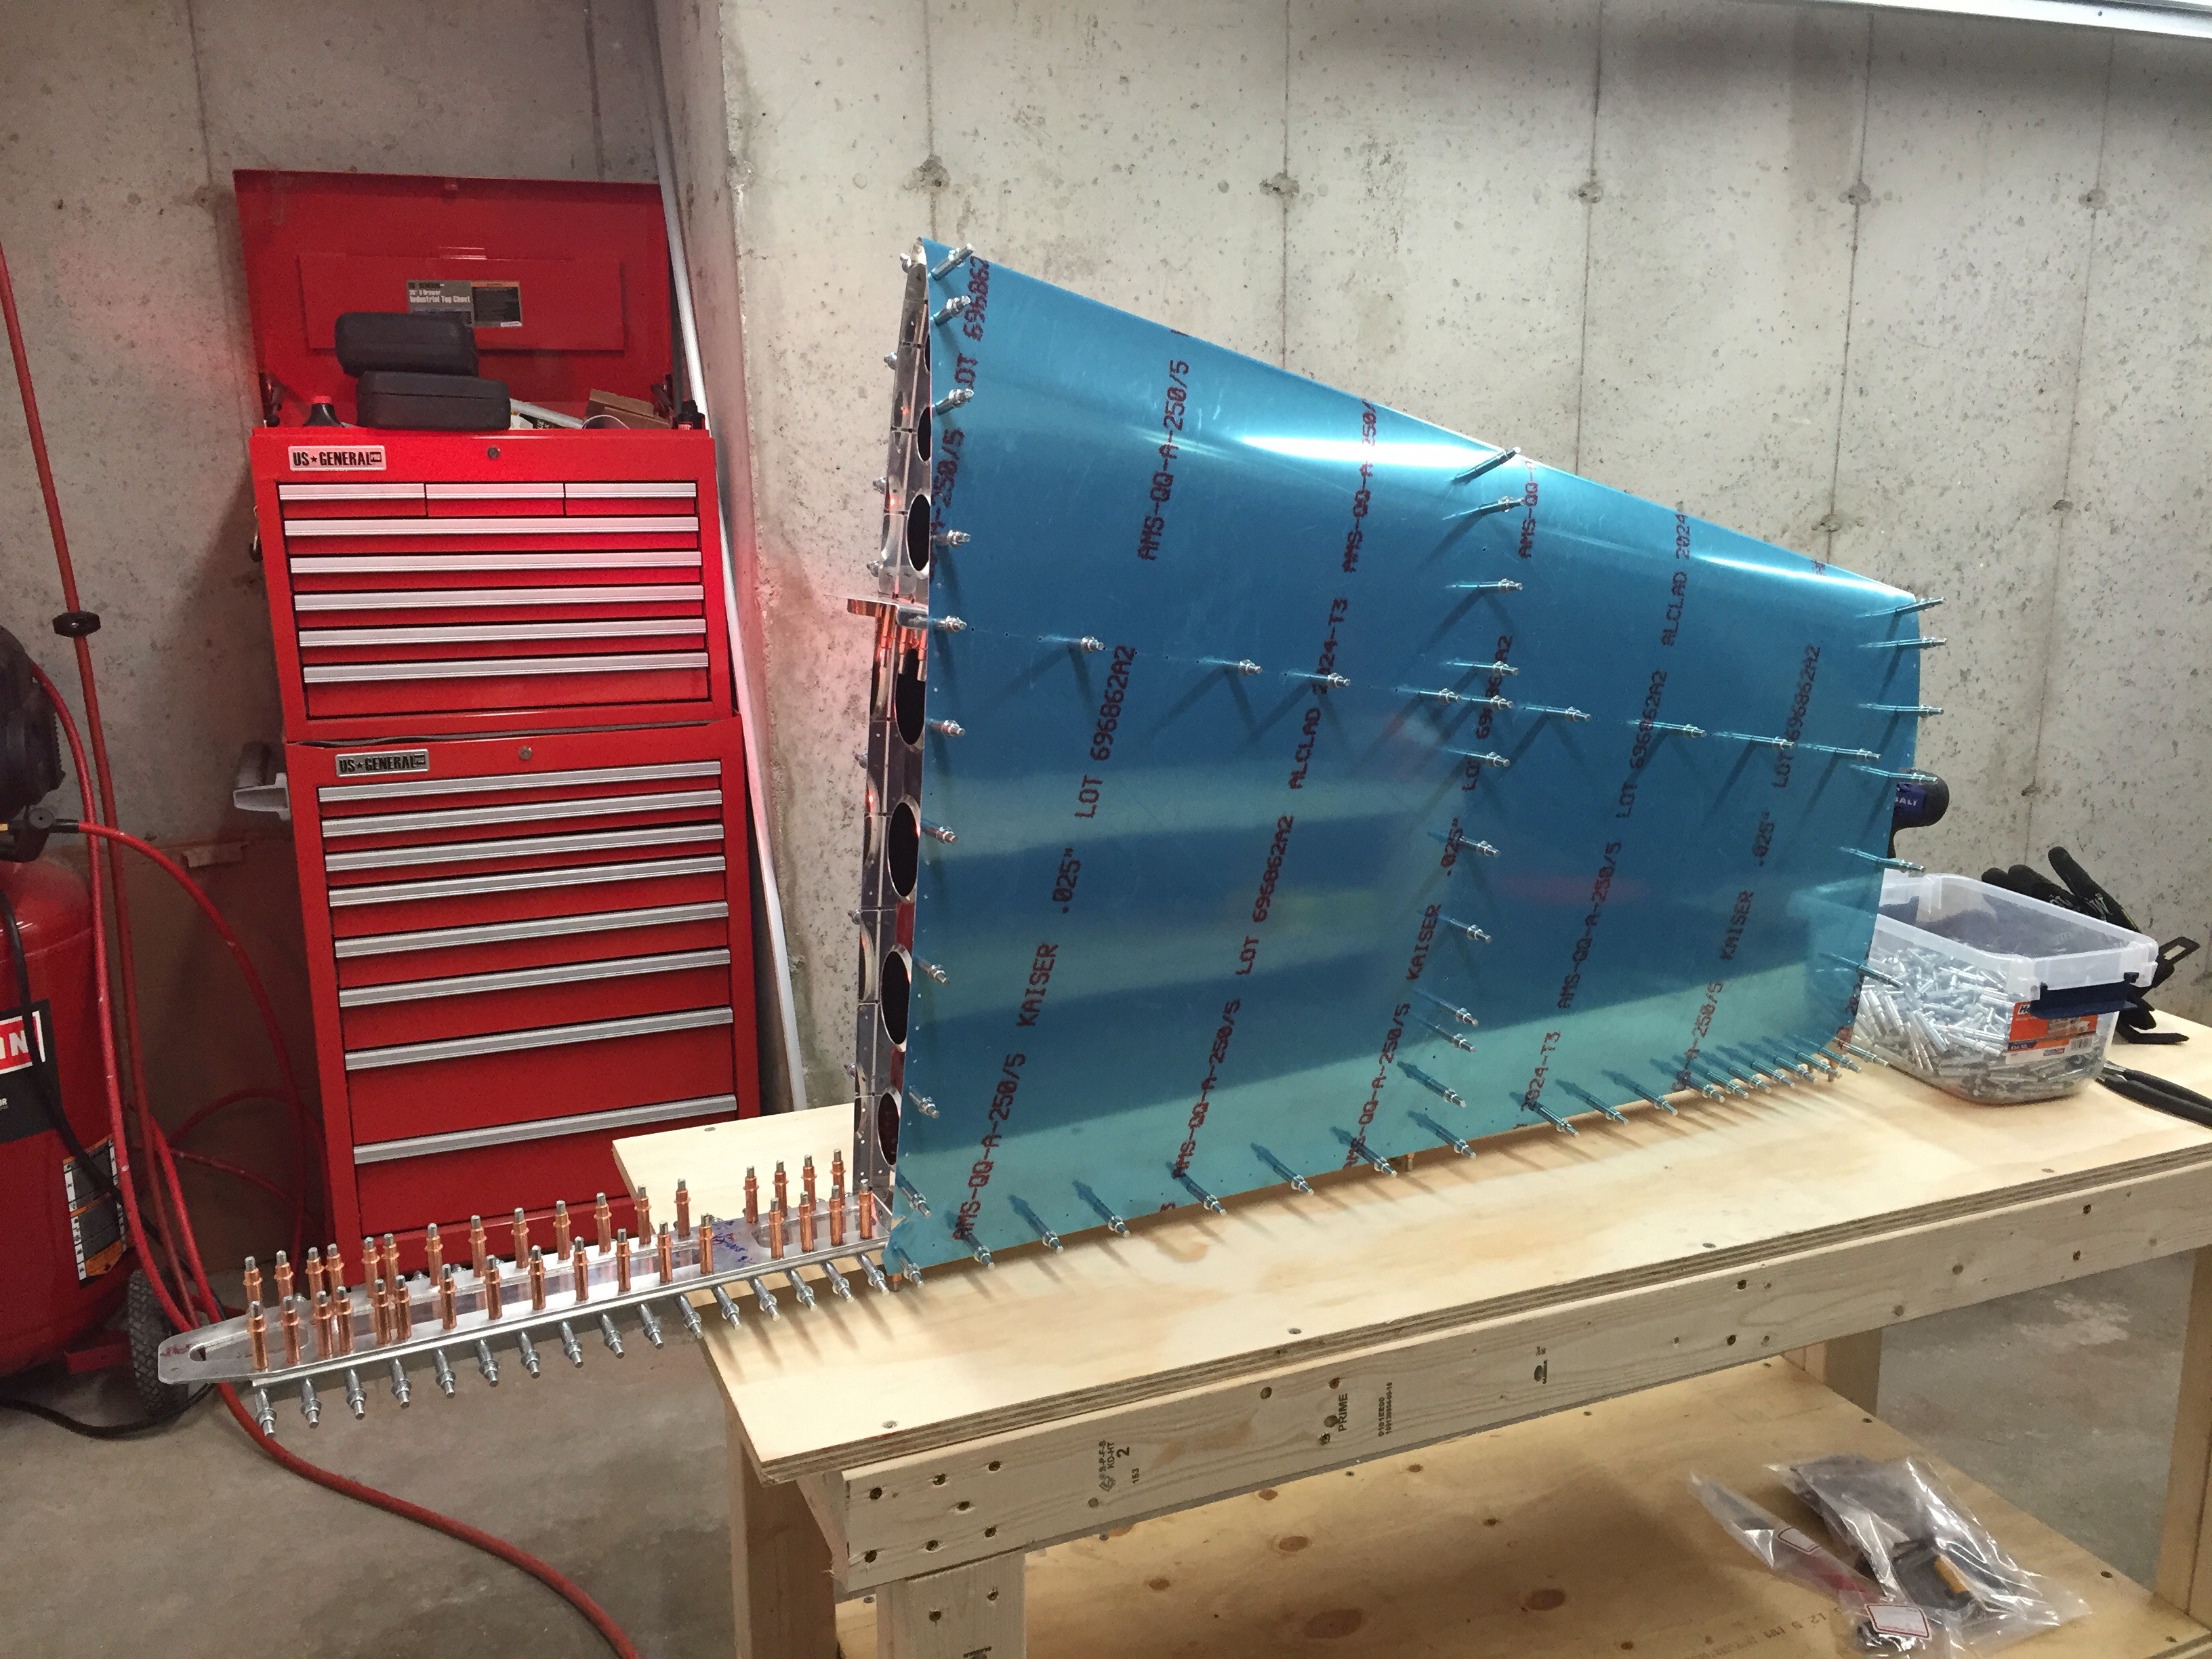
Once that was done, it was onto riveting the spar pieces together. My pneumatic squeezer made quick work of that.


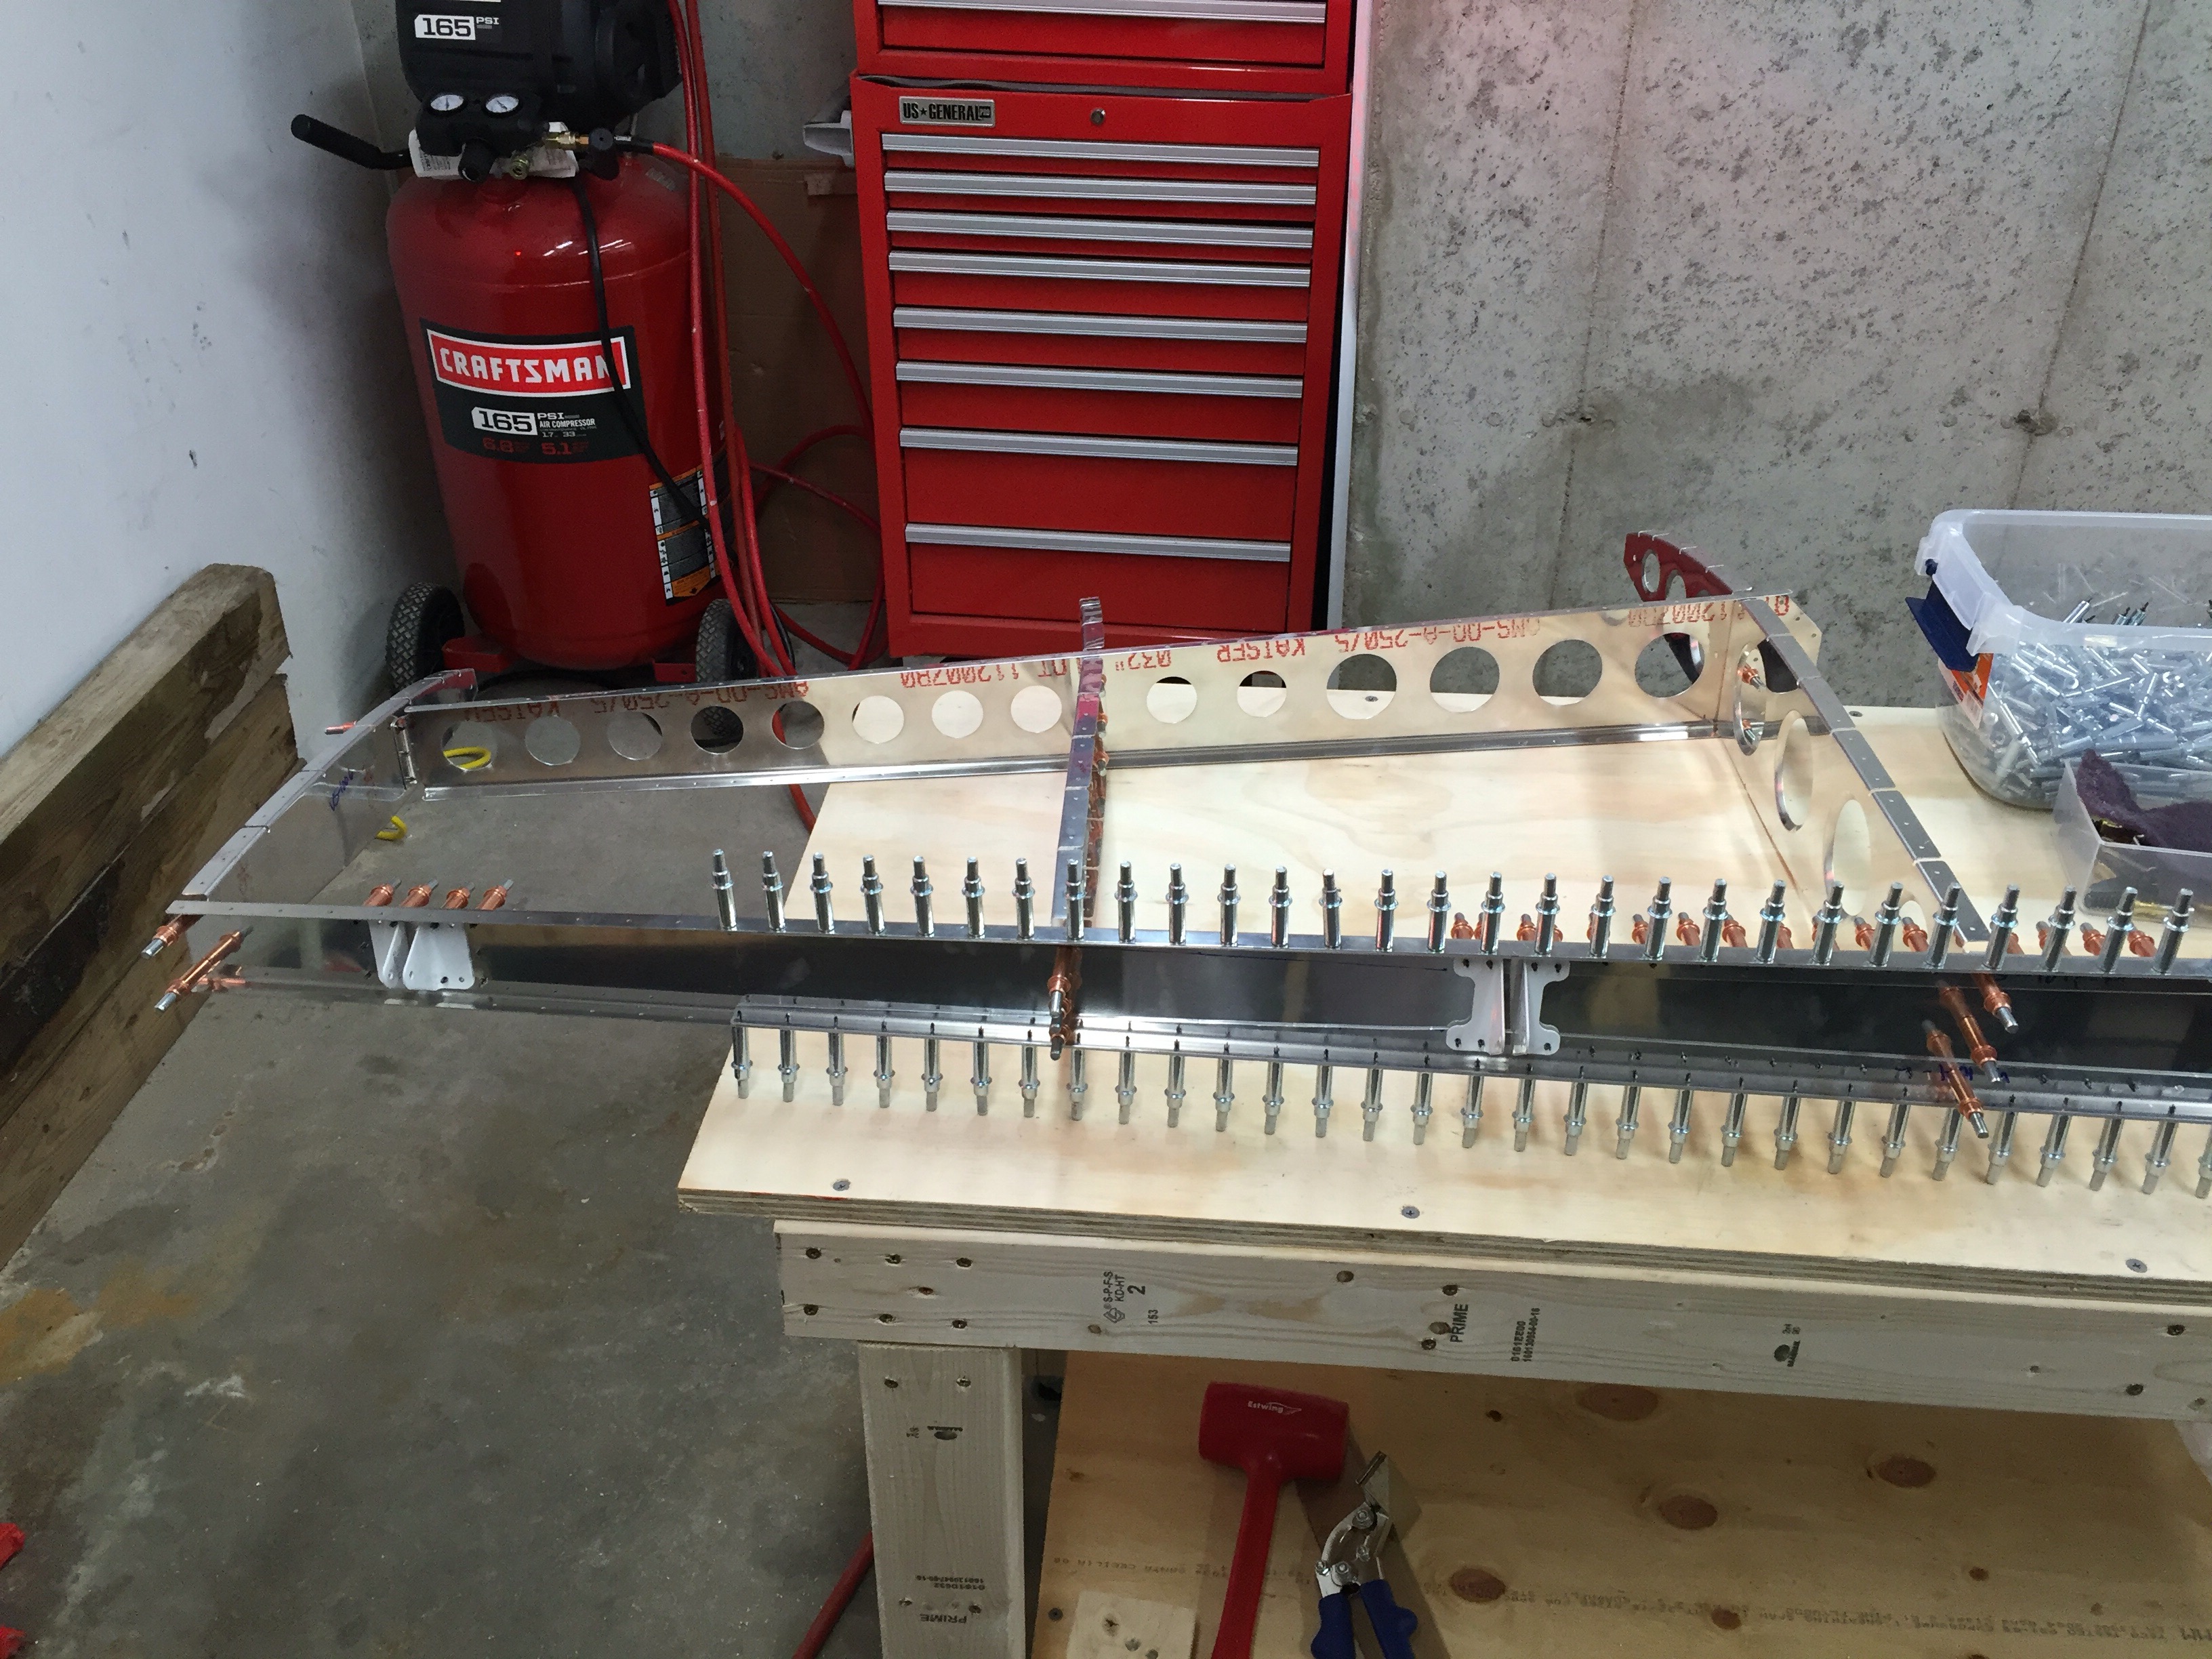
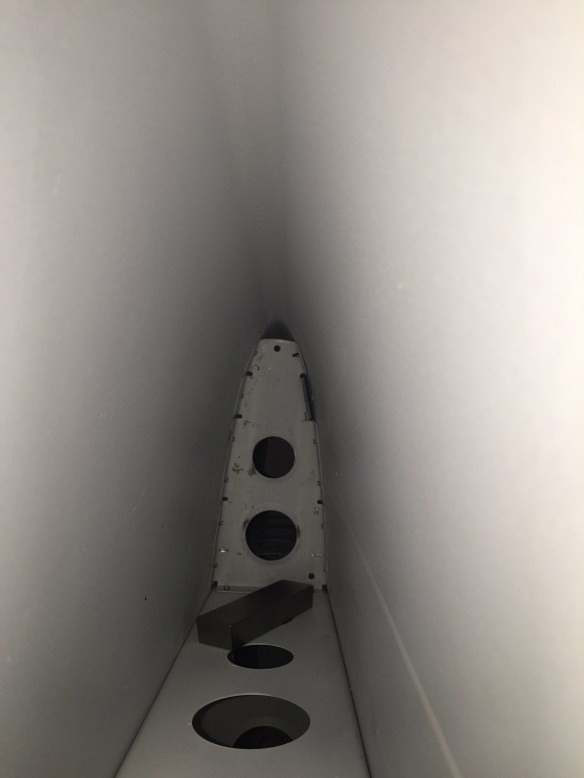
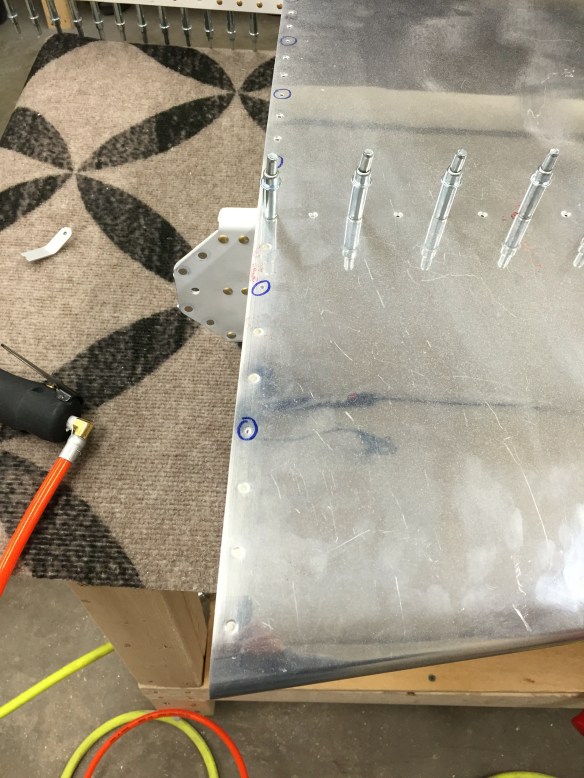
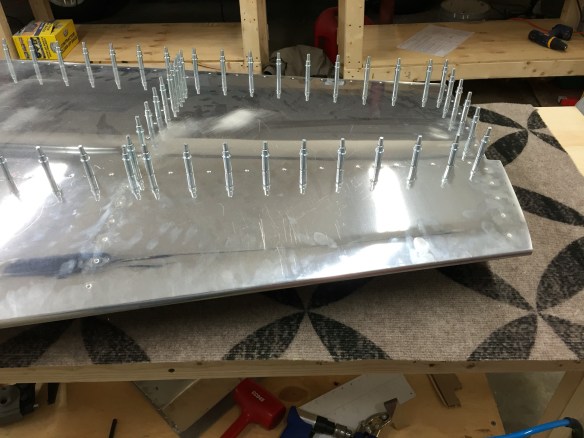
Next up, was putting the skeleton back onto the spar and riveting some of the upper ribs to the spar. Once that was done, I cleoco’ed the skin onto the skeleton, and started to rivet the forward middle rib and skin together. I got one side done, and after flipping it over, I got the the 4th rivet and decided I needed to drill that one out. I drilled the head out and started to use my punch to push the shank of the rivet through. Once the shaft let loose, it caused my punch to go through the skin hole and bend the flange of the rib behind  it. SIGH!

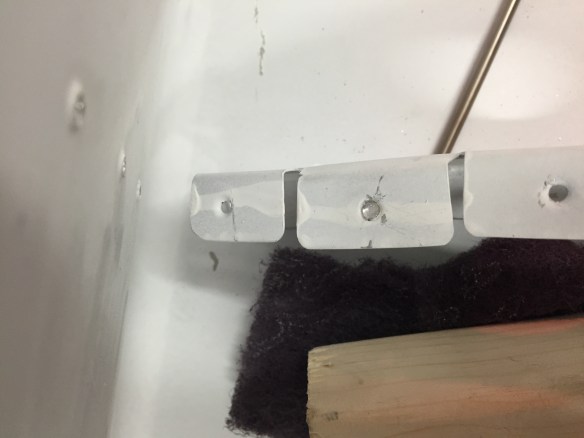
Of course, looking at this picture, I realize I need to put some tape on my bucking bar, or be more careful to not scrape it on the rib edges. It’s taken off a bit of my primer.

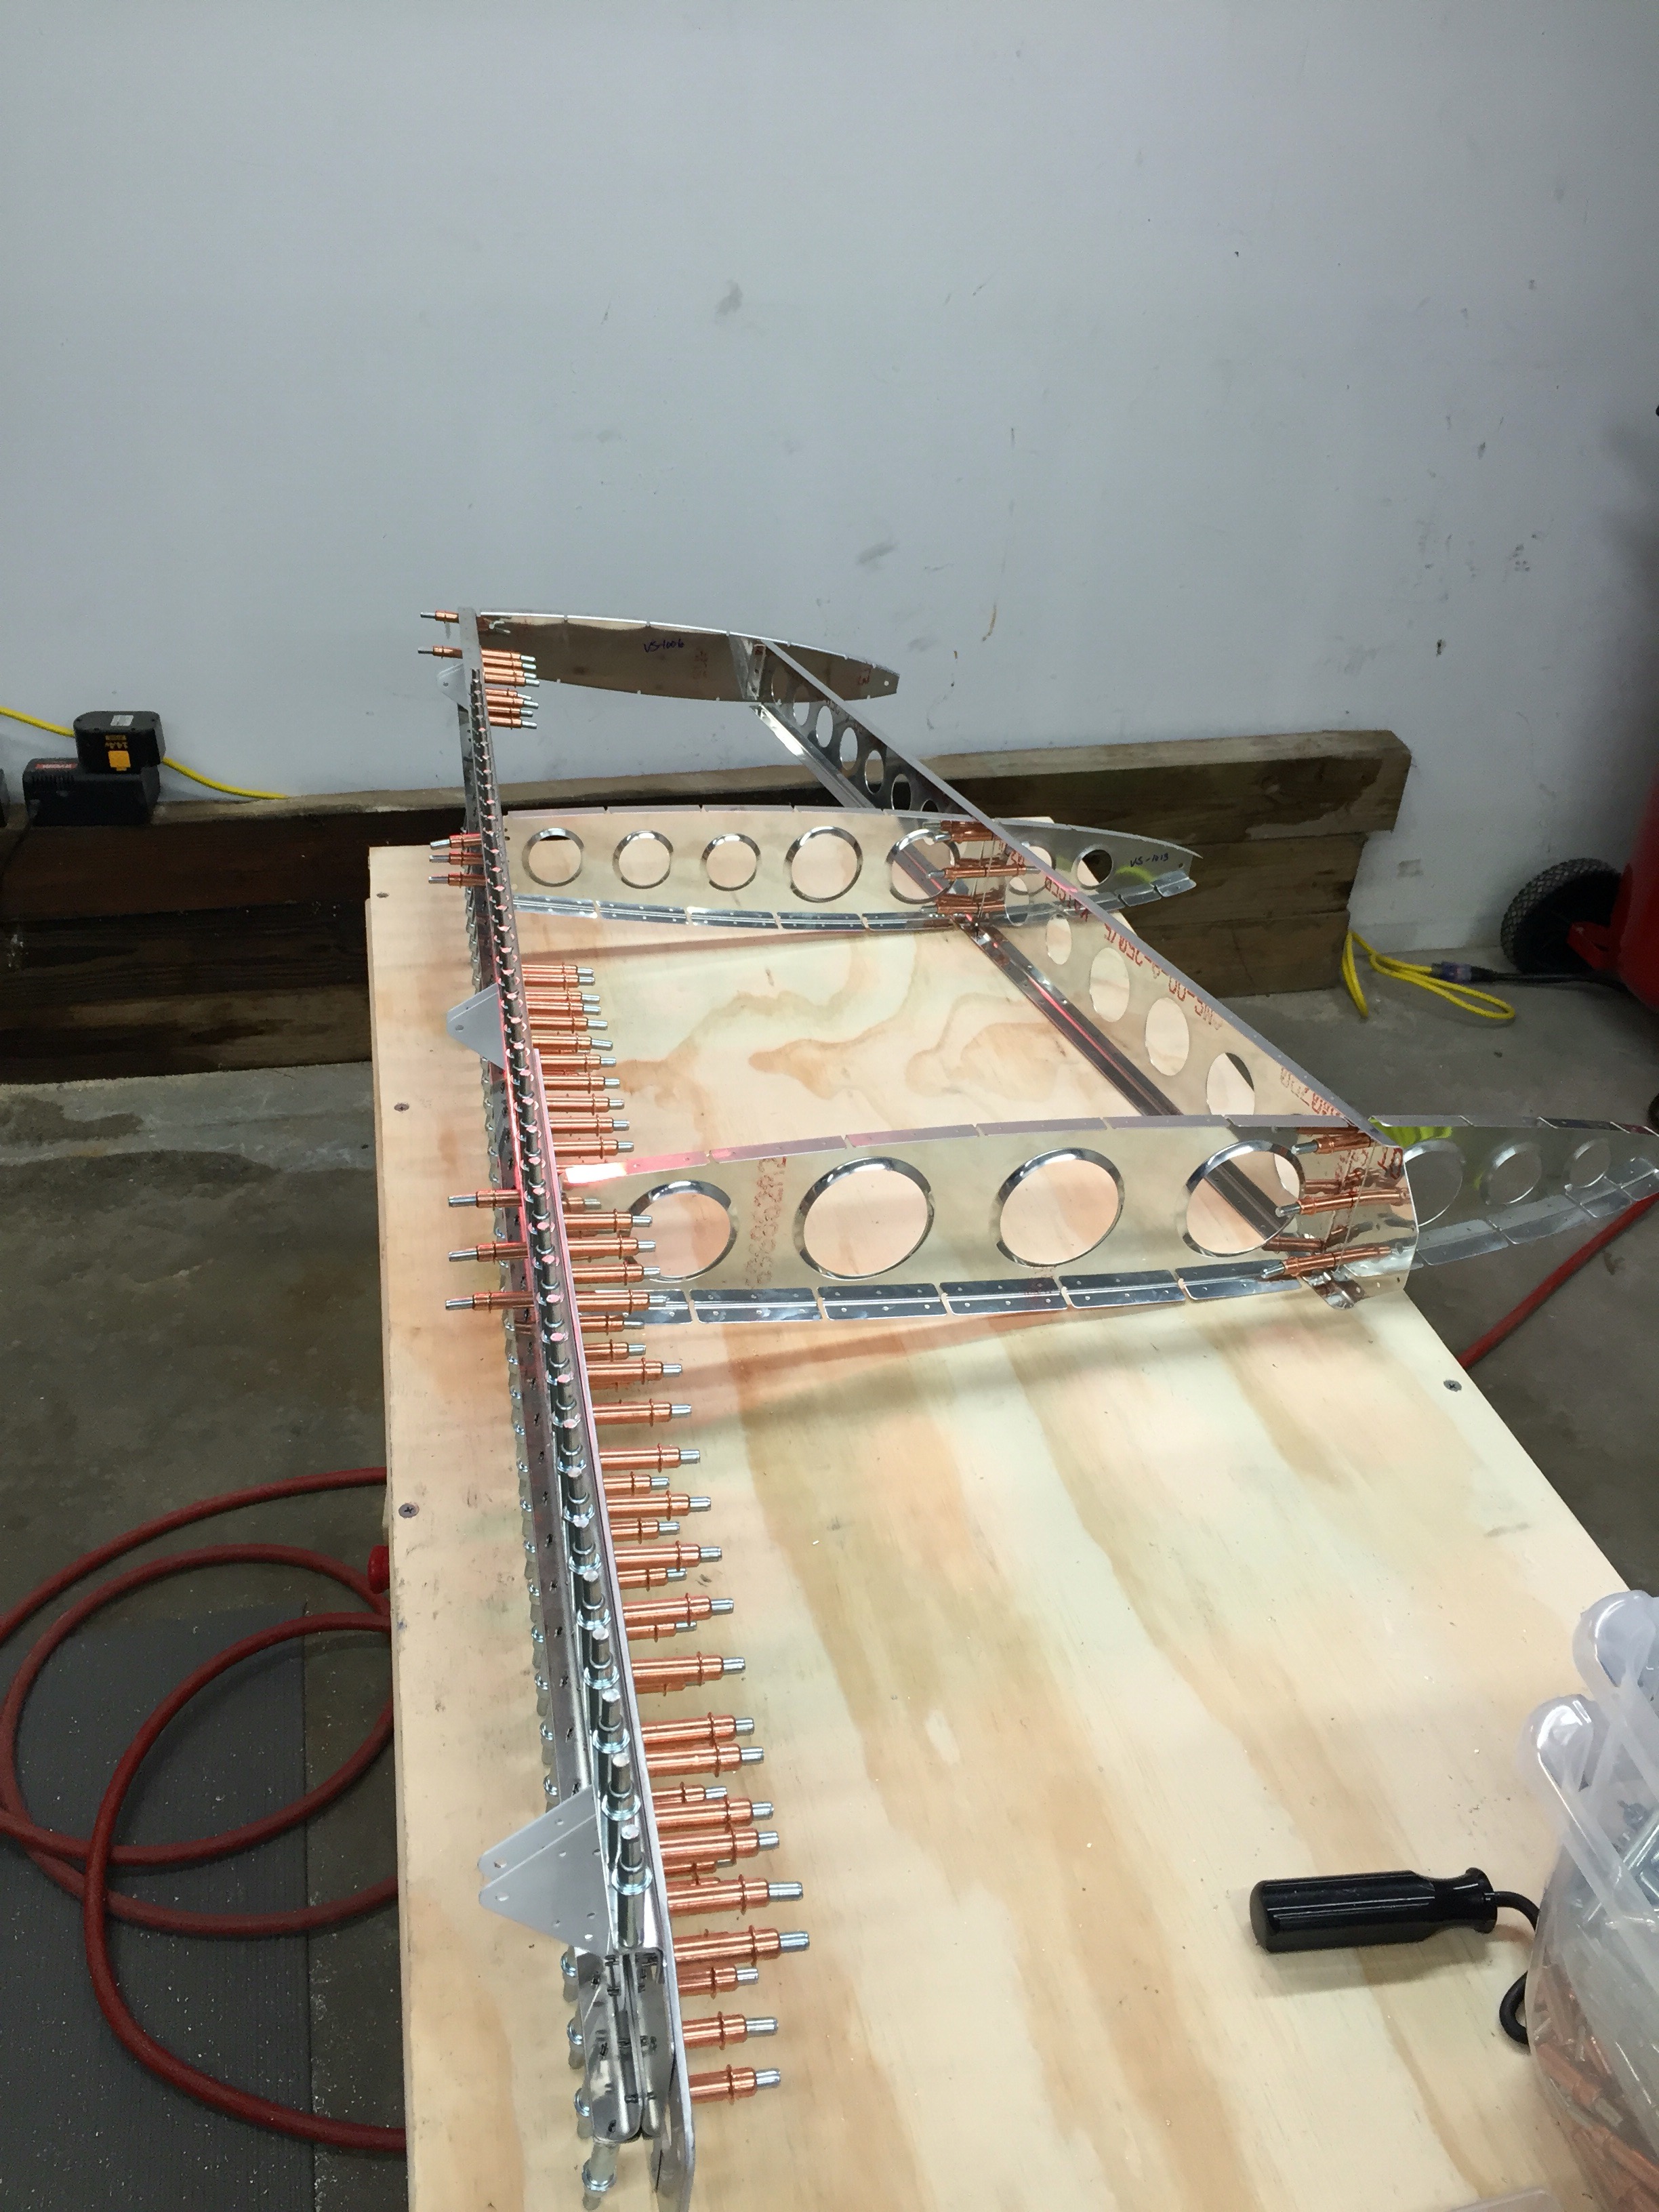
So I drilled out the rivets that I had completed on that side and uncleco’ed the skin to open it up. I was able to bend the flange back into a reasonable position that should work. Being a bit concerned, I also contacted Van’s support to ask if they thought it was okay to build on or stop and order a new piece. I was pleased when about a half hour later, they responded that it doesn’t look like it bent enough to cause work hardening and to bend it back and carry on. Here are a couple of pics of it bent back mostly into position.


I was then able to close things back up and re-rivet the rib. I also completed the froward parts of the top and bottom ribs as well.


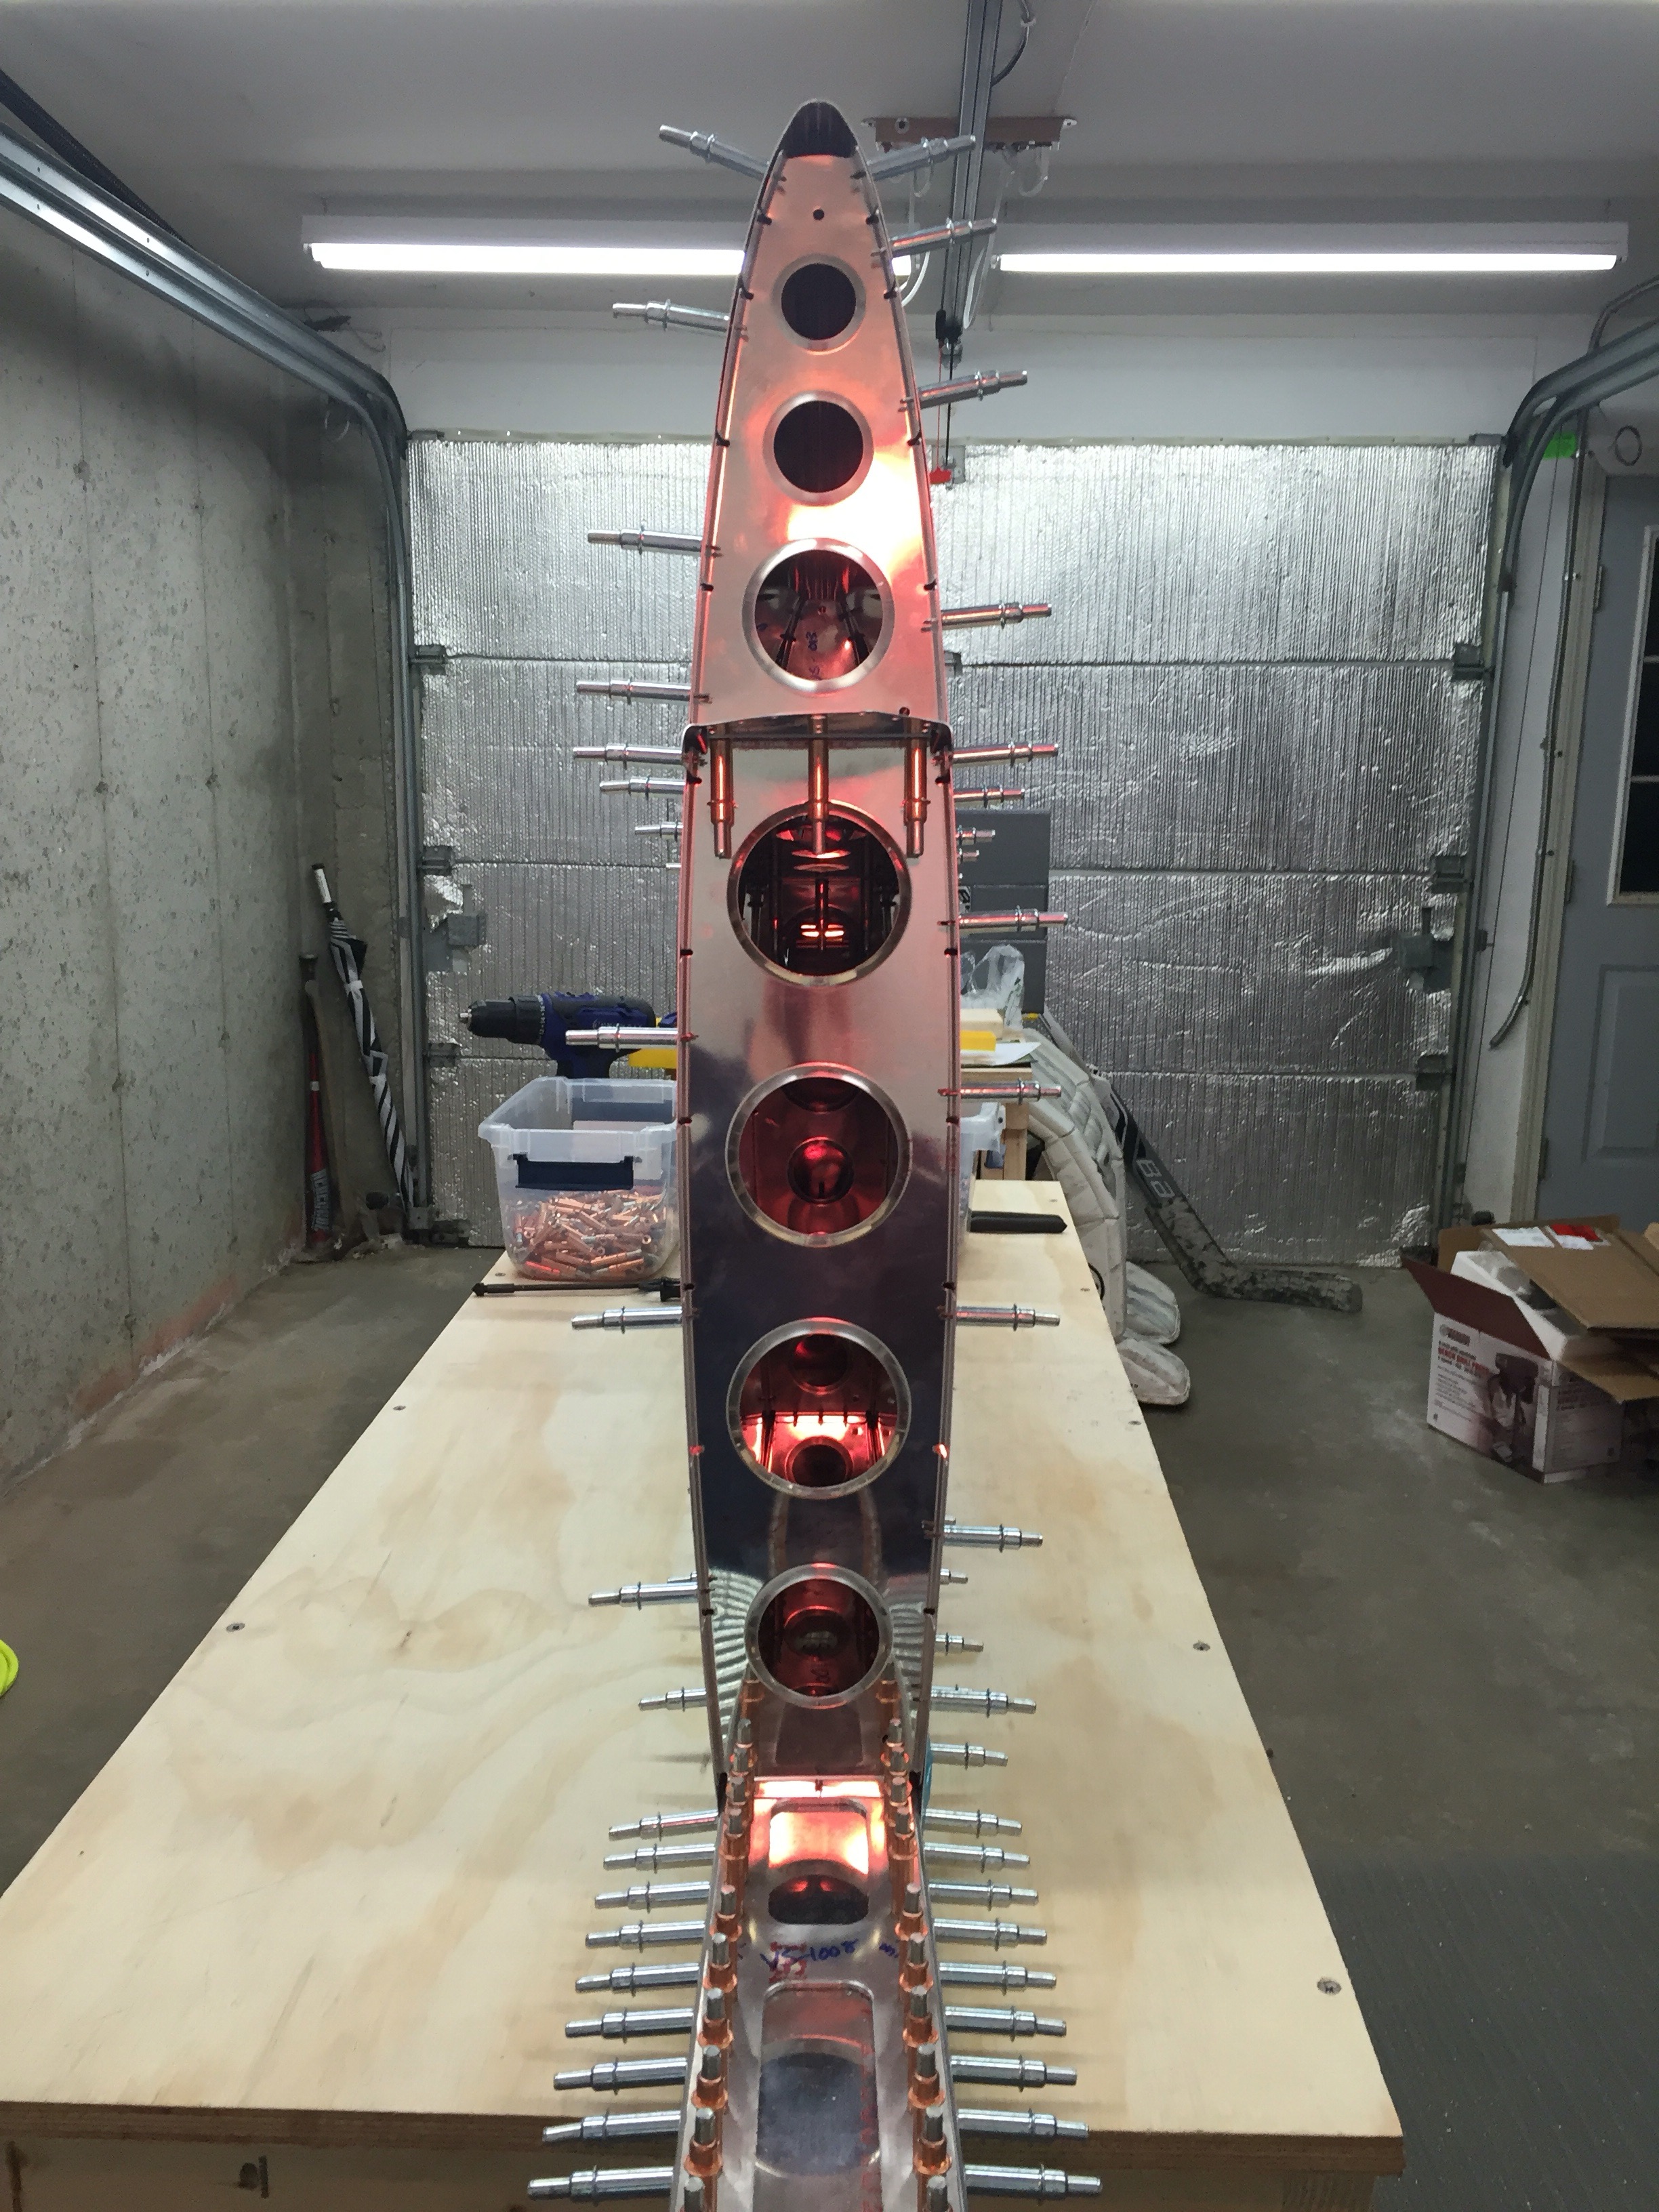
   More work on finishing up the VS this weekend.

VS Priming and Rudder Start

This weekend I was able to prime all of the components of the VS as a final prep step prior to riveting it together.

The first step was to transport all of the metal upstairs to the bathtub. I then used a wet scotchbrite pad with a dusting of Bon Ami to scrub down each of the parts. The parts were then rinsed and wiped off dry. I let the parts sit for an hour or so for additional drying time.

Once back downstairs, I started by using some leftover plywood and particle board from bench construction to create a makeshift spray booth. I used some hooks to hang the ribs and other items from while spraying.

This being my first time using a spray gun, I’d say the parts came out okay. Some playing around with the quantity of liquid and spray pattern settings on the gun on the application to the back side of the parts proved to be a bit better. It was clear that I had too much volume the first time around, and with the primer being relatively thin, I got some dripping going on. I may do a quick touch up mid-week and apply a thin 2nd coat. It turned out decent overall, and like anything in this process, the second time you do something it’ll go faster and turn out better.

Between priming each side and also waiting for drying to happen, I decided to make use of the down time and start section 7, the rudder.

Lots of cutting to separate combined parts, trimming to spec,  and deburring them all. It seemed to go pretty quickly and was able to start on getting the rudder horn attached to the main spar and match drilled.


VS Progress Update

Posting a couple of additional pictures of the progress. I’m at the point where I have all prep steps done and I’m ready to prep and prime the internal surfaces in preparation for final assembly (with rivets).


I’ve decided to use Stewart Systems EkoPrime for my primer solution. It is a water-based and non hazardous /toxic paint. It isn’t the best solution, but I’m of the mindset that putting some sort of primer on the interior surfaces is better than nothing. Most of the aluminum being used is alclad, meaning that it already has some degree of corrosion protection on it. Some people, and several certified airplanes, don’t use any primer on interior surfaces and are perfectly fine for 30 or more years. I’m also spraying this in my house, so I’d like to keep the fumes and dealing with toxic chemical disposal to a minimum. Also cleanup is a breeze compared to using an epoxy-based primer.

I’m also planning on using a household cleaner similar to Ajax or Comet called Bon Ami for surface prep. Once again, this is all natural and has no harsh/toxic chemicals. Plan is to sprinkle this power-based cleanser on a scotchbrite pad, wet it, and scrub the surface clean. This is followed by a rinse and drying time. Then I’ll have a few hour window to spray the primer.


I also asked for, and got a few new neat tools for my birthday coming up next week. Deburring all the holes after drilling is one of many time-consuming tasks. especially having to hit each hole drilled twice, once on each side. I found out about Ezburr bits that are designed to deburr a hole on both sides with a single pass. It deburrs the front of the hole when the bit is passed into the hole, and the back-side of the hole on the way out. Saving lots of time.

The other tool I got was a pneumatic cleco tool. Using the manual set of pliers takes a toll on the forearms. Lots of repetitive motions putting cleos in and taking them out. This tool seems to help a tremendous amount to remedy that.