A couple of videos of the first flight from today.
The weather was good today for a takeoff from my preferred runway, 5 although the wind was a bit variable, it was fairly light. Tomorrow looks to be favoring 23, which puts me over the city, which I didn’t really want. So I chose today to go for it.
I’ve spend a decent amount of time over the last couple of weeks sitting in the cockpit and going over things.. checklists, and developing flows. So I felt as ready as I was going to be.
Thankfully it was an uneventful flight. No major issues.. just a couple of things that I need to look into, which is pretty typical for first flights. I circled the airport between 2200-2500′. I did left and right turns, and I pulled fuel from both tanks. CHTs were reasonable. And a decent landing, which I credit transition training for. Now to get on with phase 1 flight testing.
One of the next things to do was a weight and balance on the plane. I used the EAA chapter scales, got the plane level and weighed the plane with and without wheel pants. The main thing is to make sure the plane is in flight level attitude, which I accomplished by raising the main gear up about 2″ and keeping the nose wheel scale on the floor. Some fine tuning was done by letting some air out of the nose wheel.
With all the creature comforts I put in.. she’s a bit heavy. With the wheel pants, it weights 1806. With a max gross of 2800lbs, that puts me just under 1000 pounds useful load.. Of course before paint. That will add another 40-50 lbs.. So I’ll be mid 900’s in the end. For our primary mission with 3 people plus bags.. that’ll work just fine.
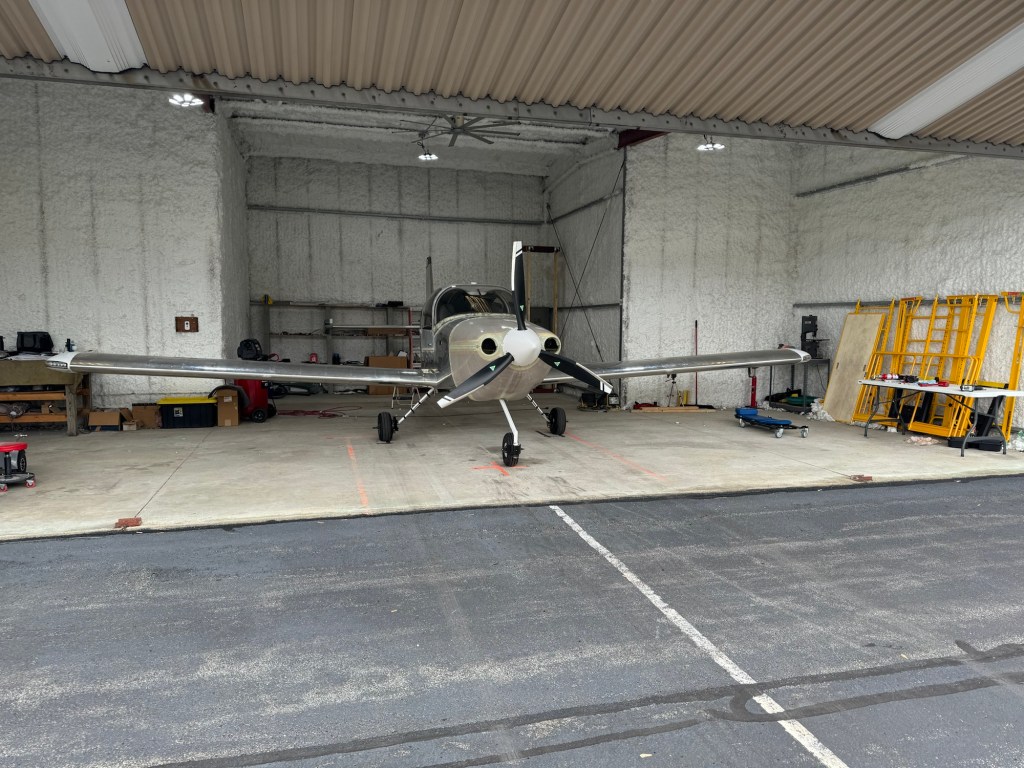
Lots of time spent preparing for the inspection working down my list.. until I had nothing else to do. Below is the plane all ready for inspection.
The DAR inspection was scheduled for May 29th. A little over 8 years since starting my first pieces of the empennage. Prior to this date, I had my Tech Councilor come by and do a pre-inspection. Nothing was really found.. He made about a dozen minor suggestions, which I addressed in the couple of days following his visit. I also had a couple of other builders at my field come by to take a look.. Can never hurt to have more sets of eyes on things ahead of the actual inspection..
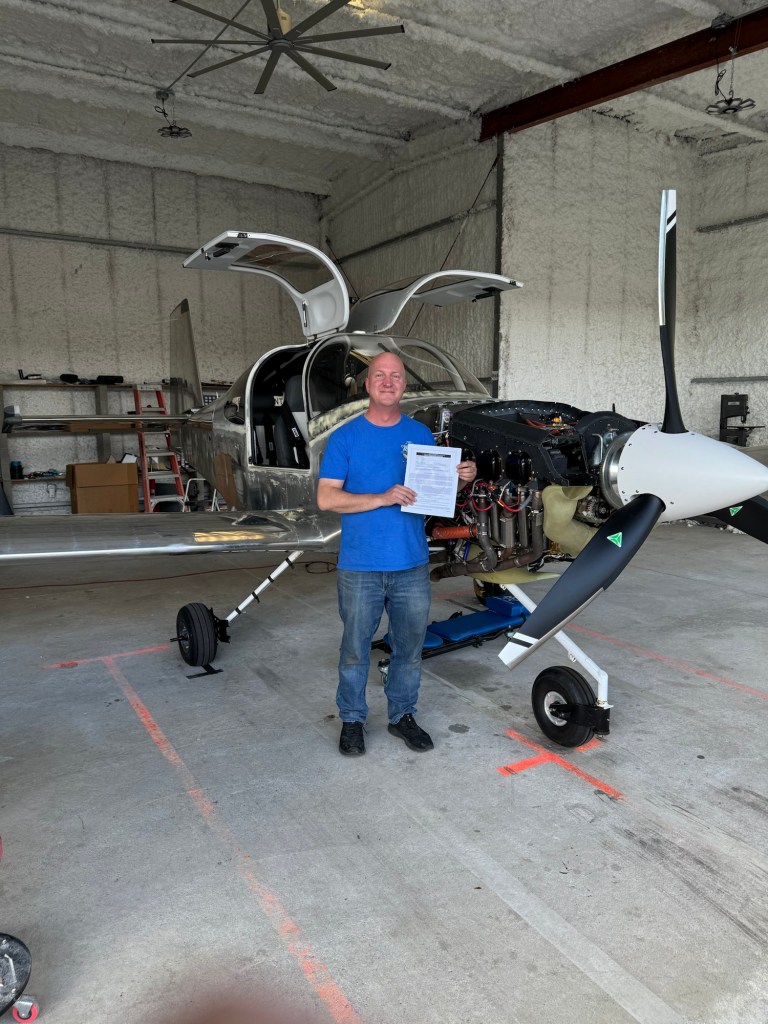
May 29th came and the DAR arrived around 1:30pm. Inspection took place with lots of conversation, asking questions of me, and looking over the airplane. Once he was satisfied, we sat down to do the paperwork… There’s a lot of it! He printed out my airworthiness certificate which is part of my operating limitations to be kept in the plane with the registration and W&B info. So as of May 29th.. I now officially have an AIRPLANE!!!
It’s time to get this bird in the air and fly off my Phase 1 test flights. I have been working on checklists, emergency procedures and cockpit flows as I’ve had some time to start to prep myself mentally for the upcoming first flight. I also went down to PA to see the Van’s East Coast rep to do some transition training in the factory RV-10. Another step to get myself ready to fly (and also satisfy my insurance requirements of a checkout in type.).
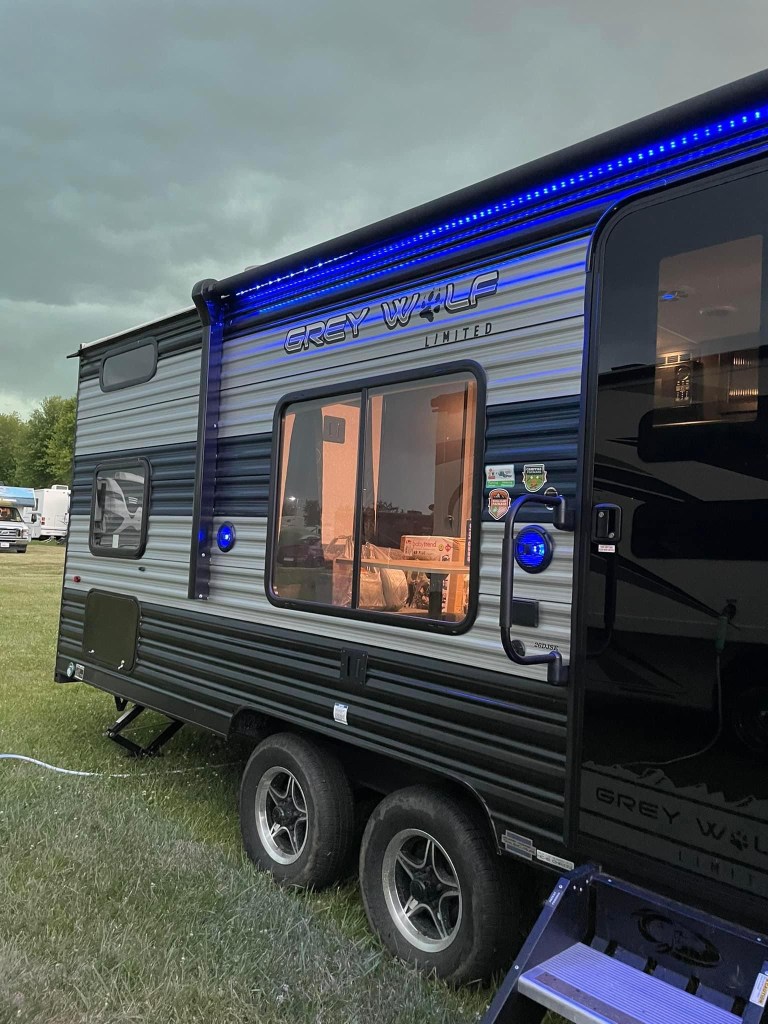
For the first time in several years, I returned to Oshkosh with the family. It just hasn’t worked out recently based on the Pandemic as well as Jeanine being in nursing school. Seeing the RV-10 isn’t ready yet.. we decided to fly commercially to Chicago and drive the 2.5 hours north to KOSH. It didn’t seem to make sense to take a connection flight to a closer airport seeing it was a short flight. The time waiting for a connection probably would have been pretty close to the same amount of time overall. Also seeing how many flights go into and out of Chicago, any flight delays/cancellations would be easier to deal with. We were actually delayed 2 hours due to storms and a ground stop in Chicago.. No worries other than arriving a little later in the afternoon then we expected. We rented a car through Turo and the owner of the car came and picked us up at the airport, drove us back to his house, and off we went. We’ve used Turo twice now and it’s worked really well. We rented a 26′ travel trailer from Kunes RV and had them deliver it to our site the week leading up to the show. We decided to do a water and electric site. We could have dry camped, but it’s just easier with AC and basic things with a 5 year old. Flying in commercially is tougher in terms of trying to get and use a generator. So water/electic site was it!
Home for the week of the show.
We spent part of the Sunday before the show at a park at Lake Winnebago. Swimming and there was also a large playground there. Declan had a ton of fun.
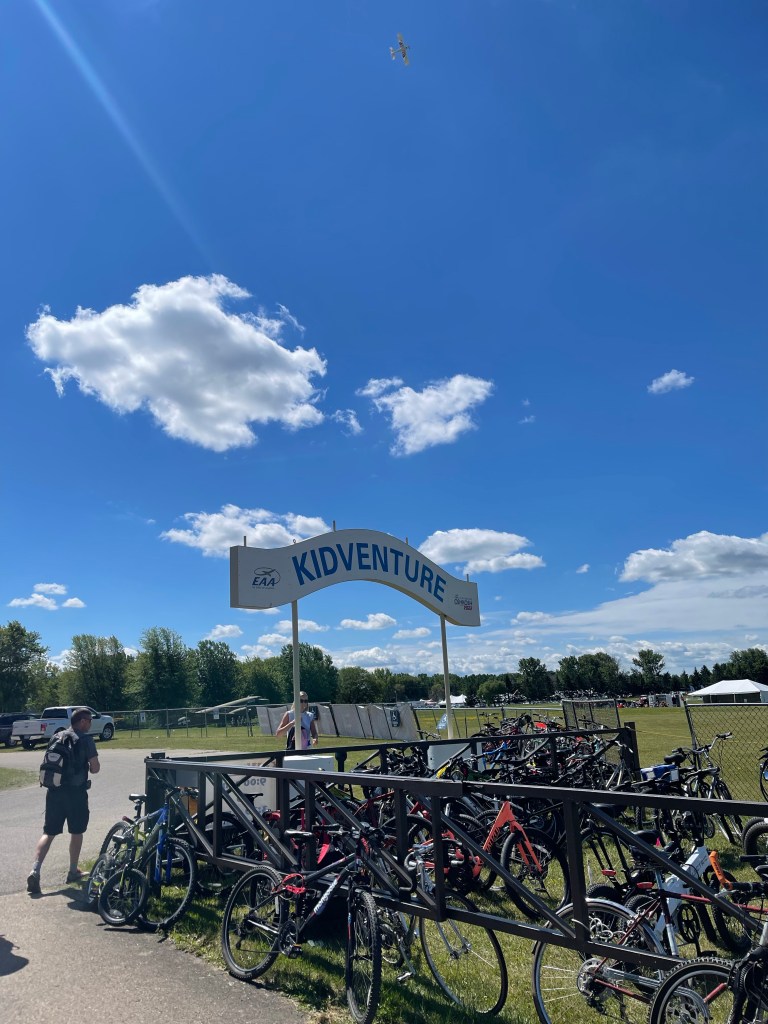
The show was a lot of fun and I think Declan enjoyed it. We visited Kidventure where we checked out some planes. Declan got to fly the RC airplane with help from the volunteers. He didn’t seem too interested in doing other activities there, but I feel like he’s still a little too young for some of them. In another year or two I suspect we might be spending a couple of days there. They have some pretty neat projects that kids can participate in.
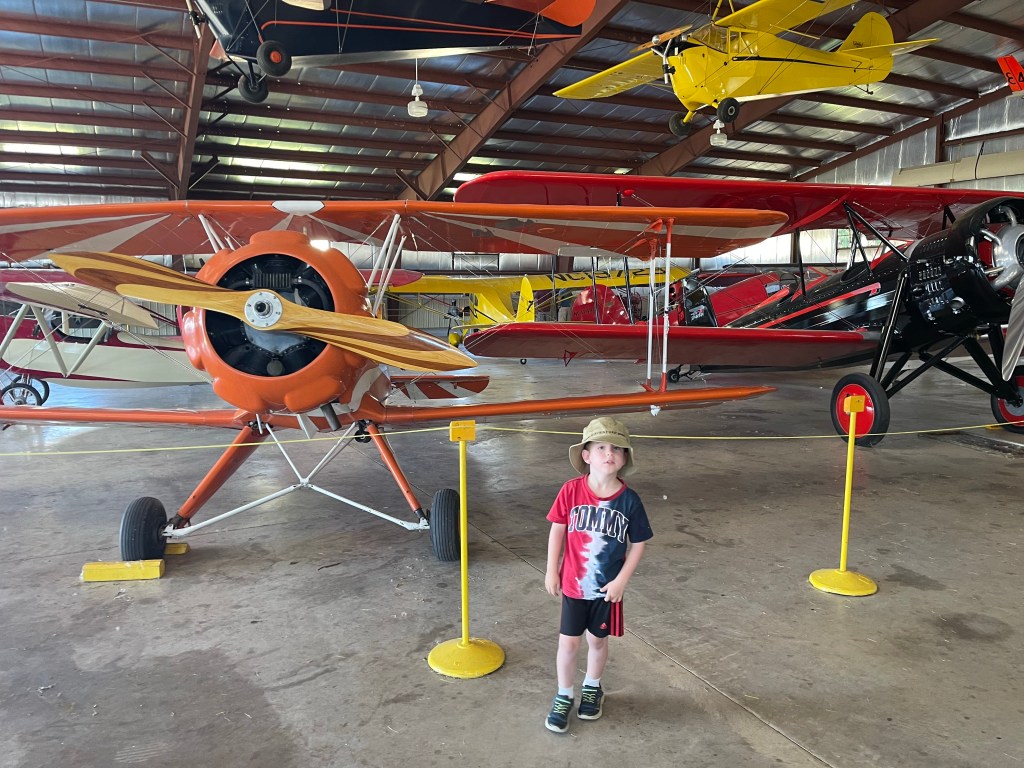
We toured the hangars and Declan seemed to enjoy that. He walked to each sign in front of each plane and asked me what it said.
Checking out planes in the hangar.
A big hit were the pedal planes. I’m pretty sure he tried all of the planes available multiple times over. He asked to come back here pretty much each day.. I would be tempted to get one of these kits for him, but he’s already pretty big for most of them, so it wouldn’t probably last that long.. Not to mention distract me from making progress on the RV-10.
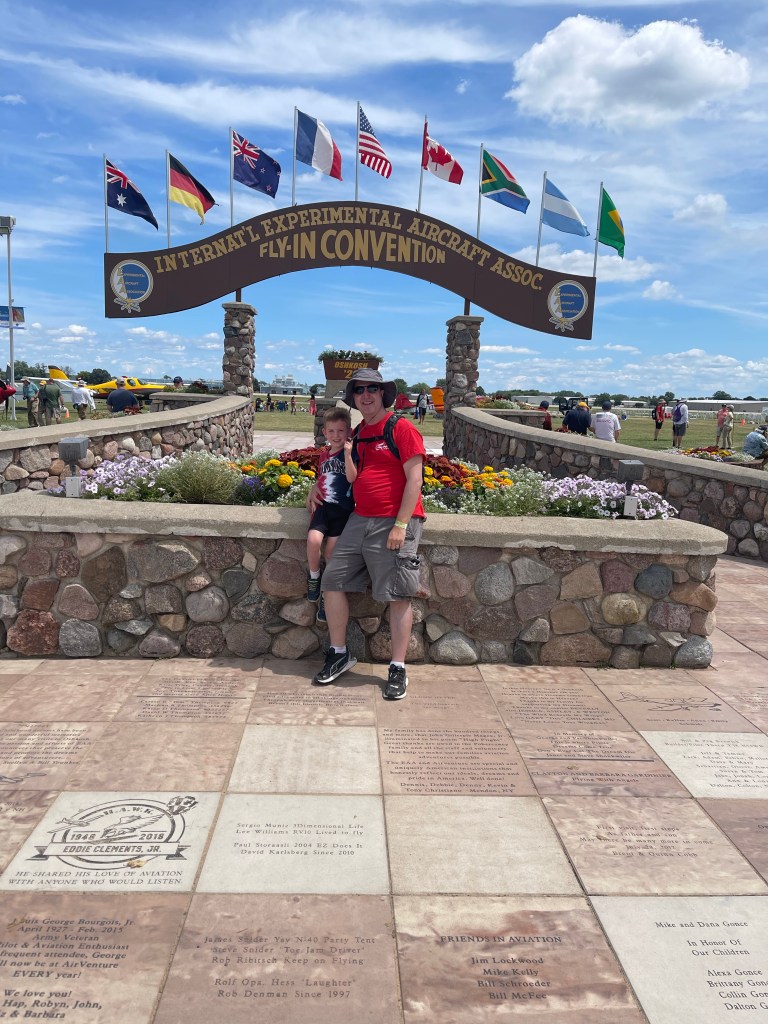
Obligatory picture at the brown arch
This years show, for me, was spending some time engrossed in aviation with my family. It also served to meet several builders I’ve interacted with over the last several years. In addition, I made it a point to stop by most of the vendors I’ve dealt with over the years and put faces to names/emails/voices over the phone. I really don’t have a need for anything at this point to finish the plane, however I did end up spending way too much money on things I will need relatively soon. Below is the list
I bought a Best Tugs A3 model for moving the airplane around the hangar.
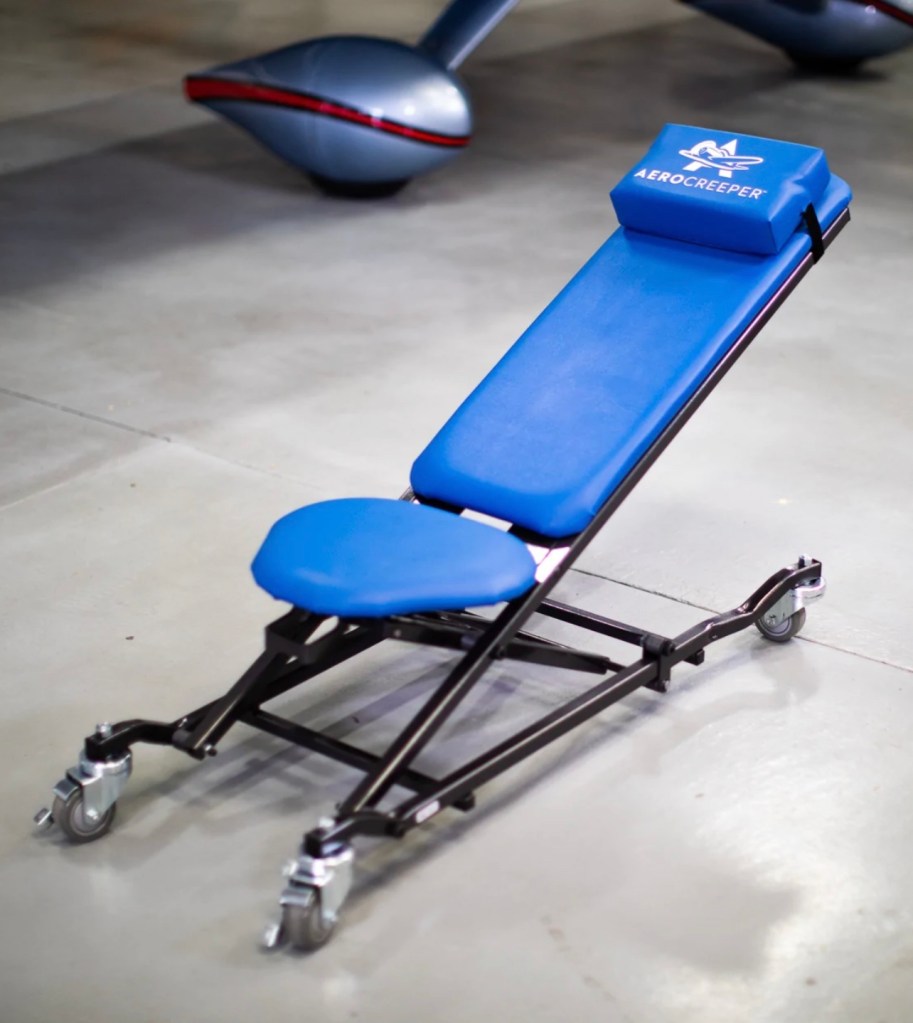
I also bought a nifty adjustable creeper for working on the airplane now in the garage as there are several things to do on the belly of the airplane. It’ll also come in real handy in the hangar. Not only for working on the plane, but for cleaning it too.
I purchased a travel weight cover and cowl inlet plugs from Bruce’s covers.
A purchase needed to finish the plane was a Halon Fire Extinguisher from H3R. I plan to mount this on the tunnel cover just behind the armrest near the rear passengers legs so it’s accessible from any seat.
With the Cold Air Induction sump there is a hose/quick drain setup to connect the Sump back to the engine seeing there is no internal oil connection like the stock Lycoming oil sump has. Tom has the below hose and quick drain setup to facilitate quick draining of oil for oil changes and connecting back to the engine with the 90 degree fitting shown at the top. These Lycomings have an oil suction screen in the cavity where that 90 degree fitting goes in the the rear of the engine. This is something that should be serviced often.. Having to remove the 90 degree fitting is a big pain because once the pipe threads are engaged and the fitting is clocked properly to connect to the hose, it’s very unlikely that you’ll be able to clock it back to the same spot each time you service the screen (basically every oil change).
CAI oil sump hose and quick drain
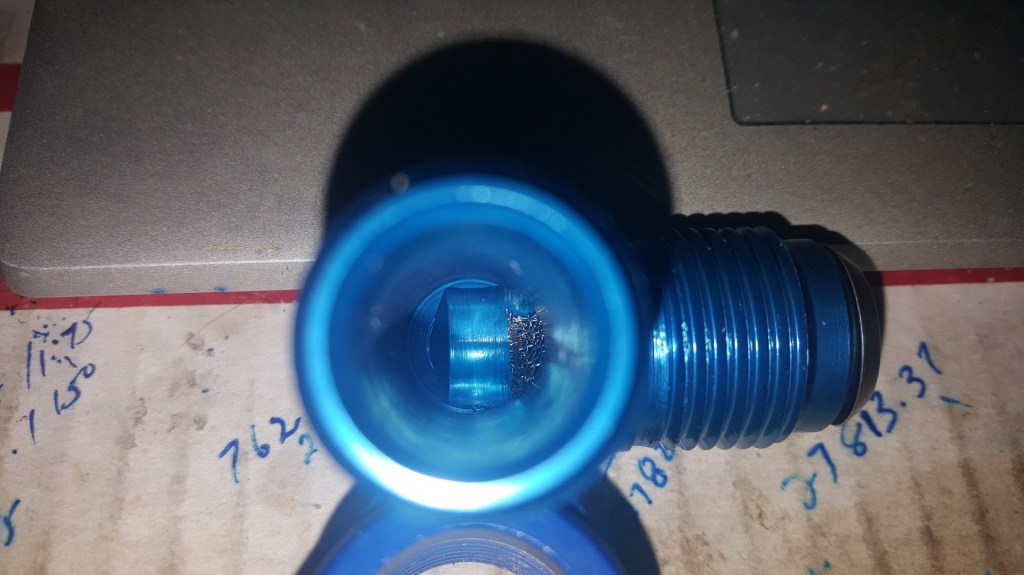
Tom has proposed using this small screen that goes inside of the AN fitting and removing the suction screen all together. That alleviates the need to remove the 90 degree fitting at all. To service, it’s simply unscrew the hose from the fitting, remove the screen, clean, and reinstall tightening the flared fitting. These screens are used in racing dry sump applications. At least 1 RV-10 builder has beta tested this and it has worked out well. So Tom is now recommending these.
AN screen vs the stock Lycoming suction screen. Screen goes inside of the AN fitting. A view from the other port of the fitting. You can barely see the screen peeking out when it is fully seated.
And last, but not least.. Sort of an impulse buy.. ZipTip Premiere wingtips to replace the stock Van’s wing tips. I’ve always eyed these things, but originally opted not to go that route. A few of the reasons I decided to do this were:
They are very sturdily made with no flex. I’ve seen several builders having to reinforce the insides of the Van’s tips to get rid of some of the flex.
The lights are not recessed into a cutout in the stock tips. They are practically on the leading edge of the wing and will be better for dispersing light more to the middle of the plane for landing at night.
They remove the need for a tail light/strobe in the rudder with the module having a rear facing position and strobe light on each tip.
They are much more aesthetically pleasing compared to the stock tips. The newer ones have a winglet curve shown in the picture below on a plane at OSH.
Stock photo from the website showing all the functions.Picture of a ZipTip on a plane I took at OSH.
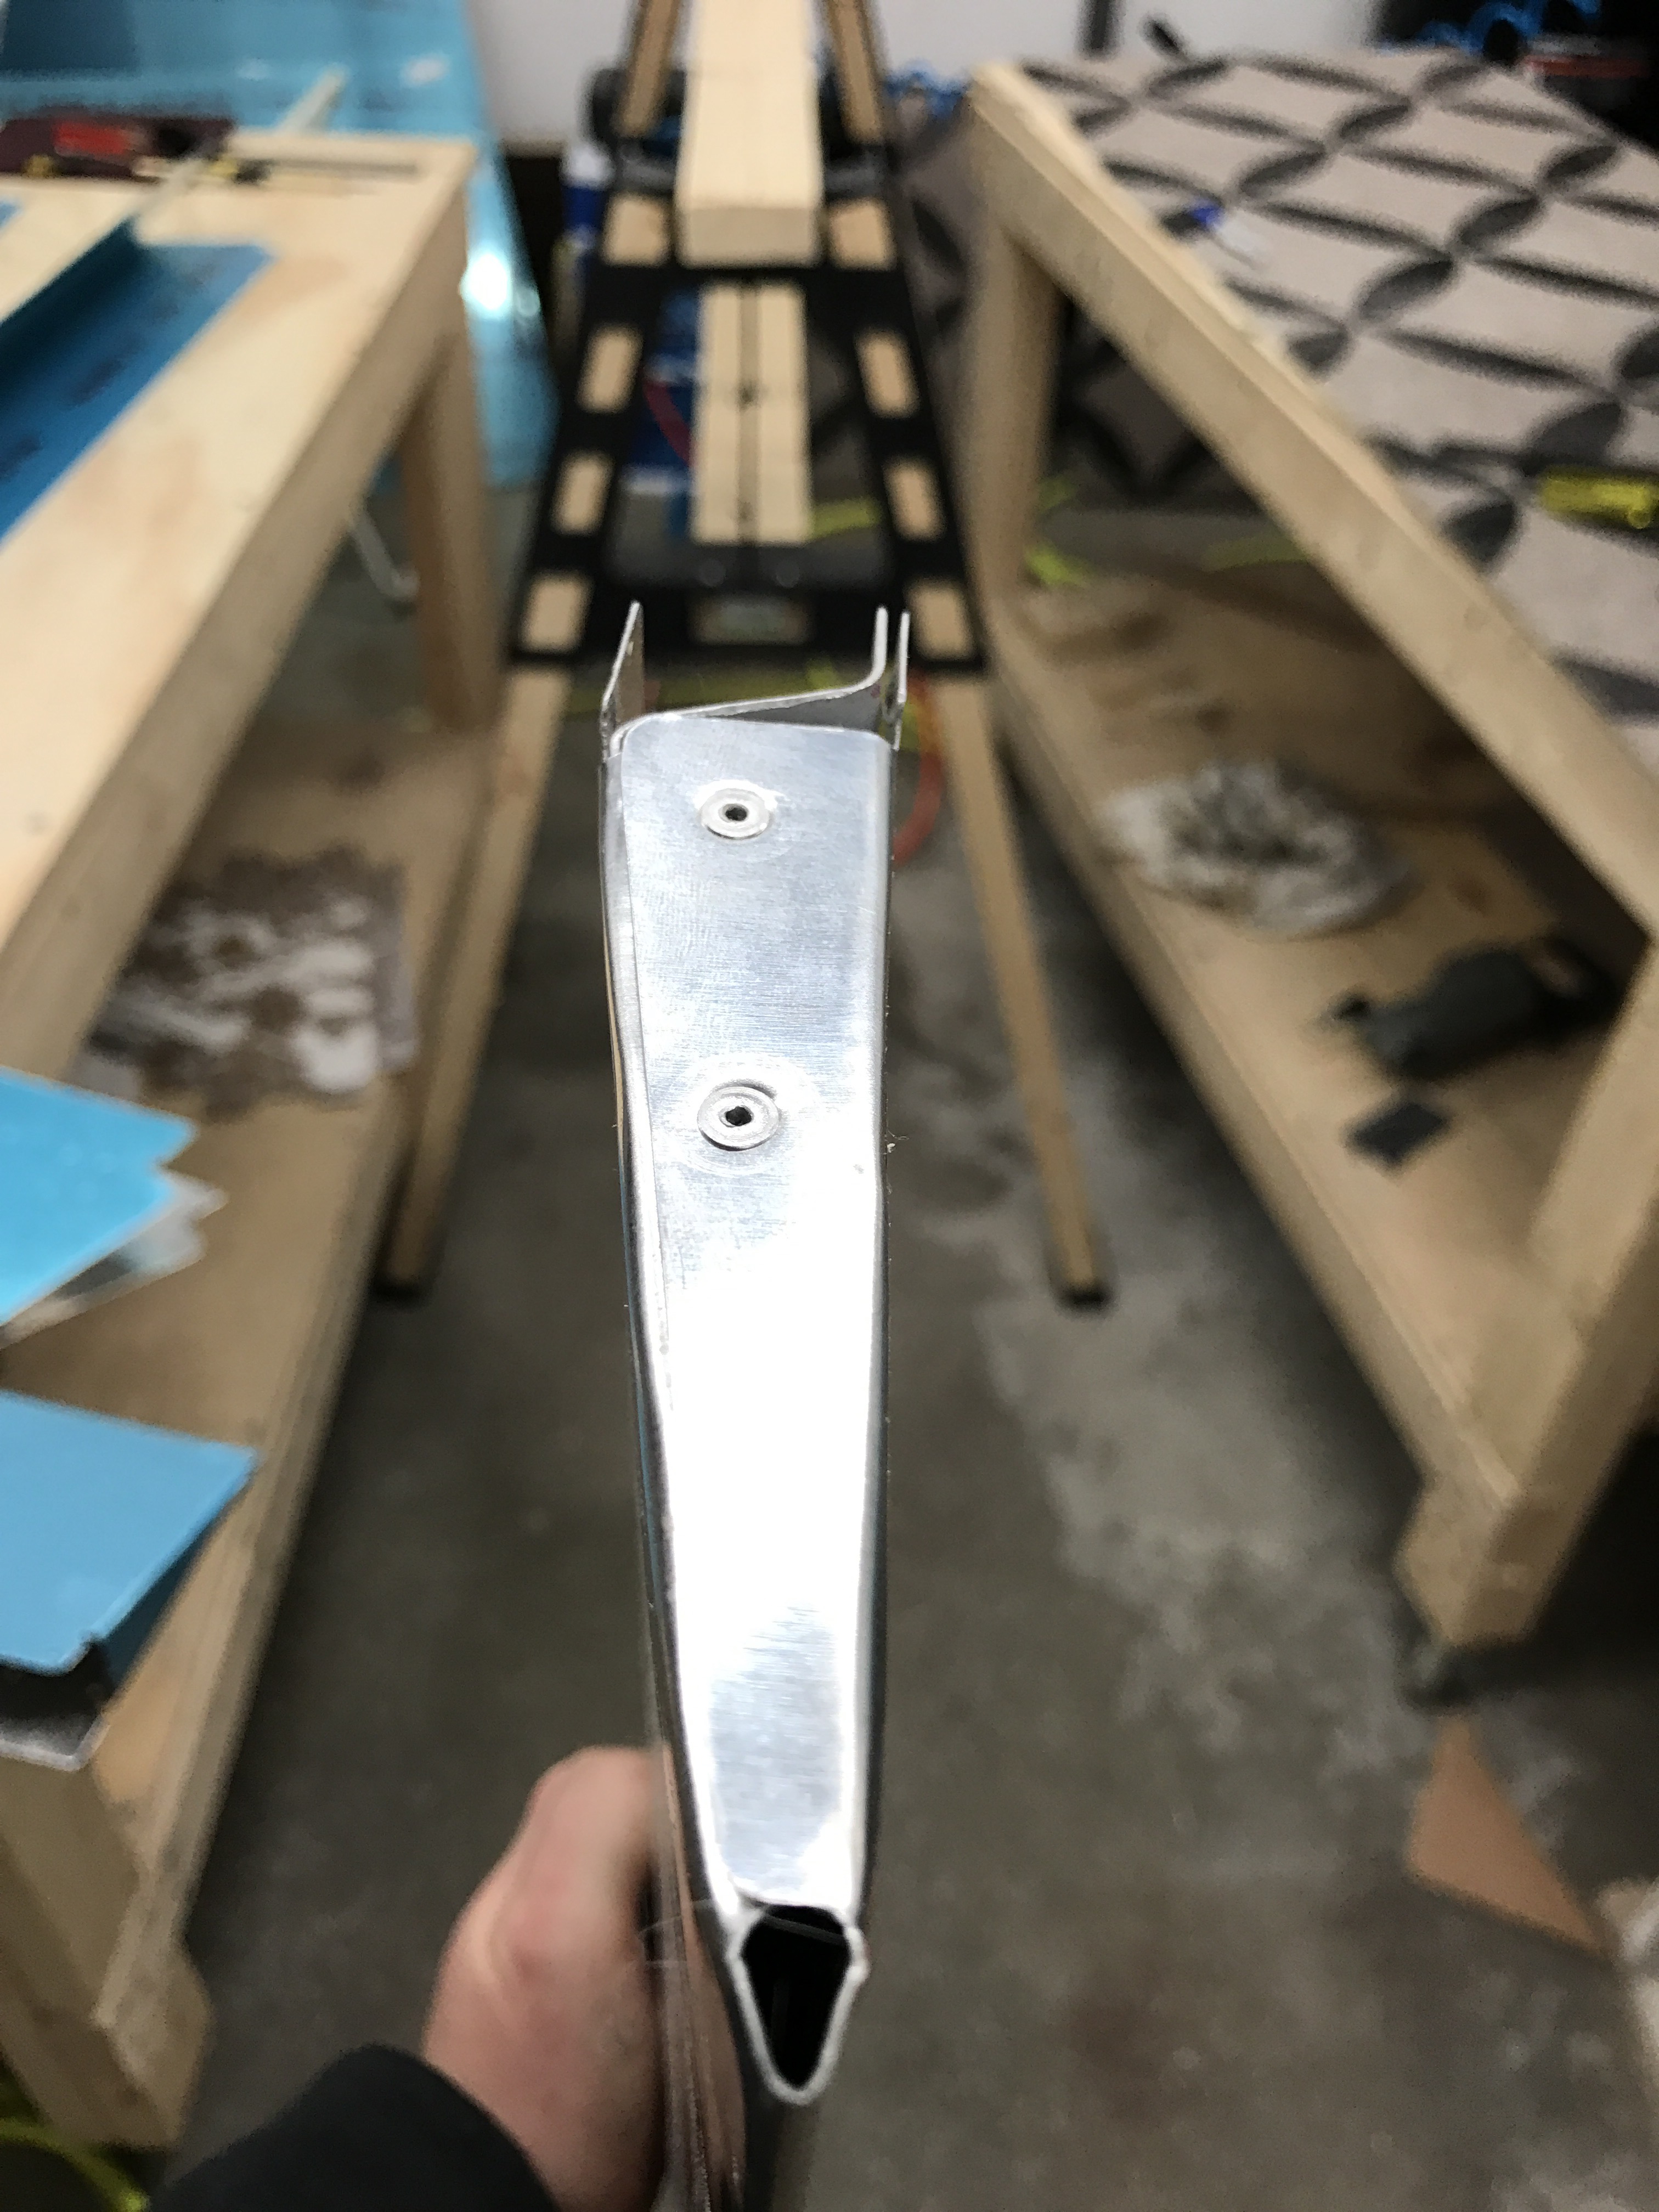
I spent a few hours today finishing the bend to the new elevator trim tab skins and fabricating small ribs (riblets) to close out the ends of the trim tabs.
I think they came out really well. The first one I did came out fine, but was a bit of a test on exactly where to bend on my marked line to get the proper part width/flange length. I then was able to bang out the 4 riblets that I needed to make. Two outboard and two inboard riblets. The outboard riblets somewhat interfere with trim tab horns, so I made the flanges a bit longer to share holes and ensure proper edge distance.
I took the following pictures to document the process.
Started with a wooden wedge (oak) that I had previously made when trying to bend the tabs per the plans as a template against scrap trim tab skins.
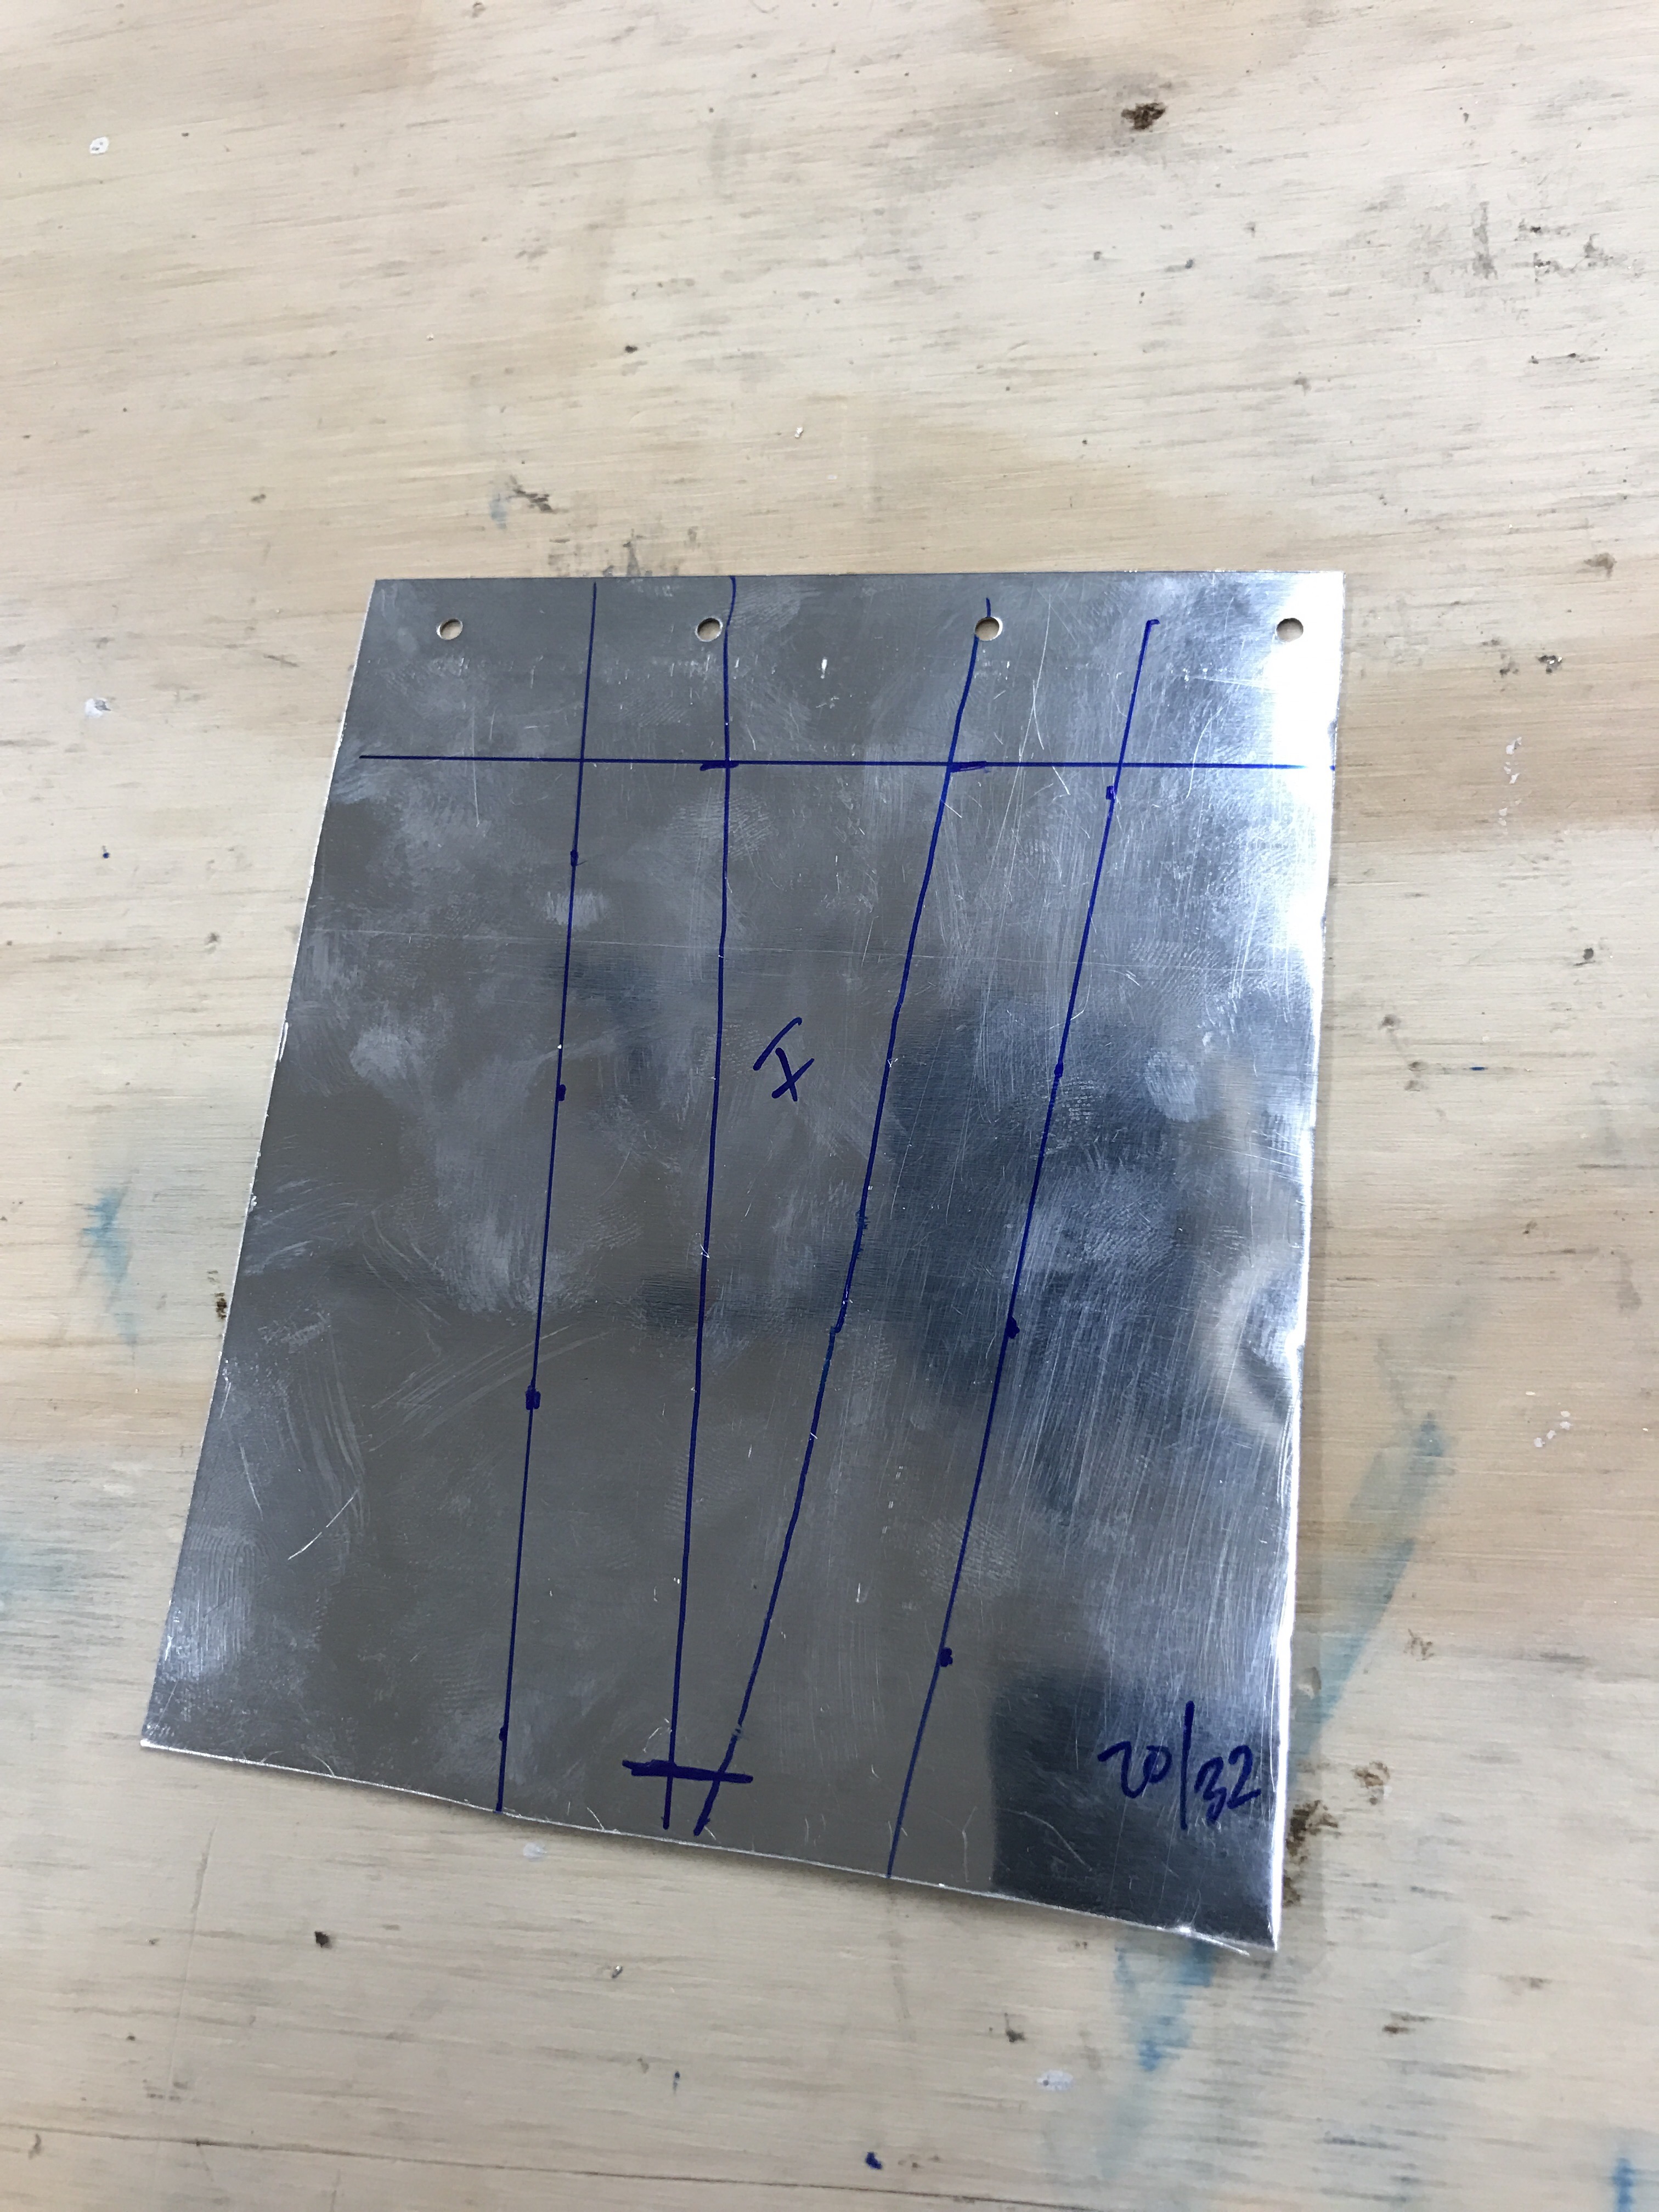
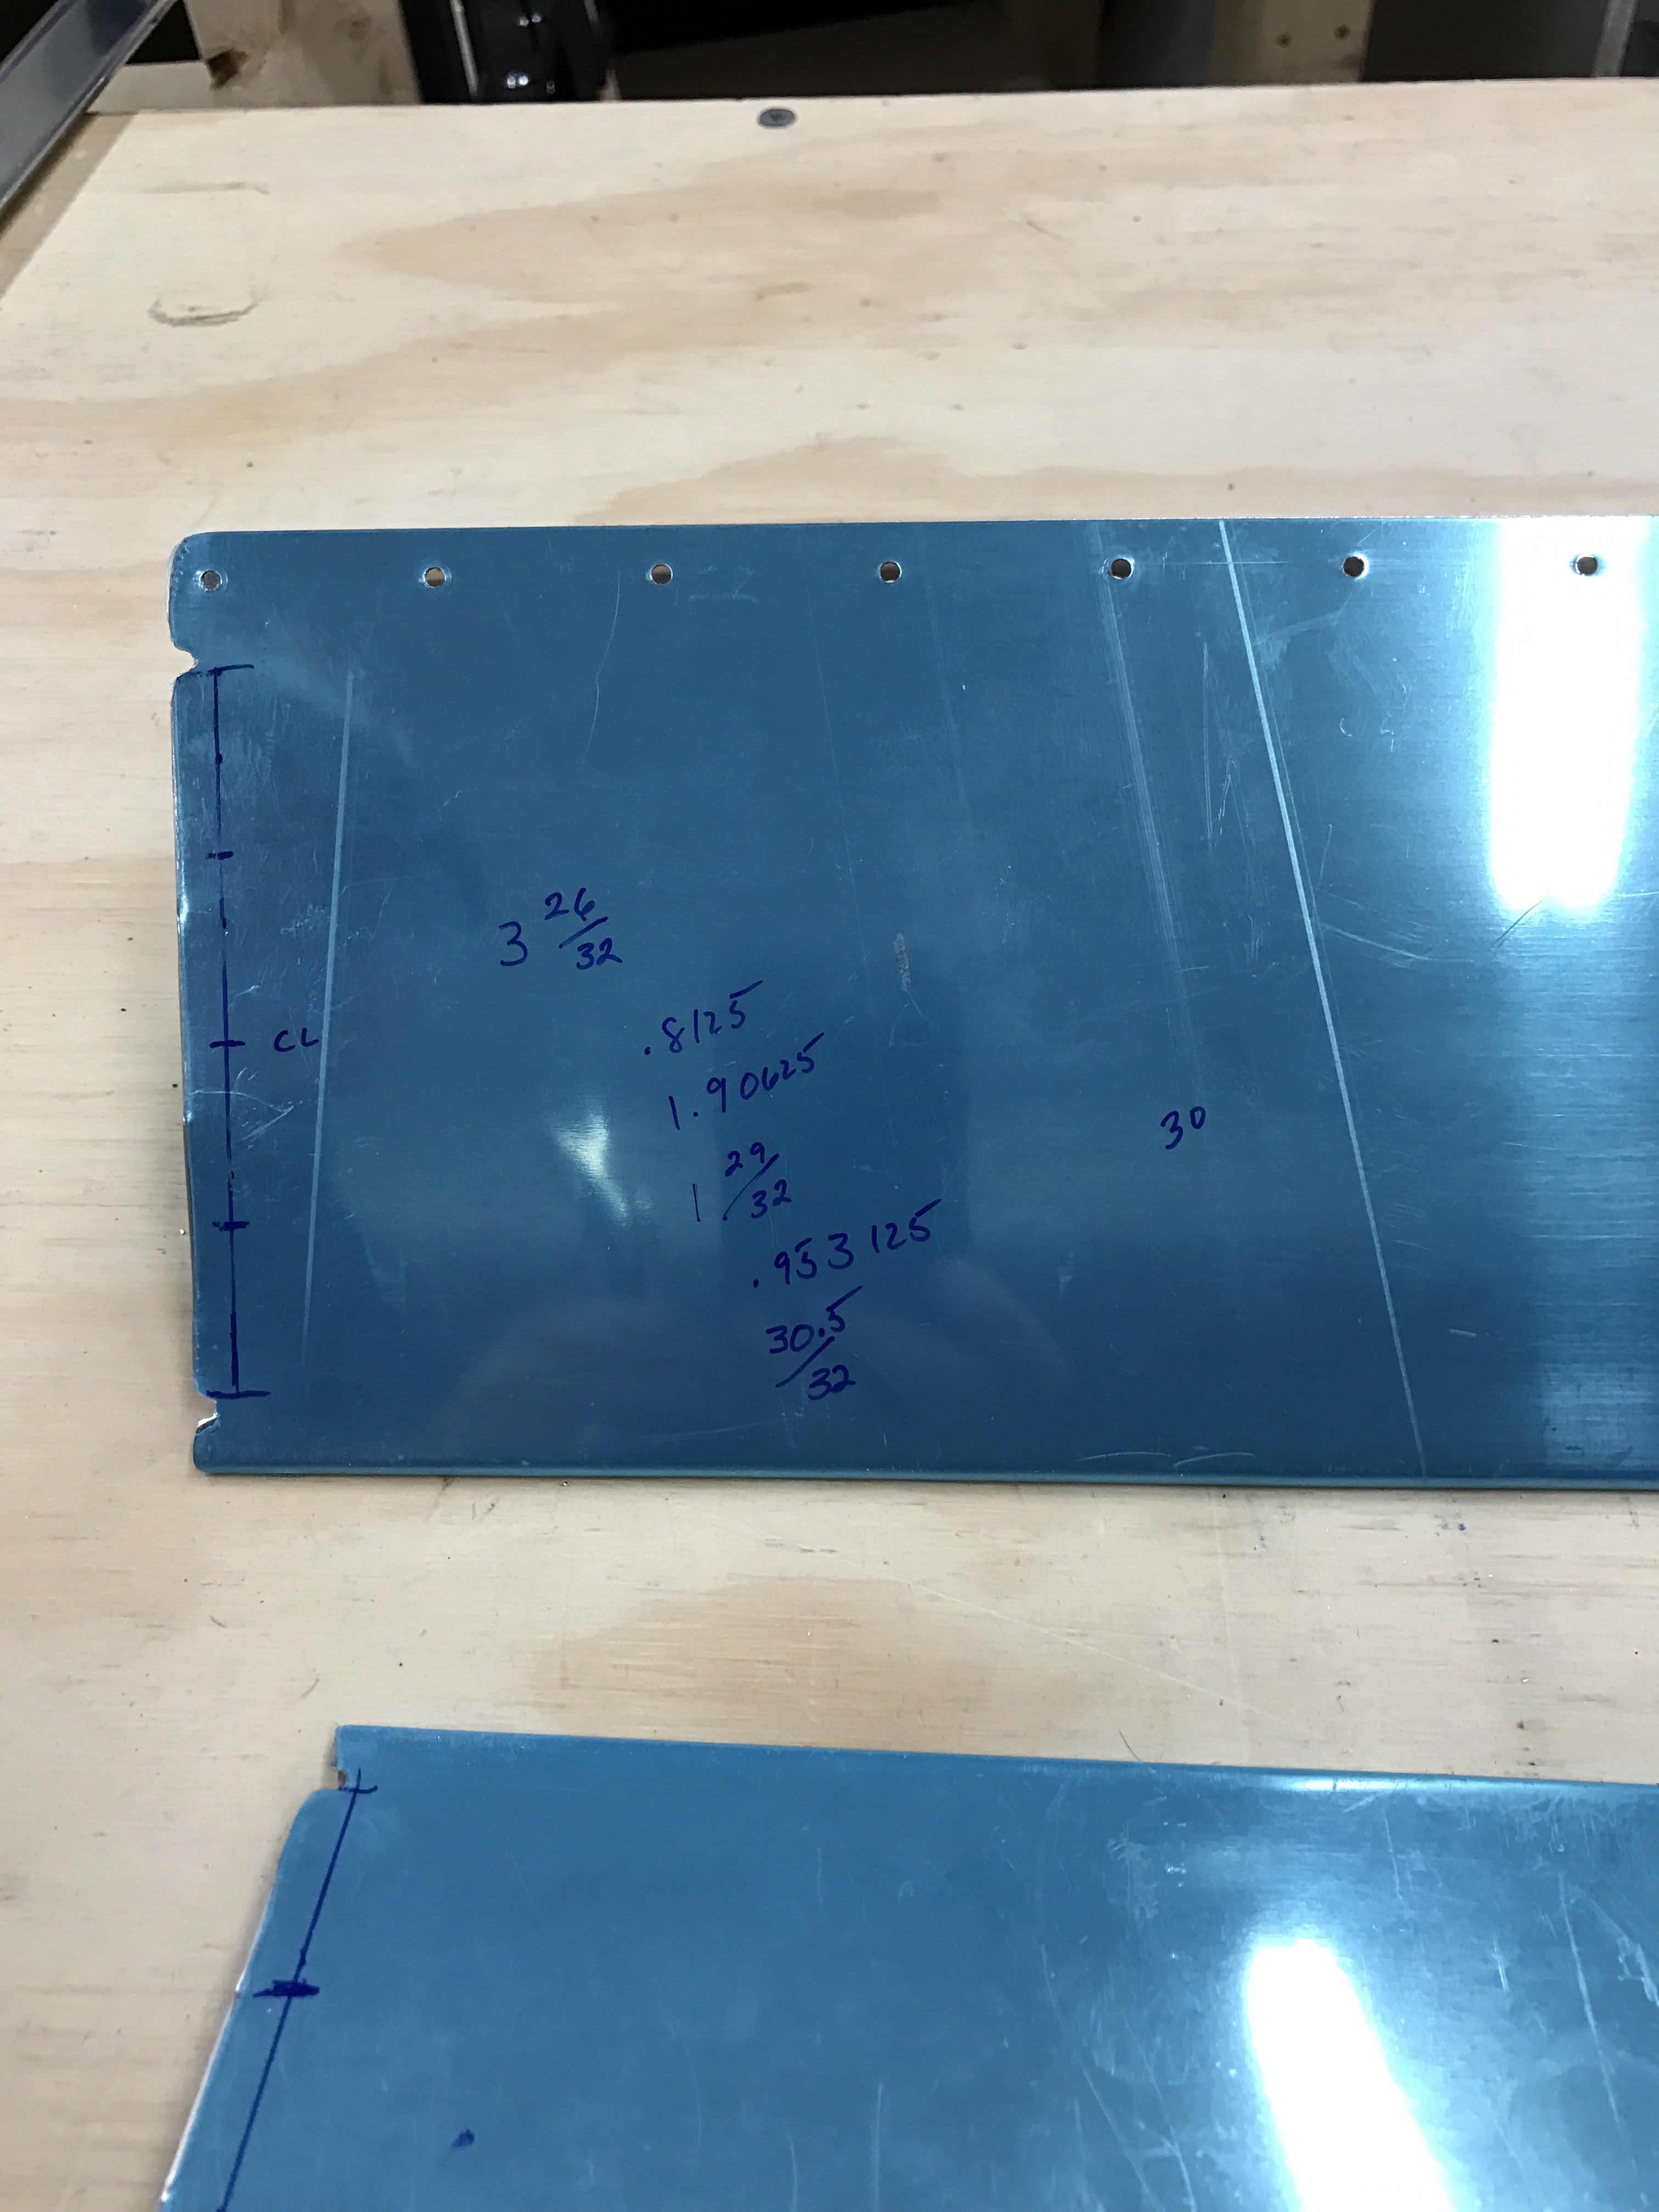
Traced the outline of the wedge, marked the top and bottom cuts, and make a 20/32″ outer mark for the flange width.
Cut along the outer lines with snips.
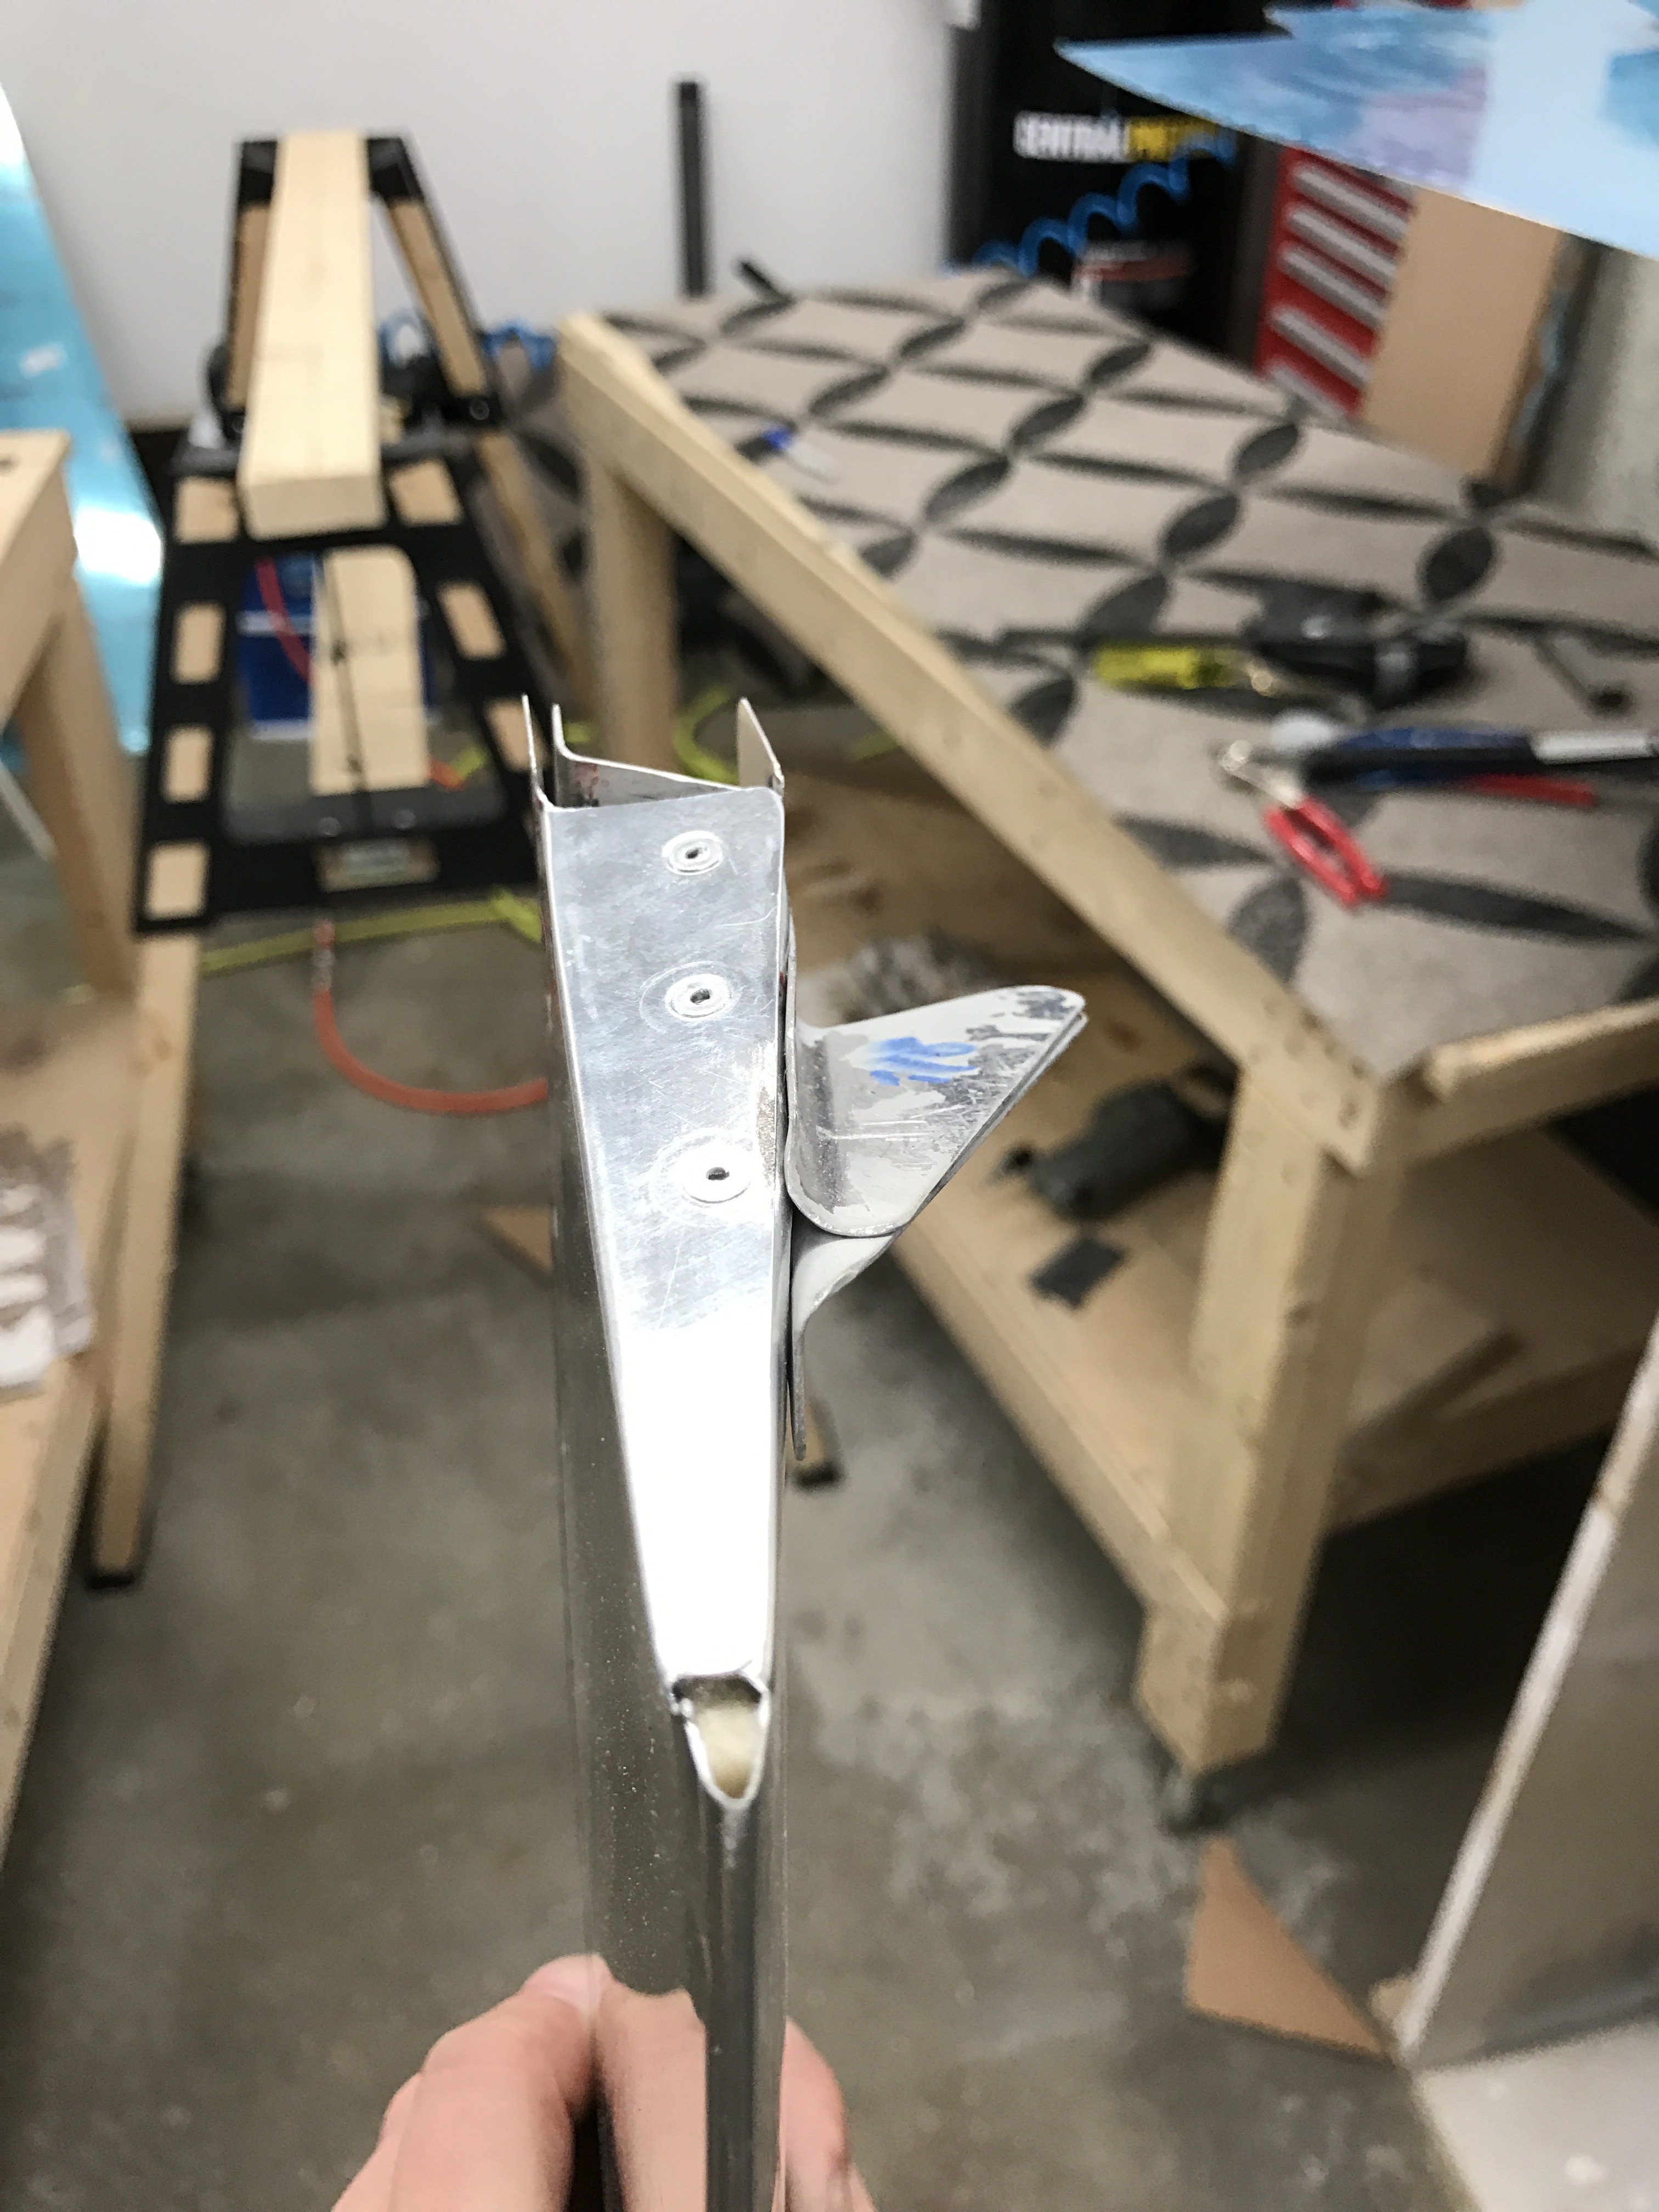
Marking the position of the spar on the bottom skin and transposing that line to the riblet
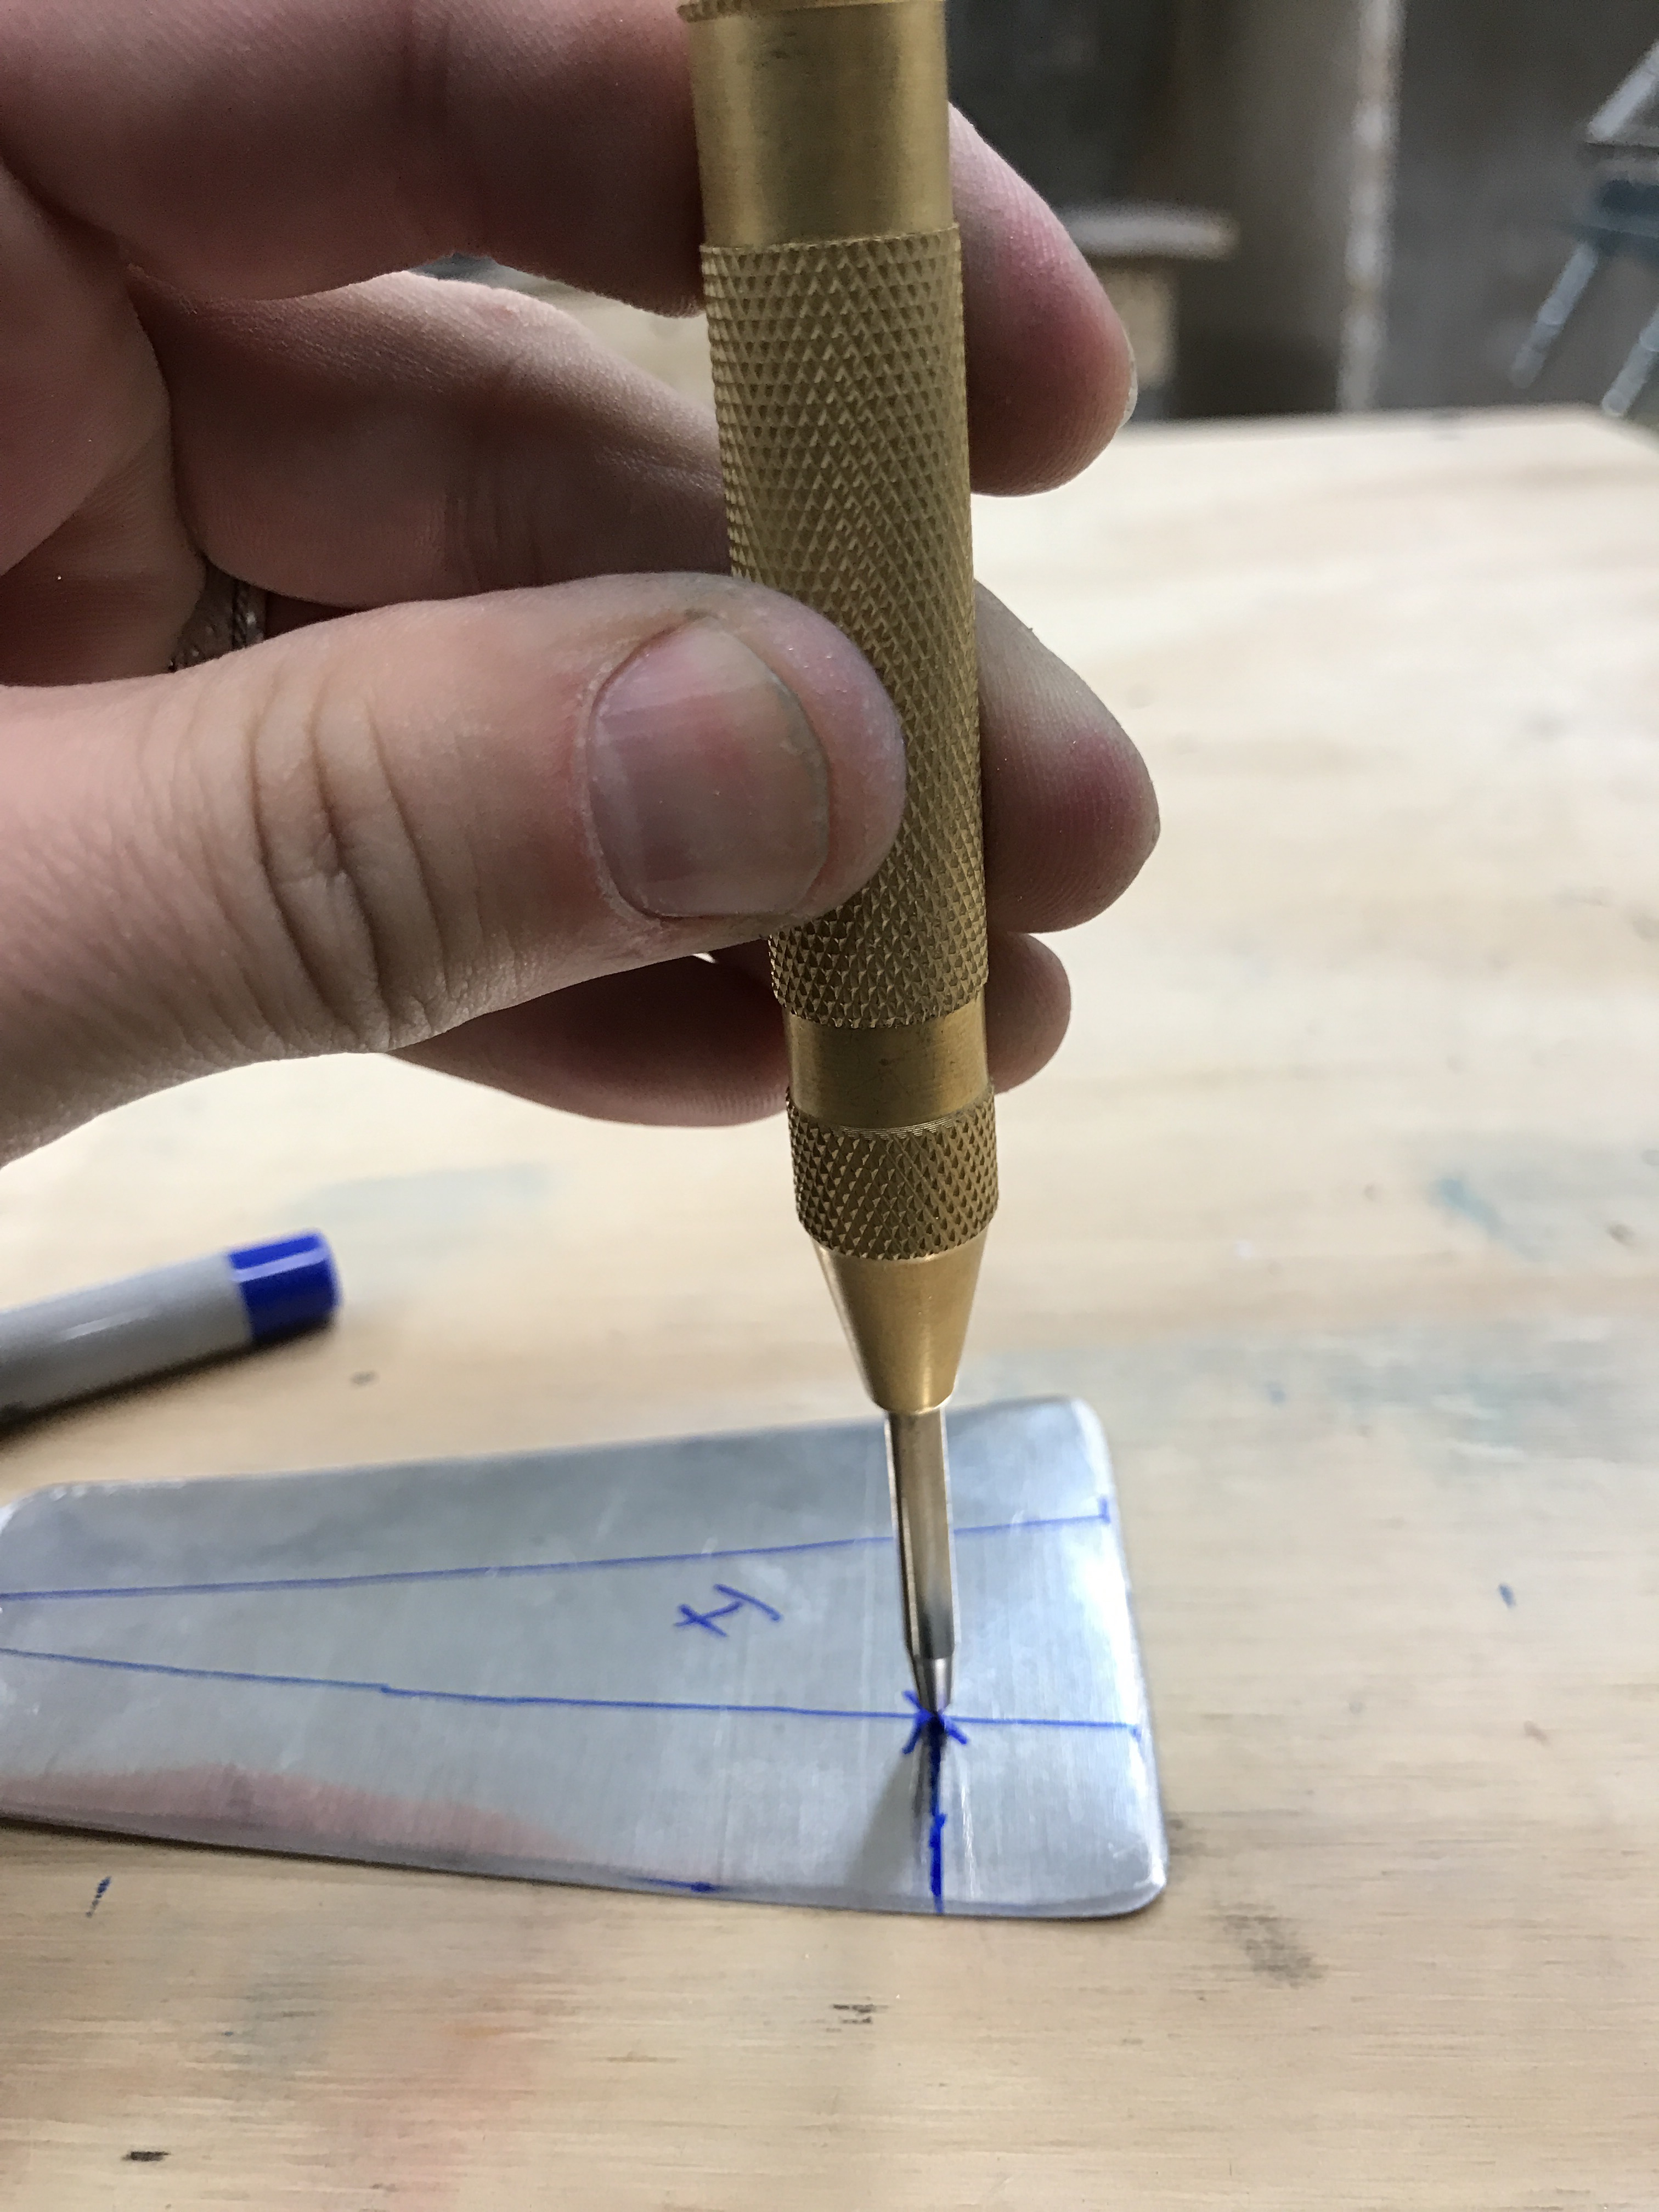
Using a punch to locate the hole to be drilled
Drill a hole to serve as the relief for the flange separation
Snip out the metal on the tangent lines of the circle creating a separate flange piece that can be bend in more to accommodate the extra layer of metal of the spar.
Bend along the marked lines with a hand seamer.
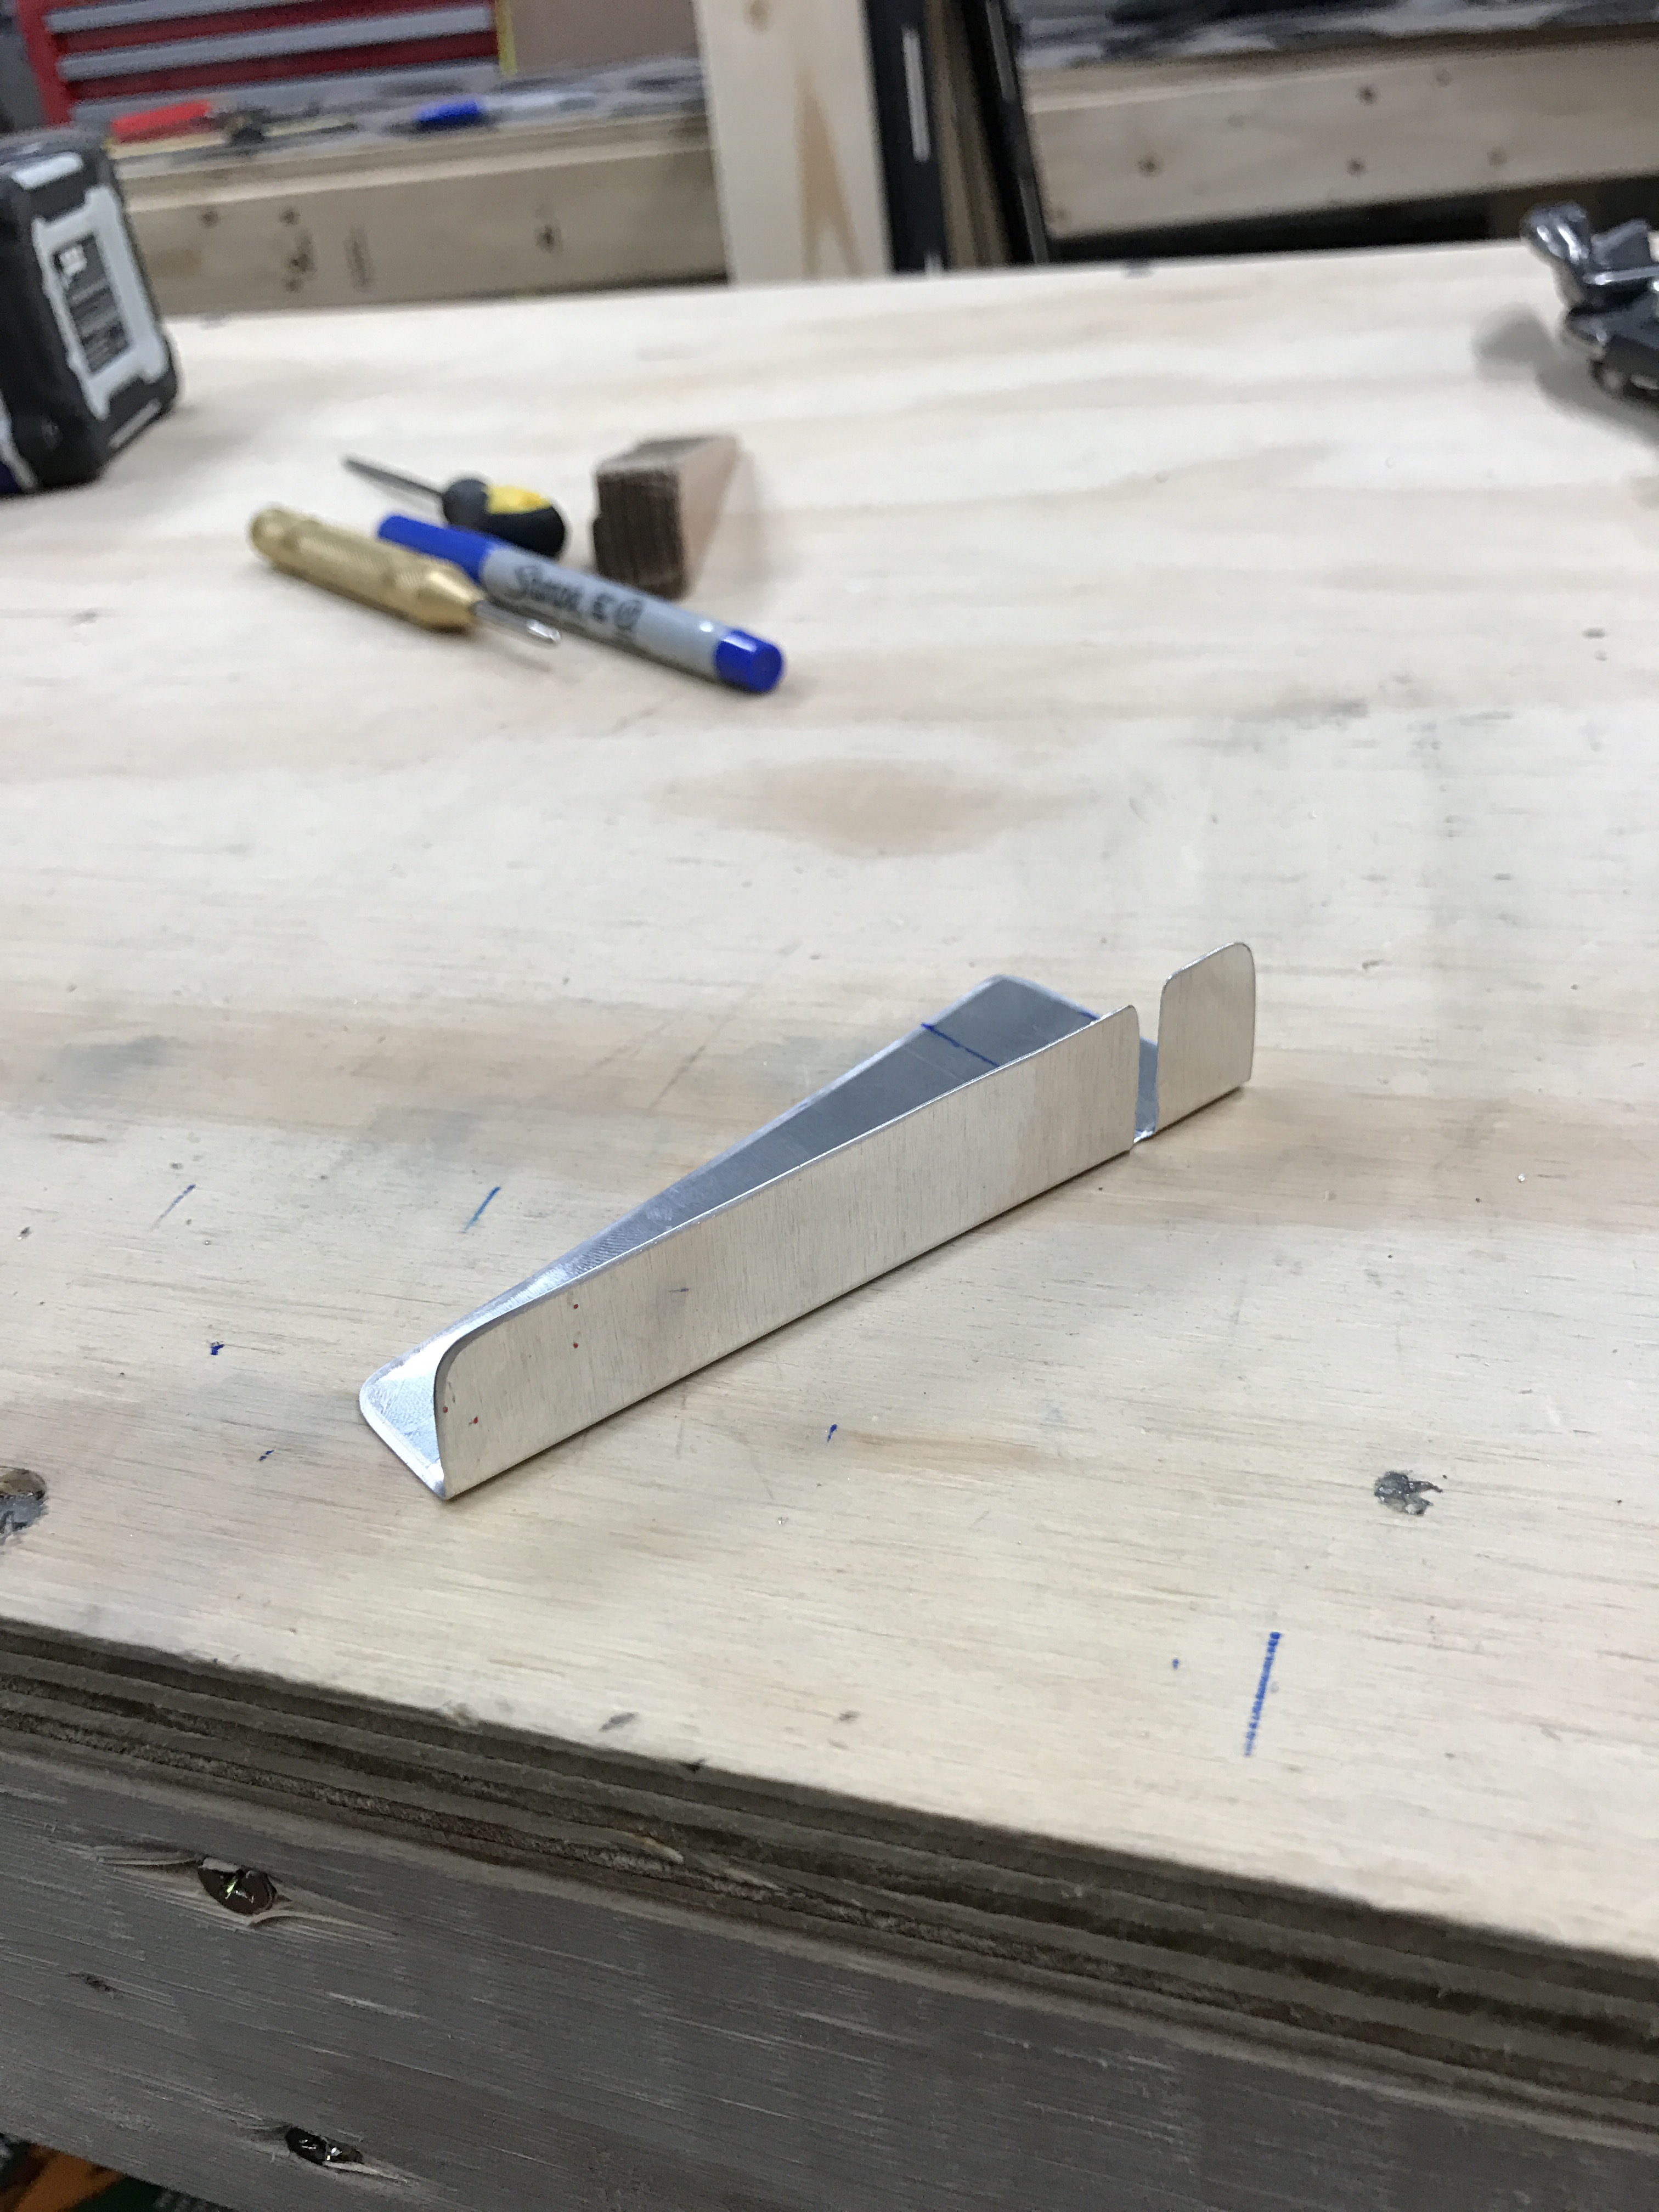
First flange bent
Spar flange bent
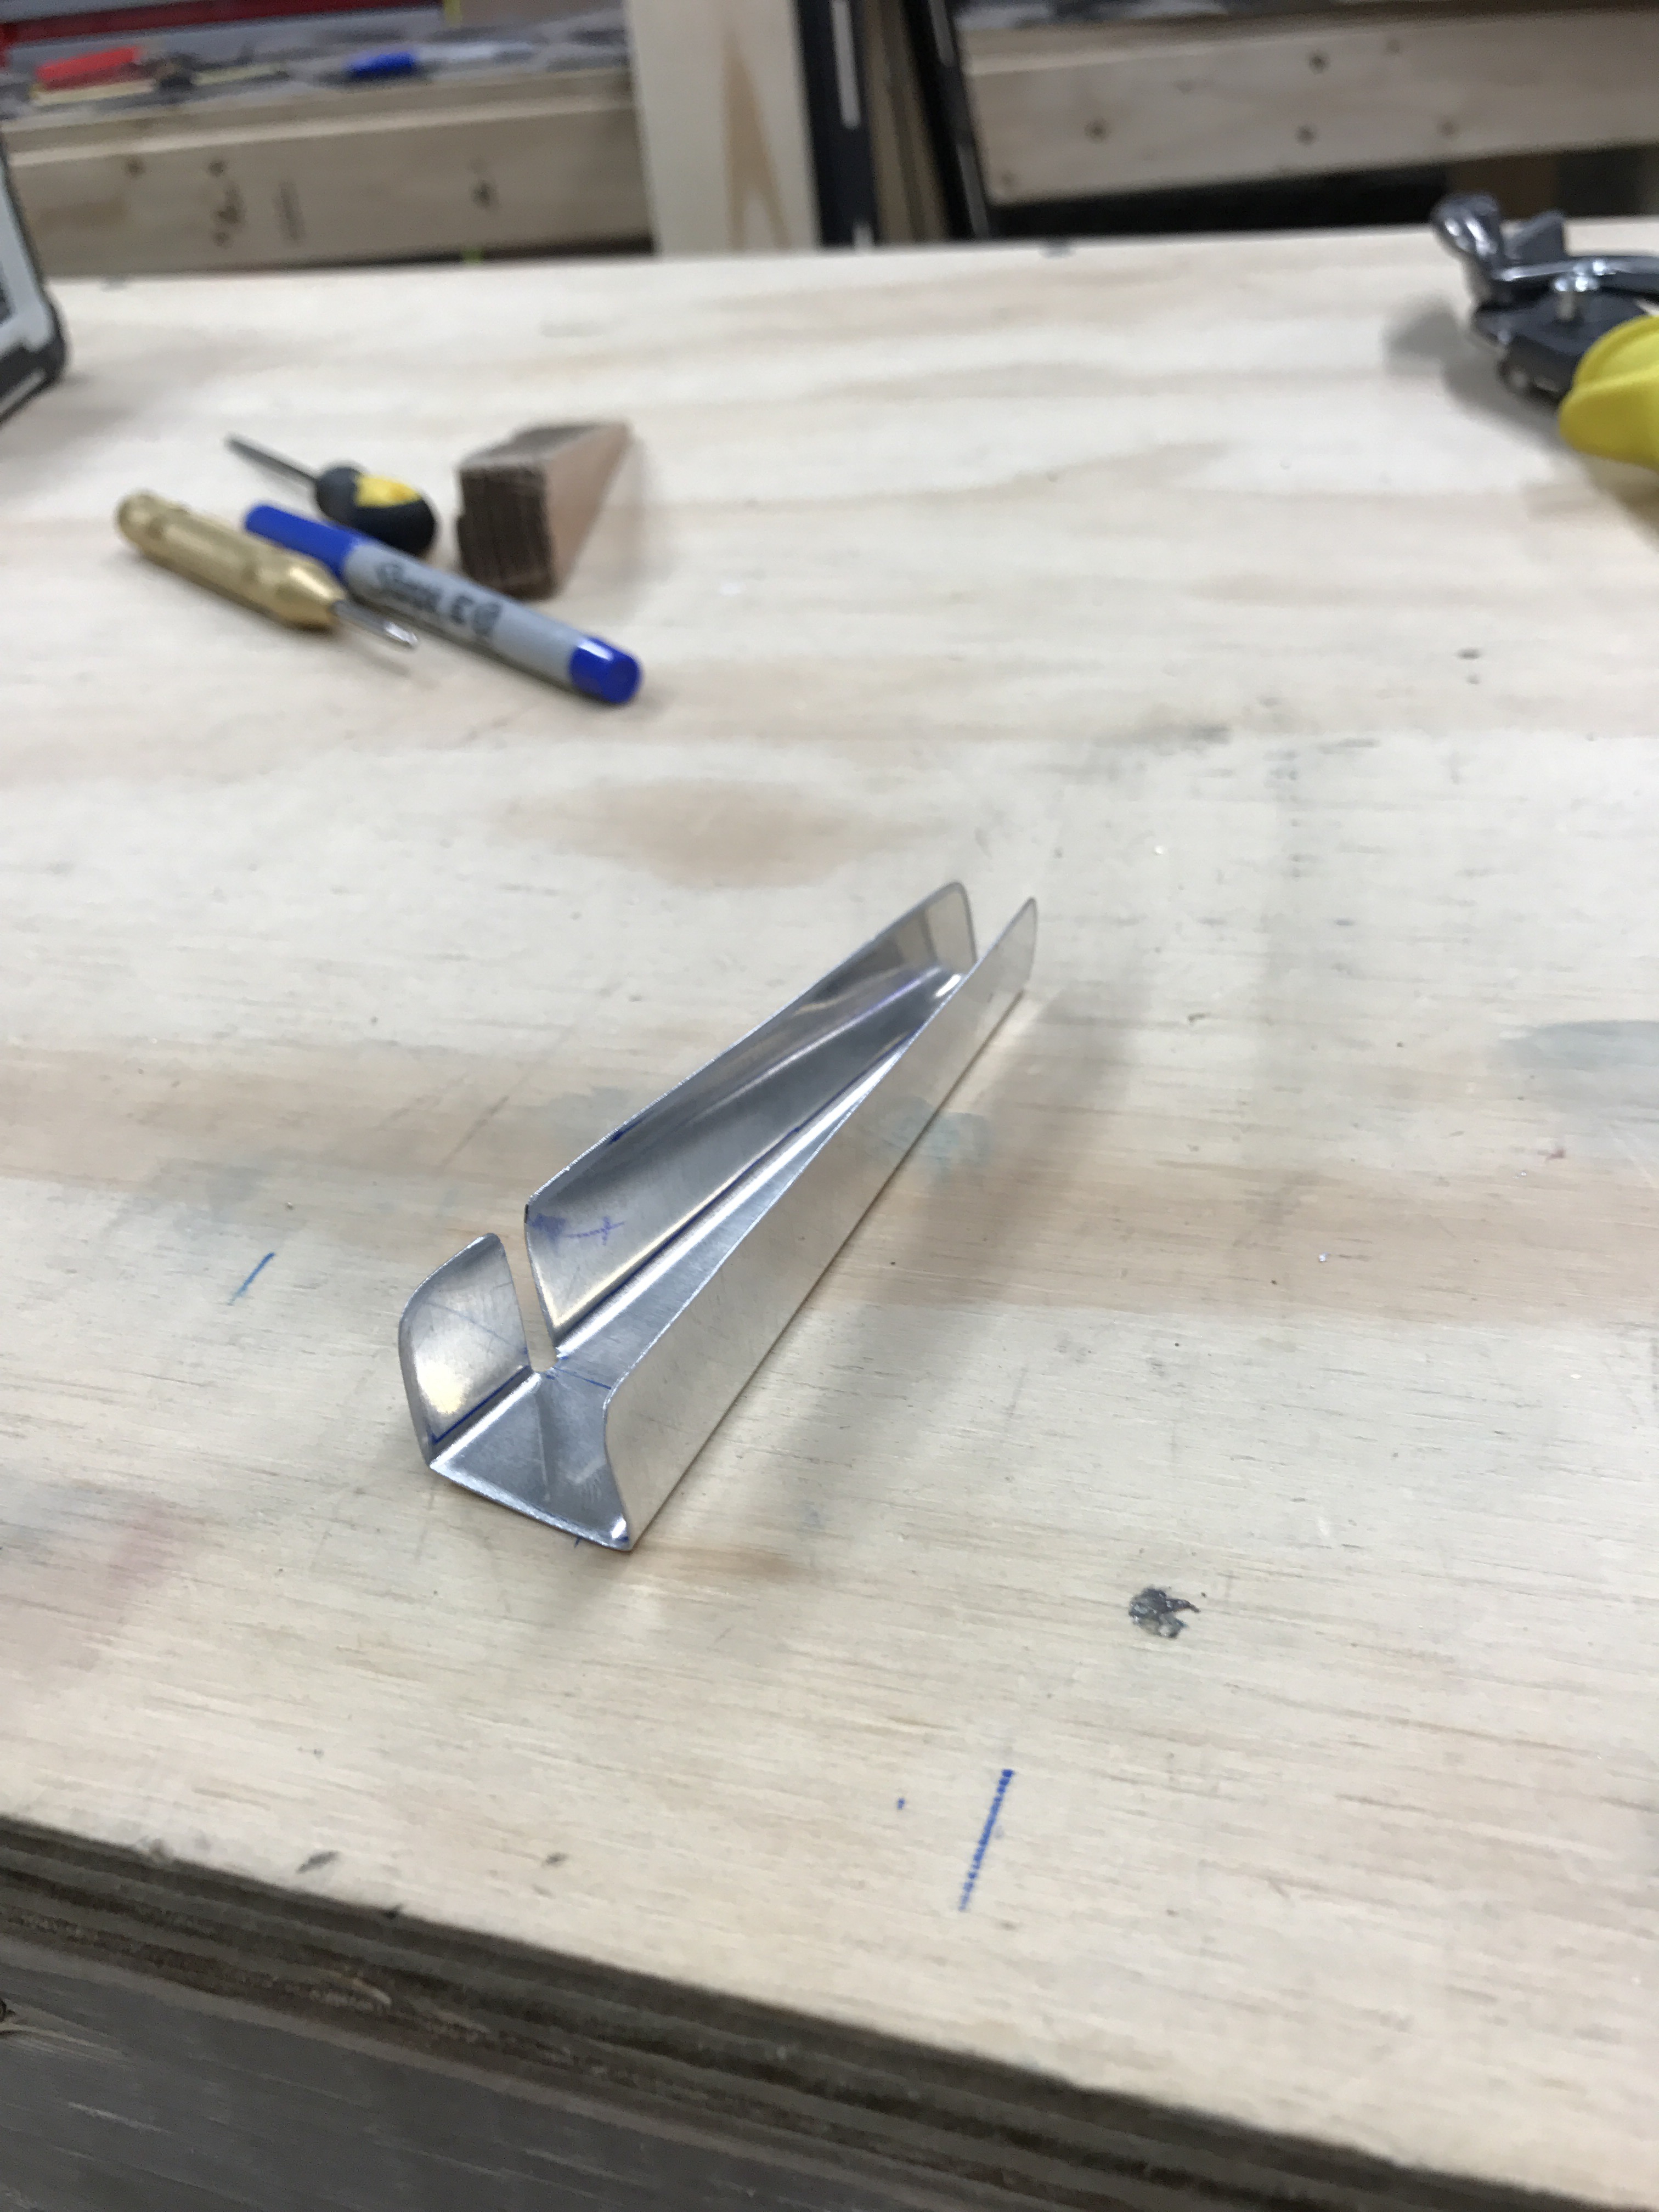
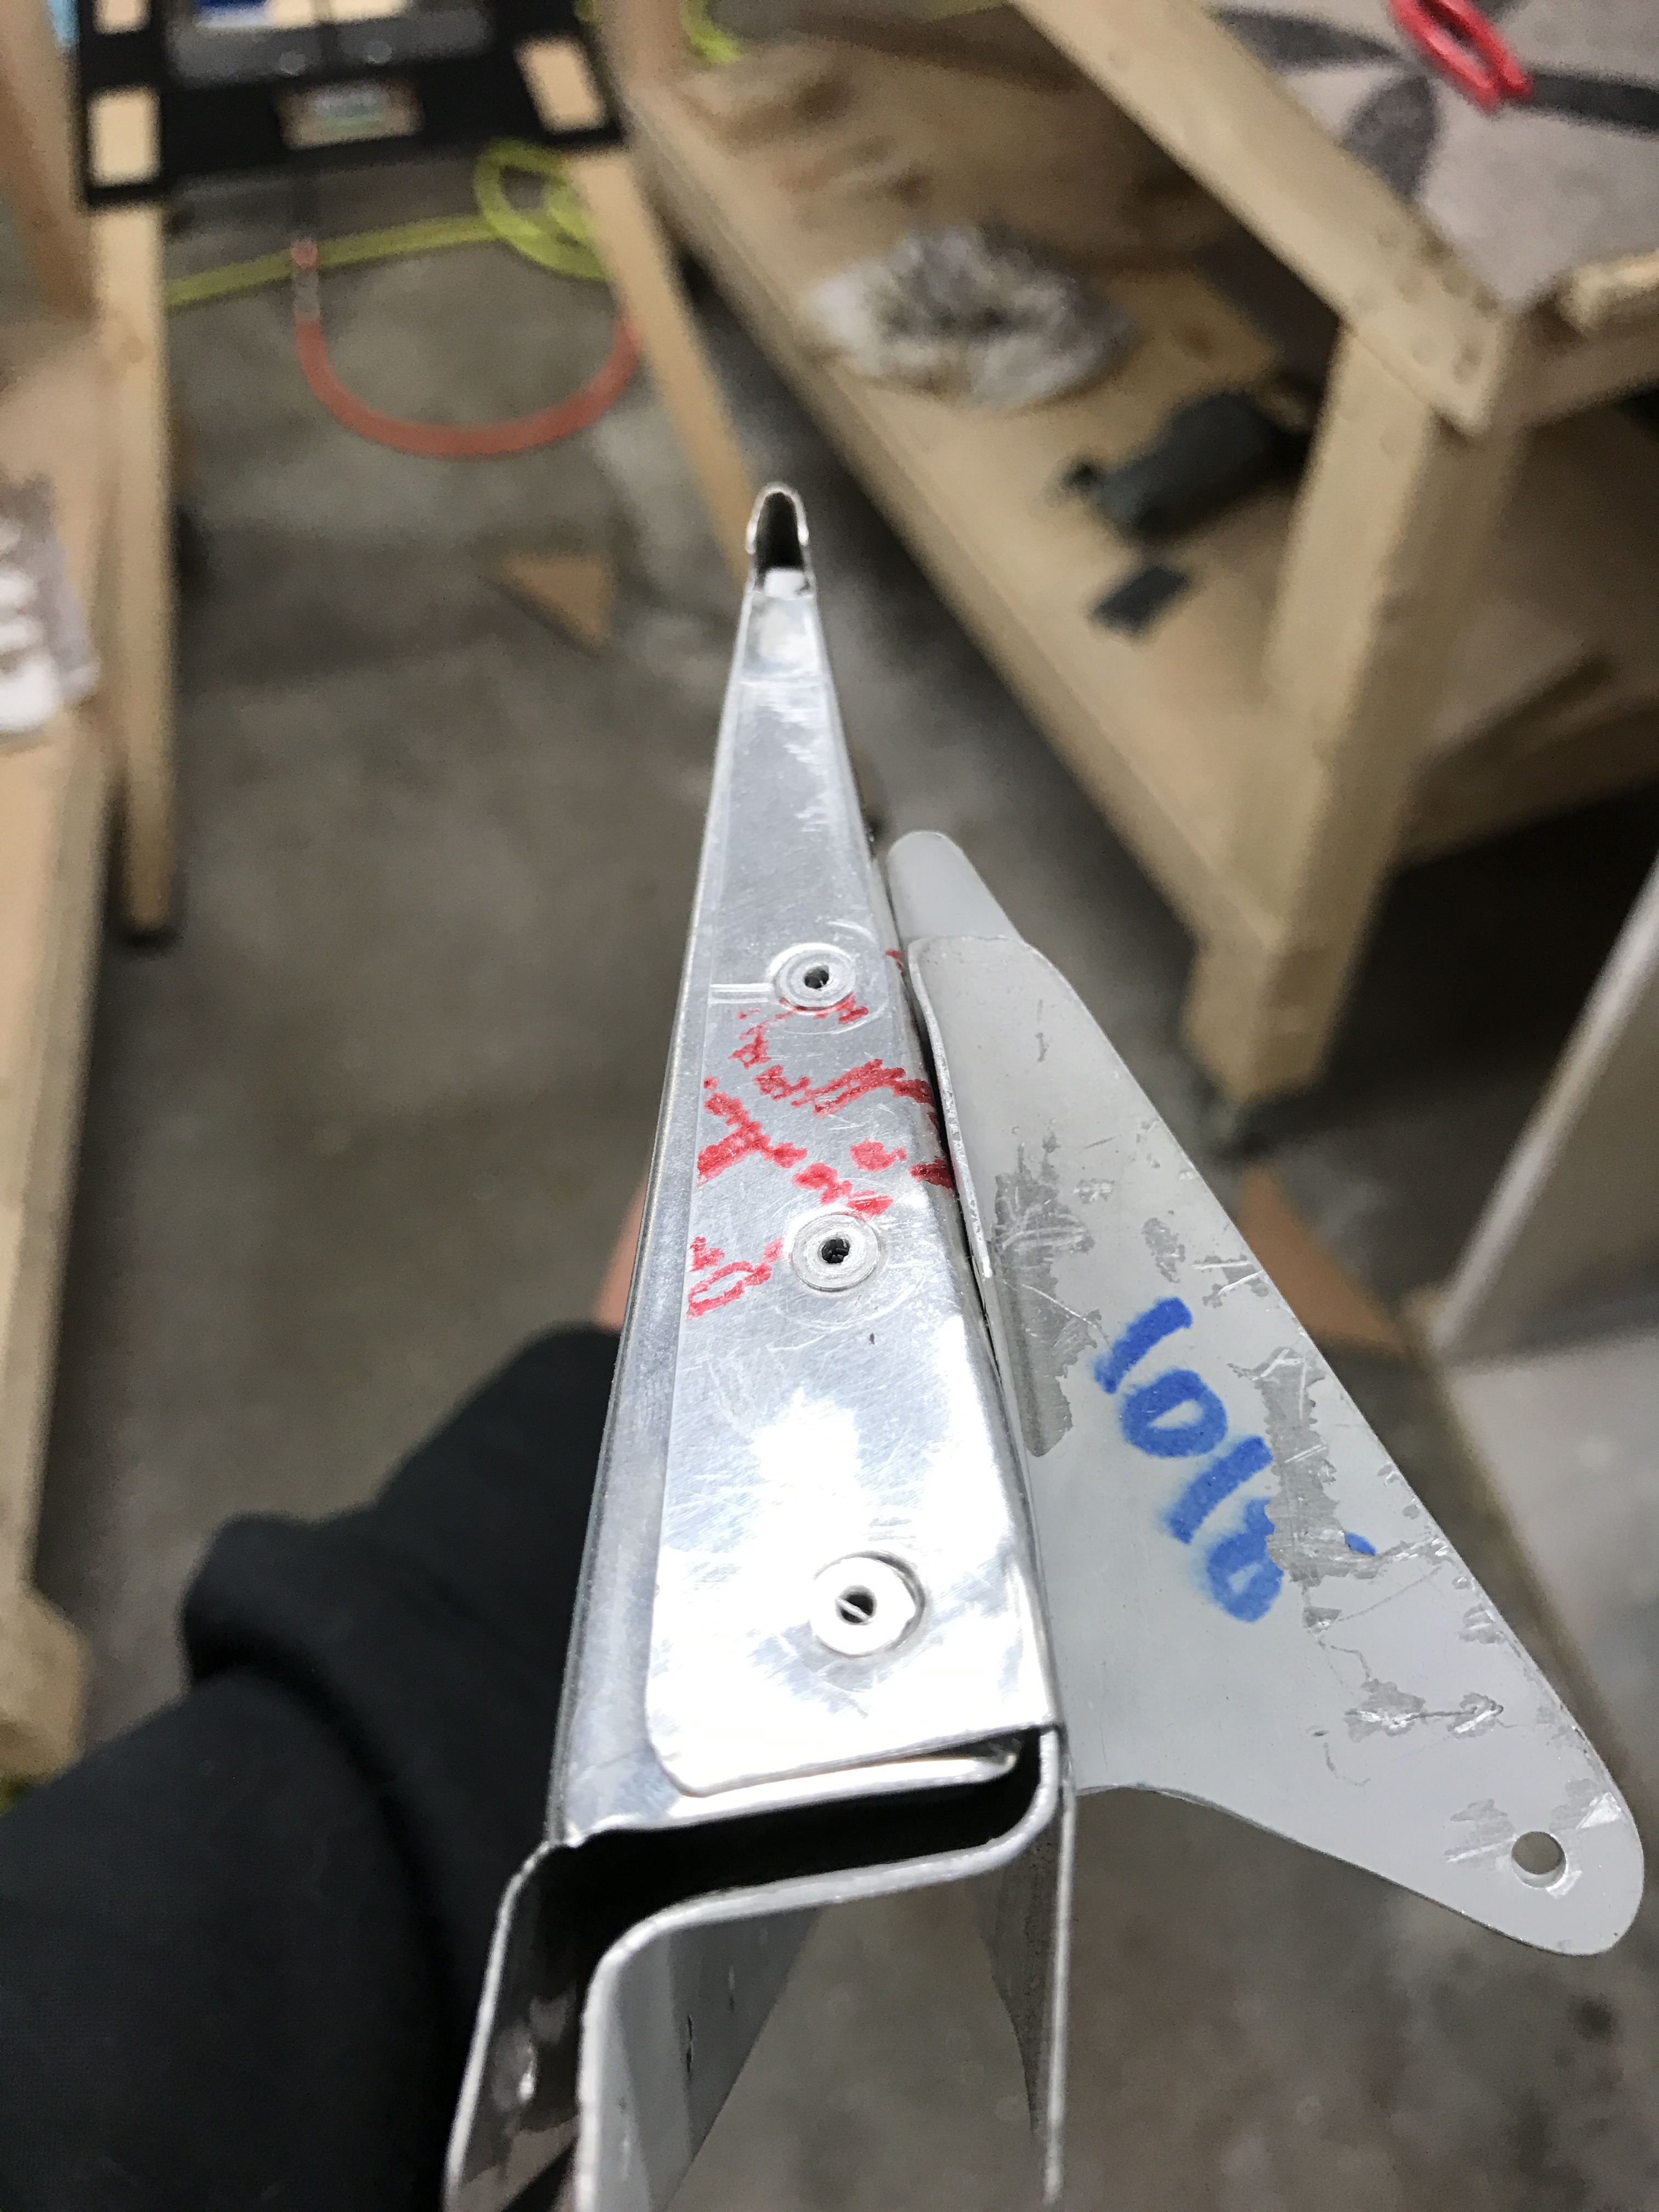
Done!
Pretty good fit!
All 4 riblets completed. I used a 20/32″ flange for the inboards and a 28/32″ flange for the outboards to allow for hole edge clearance.
Marking out new holes that I will drill in the skins to rivet the riblets in place. 3 new holes will be added between the notches in the skin.
All-in-all, I’m very happy with how they came out. These were really the first true part that I’ve had to fabricate from scratch on my own. It really wasn’t as hard as I had anticipated, and it’s satisfying to see it come together. I can tell already that I’ll be very happy with how this turns out compared to my barely acceptable bending of the tabs.
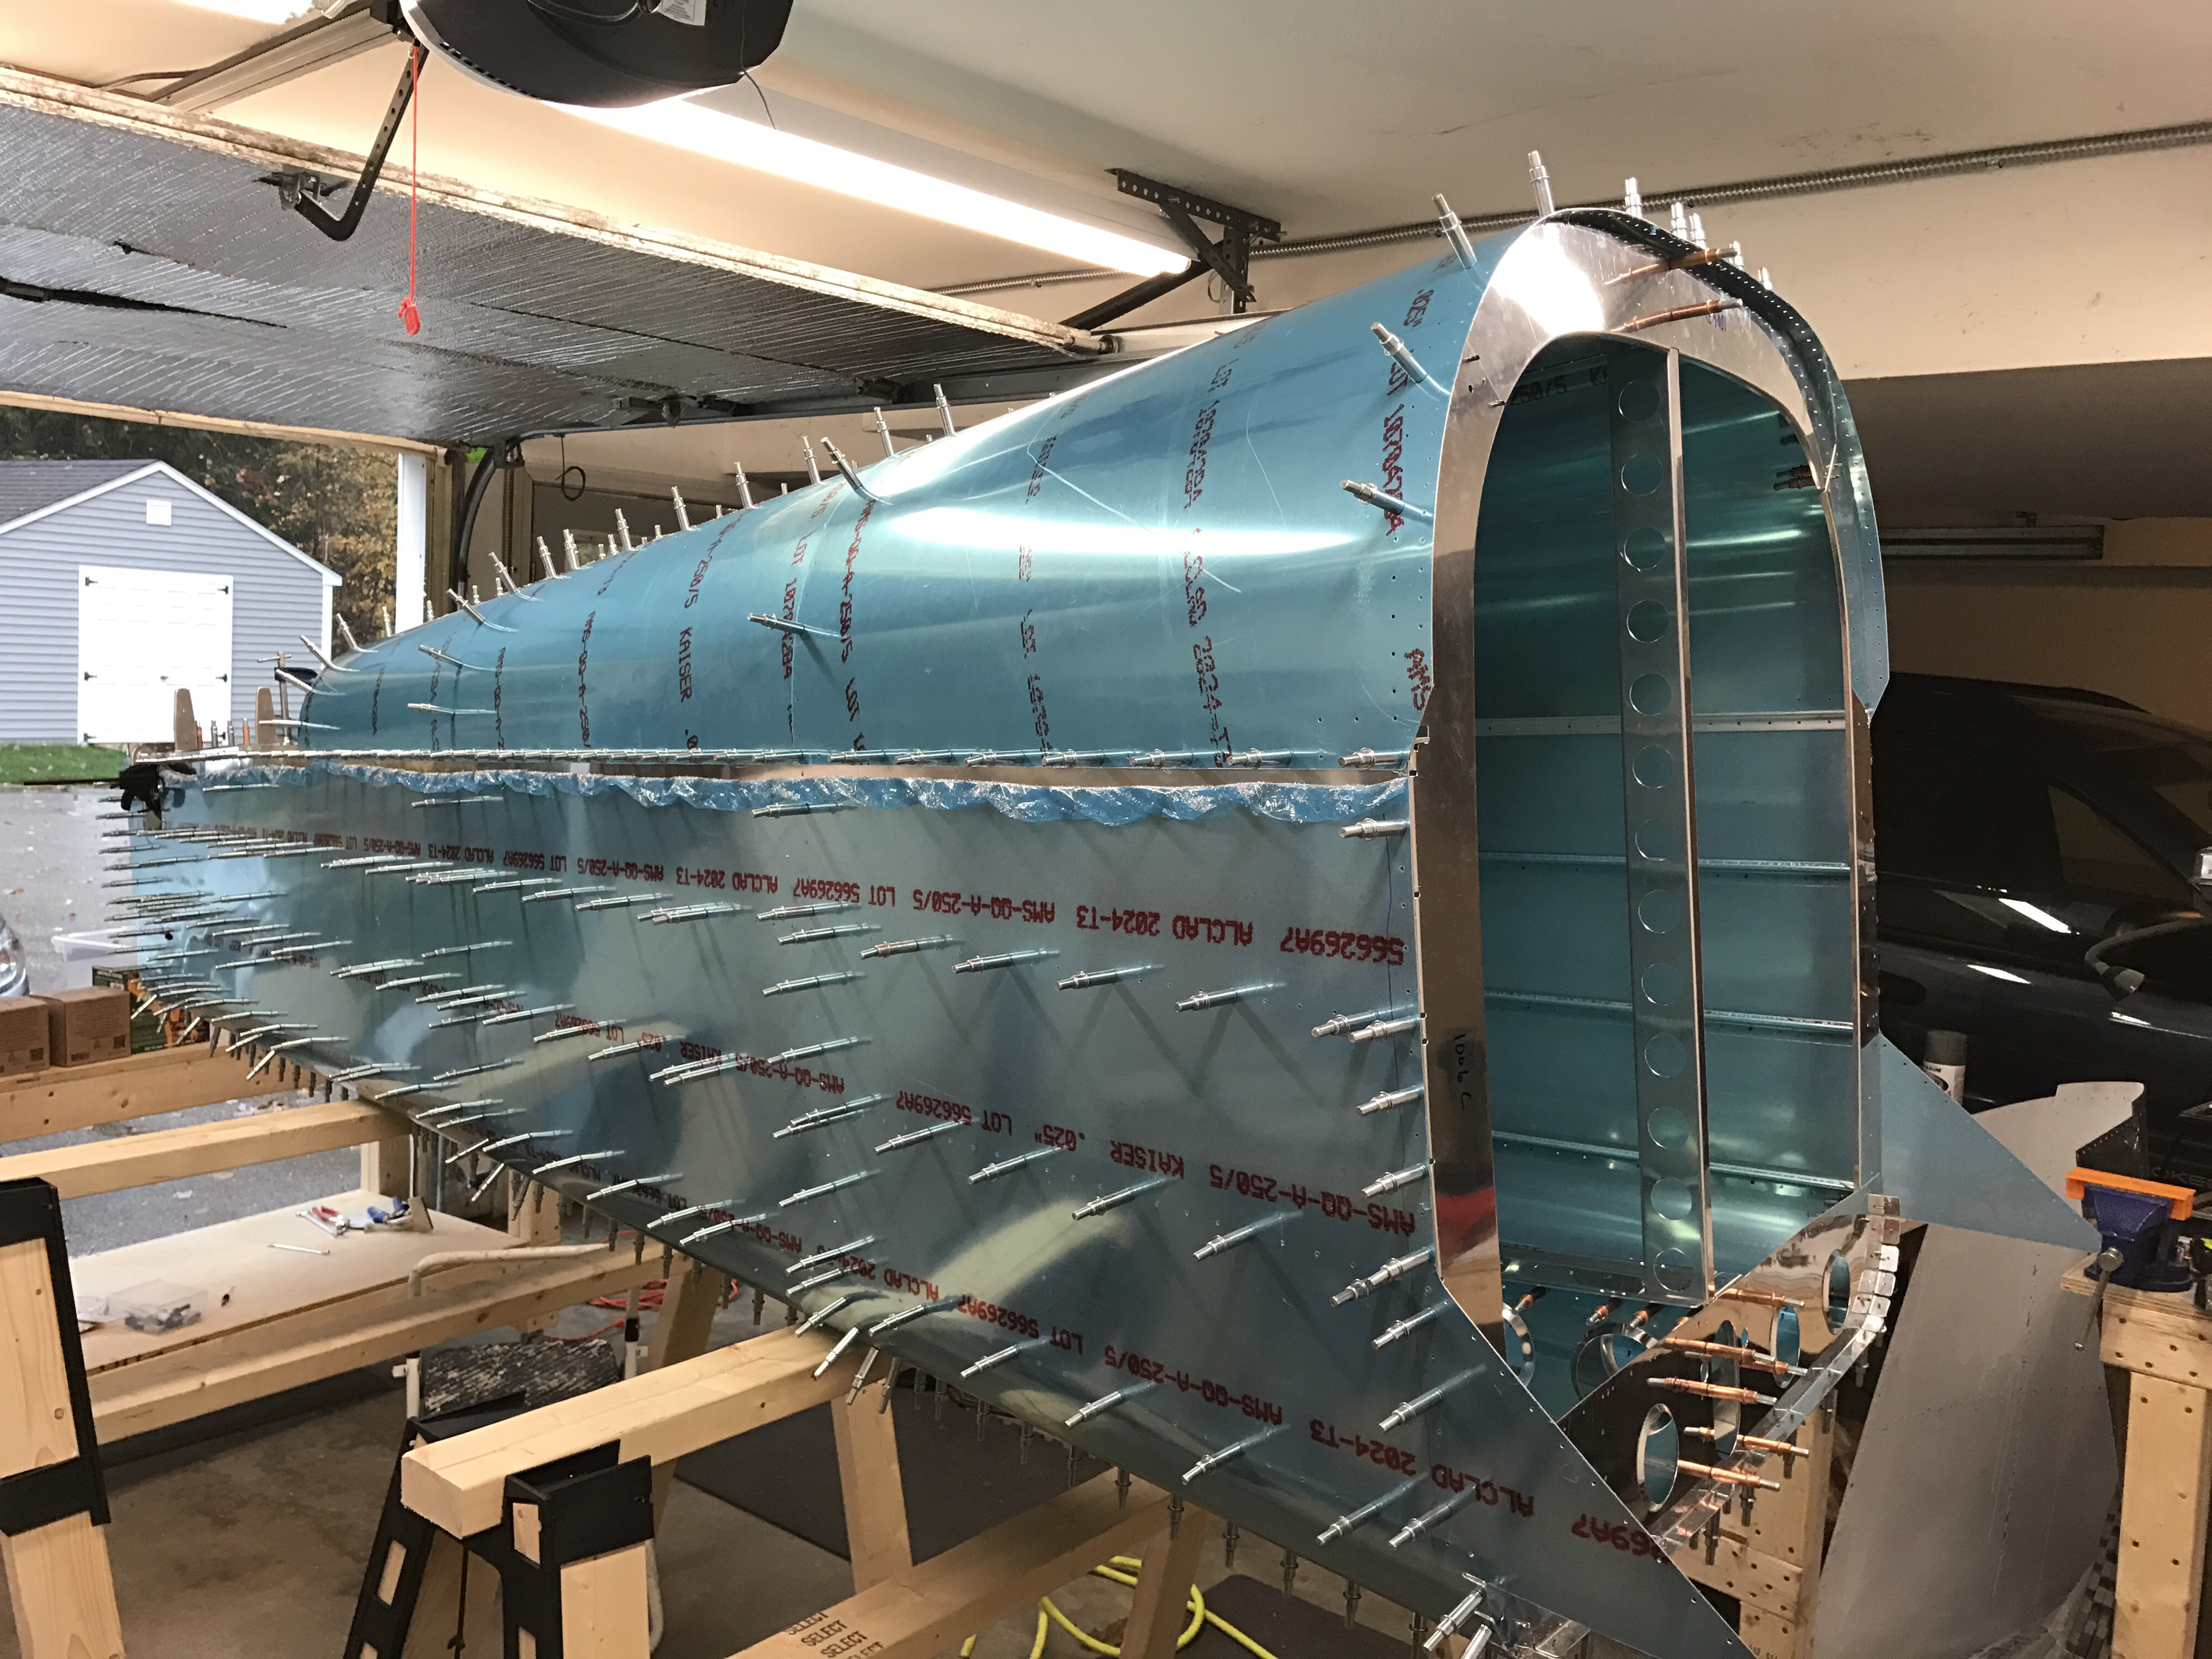
Since the last post, I’ve completed putting together the tailcone structure and match drilled everything. I’ve subsequently taken it all apart and deburred all holes and any remaining edges.
Looks like an airplane part!
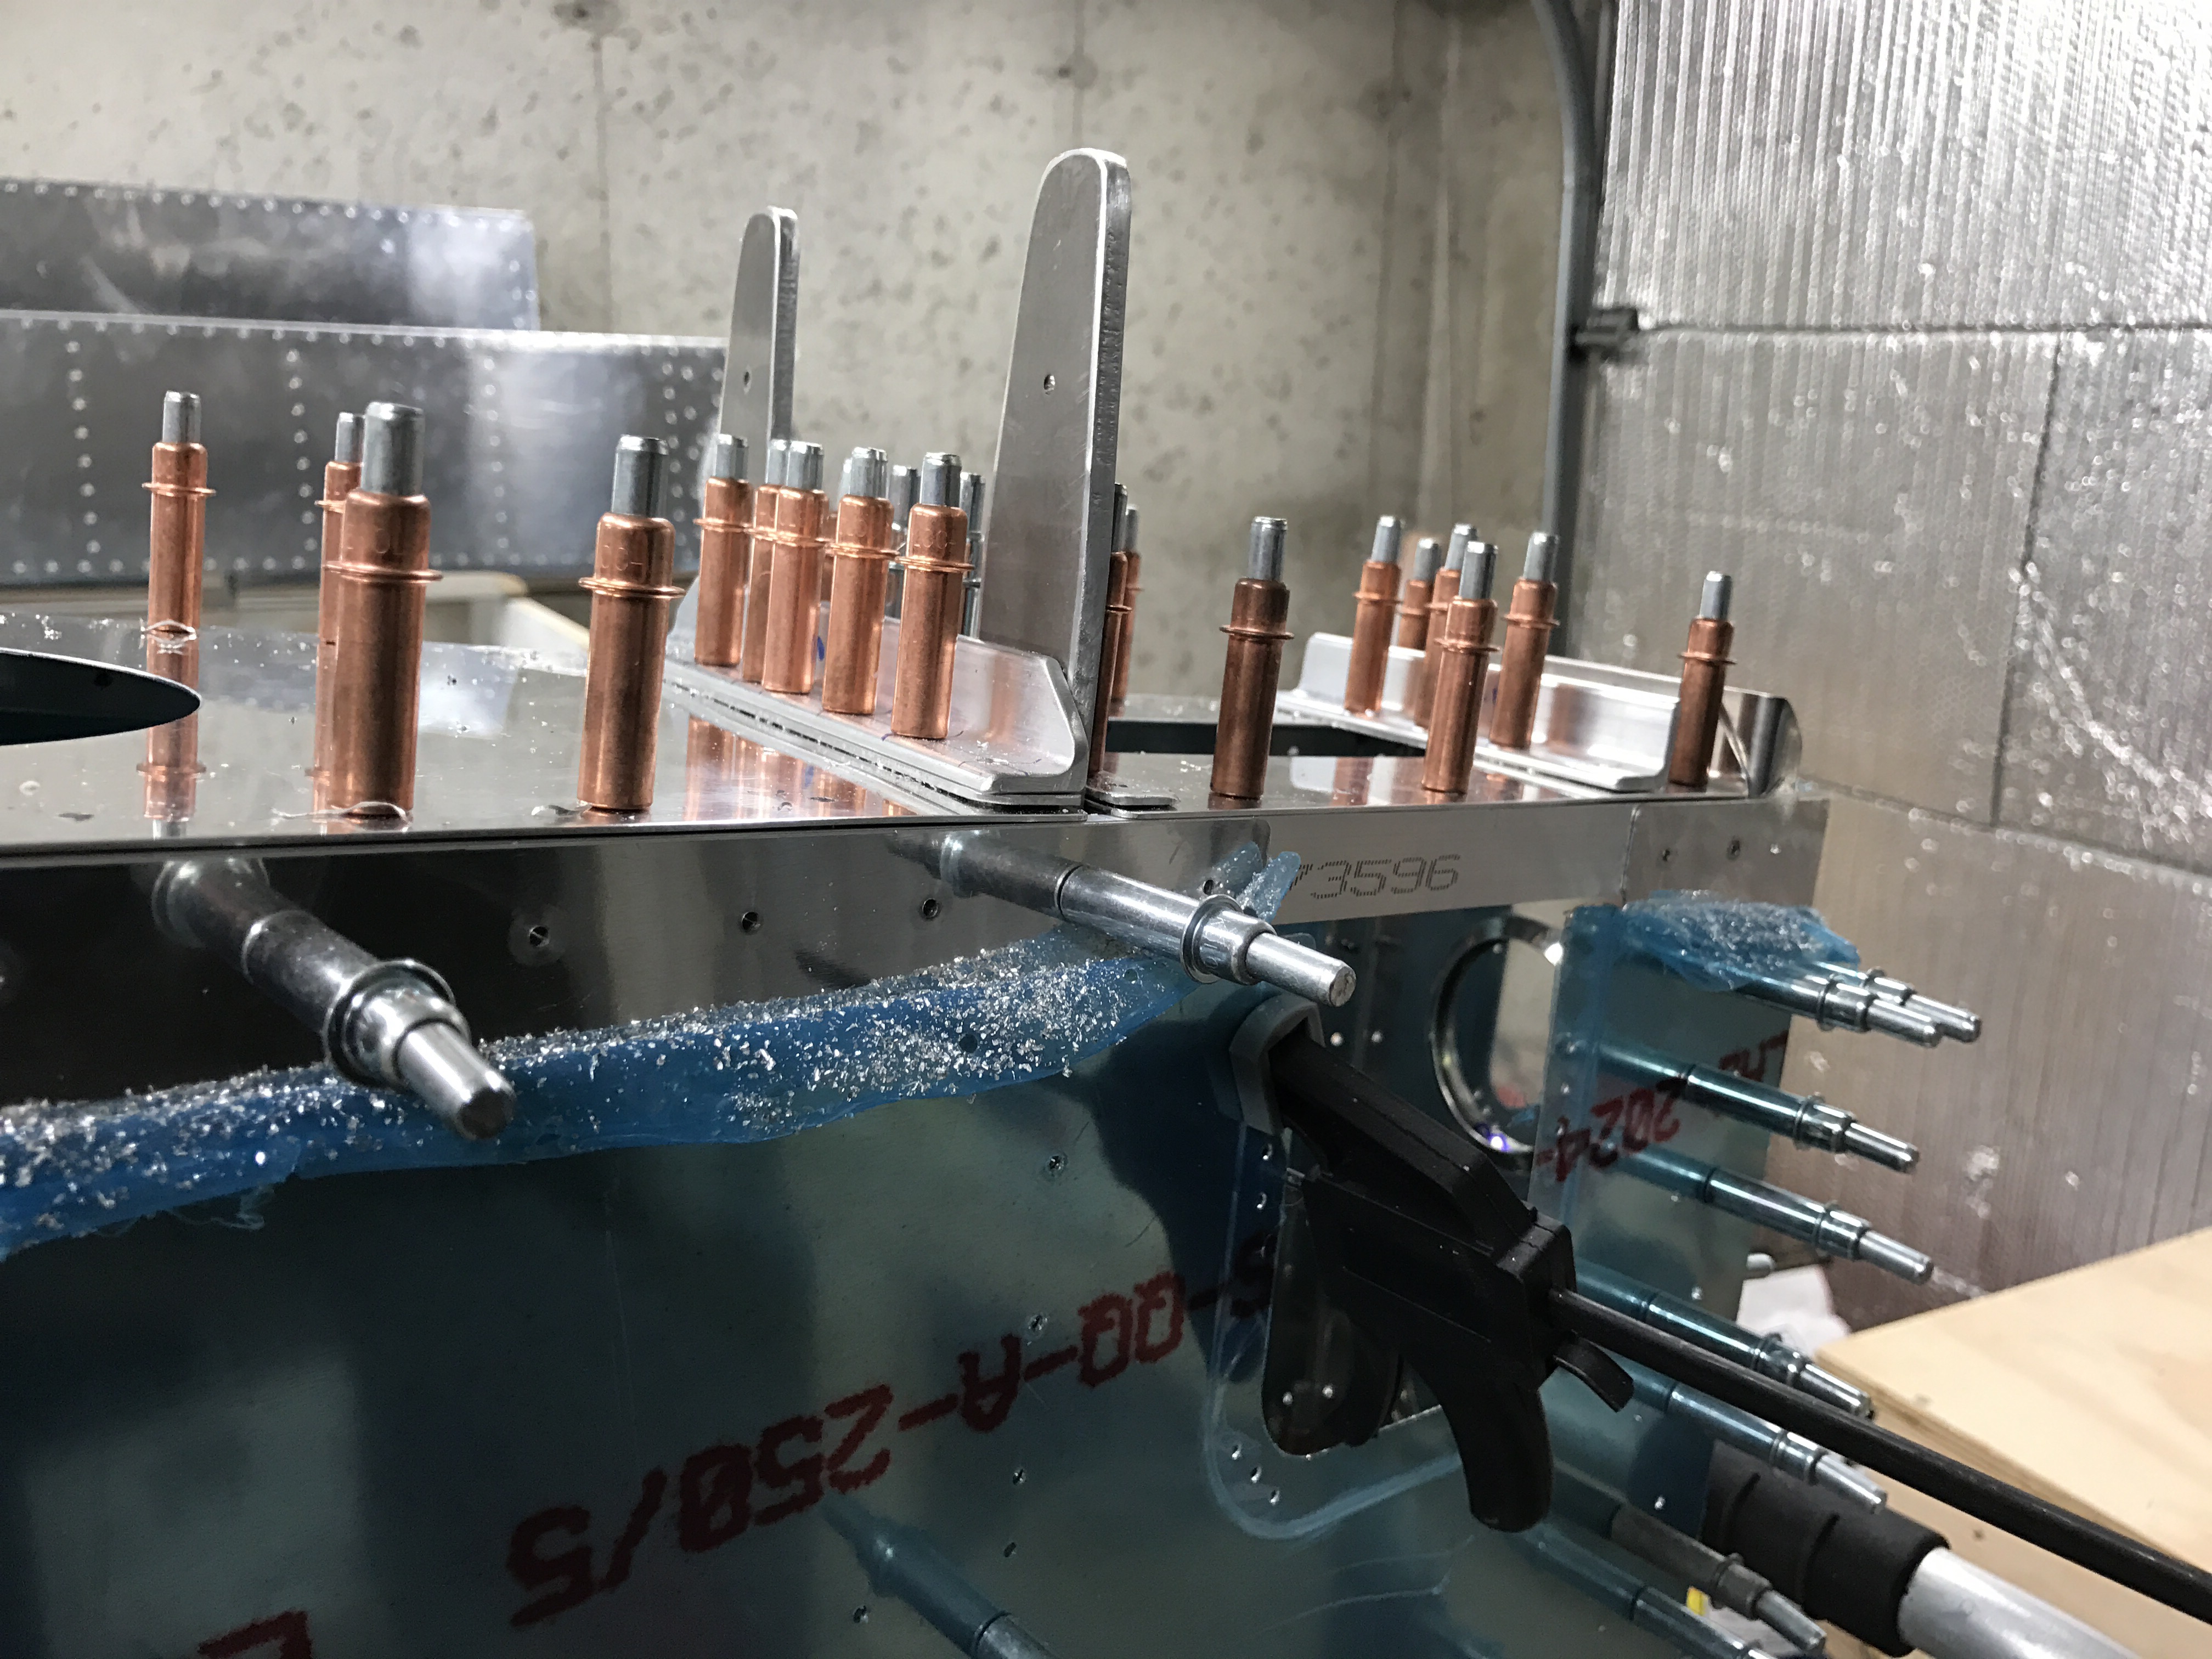
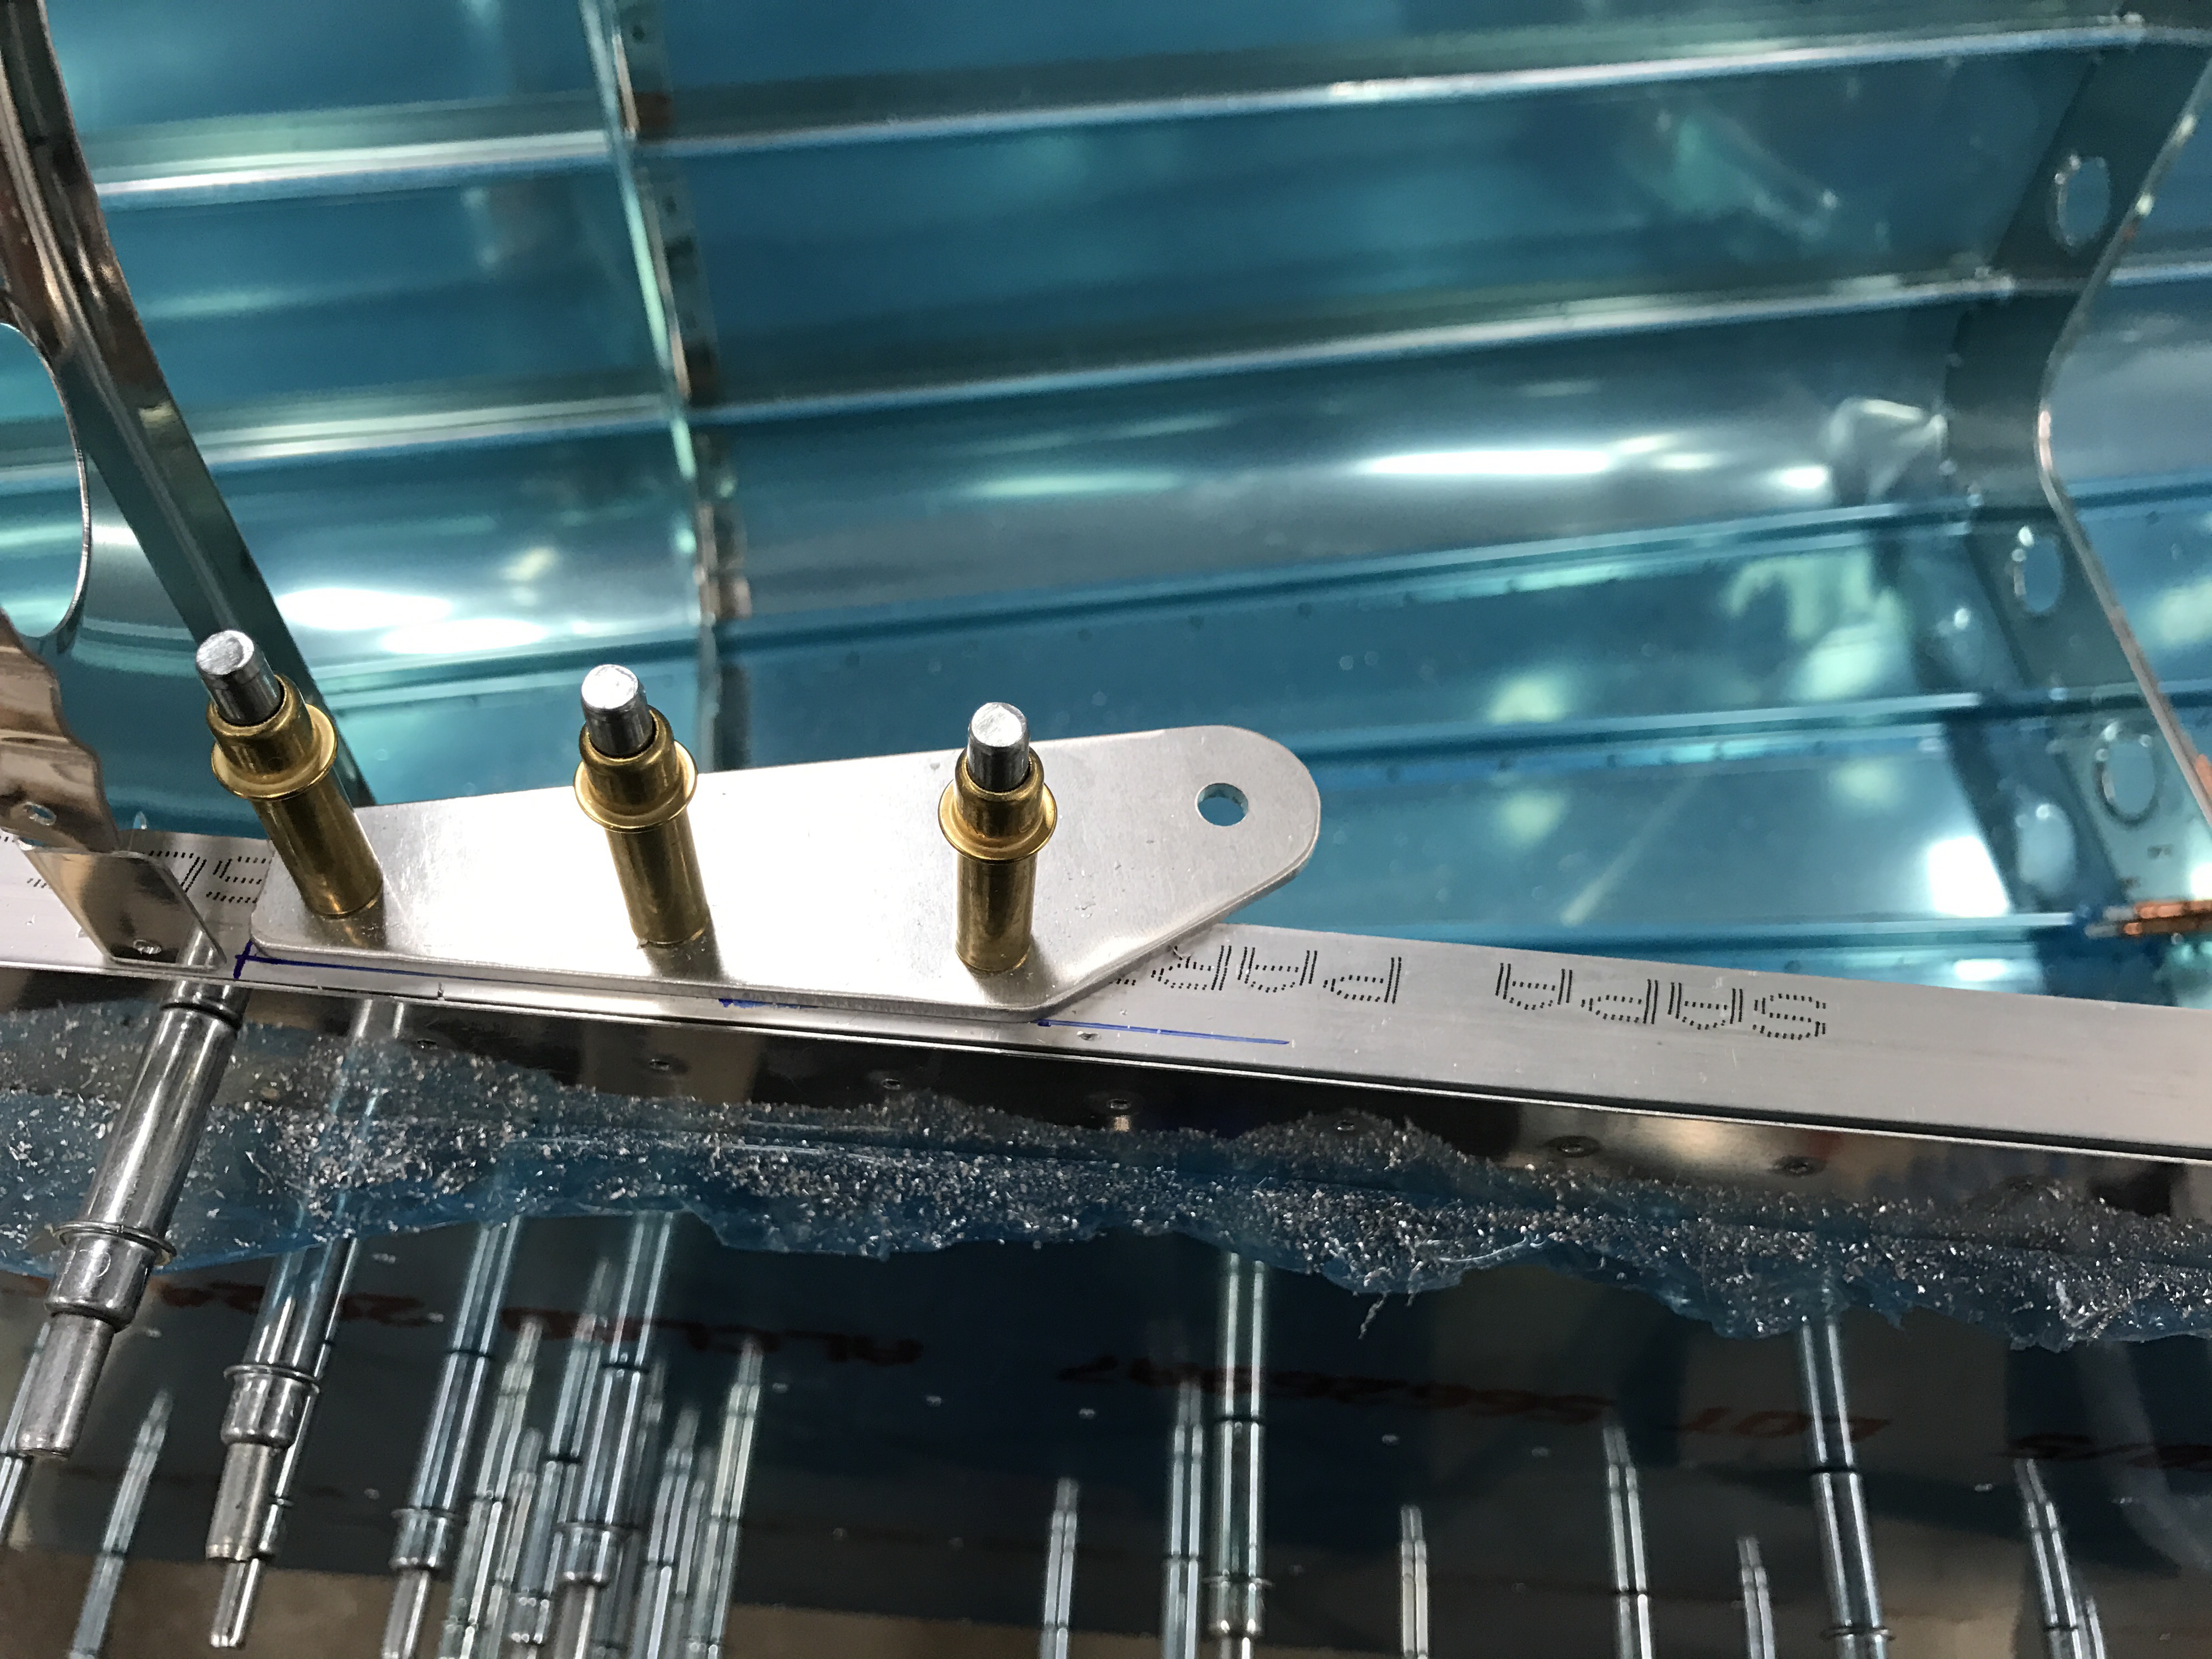
Rear Seat Belt Anchor Point
Pile of deburred parts
In the meantime, I wasn’t completely happy with how my elevator trim tabs came out, so I got new parts to re-do them. The 2nd time went worse than the first.
The goal here is to bend the tabs to close out the ends of the trim tabs. It seems like it should be relatively easy!
I didn’t have trouble bending the tabs on the skins, but these have given me trouble.
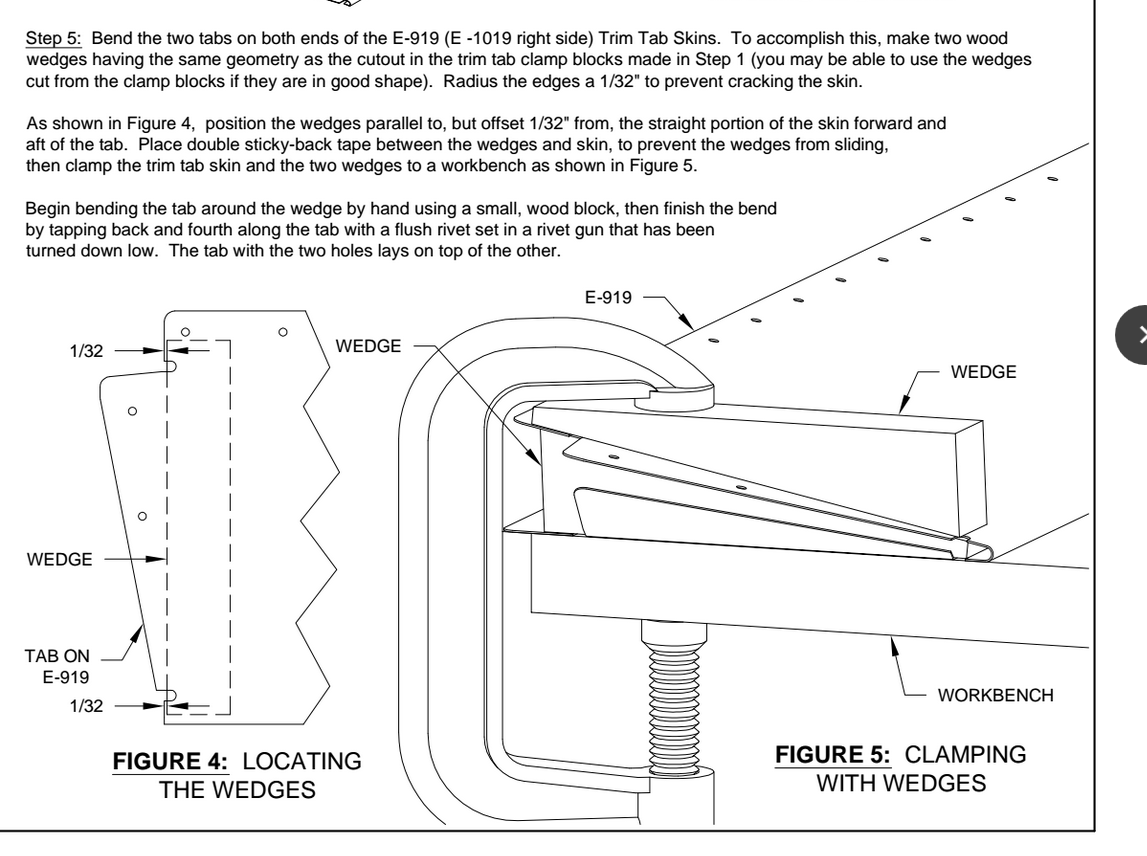
After messing up the first bend of my second attempt, I went off to do some reading on VAF. It seems lots of other have also had trouble with these tabs, so I guess it’s not just me. I also realized that I didn’t use any adhesive on the blocks so they moved slightly while attempting to bend the tab. Once I used some double-sided carpet tape, the next attempts went a little bit better. Probably passable, but I had already managed to crack the skin during my first bend.
Badly dented and cracked skin
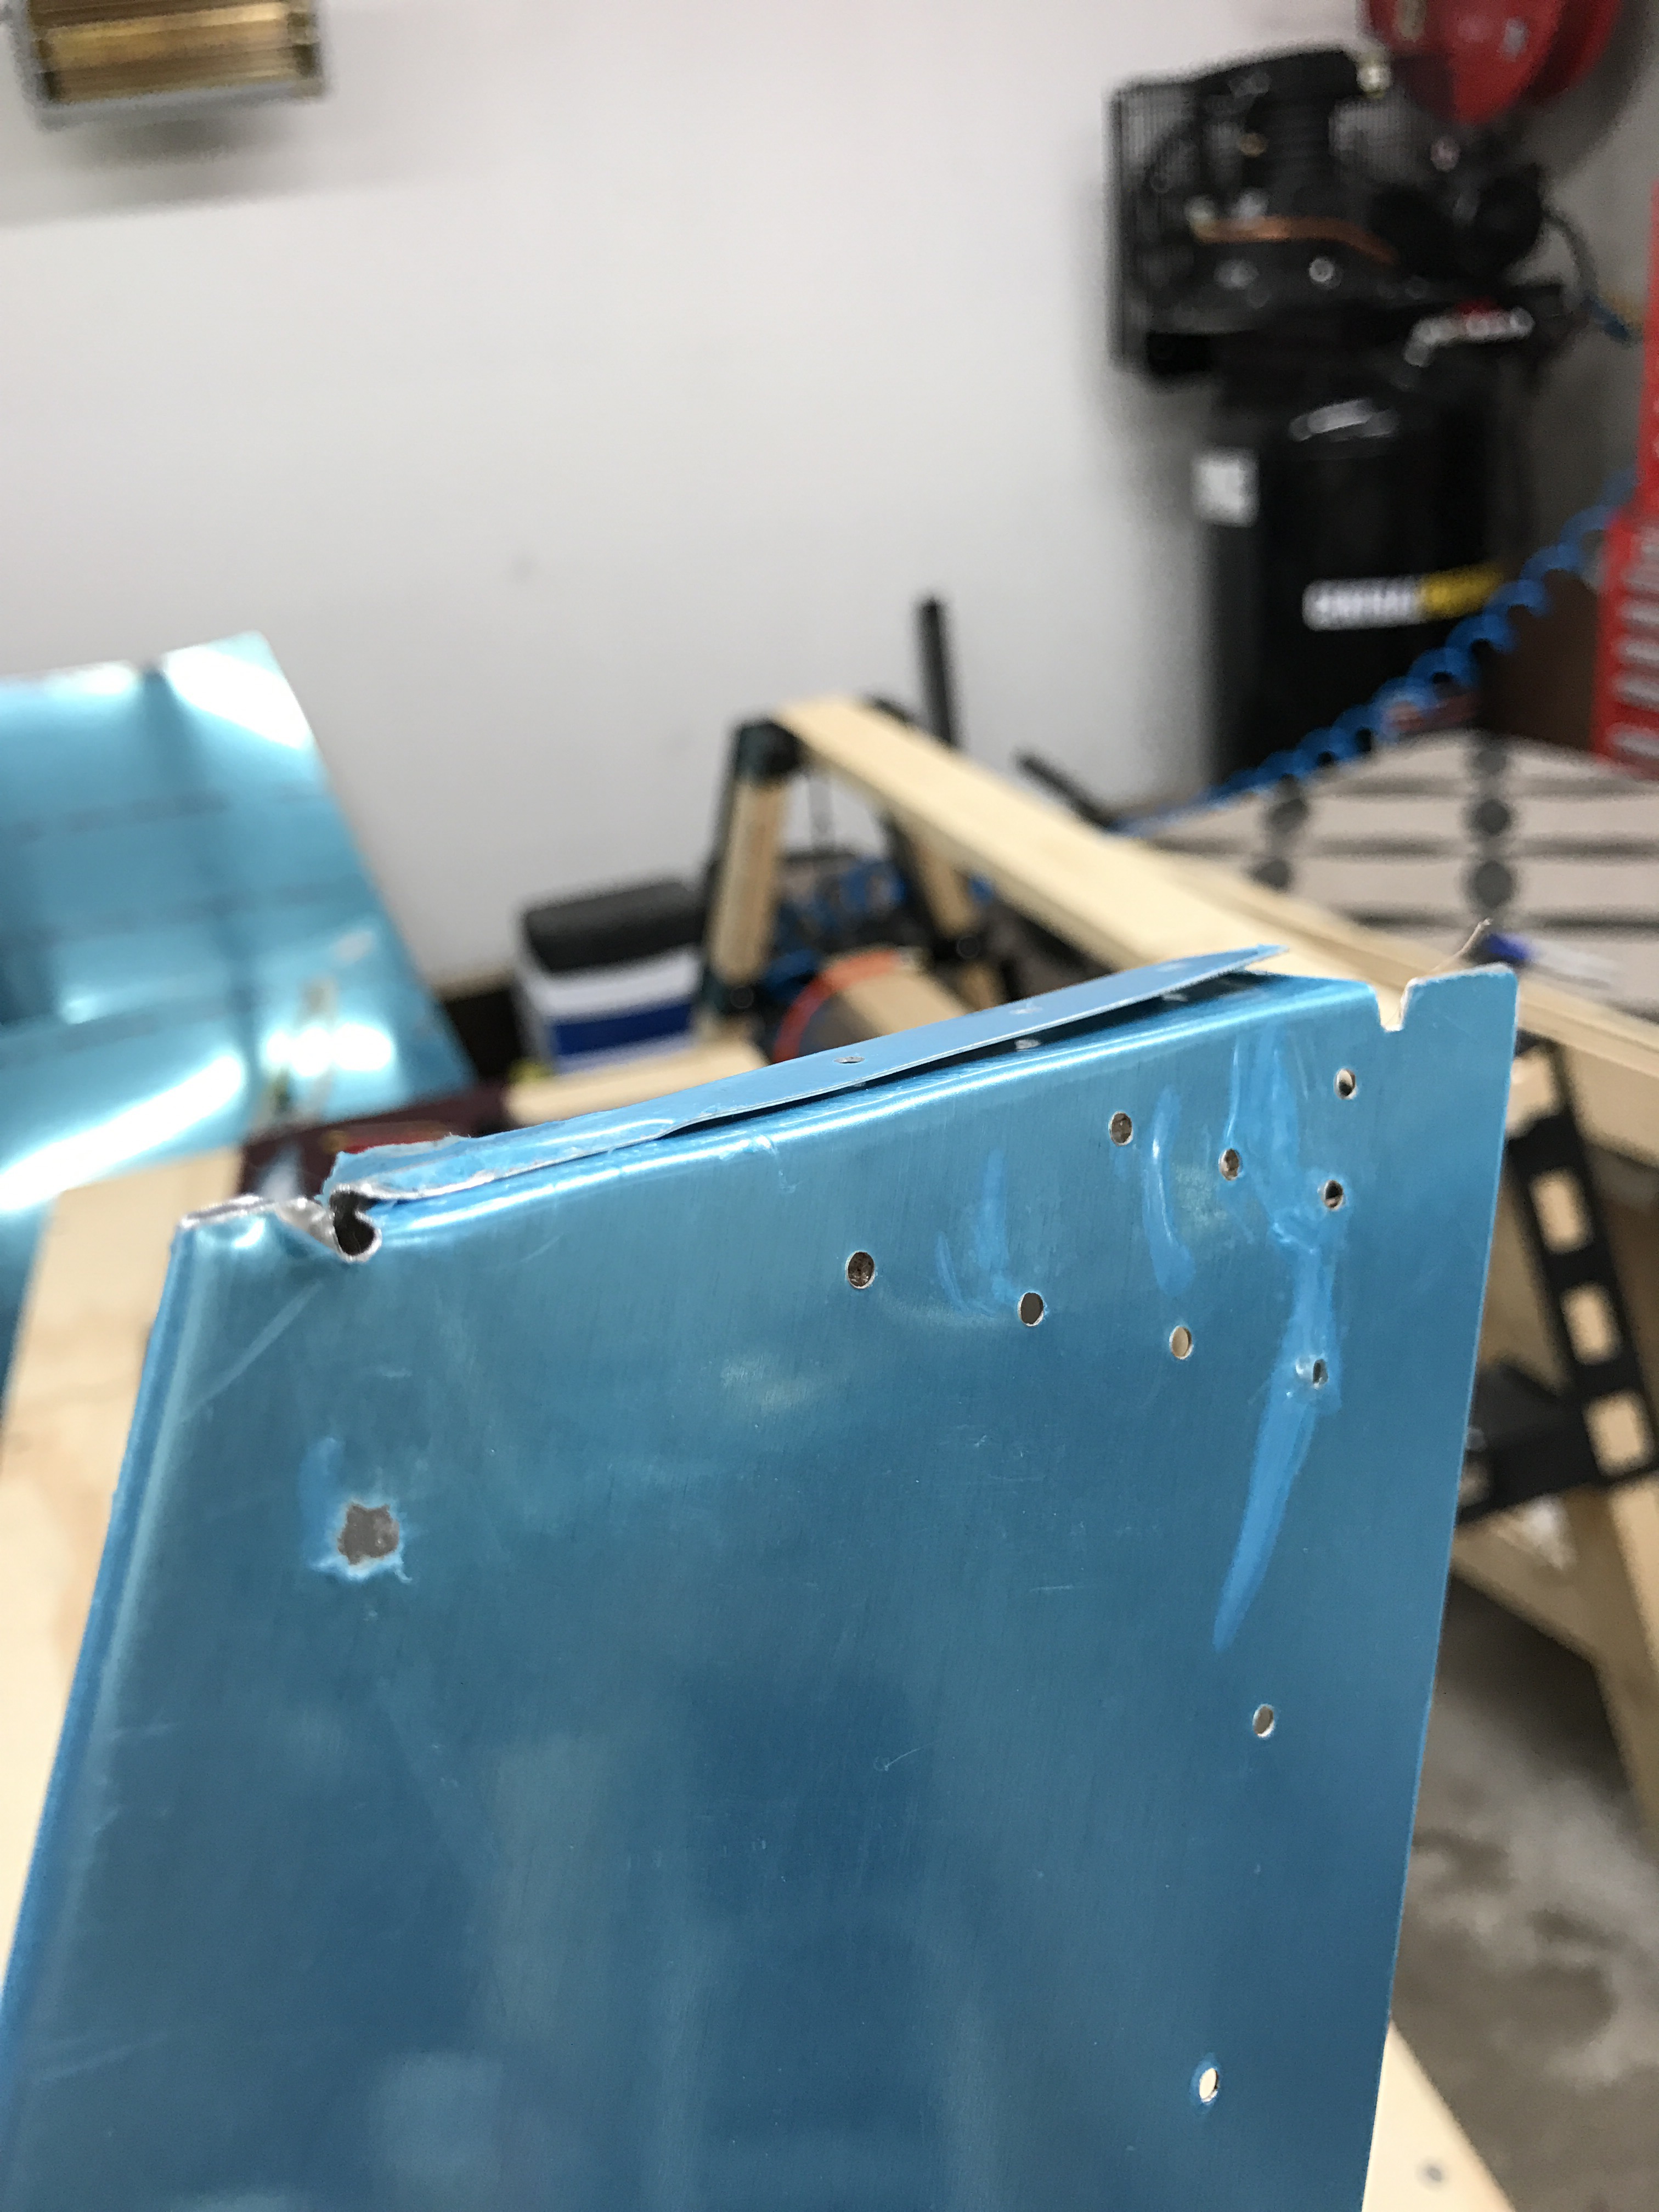
Another attempt with tape. Better. Probably passable, but not the greatest.
Wavy!
The first set of trim tabs I attempted are shown below.
Bit of a buldge
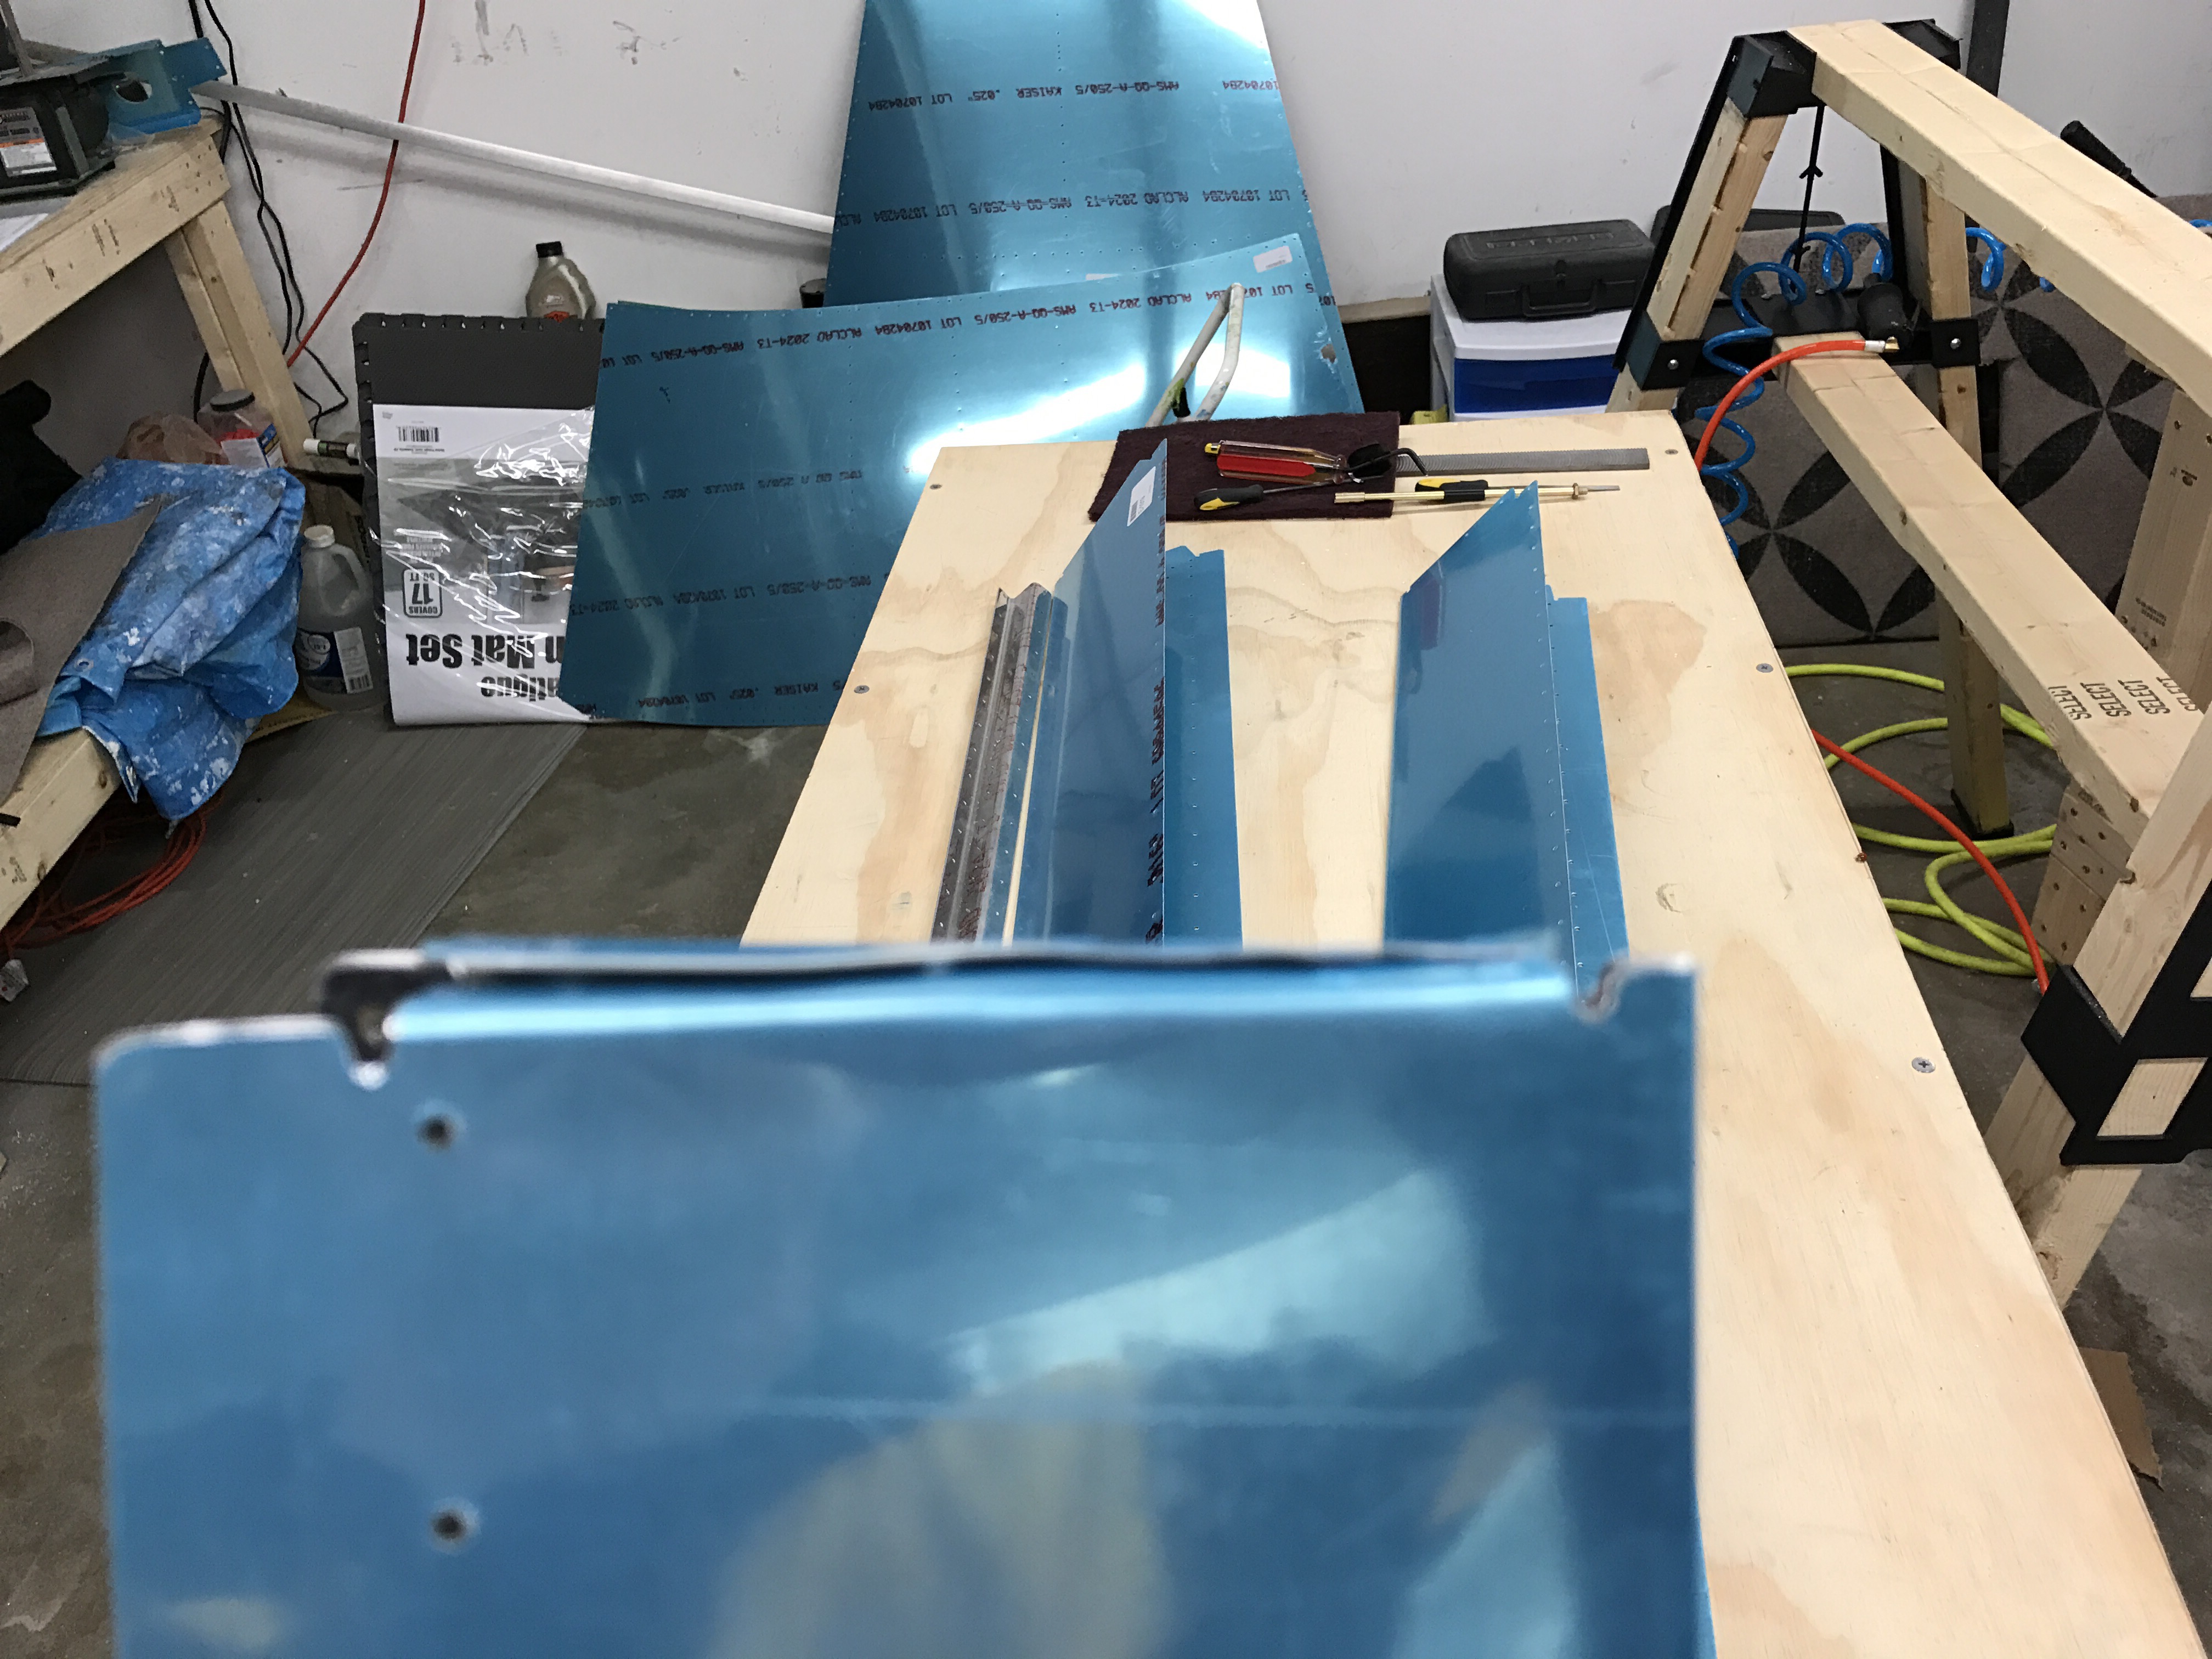
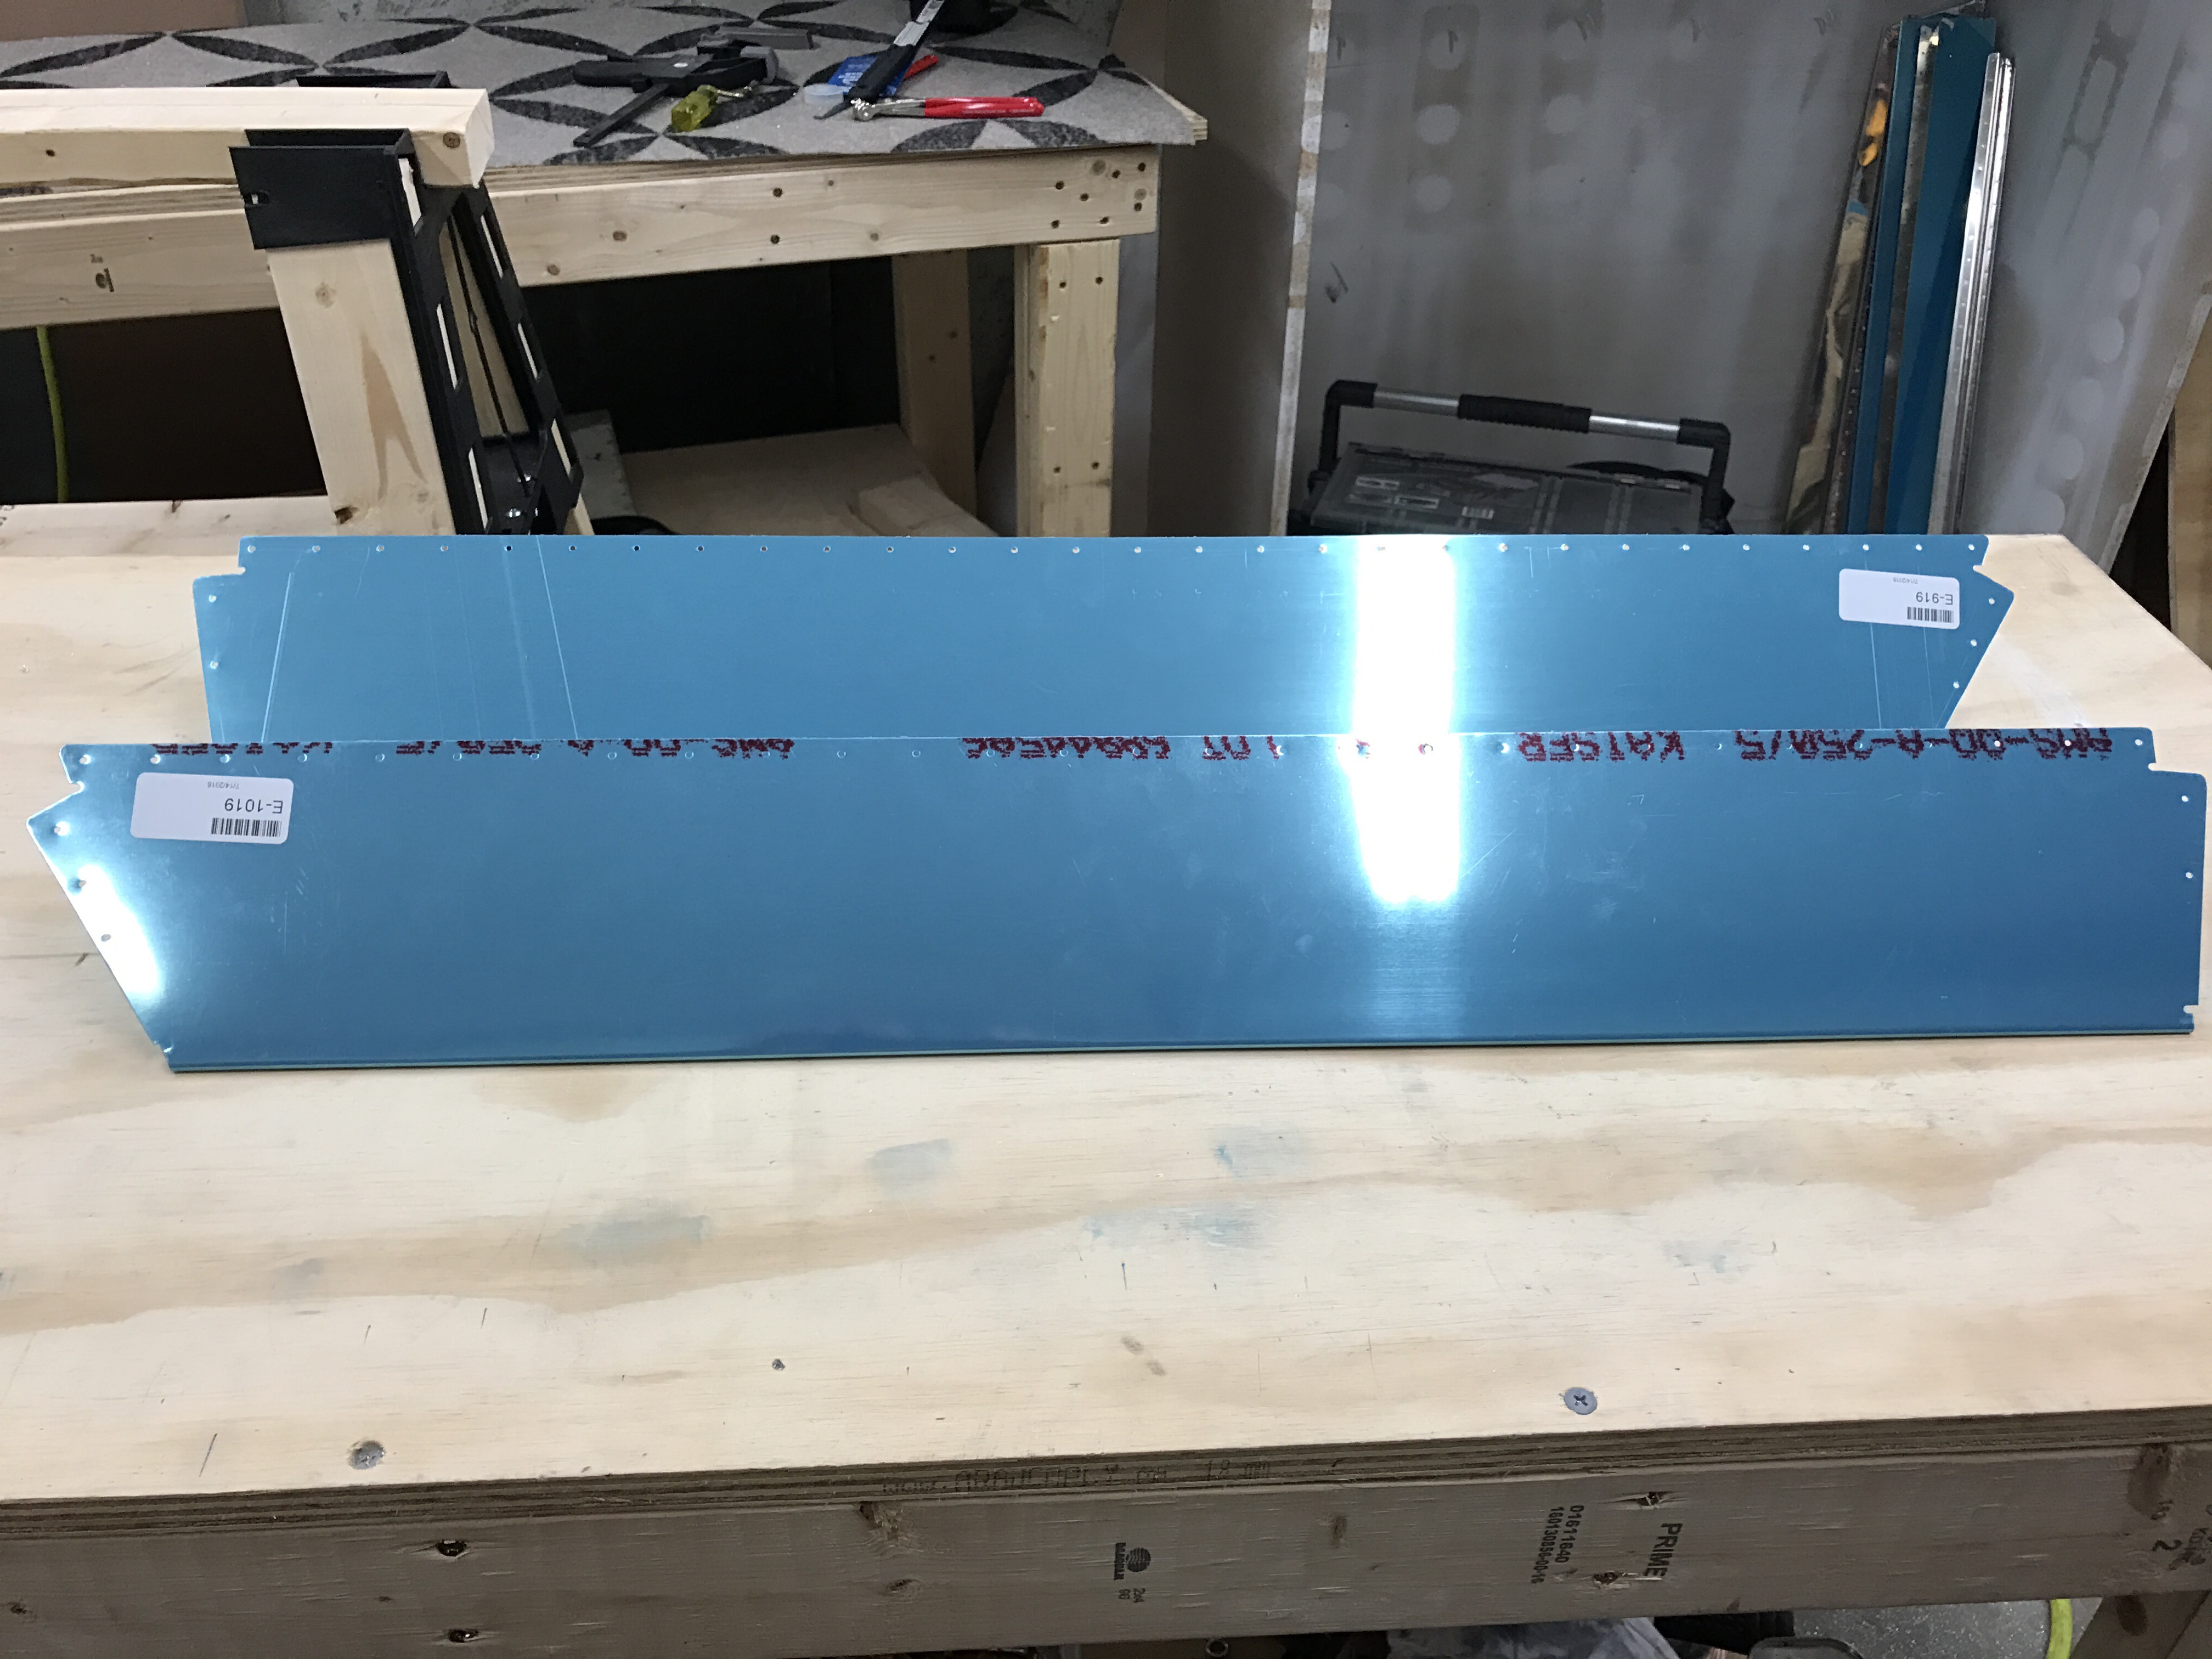
Below is yet a 3rd set of new skins for the trim tabs. After doing some reading, I’ve decided to do what others have done, and that is to cut off the tabs and fabricate small riblets to put on the ends instead. It might take me a few tries to get those correct, but I have lots of scrap trim tab metal to work with.