
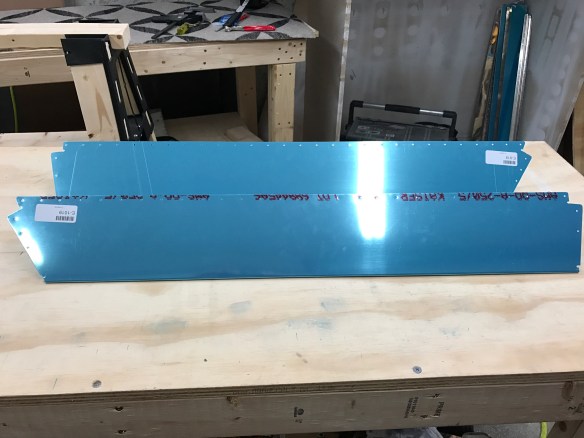
Since the last post, I’ve completed putting together the tailcone structure and match drilled everything. I’ve subsequently taken it all apart and deburred all holes and any remaining edges.

Looks like an airplane part!


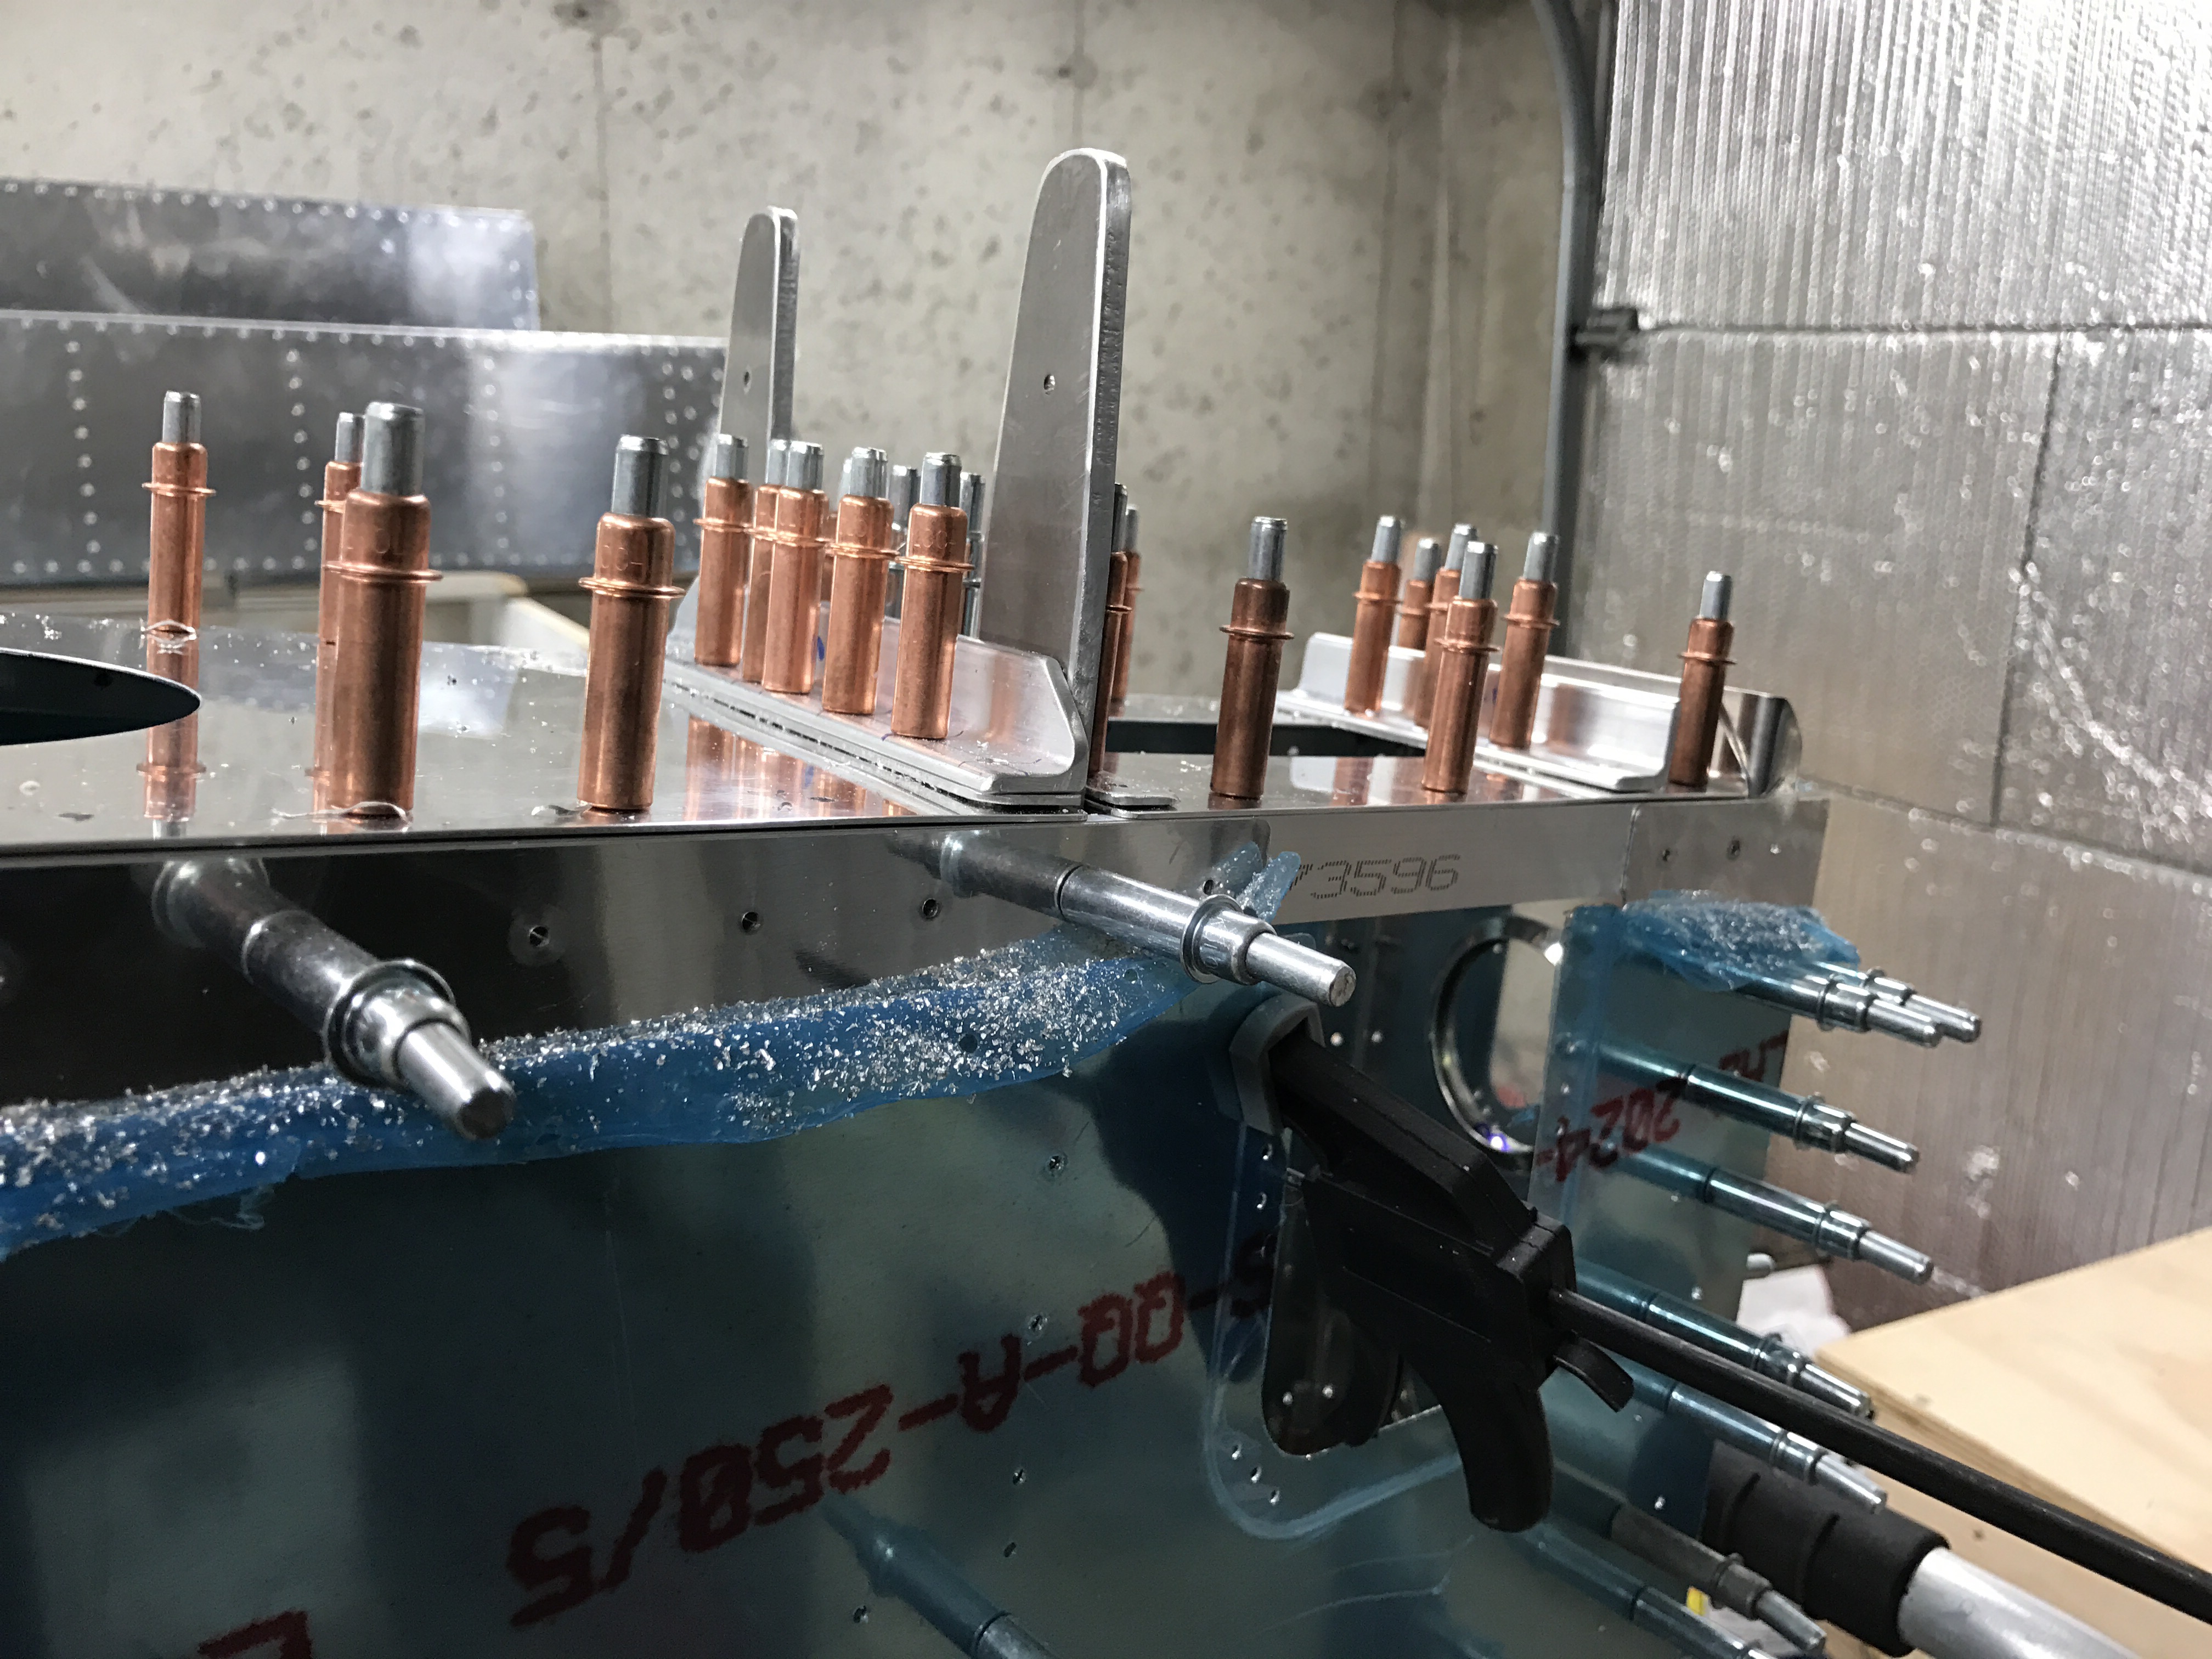

Rear Seat Belt Anchor Point
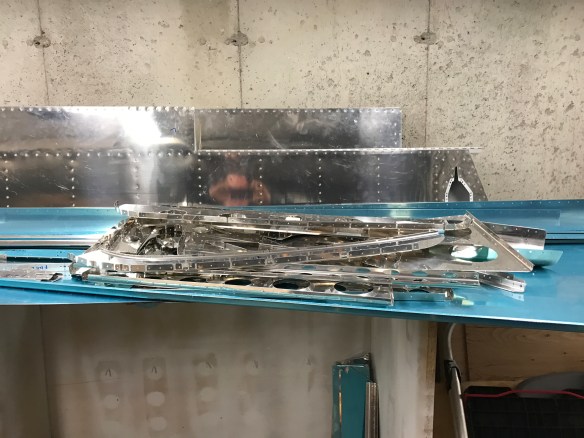
Pile of deburred parts
In the meantime, I wasn’t completely happy with how my elevator trim tabs came out, so I got new parts to re-do them. The 2nd time went worse than the first.
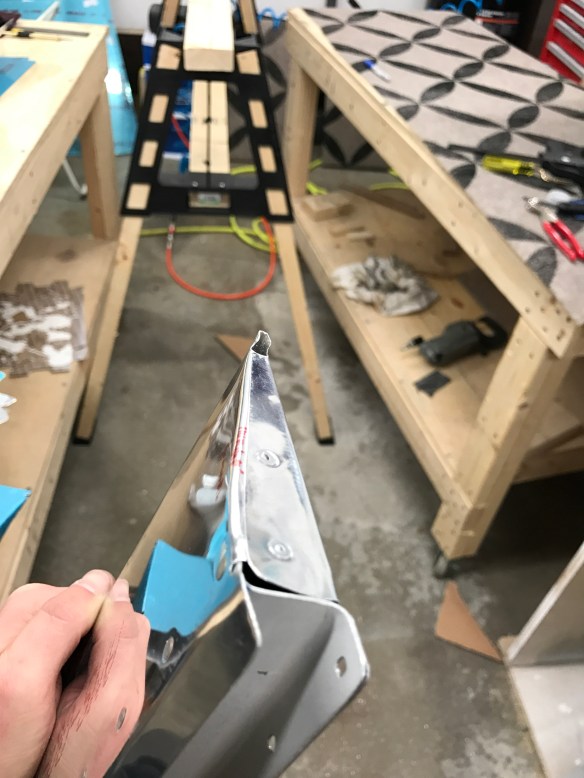
The goal here is to bend the tabs to close out the ends of the trim tabs. It seems like it should be relatively easy!

I didn’t have trouble bending the tabs on the skins, but these have given me trouble.
After messing up the first bend of my second attempt, I went off to do some reading on VAF. It seems lots of other have also had trouble with these tabs, so I guess it’s not just me. I also realized that I didn’t use any adhesive on the blocks so they moved slightly while attempting to bend the tab. Once I used some double-sided carpet tape, the next attempts went a little bit better. Probably passable, but I had already managed to crack the skin during my first bend.
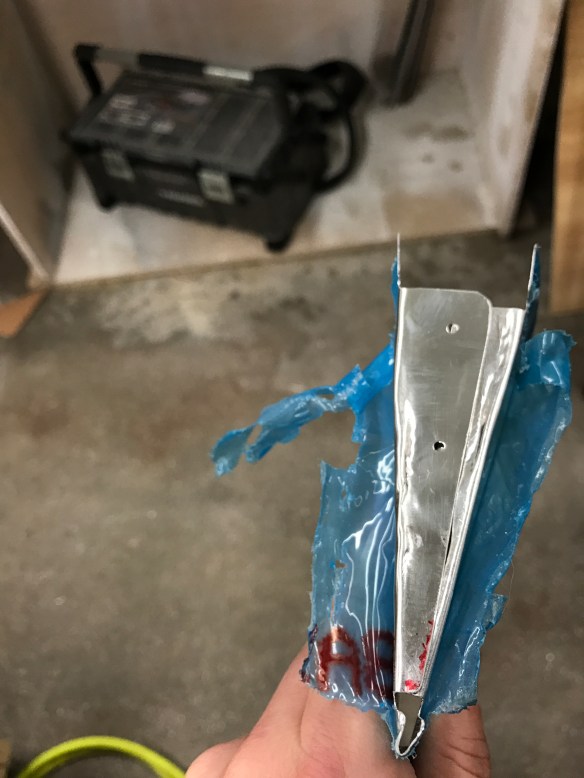
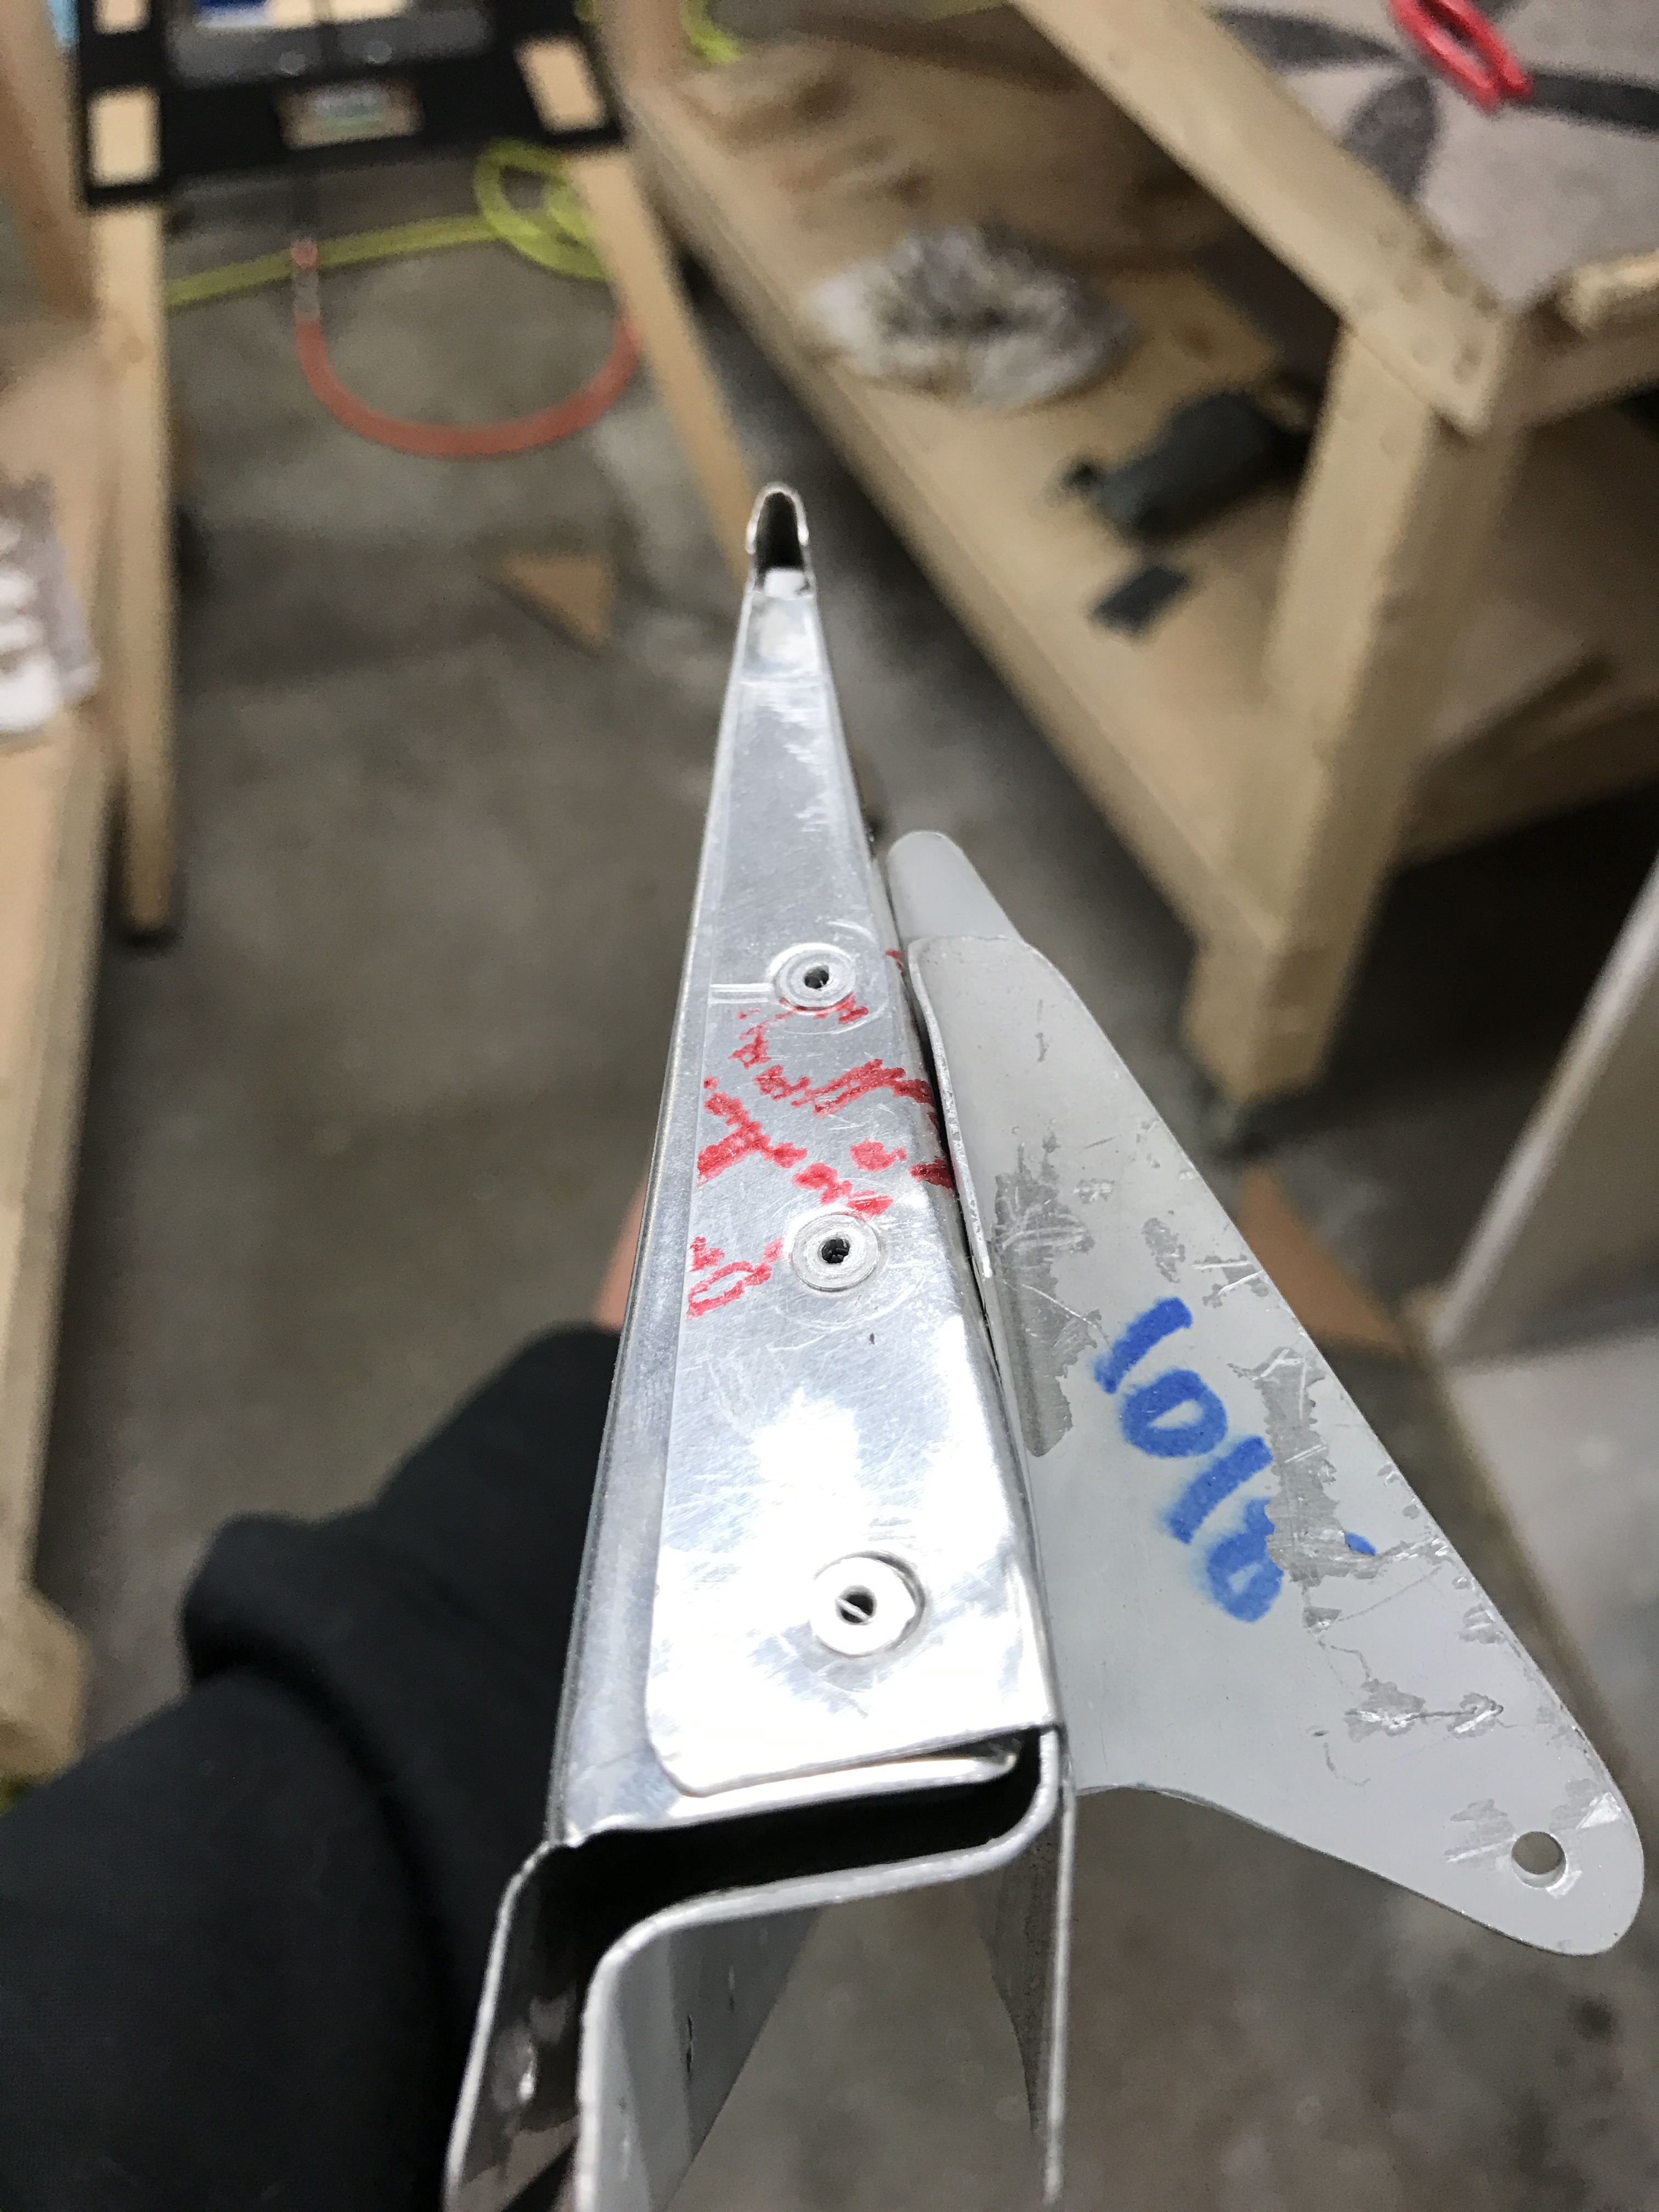
Badly dented and cracked skin

Another attempt with tape. Better. Probably passable, but not the greatest.
Wavy!
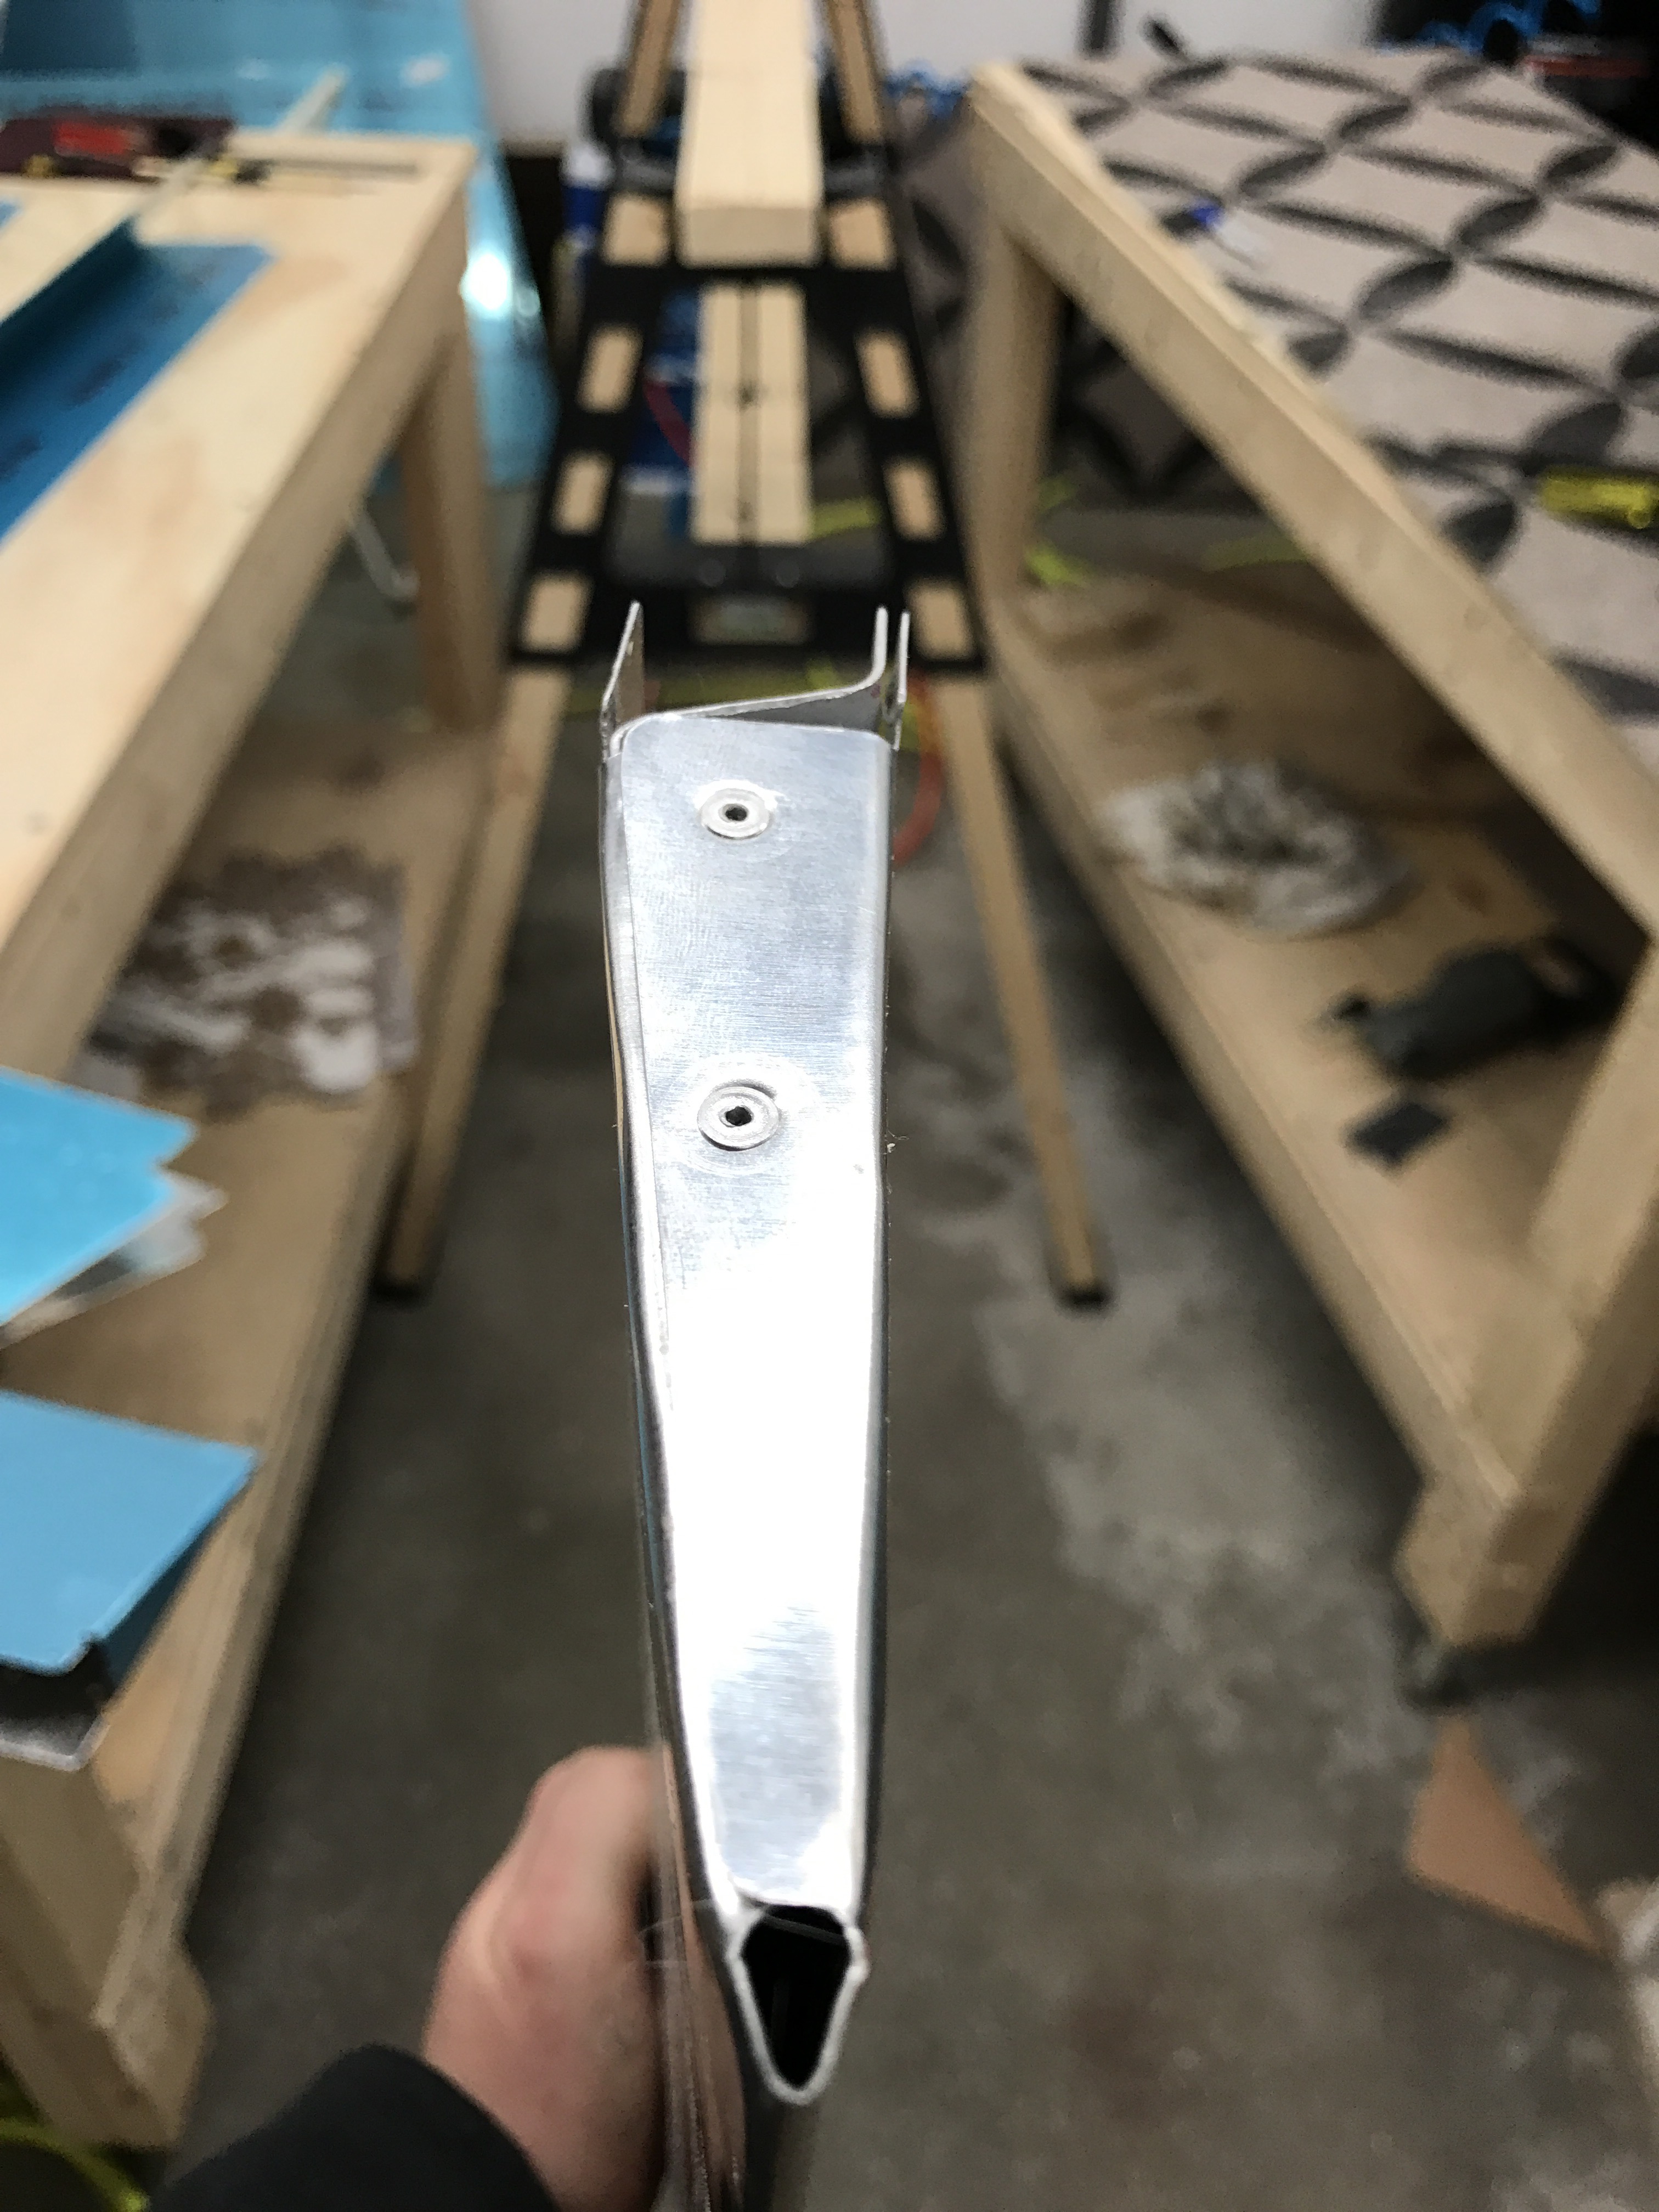
The first set of trim tabs I attempted are shown below.
Bit of a buldge
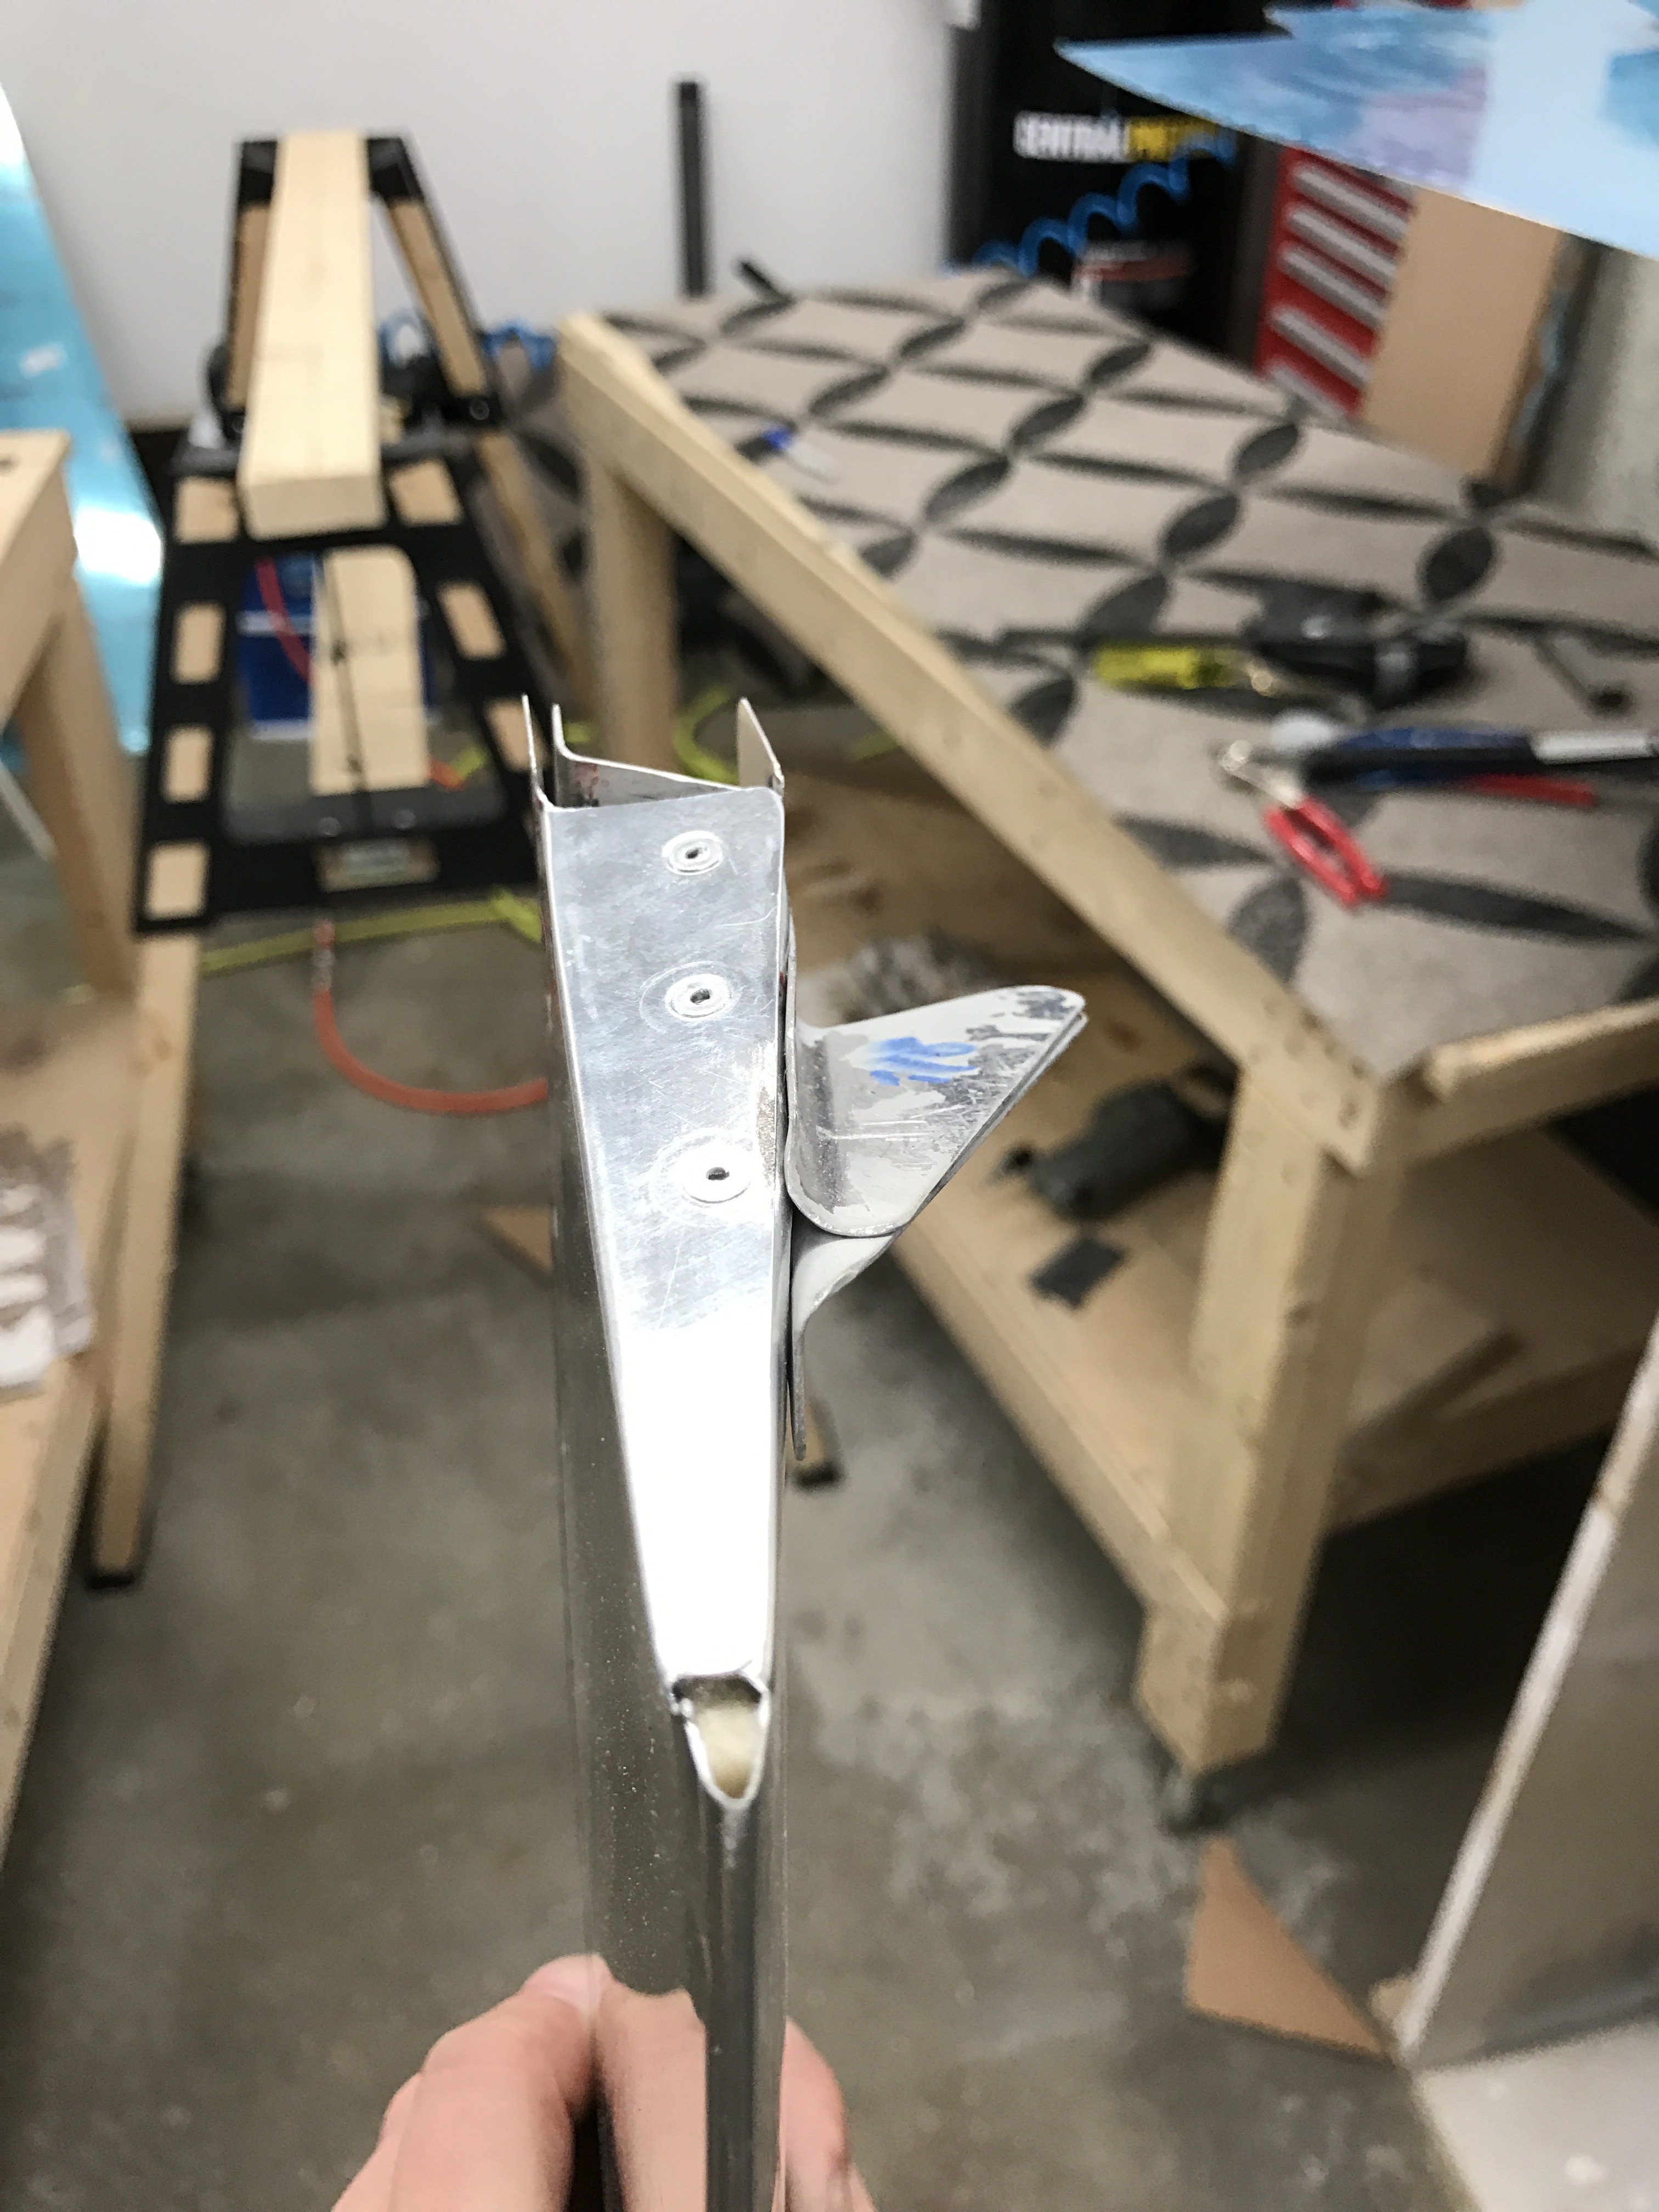
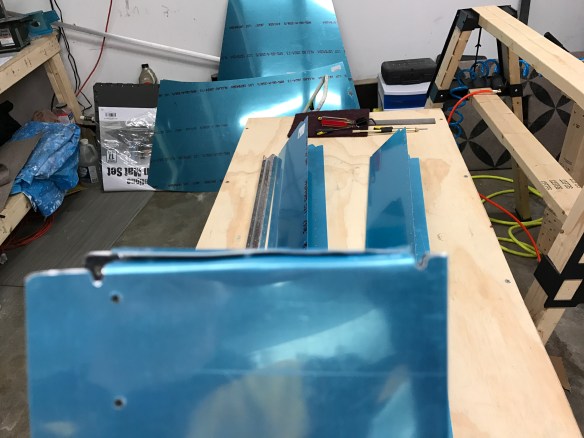
Below is yet a 3rd set of new skins for the trim tabs. After doing some reading, I’ve decided to do what others have done, and that is to cut off the tabs and fabricate small riblets to put on the ends instead. It might take me a few tries to get those correct, but I have lots of scrap trim tab metal to work with.
3rd set of skins 😦

Plan to fabricate something like this instead.
