I’ve been doing a lot of reading and watching videos on fiberglass related things. Everything from what the best tools are to use to proper fiberglass layup techniques.
Trimming and cutting the Elevator fairings ended up spewing lots of dust all over the place… I then bought a diamond cutting wheel for my Dremel tool and also bought some PermaGrit tools, which are made of tungsten carbide materials and do a better job of making sawdust like shavings instead of dust. Seeing there is so much fiberglass work coming, I figured I’d invest in some proper tools for this work that’ll be upcoming.
I bought some sanding blocks, both flat and concave.

As well as a hand tool set and blades for my jig saw.
I then set out to finish the rudder end caps. Fairly straight forward. The only modification I did was to add nut plates to the bottom fairing to accept #6 screws to make the fairing removable. Many RV-10 builders do this mod, and it didn’t really take all that much extra effort.

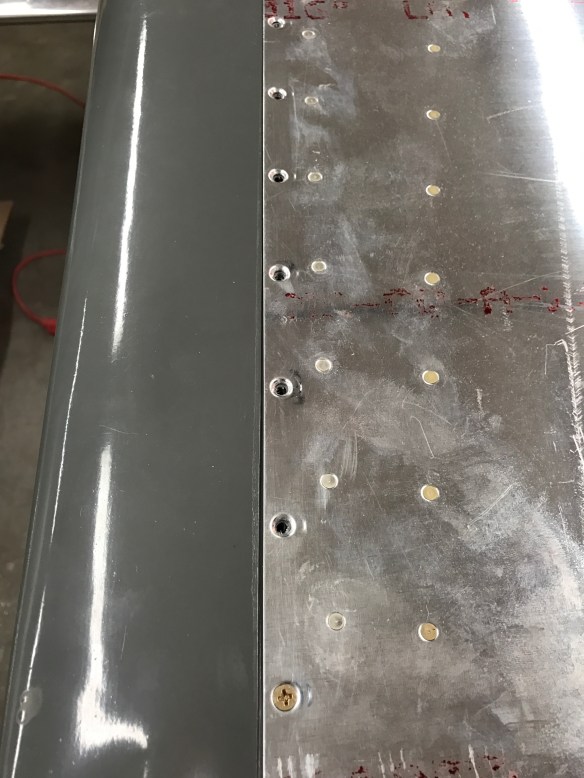
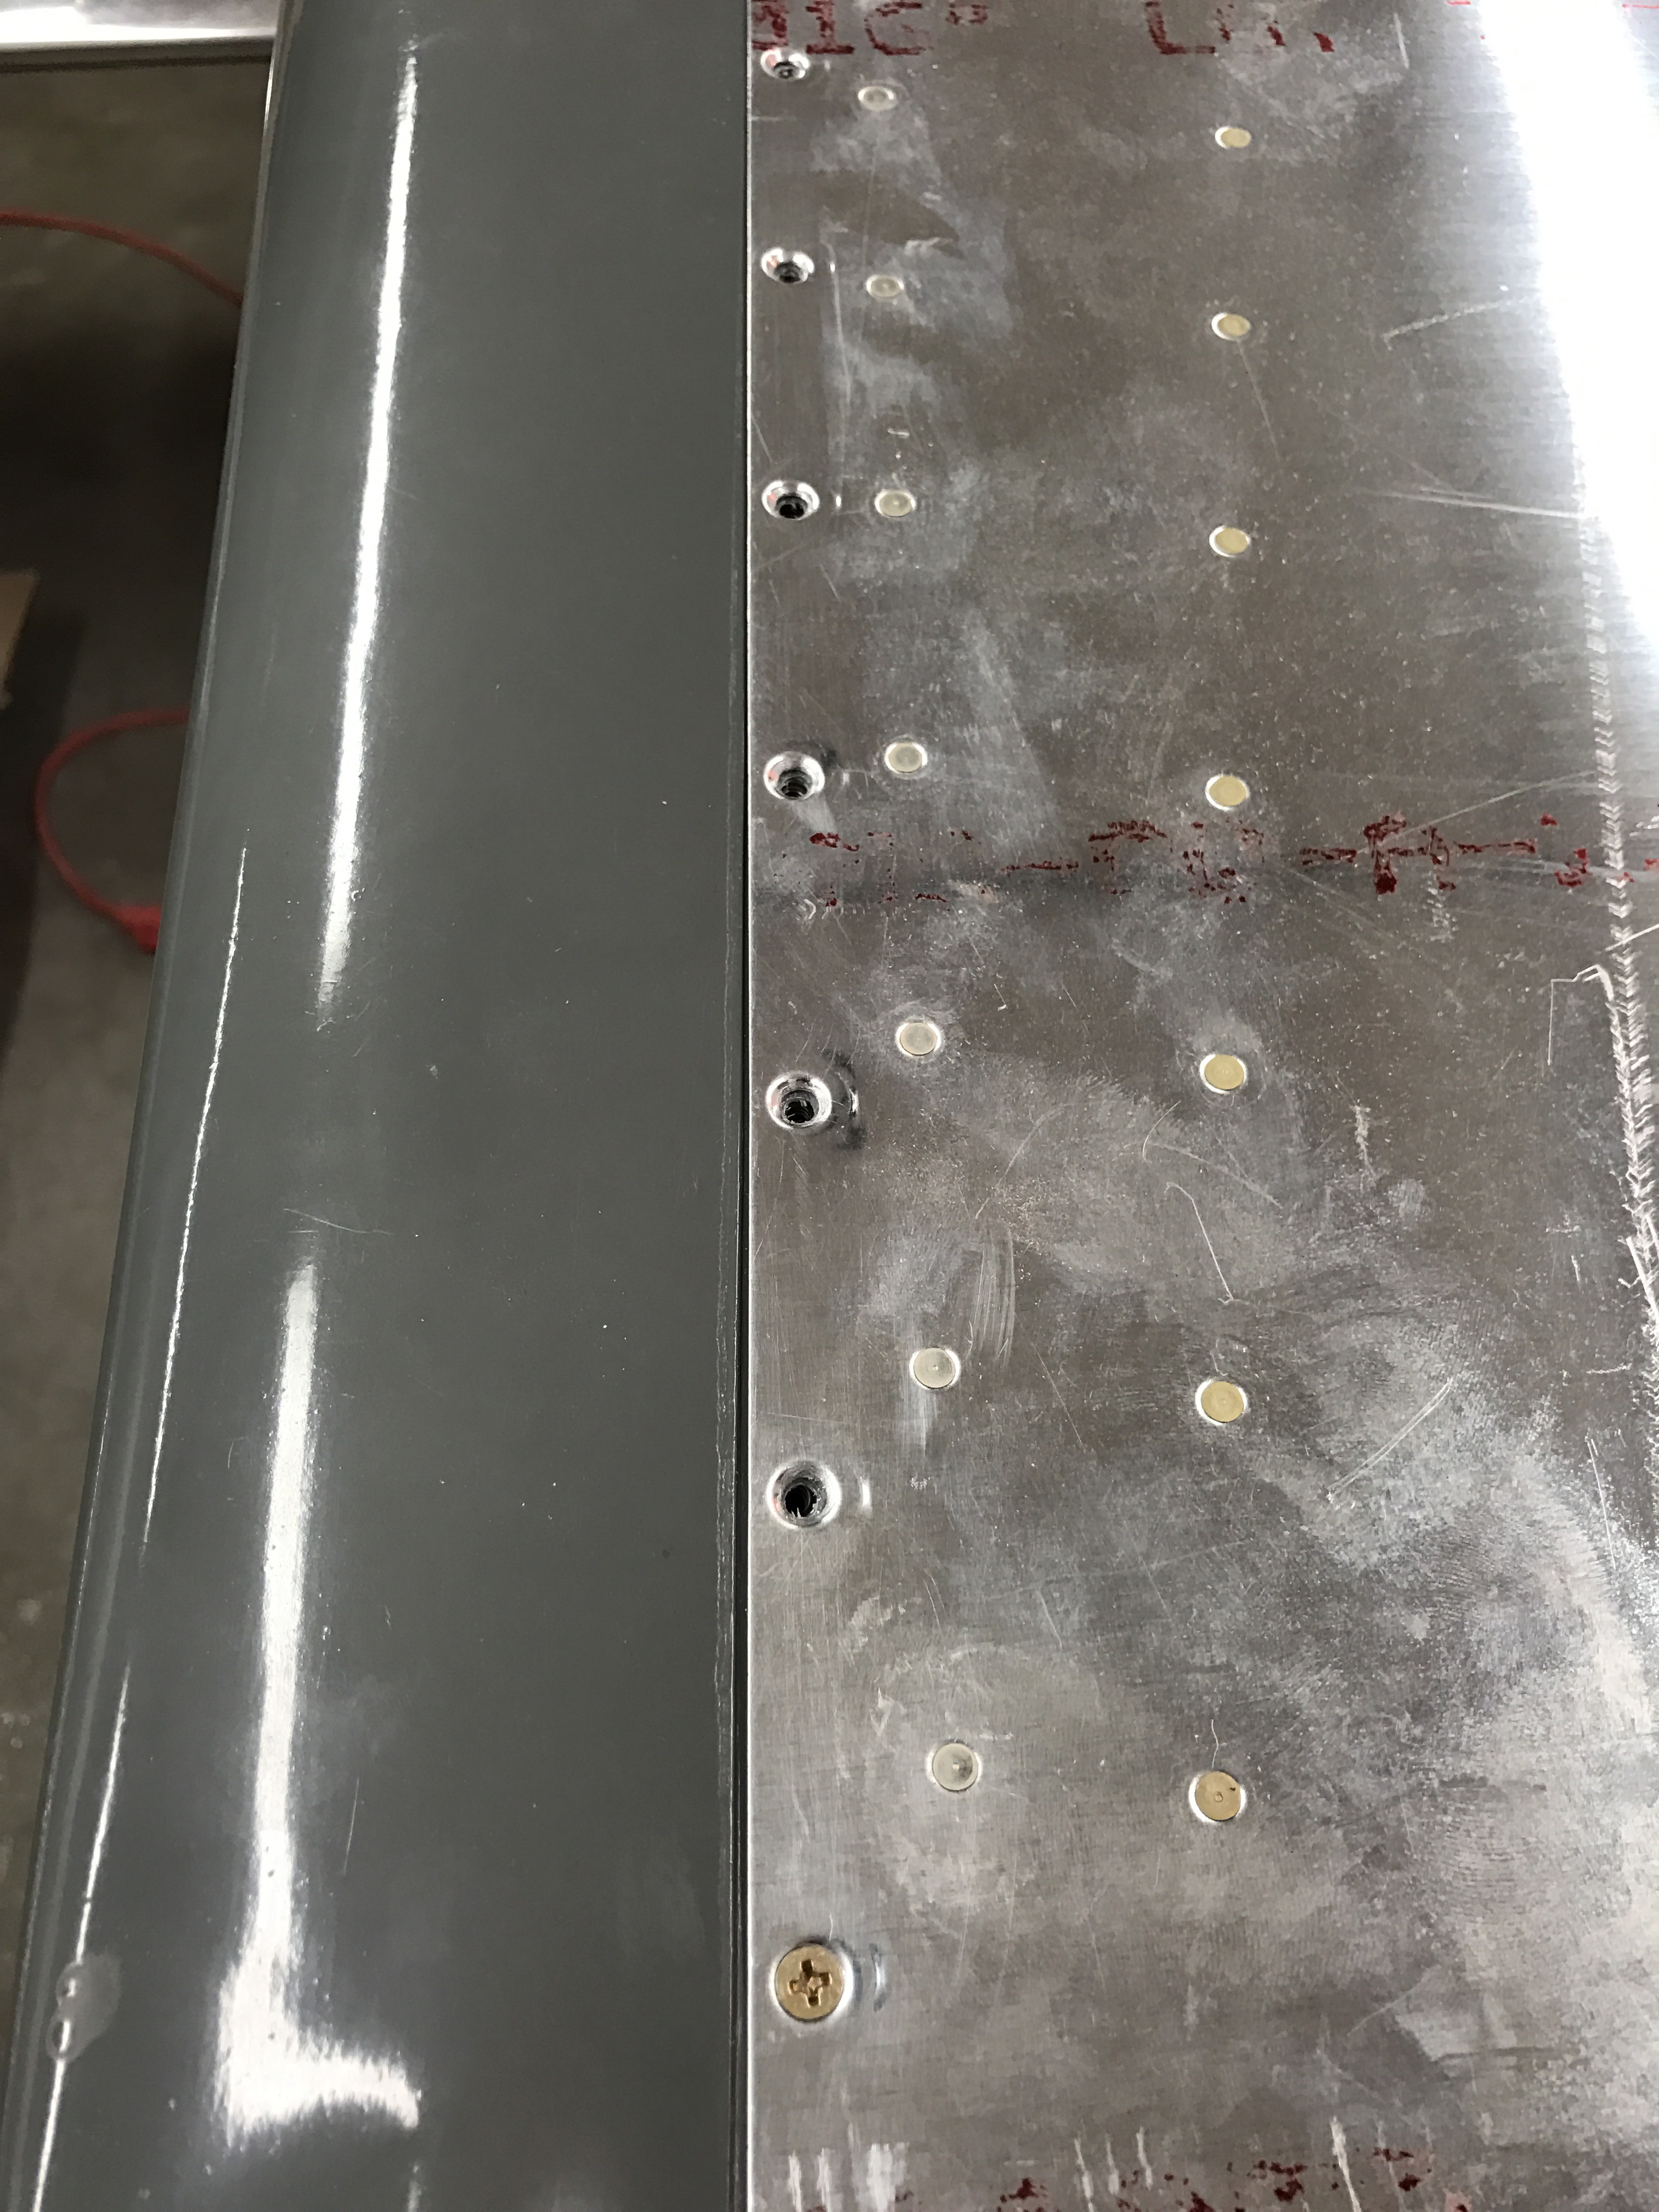
Top fairing trimmed, drilled #40, and cleco’ed in place

Sanding the bottom fairing to fit
Bottom fairing cleco’ed in place

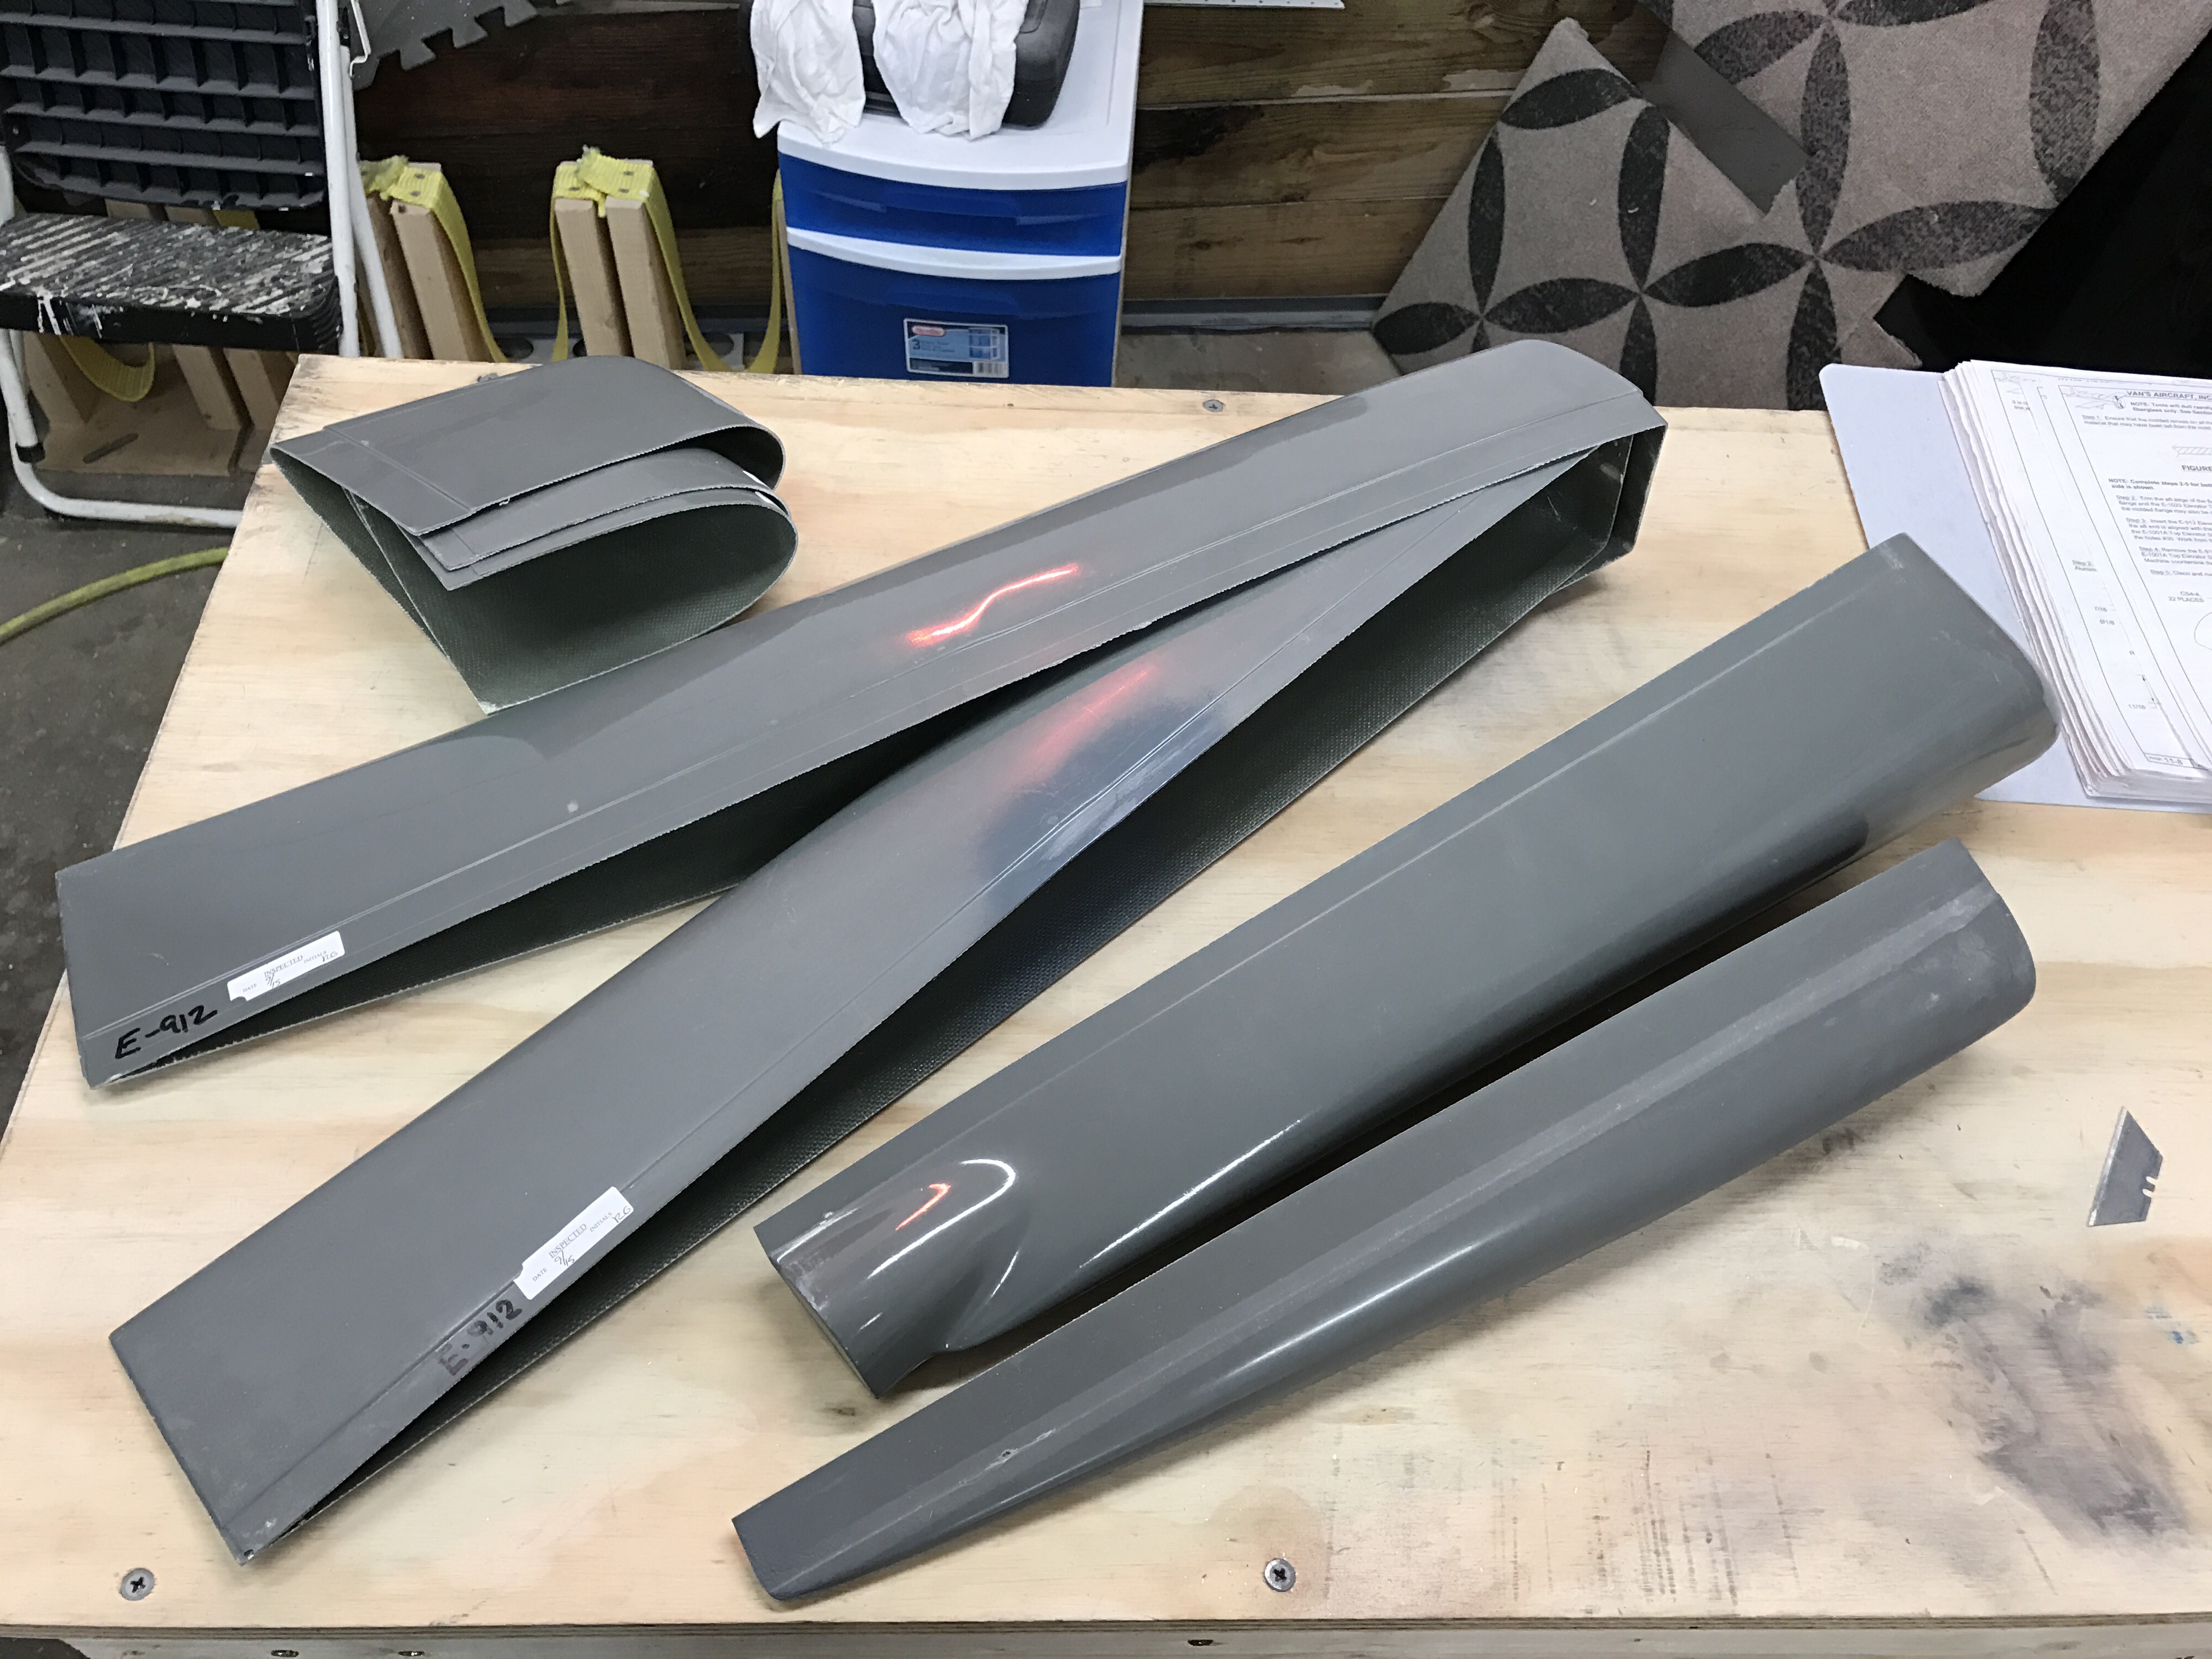
Rudder Fairings Complete.
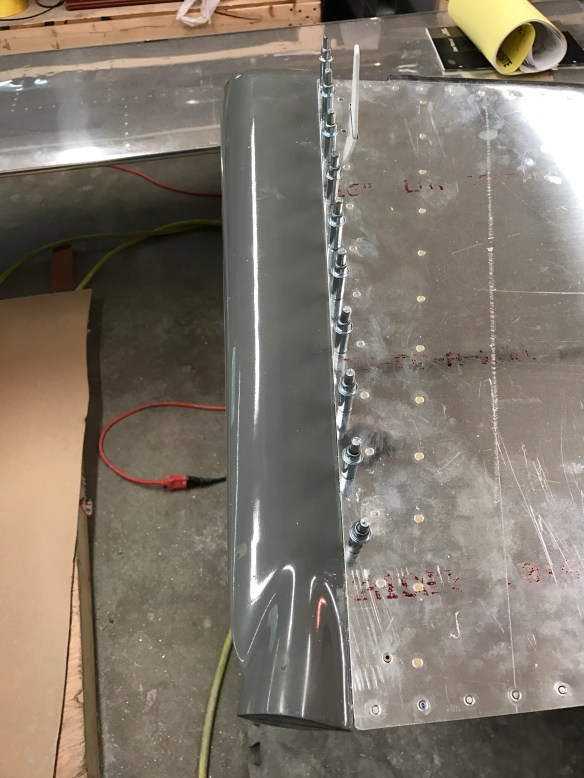
Then it was time to figure out the Horizontal Fairings. These sit in front of the elevator counterbalance arms and elevator tips. The tips seem to taper off a bit and are not straight. So I decided pretty early to trim the HS fairings to match.
I traced the leading edge of the counterbalance arm and fairing on a piece of paper to get a template to use to mark my cuts to the trailing edge of the HS fairing. This worked pretty well. I then was able to sand to make the gap as even and consistent as I could.
Left side test fit
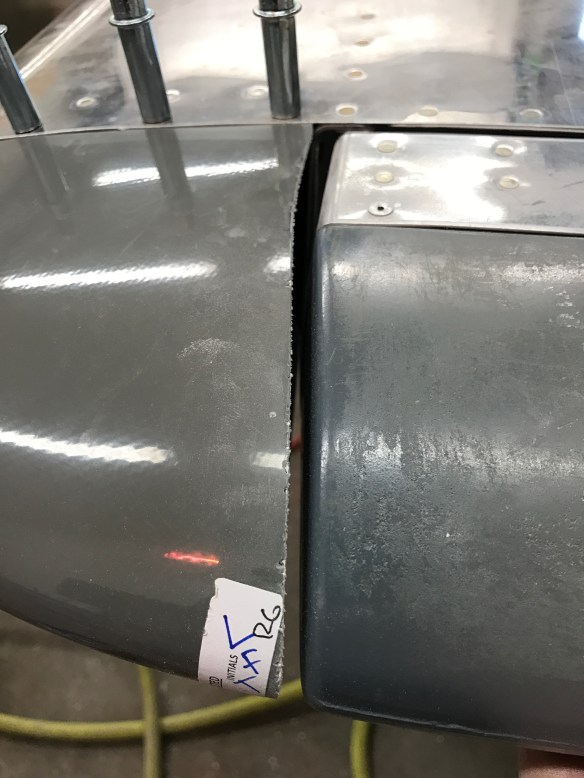
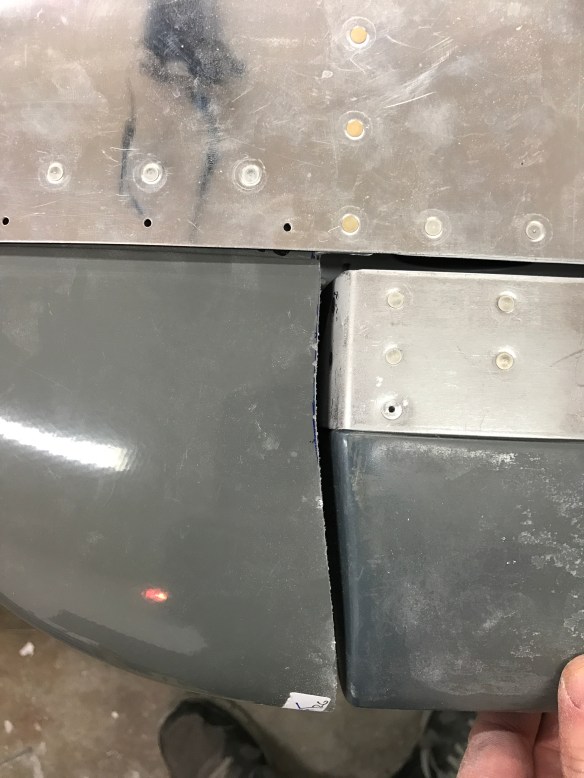
Left side Gap.
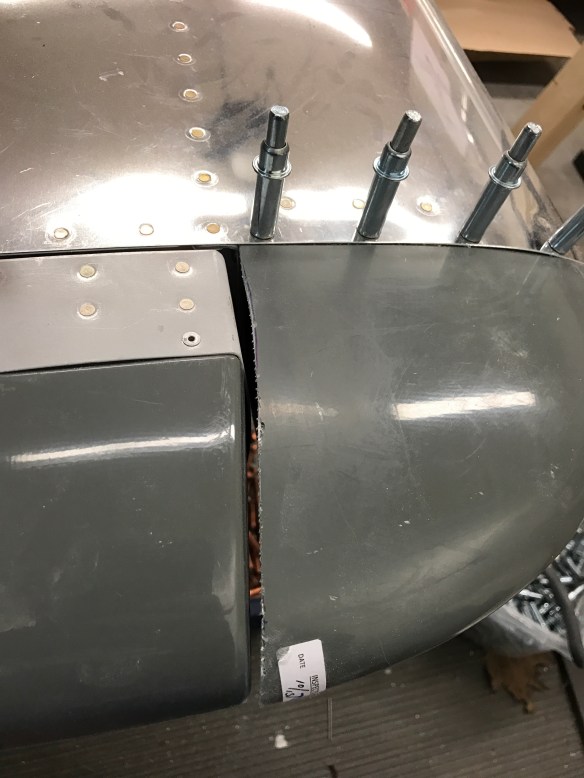
Right Side Gap
Next, the plans describe how to add a fiberglass layup to close out the aft ends of the fairings. I read an alternate method on VAF by one of the VAN’s employees that is detailed in the RV-14 plans which doesn’t involve trying to shape and tack a piece of foam into each opening.
– Use a piece of waxed aluminum to make a thin laminate with two layers of cloth and resin. If the close out piece is not flat, the metal can be bent/shaped to result in a laminate piece that will match the opening you are intending to seal.
– Once it is cured cut out the filler piece so that it is approx. 1/6″ bigger around perimeter of the fairing opening.
– Sand the interior (non smooth) surface of the lay-up, and about 1″ back from the edge of the fairing for additional bonding/glass lay-up later.
-With the fairing clecoed in place and tape/etc. being used to hold it in the desired finished shape, wet the edge of the fairing with resin… and hold the laminate in place with tape to the fairing until the resin fully cures.
-Uncleco and remove the fairing. Apply a fillet of flox mixture around the interior corner/intersection point between the laminate and the fairing. While the flox is still wet, add one more layer of glass to the inside of the laminate, large enough that it laps onto the fairing by about 1″. Cleco the fairing back onto the airframe while it fully cures.
– Sand the excess laminate flush to the fairing on the outside and radius the corner as desired (possible because of the flox fillet on the inside).
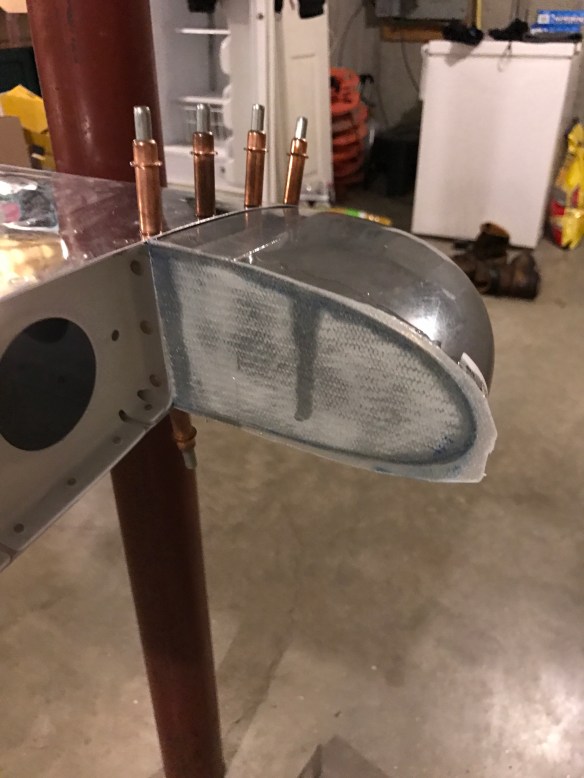
As mentioned above, seeing my ends to close out are not flat from me shaping them to the Elevator fairings, I cut some scrap metal (one piece for each fairing) and bent/shaped it to match each one. This will provide the base for my fiberglass layup that should hopefully match the cut line I made. Time will tell.


My first 2 ply layup

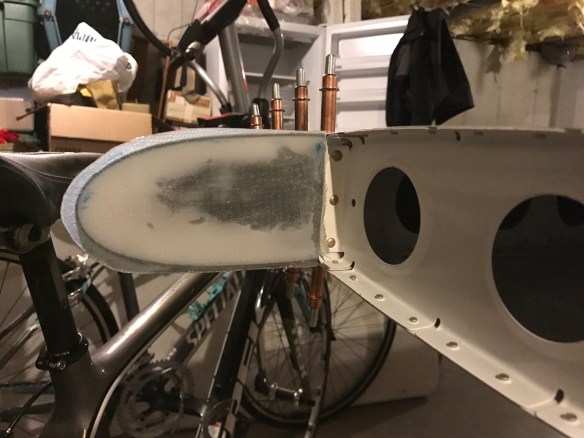
Prepping to start the right side
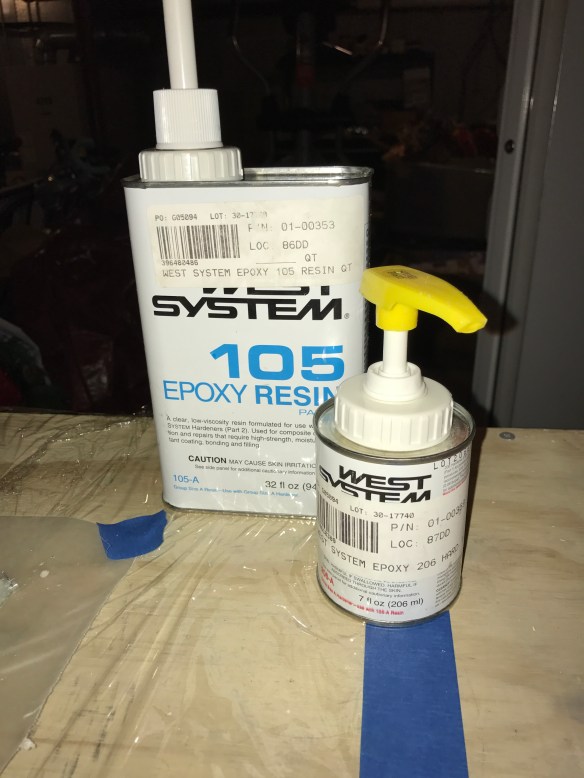
The Resin Epoxy and hardener I’m using

Both layups done and ready to cure.


