Tailcone Progress

A bunch of progress since the last post.

An idea that I stole from Ed Kranz was to take some used carpet and cut out a spot for a back-riveting plate. Like him, I had to  shim underneath of the plate to make sure it sat proud of the carpet surface. The carpet allowed clecos to be inserted from the inside of the structure and poke into the carpet without disrupting a solid surface to rivet against. After a few sessions of adjustments, I finally got it just right to be a solid setup. This has made very hard to reach areas to rivet with just one person much more doable.

I assembled the right side first, followed by the left side, to keep the structure as open as possible for access to back riveting. One mistake that I made was getting the bottom aft skin on top of of the J-channel stiffener when it should really be between the outer skin and the stiffener.

Bottom Skin between J channel and flange tab.
A slight gap created by the incorrect stackup.

I had to drill out about 17 rivets to pull the bottom aft skin out and correct. In doing so, I buggered up one hole by somehow tearing the dimple.

I asked Van’s how to deal with this issue, seeing I don’t have edge clearance to just drill a new hole. They said to stop drill it and make a backing tab to put behind the flange tab.

Stop drilled with a 3/64″ drill
New backing tab curved slightly to match
Good fit

Some other pics of the progress by the end of the weekend.

Tailcone Priming and Final Assy. Started

Boy there are a lot of parts to prime in the tailcone. It took several sessions to finish all of the priming. I started by doing the skins, and then 2 additional sessions to do the remaining smaller parts. On most parts I take the blue protective coating off of the part the first time I start to work on it. With the skins, I’ve been leaving the outer blue protective coating on until later in the process to help prevent scratches. Upon removing the coating from the side skins, I found a bunch of surface corrosion starting. Nothing too terrible, but enough that some spots took a lot of elbow grease to sand off. I mostly used a maroon scotch brite pad, but a couple of stubborn spots needed a little fine sandpaper to go a bit deeper, followed by more scotch brite to get it completely off. I then sprayed the areas with some rattle can self-etching primer to help protect it for now.

Lots of these corrosion spots on the side skins
After a little scuffing
Mostly all gone

This picture will give you an idea of how many spots there were to deal with.

Pile ‘O Primed Parts
Initial Couple of Parts Assembled
Bulkheads Riveted Together
img_8082
Getting Ready to rivet skins to stiffeners


More Tailcone

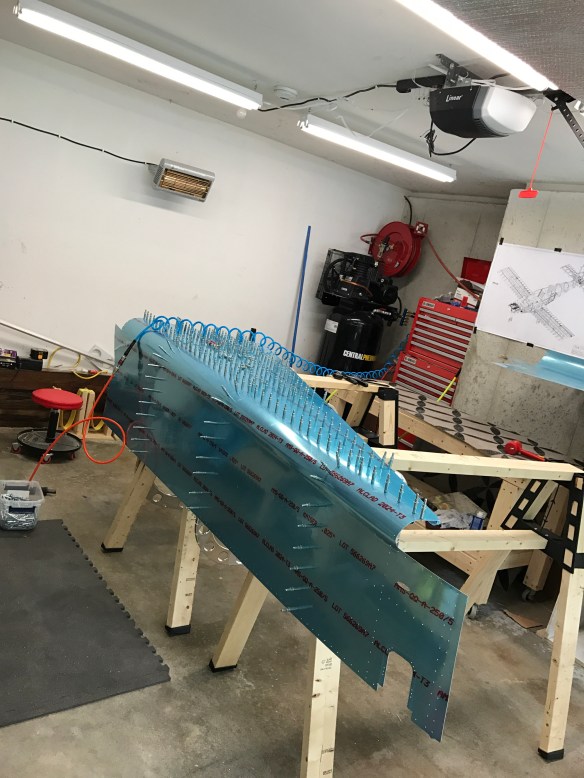
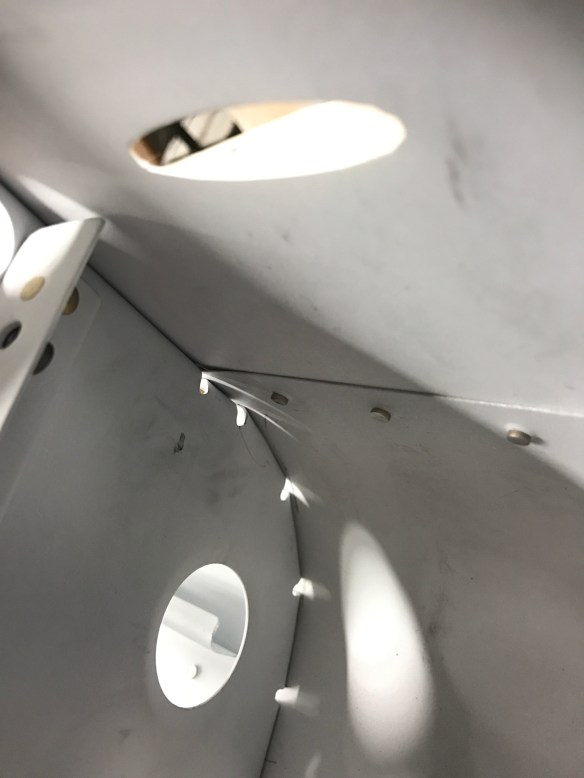
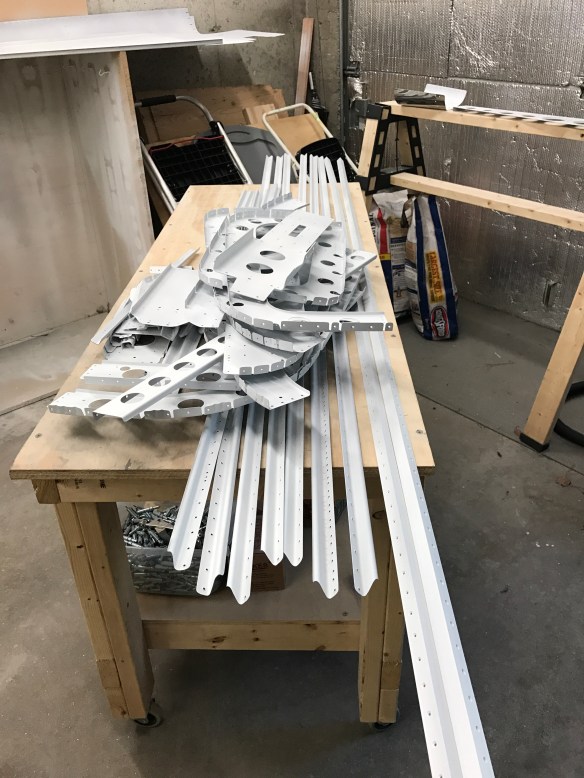
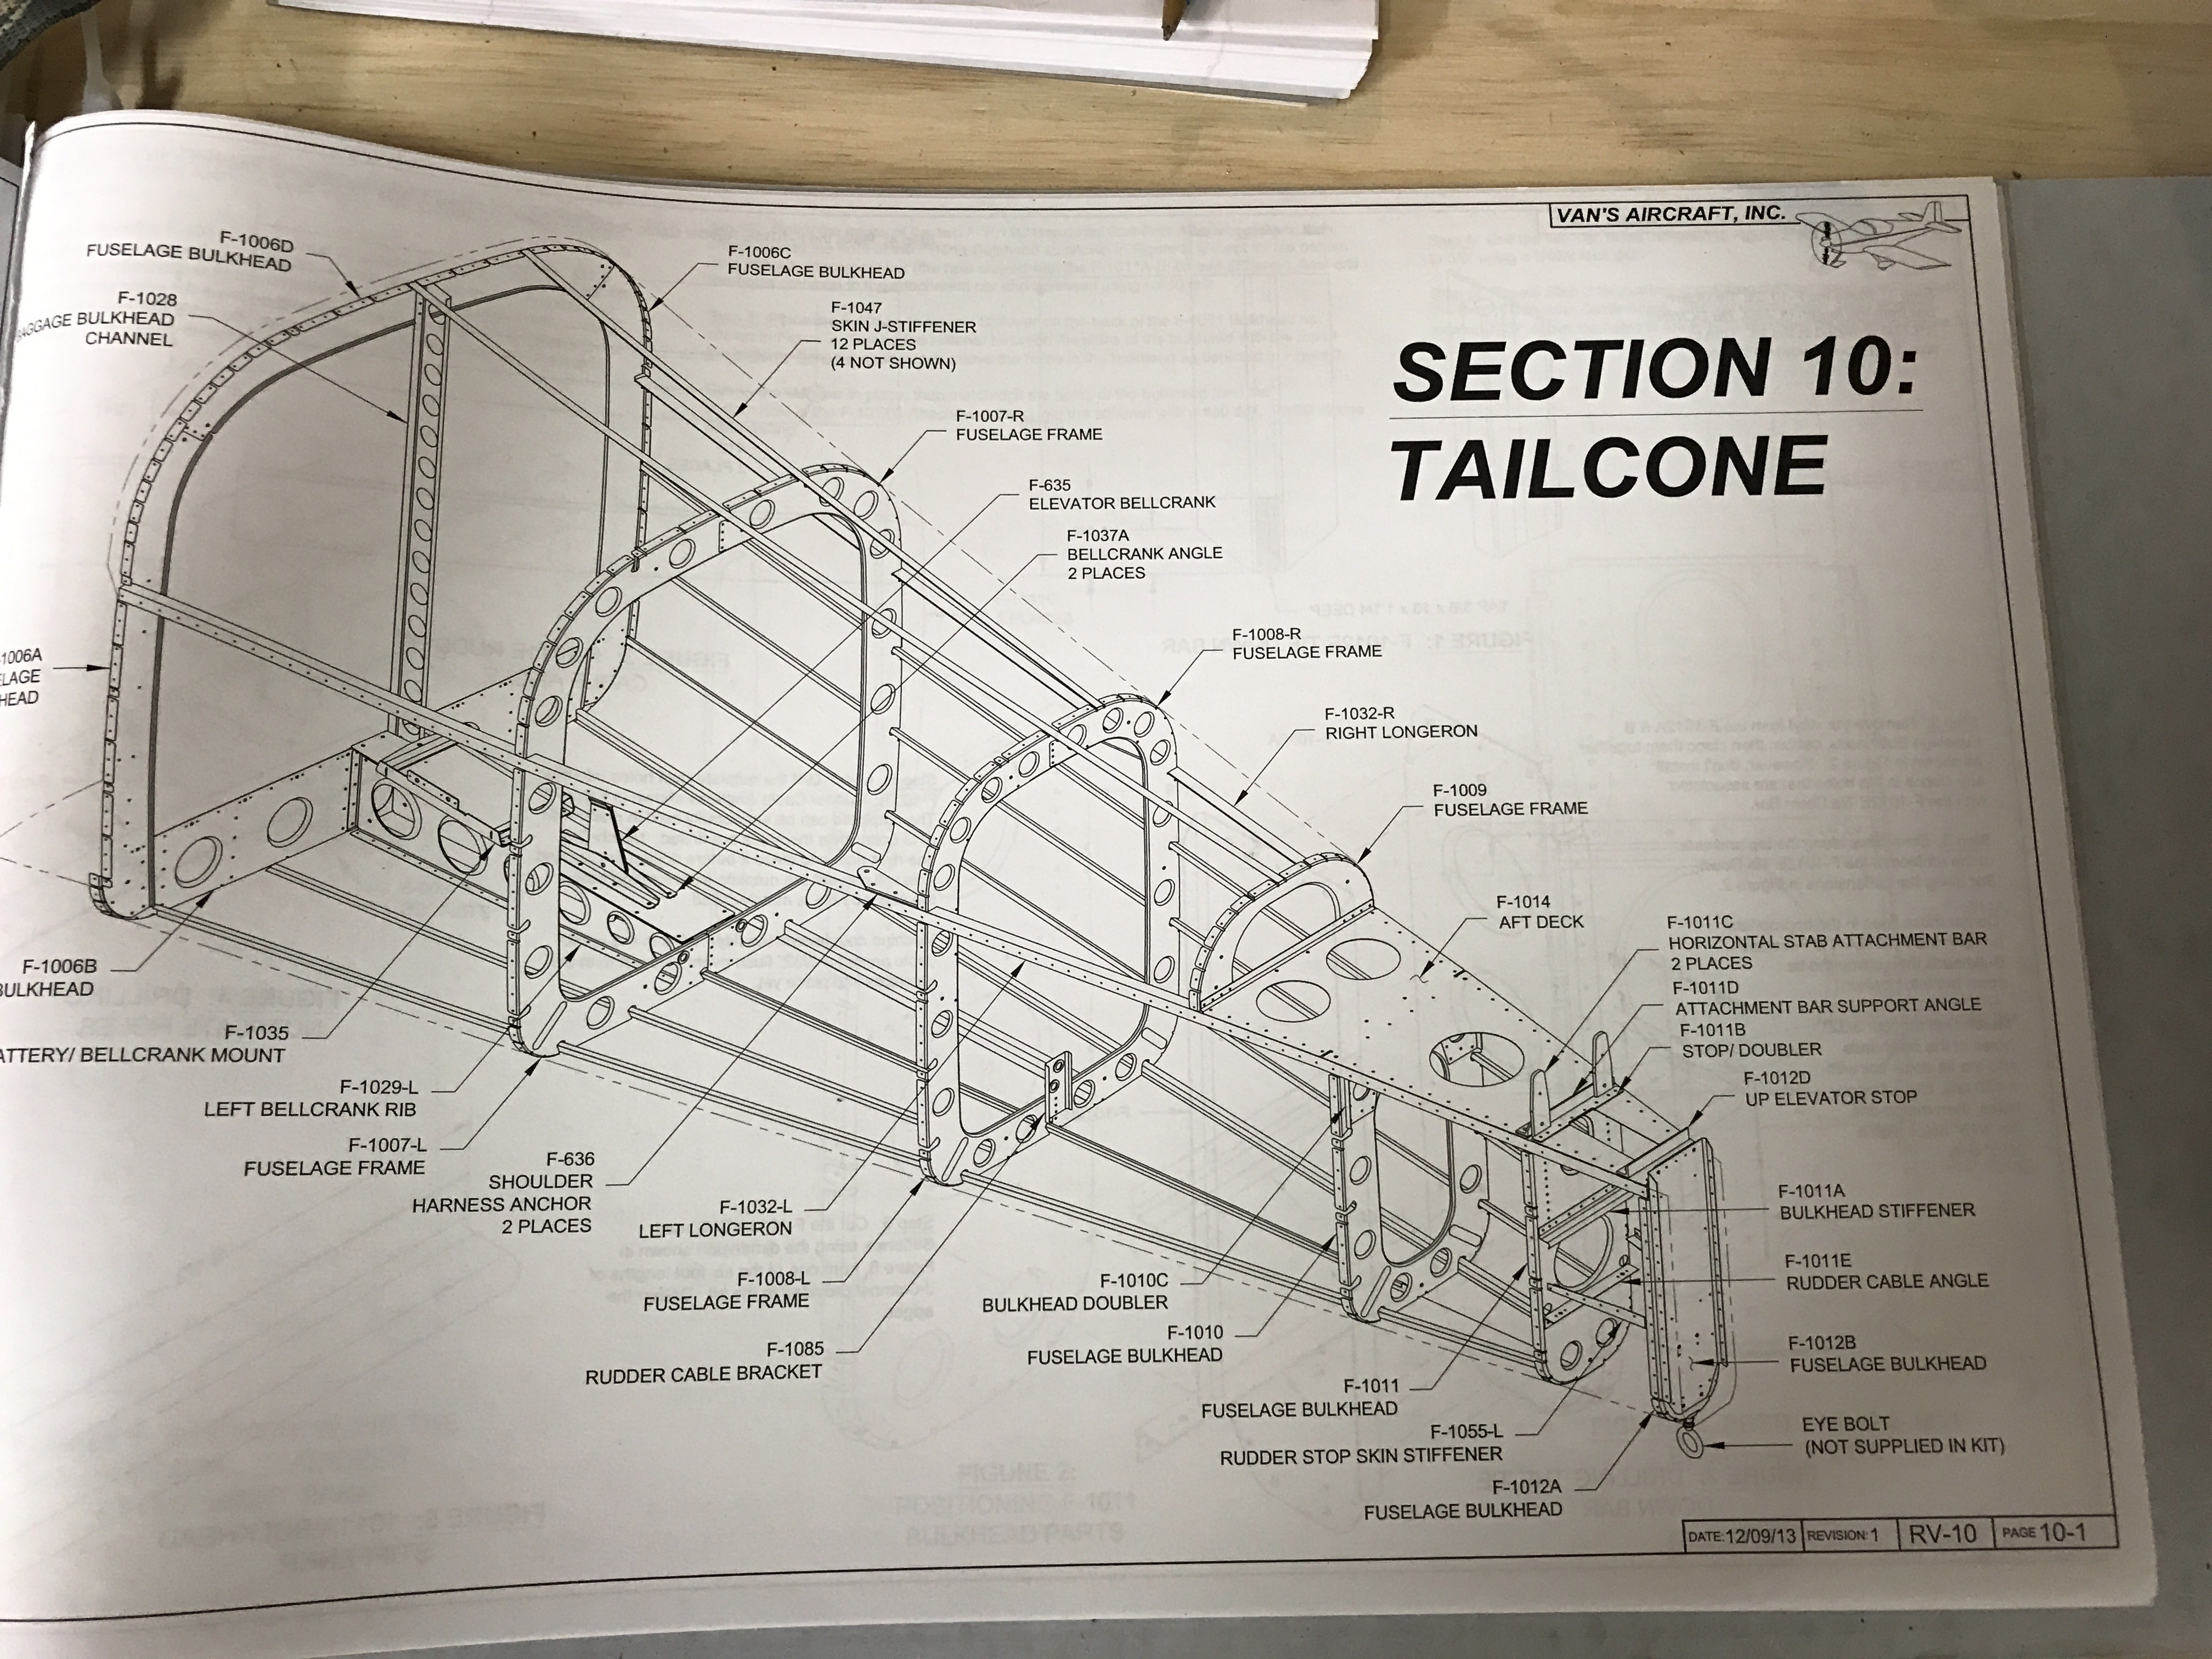
Making decent progress on the tailcone. I’ve got the lower structure completed and match drilled. Starting to work on putting the top skins on now. Getting close to taking everything apart to do some massive deburring.

I’ve also placed my order for the Quick Build Fuselage. Initially, I was thinking I would slow build this part, but have since decided to order the QB. I didn’t do it the standard way in terms of ordering both the QB wings and fuse at the same time, but that should be fine. It also helps spread out the money outlay a little bit.

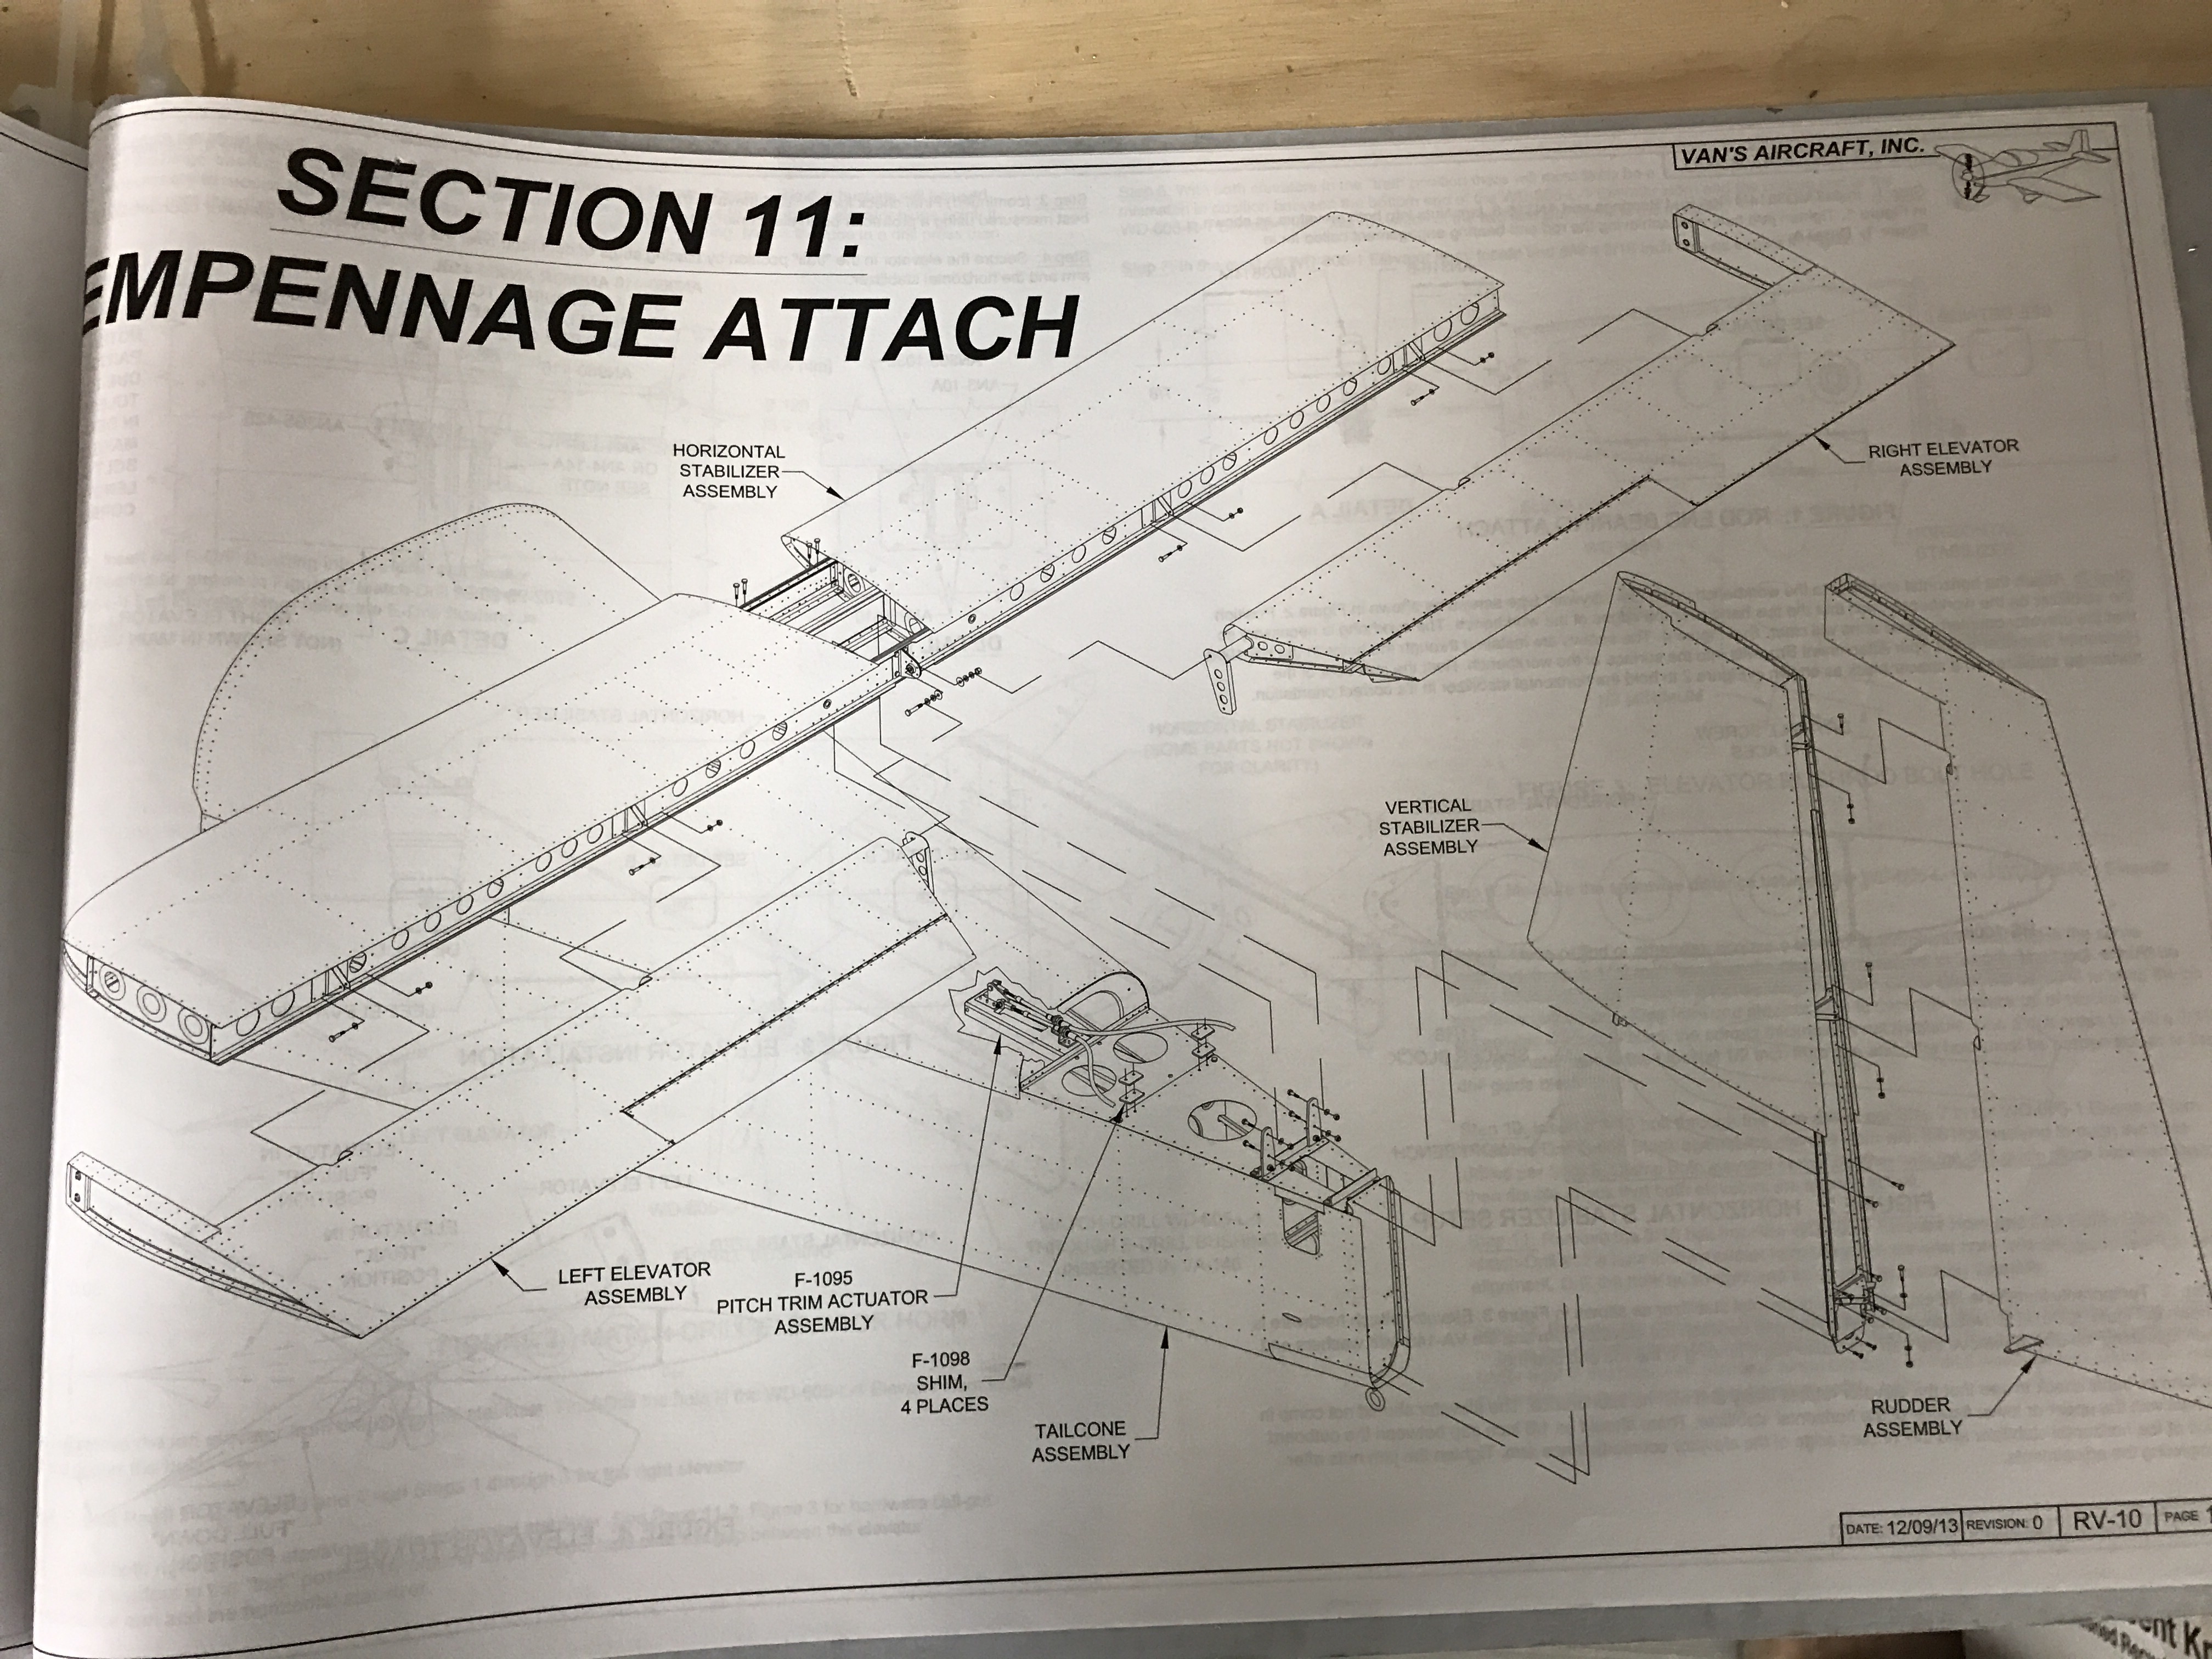
My wings are currently scheduled to be shipped in January. Fuselage in April. I should have plenty to keep me busy between now and January. I still have to finish the tailcone, attach the entire emp together, and do the fiberglass fairings. That should keep me busy until the wings come. Then I’ll have some stuff to work on with the wings prior to getting the Fuse a few months later.


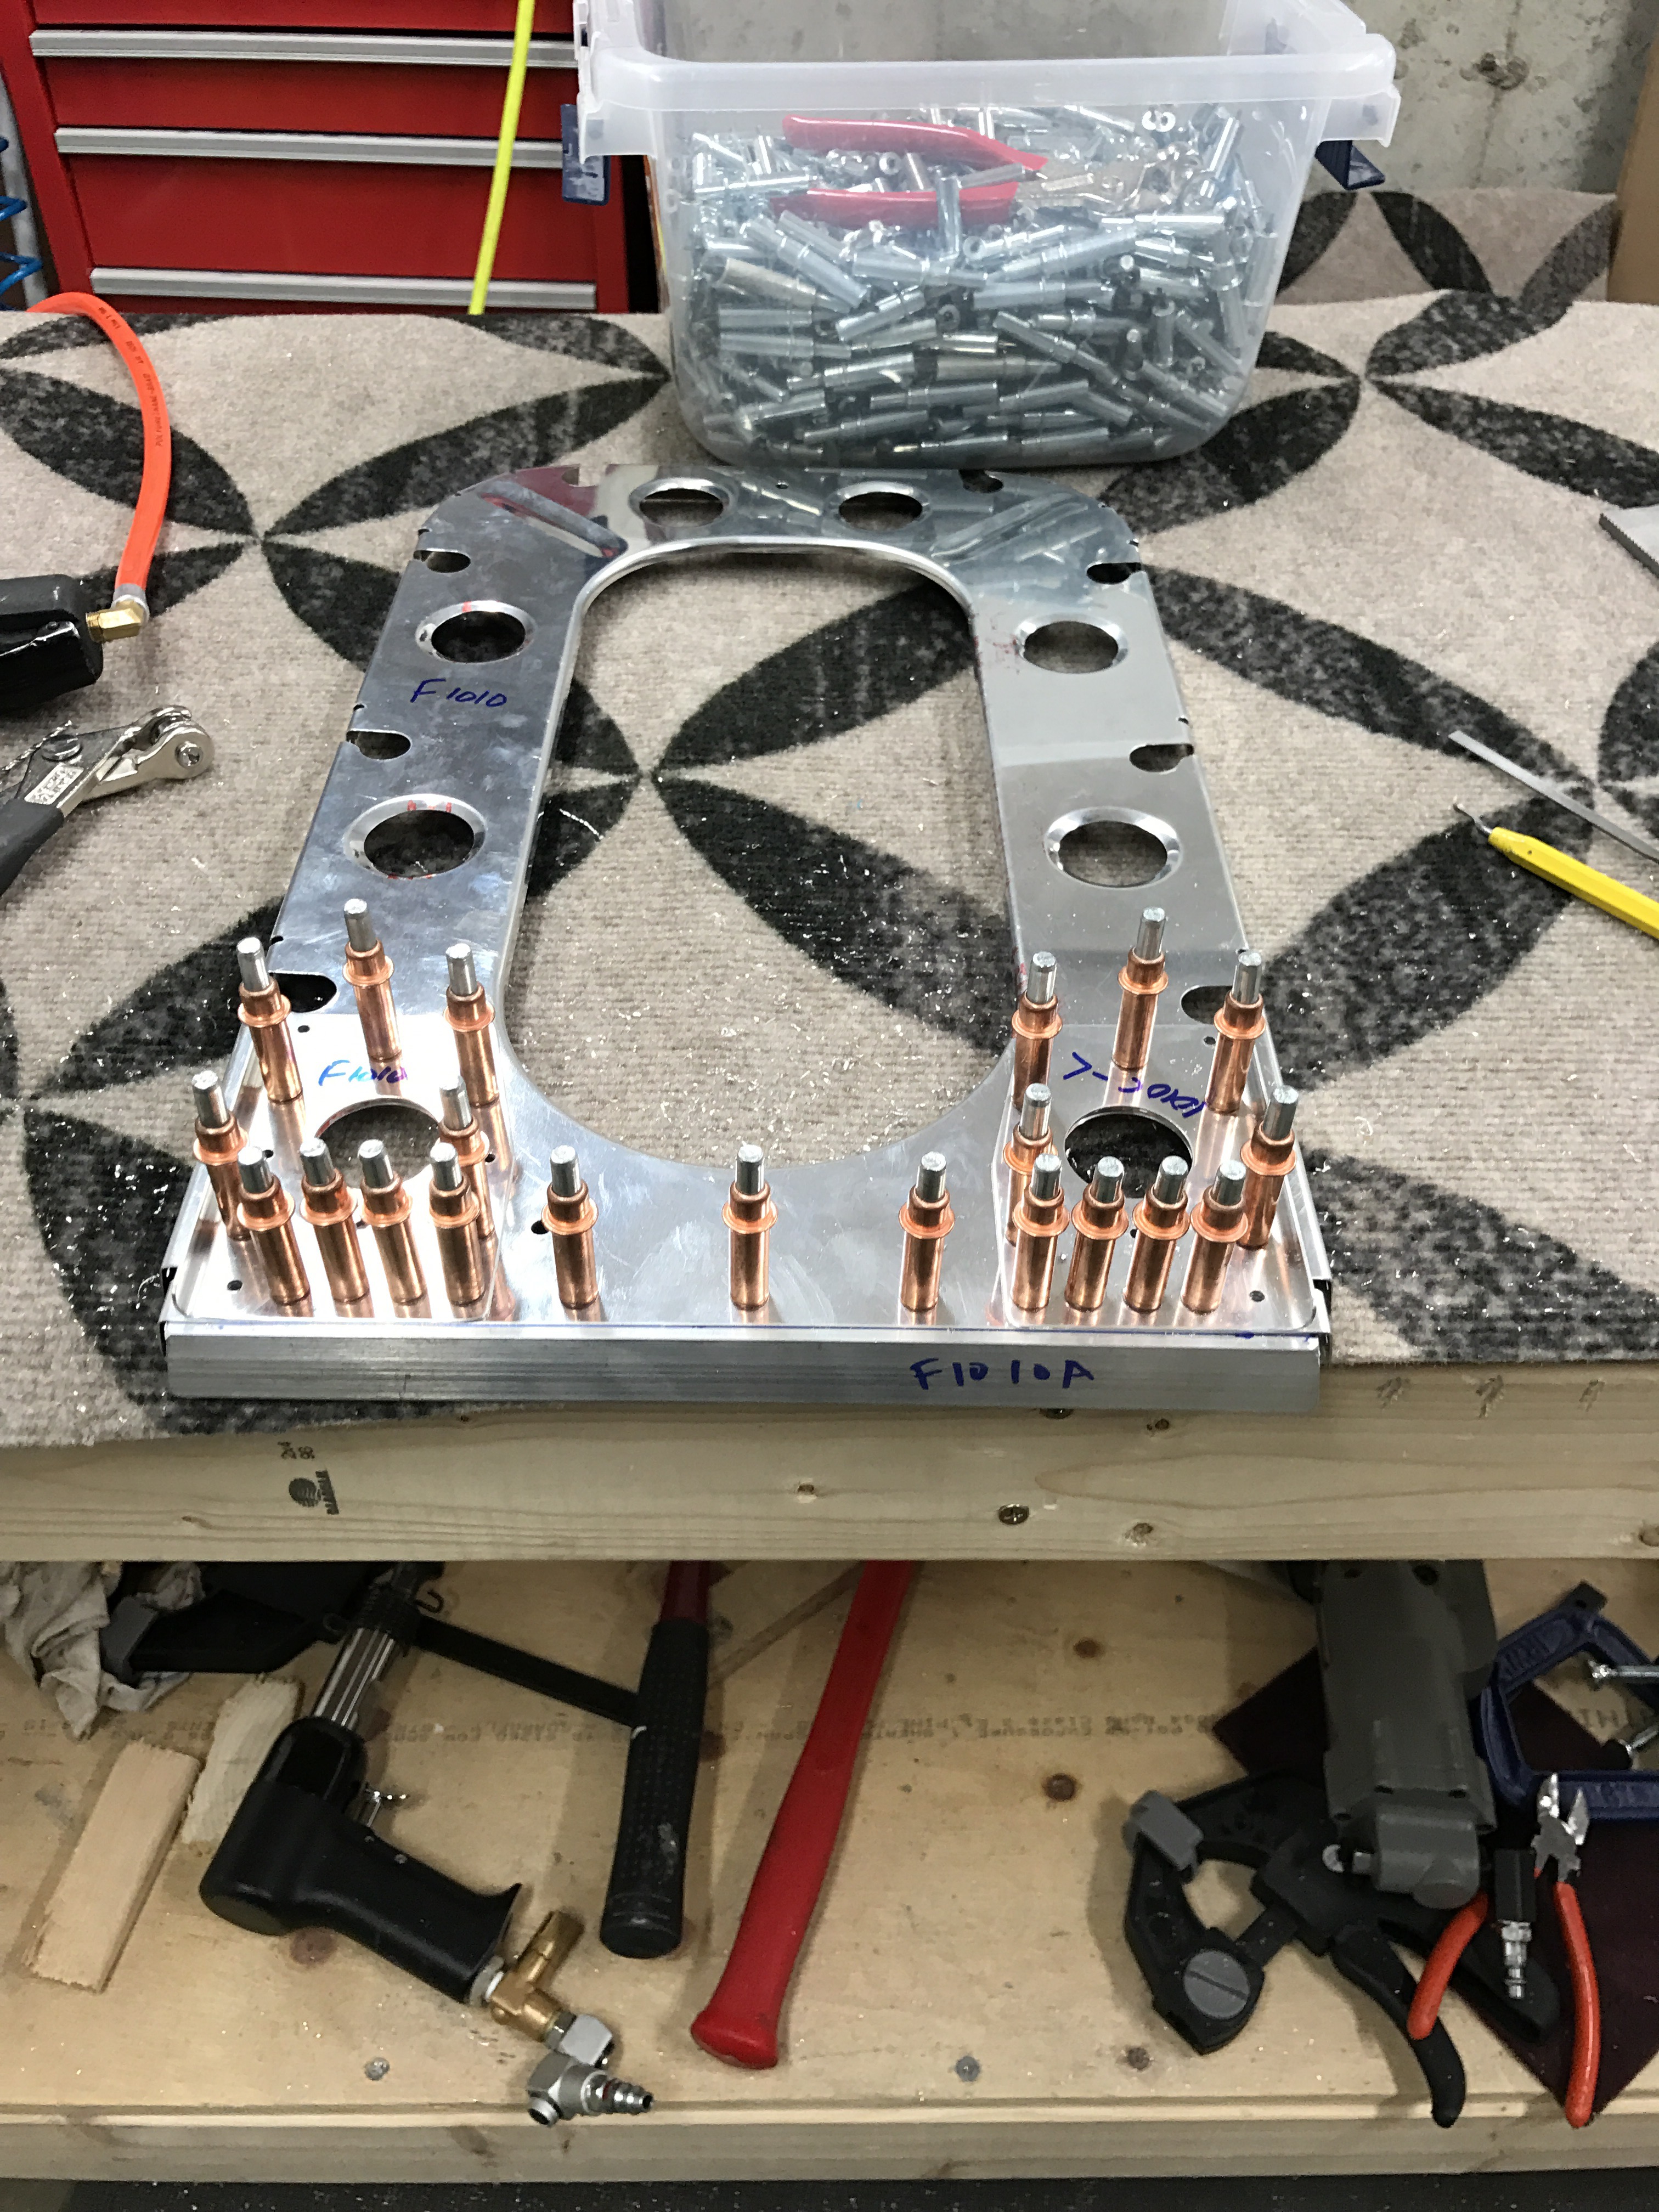
Starting to put the bulkheads on the bottom skin.

A video of me match drilling one of the bottom J-Channel Stiffeners.

Right side skin attached
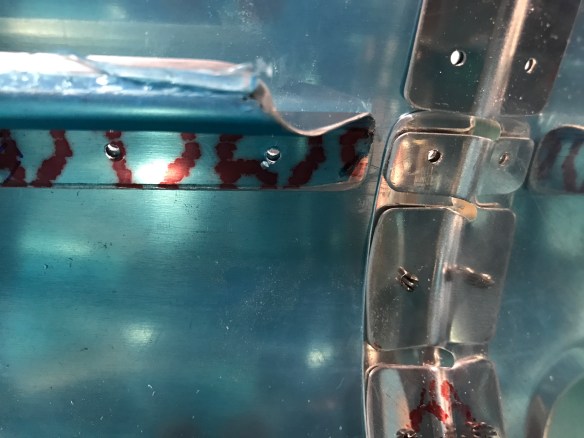
Center line on J-channel stiffeners showing through the skin holes to make sure of proper edge clearance when drilling. 

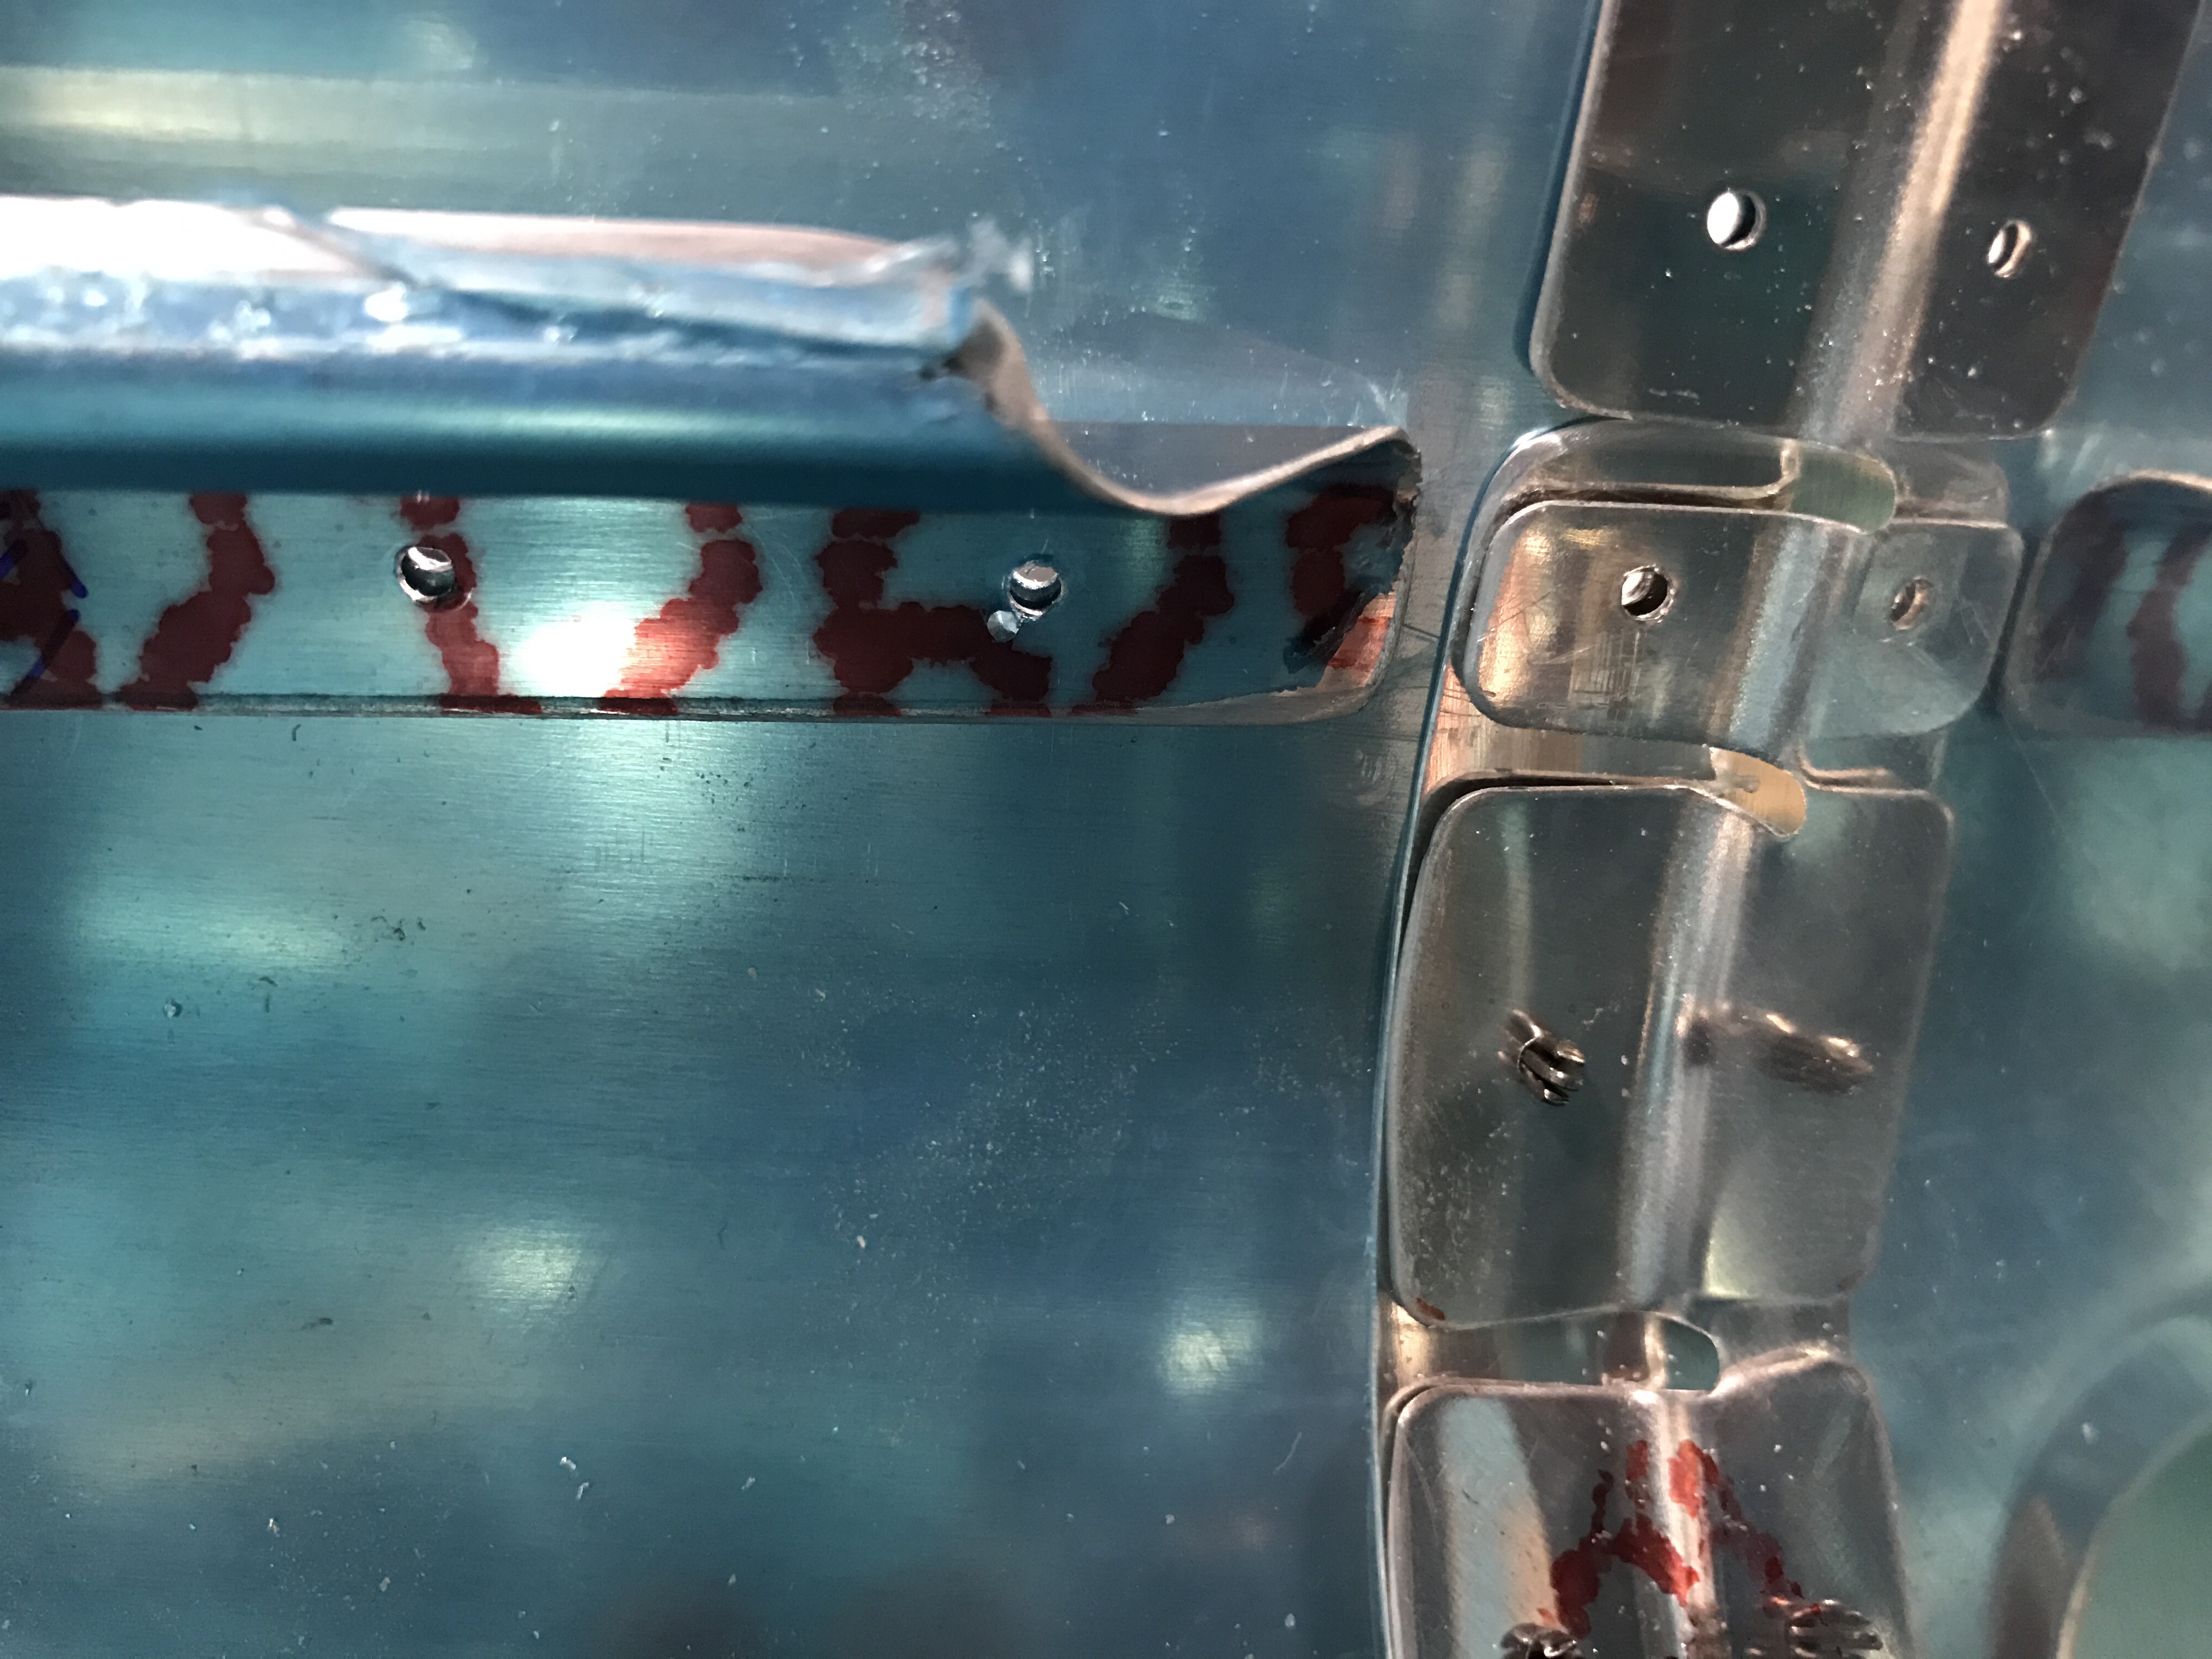
Then I realized I had made a mistake. I had aligned one of the J-channel stiffeners to the wrong starting hole. Oops.

I had actually discovered it when I was checking to make sure that the aft end of the stiffener was captured by the tab in the bulkhead. Clearly it wasn’t.

So what I did was to slide the stiffener down and align the first drilled hole with the hole it should have aligned to. The end result was I had to drill extra holes almost equally spaced between the existing holes along the entire length of the stiffener. This worked well. I ran it by Van’s and got their blessing as well just to be sure the extra holes wouldn’t compromise the stiffener too much.

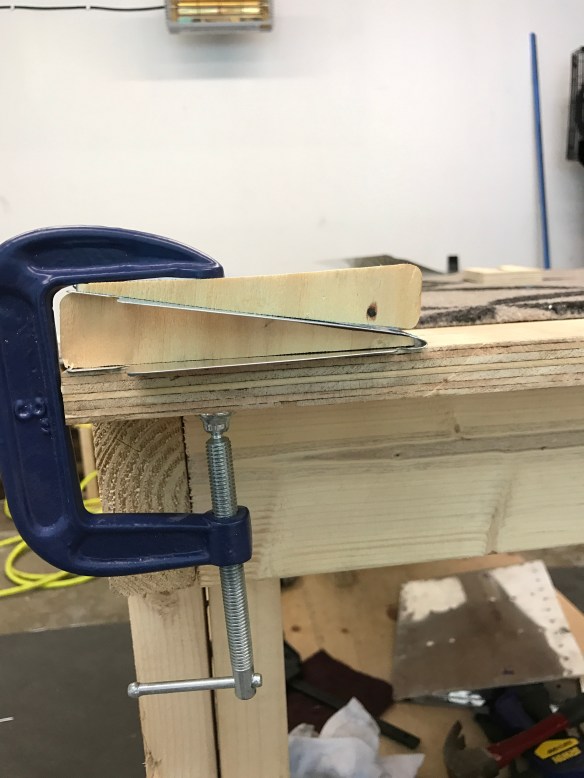
Shows the first hole in the stiffener aligned properly now. You can see new holes need to be drilled about equidistant between the existing holes in the stiffener. 
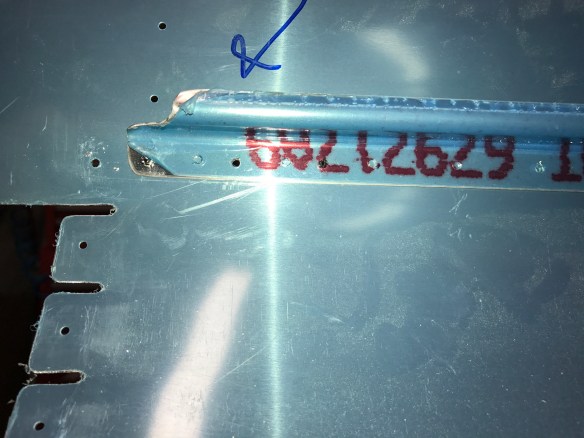
First couple of extra holes drilled. 
Starting to look like a real airplane piece
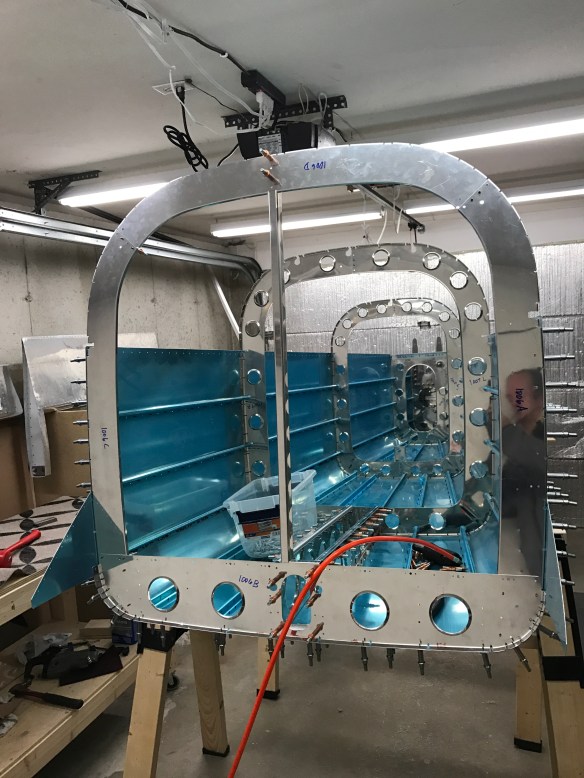
View from the front end looking back.
Aft deck on and aligning the longerons with clamps
img_7921
Flipped on its side to match drill the bottom holes


Start of Section 10 – The Tailcone

The elevators are done with the exception of the trim tabs… Well the first iteration of the trim tabs anyways. The main mistake I made on the trim tabs was bending the close-out tabs on the end too close to the reliefs in the skins. I misread the directions and thought I was supposed to put the supporting wooden blocks 1/32″ to the inside, when really it was in the opposite direction. The end result is some bulging as you approach the ends of the tabs because the tabs are too long. Not real terrible, but I’m just not happy with how they came out. So parts are on order to build new ones, which won’t take more than a few hours to complete.

Testing the trailing edge bend of the trim tabs
Bending the close-out tabs (wood blocks placed too far inboard)
Trim tab hinge in place and match drilled
Proseal curing…

So for now, I’m on to Section 10- The Tailcone.

Rear tie-down anchor point

Tailcone floor plus lots of parts prepped in the background