I bought a new compressor to give me some more capacity and be a little quieter seeing it’s in the garage with me. I decided to get a 2 stage, 60 gallon model from Harbor Freight. It refills very quickly now and is much better when running the air drill or spraying primer.
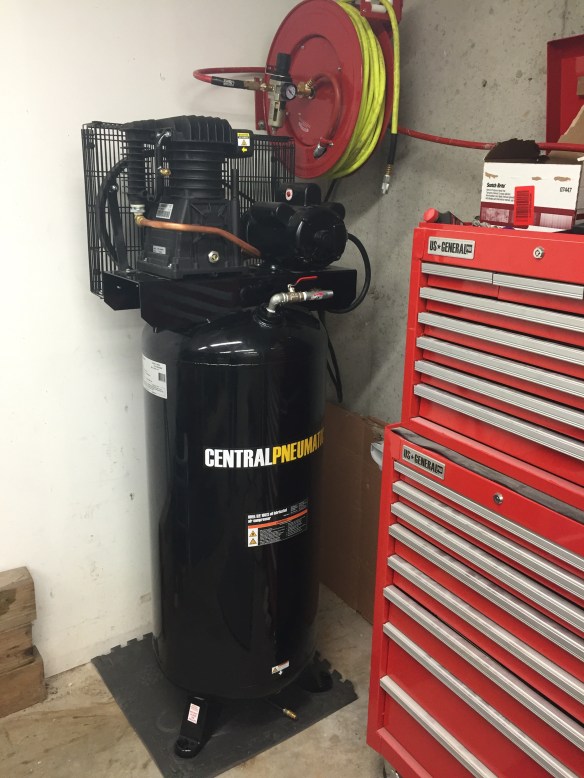
New Compressor
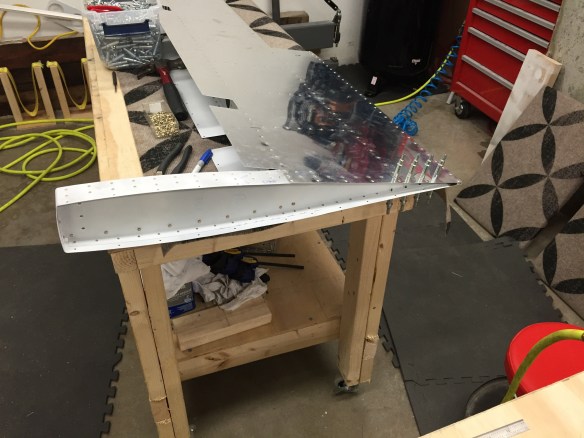
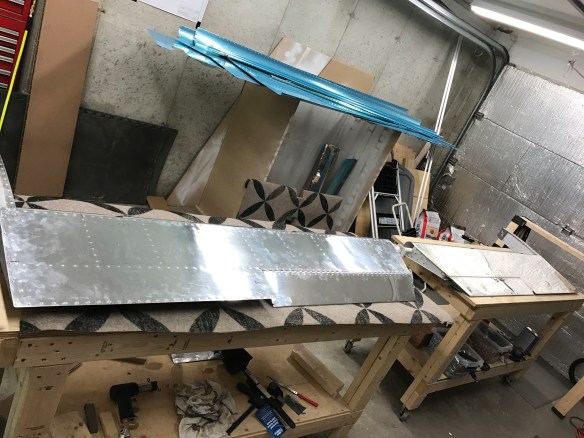
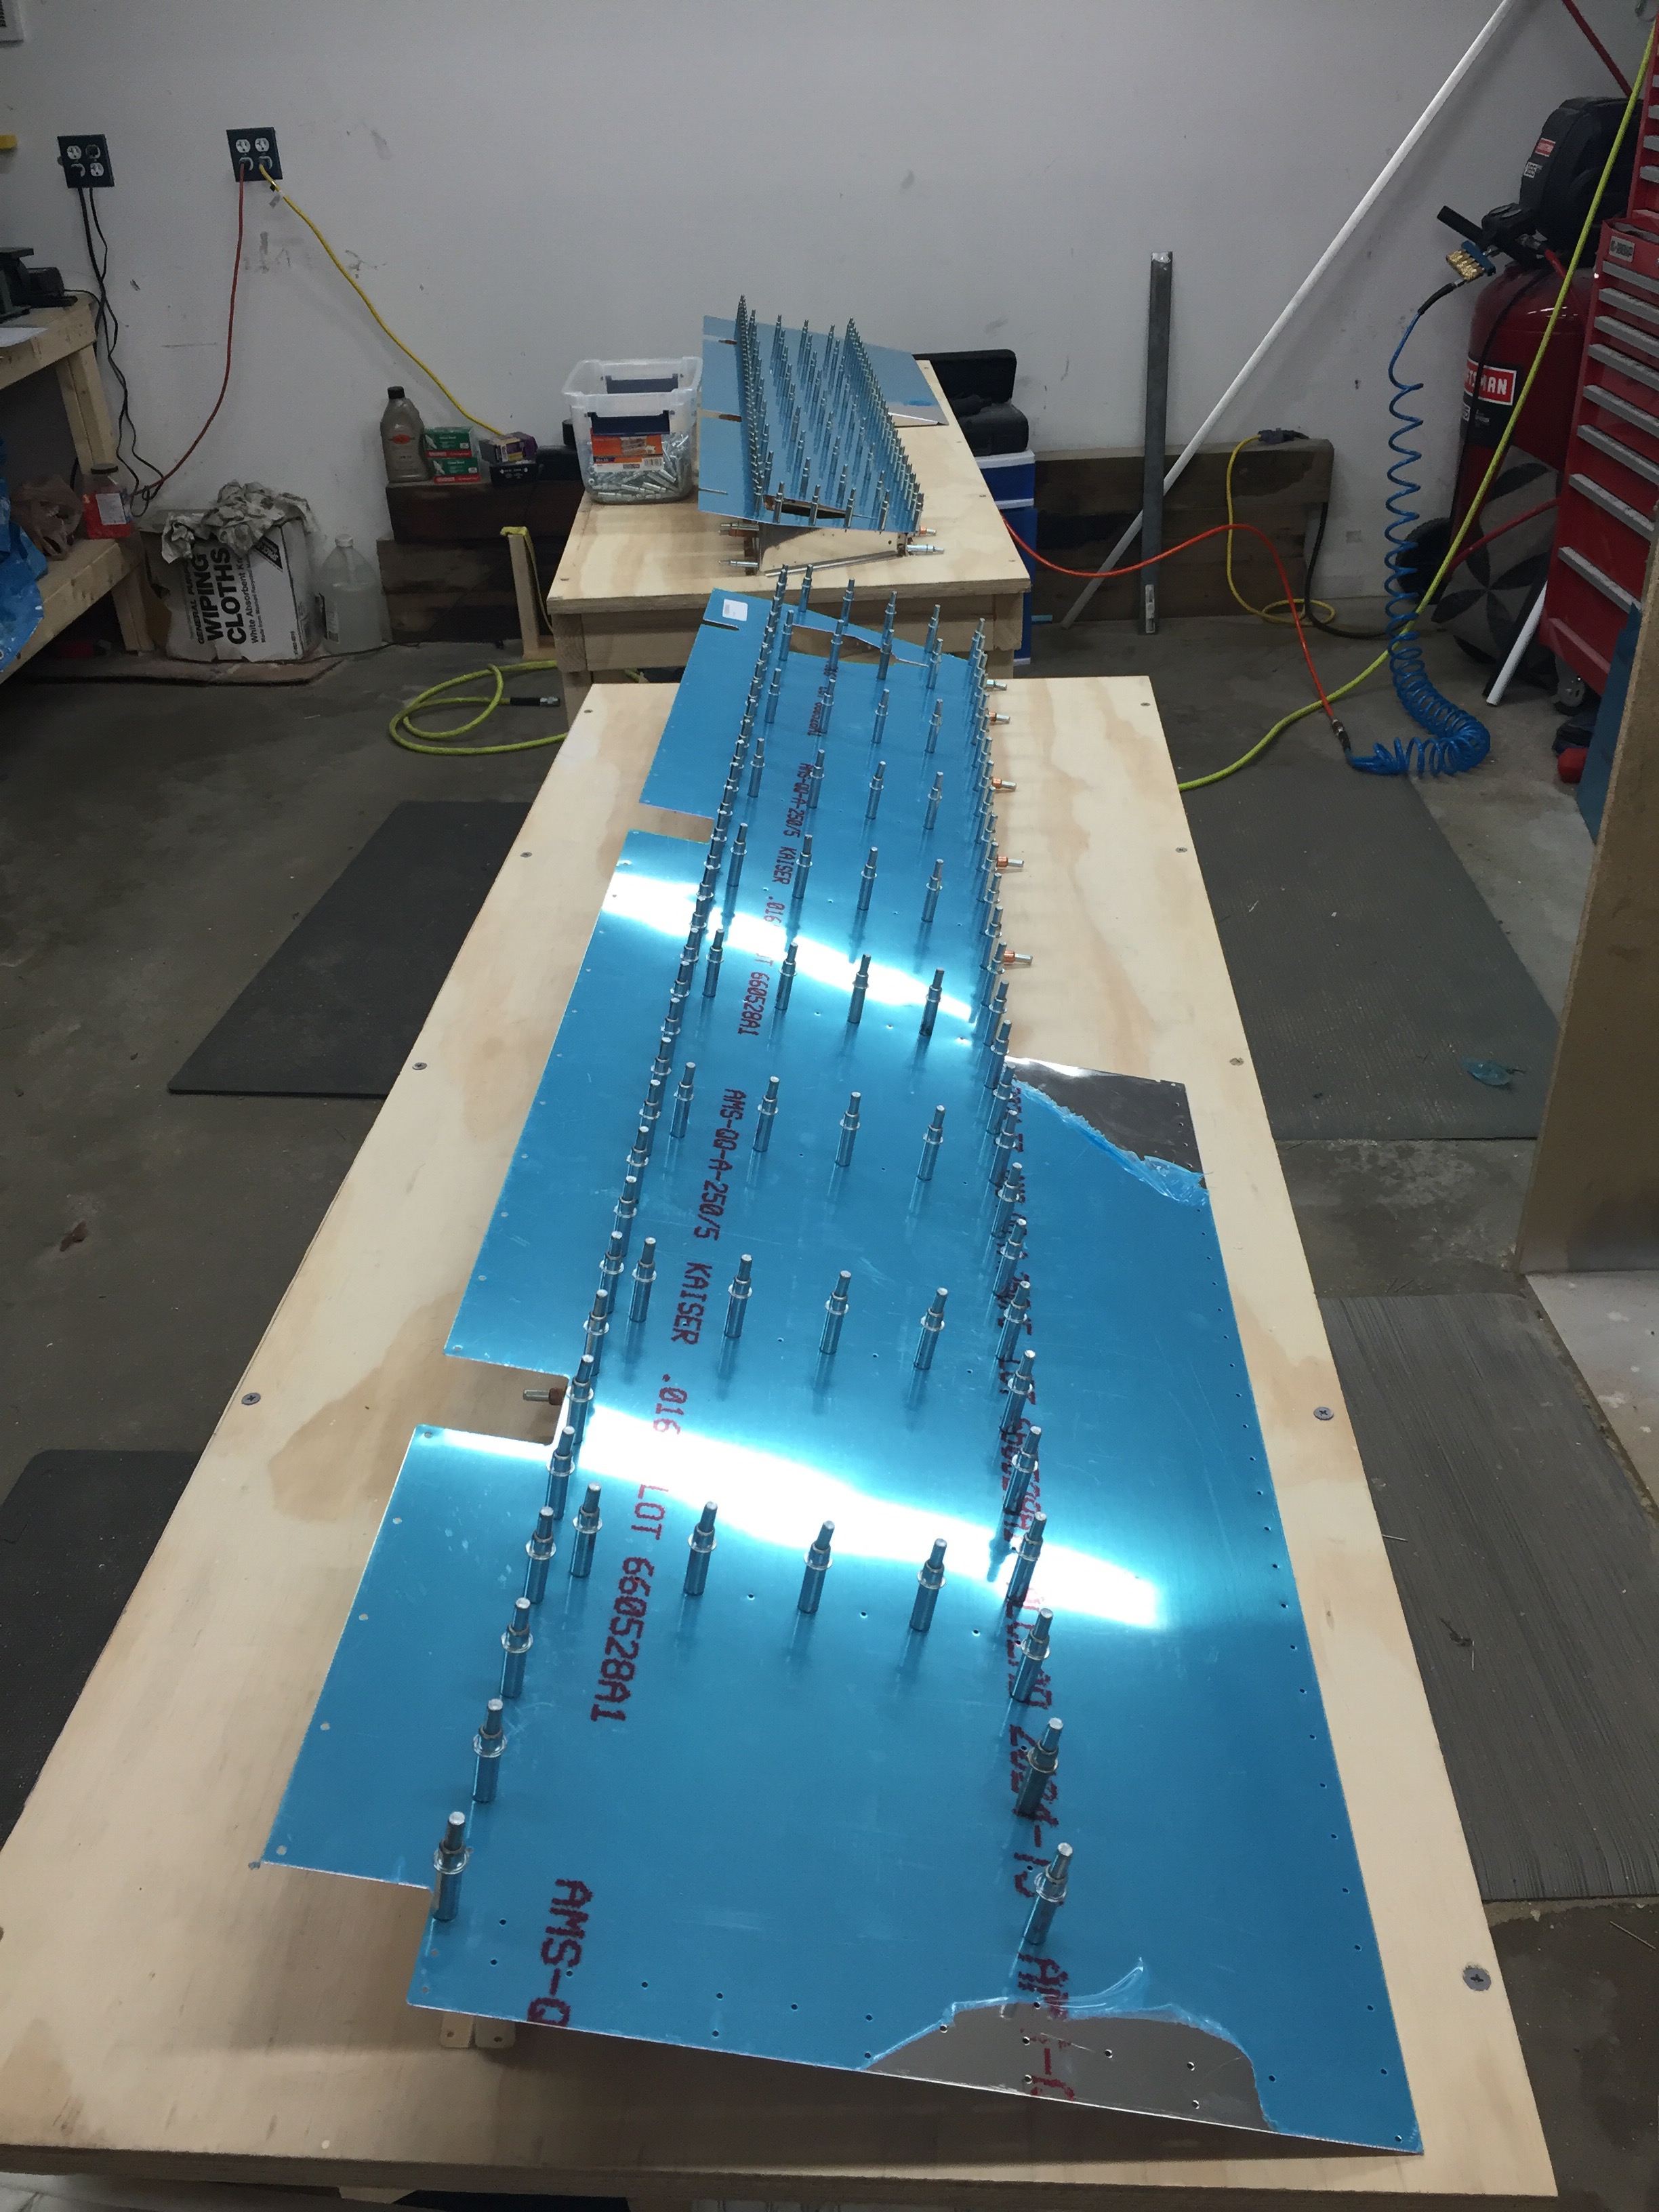
Since the last post, I’ve made a lot of progress on the Elevators. Below are some pics documenting the process.
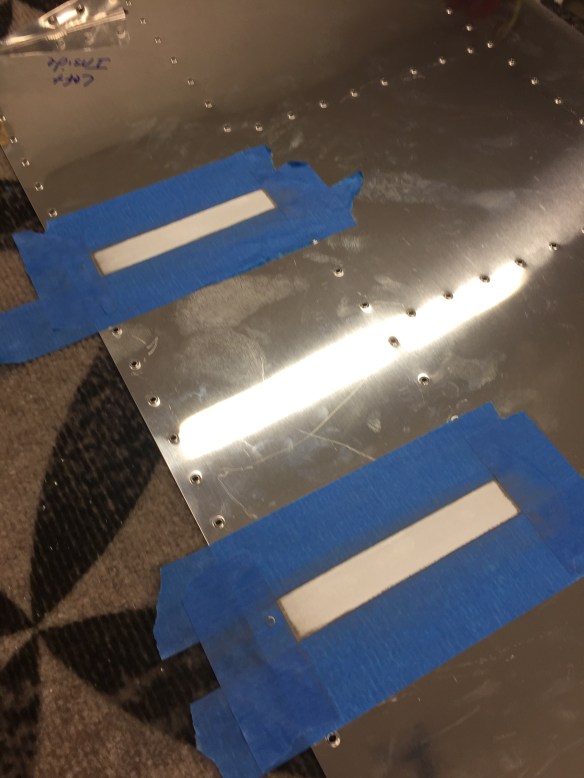
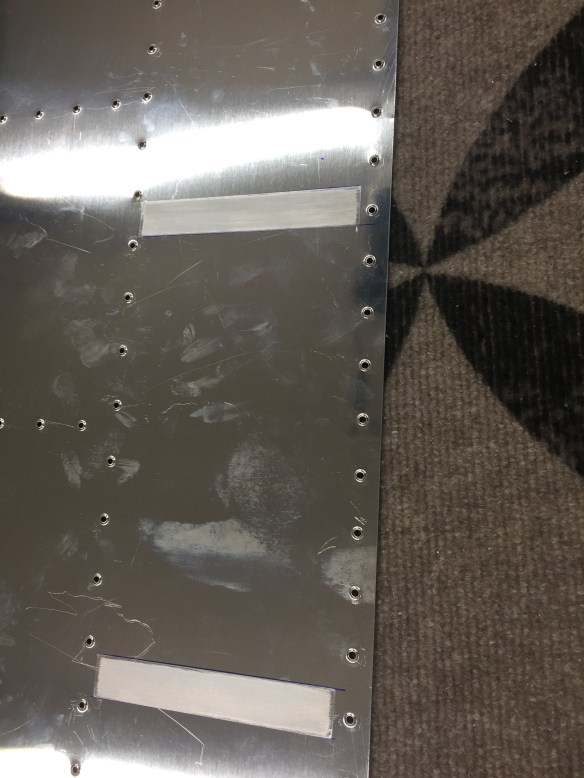
I had a nice day to move the priming outside for this round. I used an old grill top from my pig roaster that I never use to provide a better backdrop for the spraying. Previously, smaller parts would really move around, flip over, etc… I figured it was because I was spraying against a hard surface and not something that the air from the spray gun could blast through. Happy with the results. The setup is shown below with all of the parts laid out (minus the skins)

Priming parts outside for the first time.
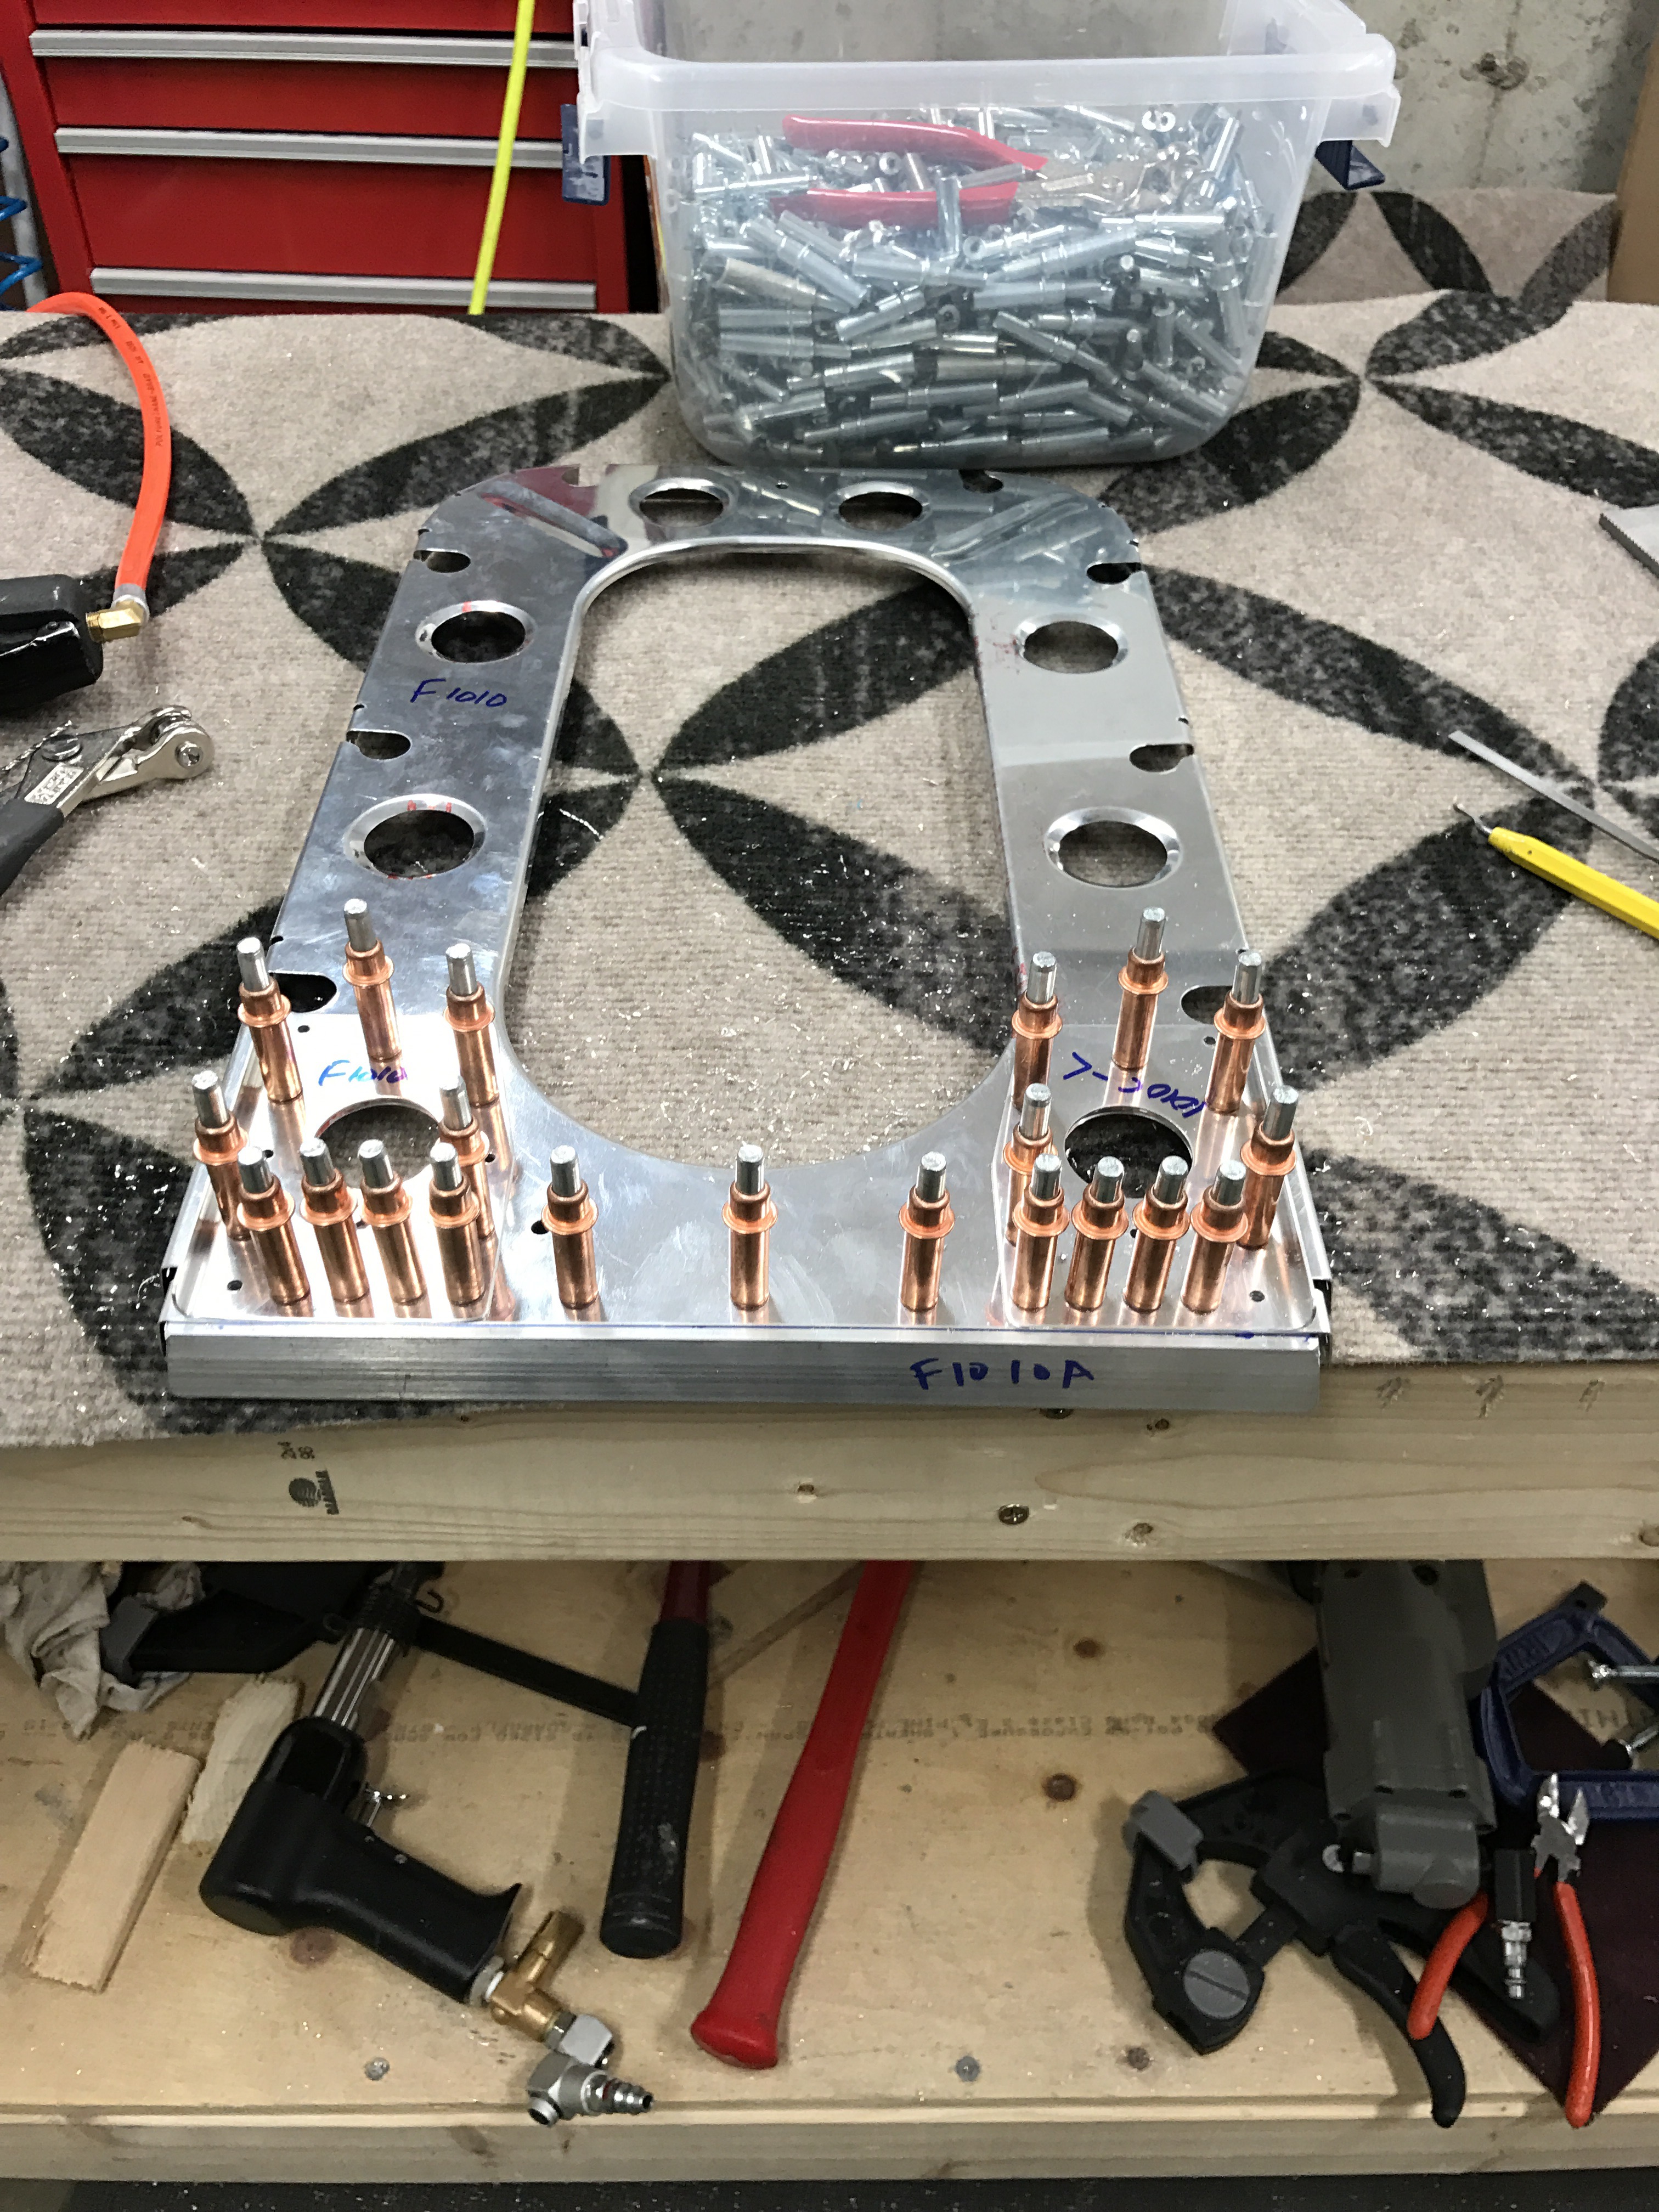
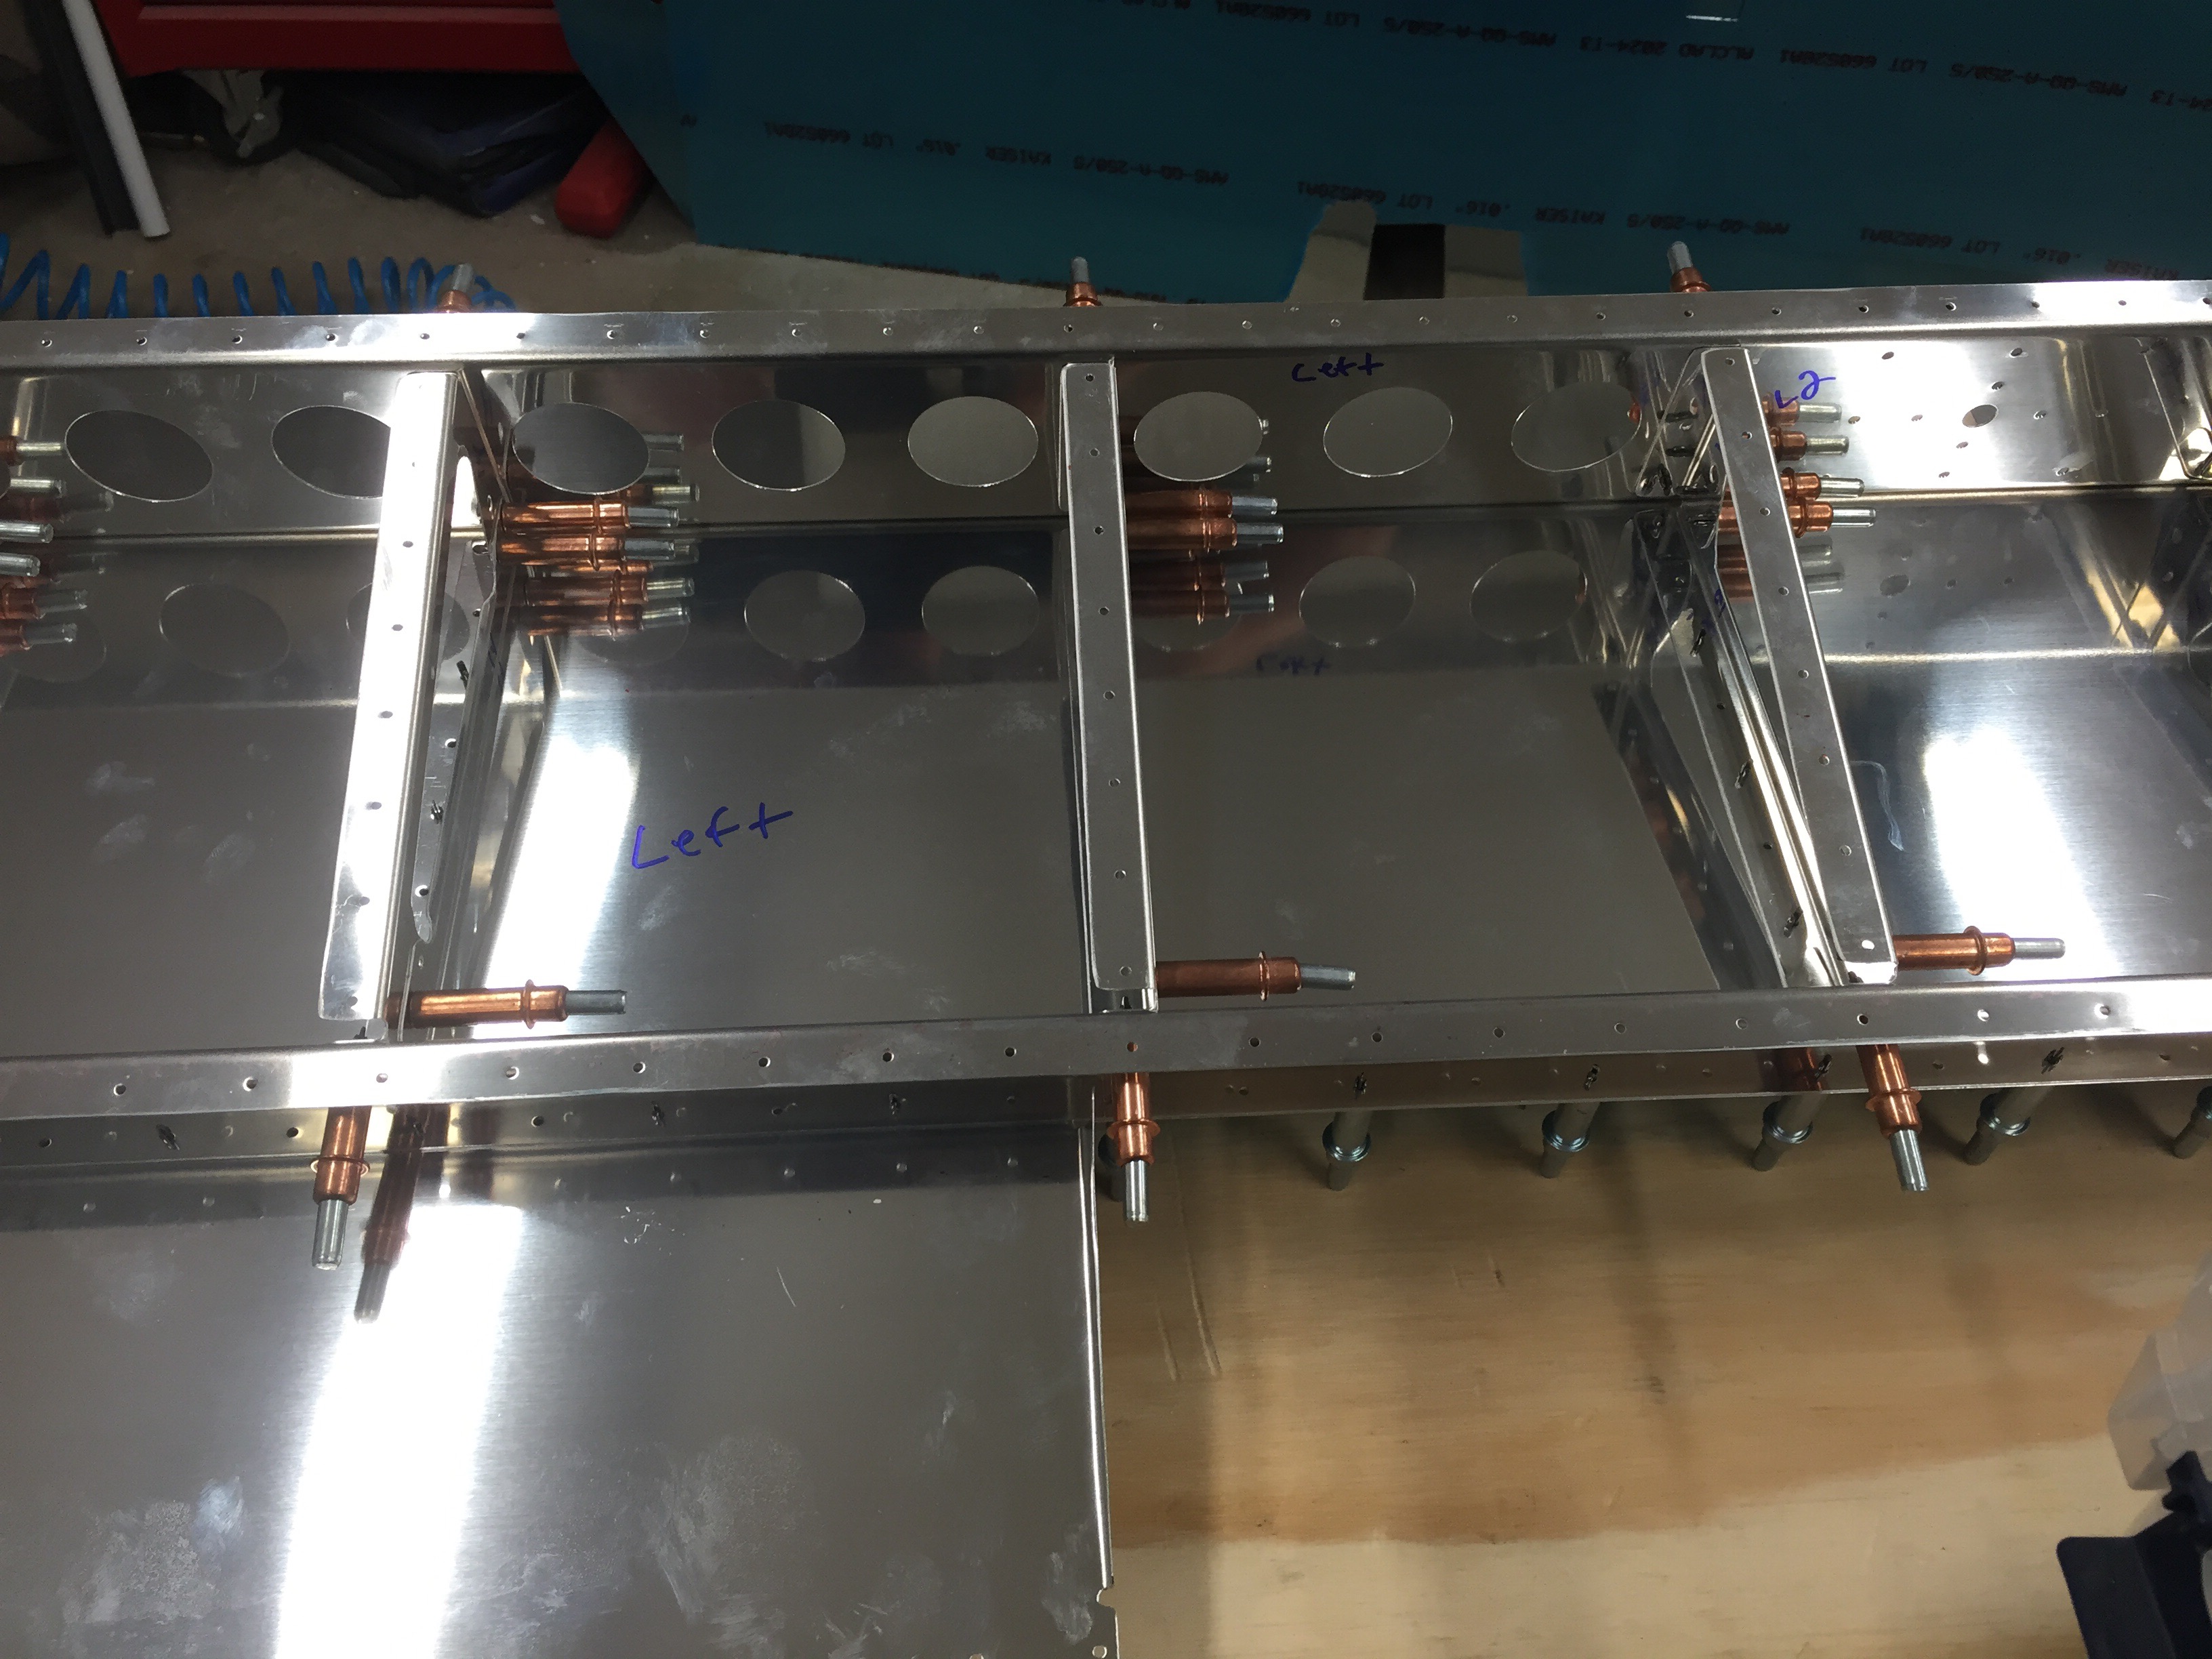
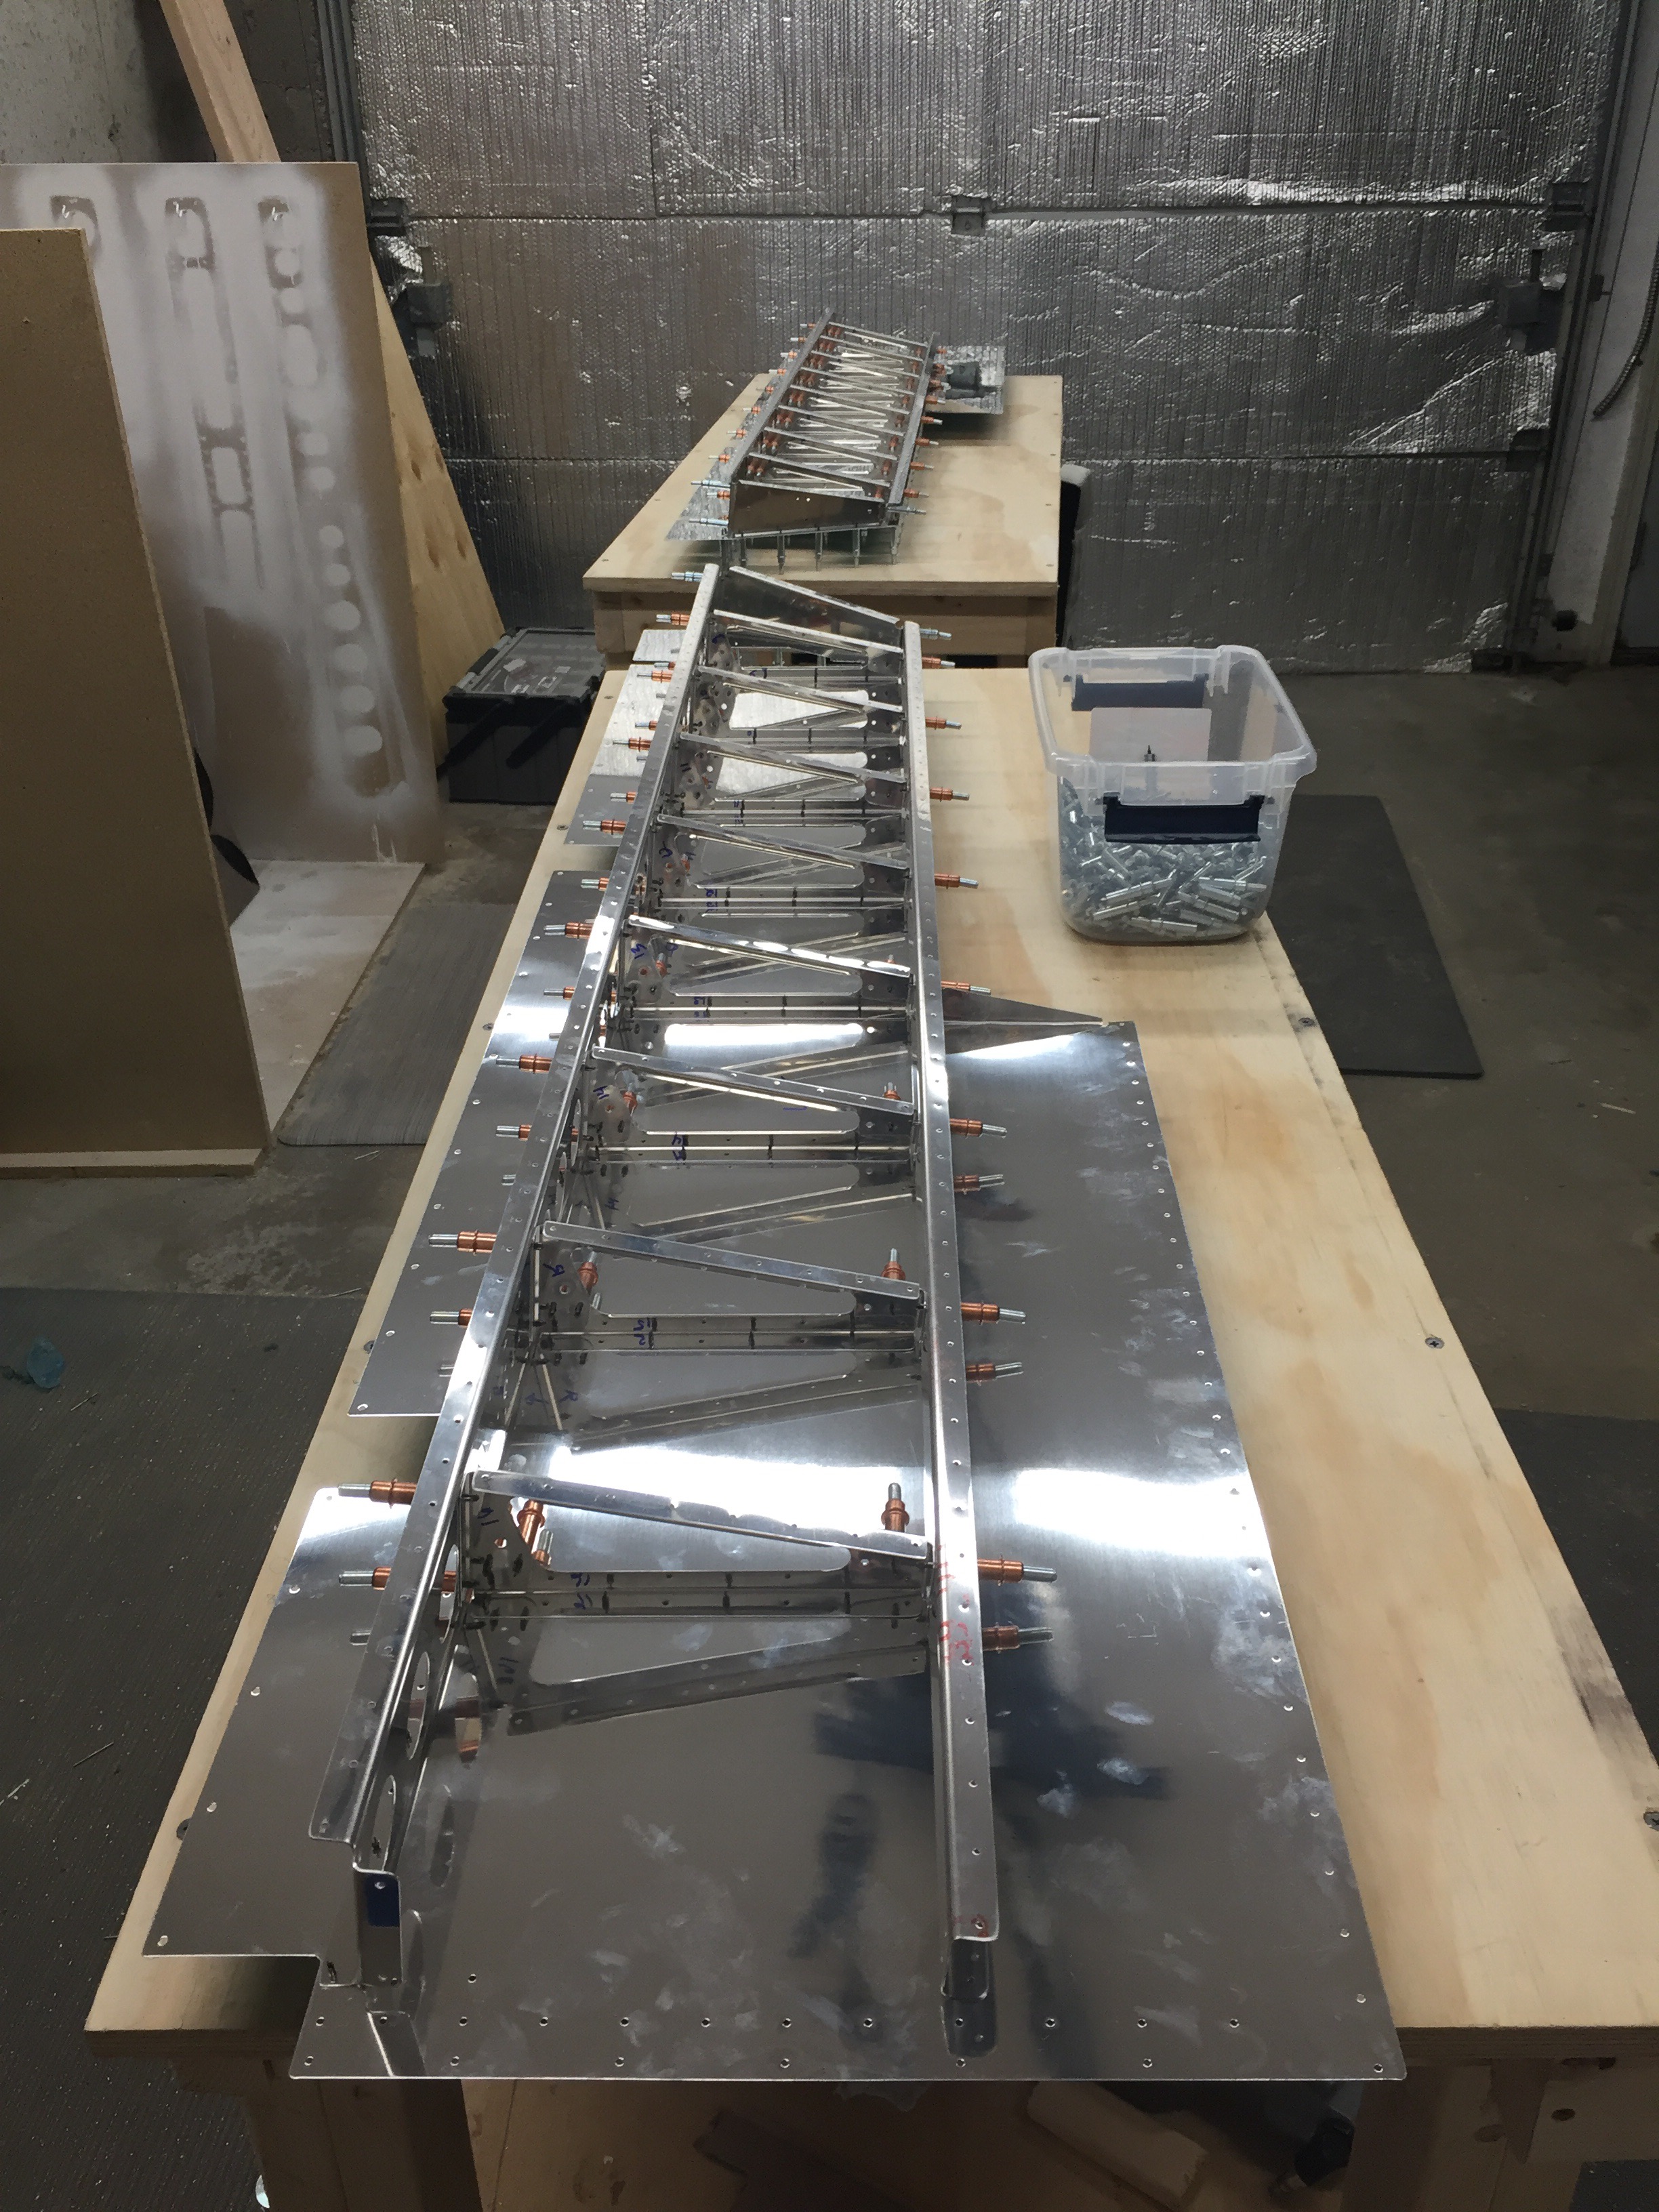
Various pictures of initial riveting of the spar and spar stiffeners, trim access stiffener and nutplates, stiffeners back-riveted to the skins, and pop riveting the ribs in some tight quarters.
A video of me using the special RV-10 Emp bucking bar that I bought with my toolkit to rivet the rear spars
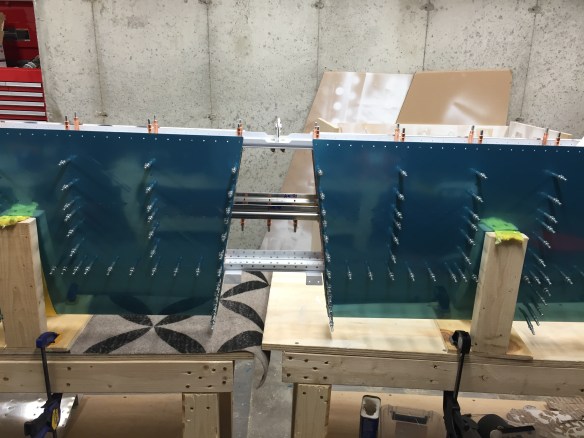
Most riveting done.


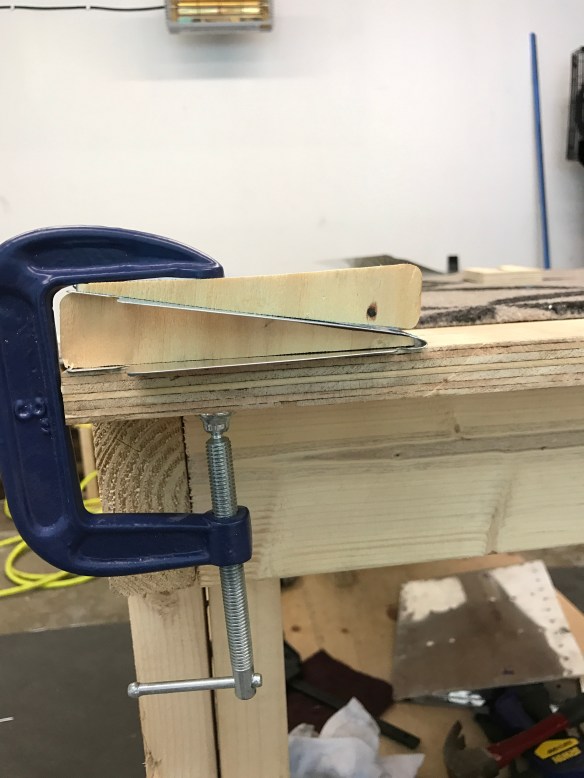
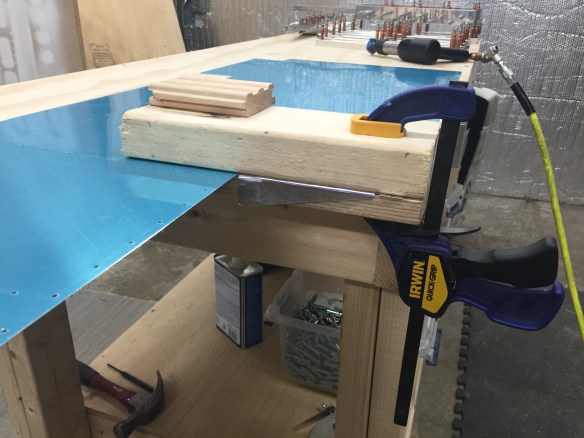
My rudder trailing edge came out okay, but I wasn’t 100% happy with how the joining of the skins came out using the VHB tape. Seeing the foam ribs are attached to the skins with Proseal, I decided I would also use the proseal for the trailing edge as well to see how it goes and compares with the VHB.

Foam ribs with paper templates attached. Ready to cut.

Messy stuff

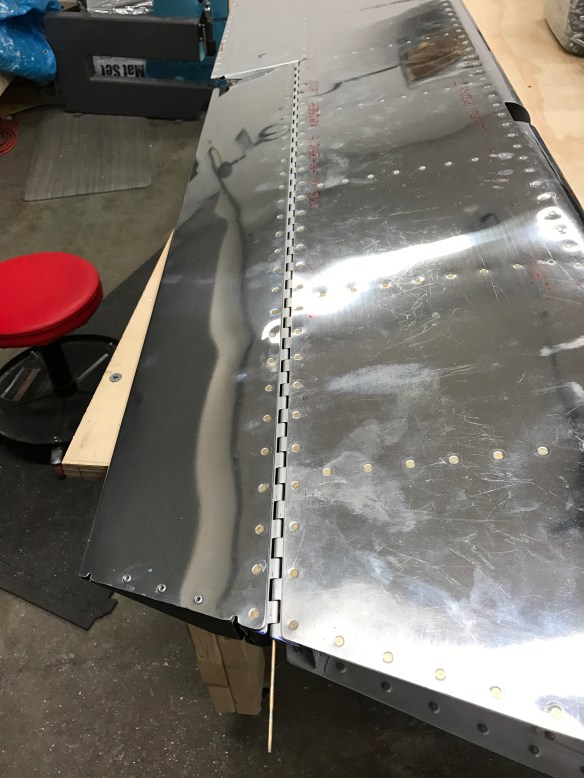
Both Elevator Trailing edges done
I also decided to use the steel bars I have and match drill them to the trailing edge holes so the clecos end up holding everything tight to a straight bar.

Right Elevator set and ready to spend a few days curing
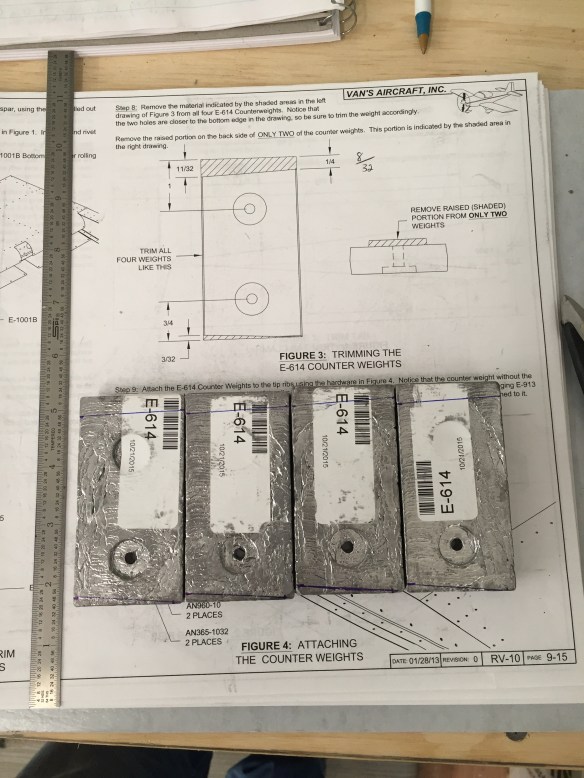
I then spent some time riveting the trim covers and trim attachment brackets together, along with marking and trimming the counterbalance weights.
Now to wait a few days for the Proseal to cure. In the meantime I’ll start working on the trim tabs.


