I’ve spent the time since the last update jumping around three or four different sections of the plans. These sections really have been a lot of fun as they are all systems related, and seem to go pretty quickly.
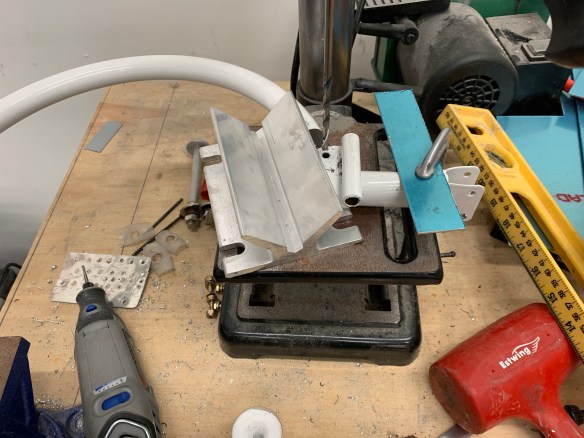
The first part of the control systems section has you fabricate push rods for the elevator. Below are some pics of that process.

Template for drilling holes
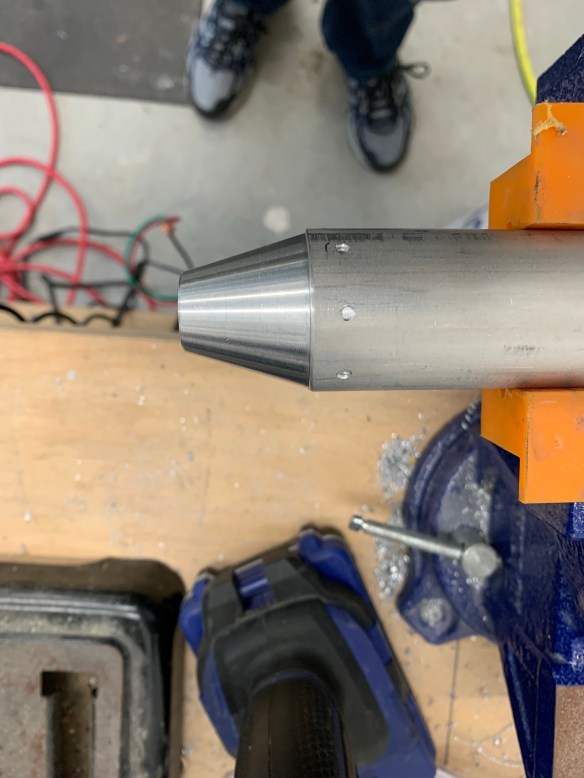
Threaded end cap for rod end bearing.

Push rod connected to Idler arm
Then it was on to putting the control sticks and the control columns into place
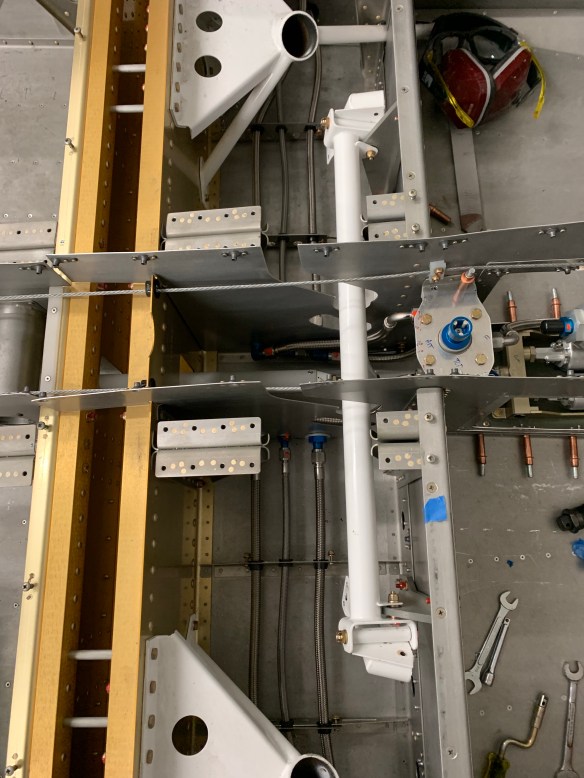
White control column in place
Setting up the drill press to drill the hole that’ll secure the control sticks to their bases. Making sure everything is planar.
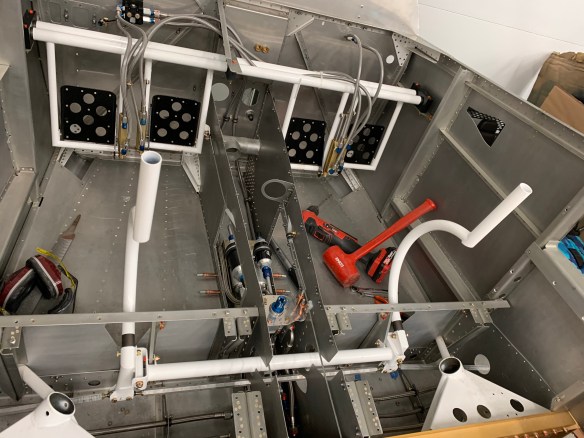
Control Sticks in!!!
I’ve left the bolts for securing the sticks loose for now, as I’ll likely be taking them out for awhile. Also there may be a need to cut them down later so they don’t hit the avionics panel through their full motion. This will somewhat depend on my grip and panel selections coming later.
Then it was on to locking the elevator bellcrank to the neutral position with a jig made up back in the empenage attach section. This is done along with a control column jig to center the control sticks.
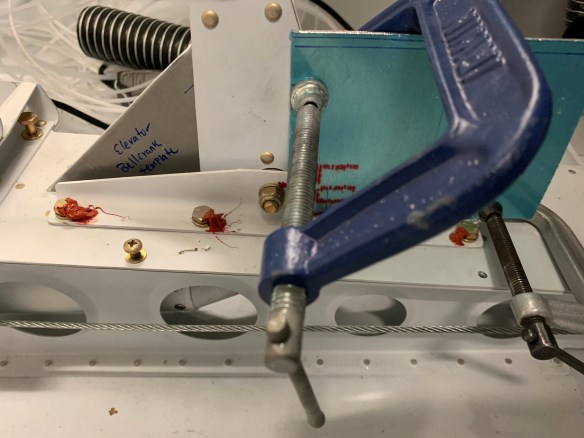
Elevator bellcrank neutral

Measuring jig
The bolt in the measuring jig is passed through the elevator pushrod bearing end and needs to touch the spar wall, which it did. If not, I would have had to adjust the length of my elevator pushrods a bit to get things to neutral.
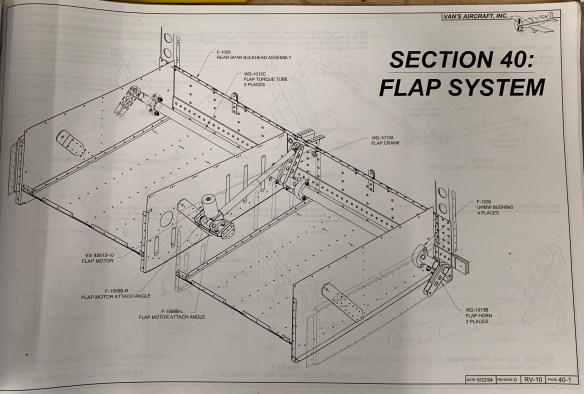
Then I moved onto the flap motor section. I decided to use an aftermarket flap motor from PH Aviation Services. The two big advantages to doing this are 1) The unit has positive stops at each end of the motors range. This provides the ability to get rid of the safety wire needed on the stock unit that just continuously runs when power is applied. it also allows you to use a flap switch on the panel that can be moved to the up position and left there as opposed to a momentary-type switch. and 2) It has an integrated position sensor built in. No need for external flap position sensors that seem to need continual adjustment/care.
The only downside is it is about 1.5″ longer than stock and does require some modifications, which I ended up spending way more time than needed and went back and redid a couple of things as I wasn’t entirely happy with how the first round came out. I basically had to use some 1″ x 1″ angle stock and also fabricate up some brackets out of .063″ aluminum stock to move the motor forward more to make up for its extra length.

Assembling the flap crank and torque tube


Flap motor installed!

New (left) bracket fabricated for the flap motor.

Closeup of the slot cut into the existing structure to accommodate the custom mounting angle
Below are some videos of the flap motor running through a complete cycle and what the torque tube is doing as a result. In the end, this will control the raising and lowering of the flaps.
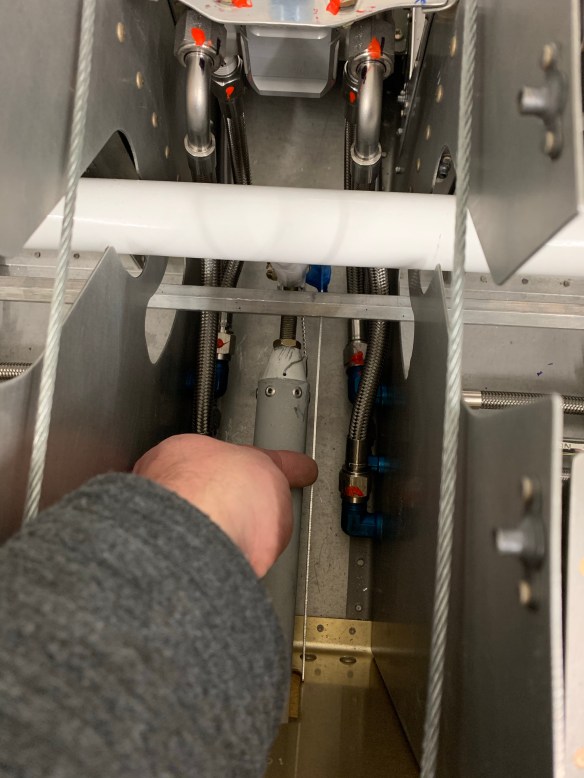
I was also able to get the final custom fuel line back from Tom, and finish up installing everything including adding some angle and Adel clamps along the tunnel sidewalls to secure the lines up nicely.
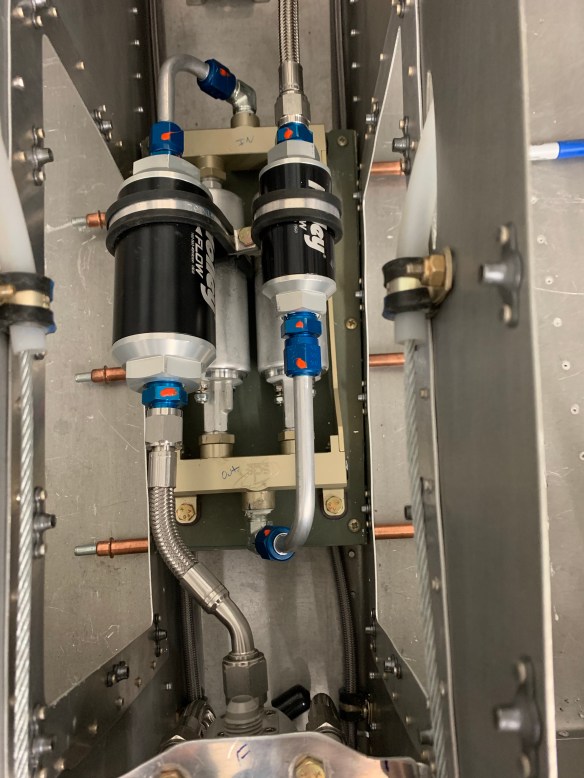
New short custom line for the supply line to the pre-filter.

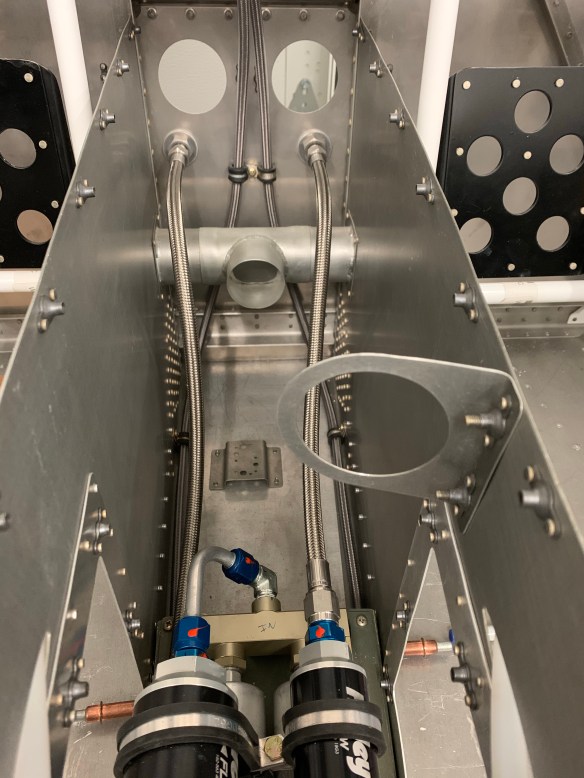
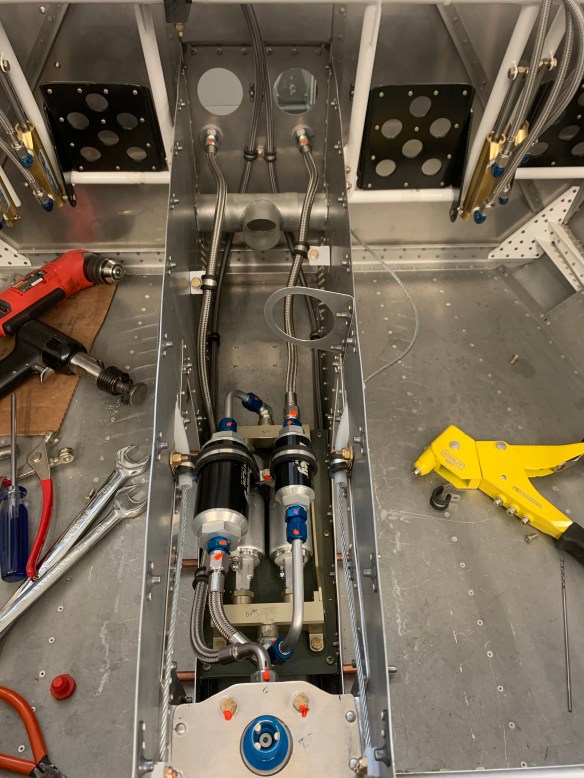
All Done!
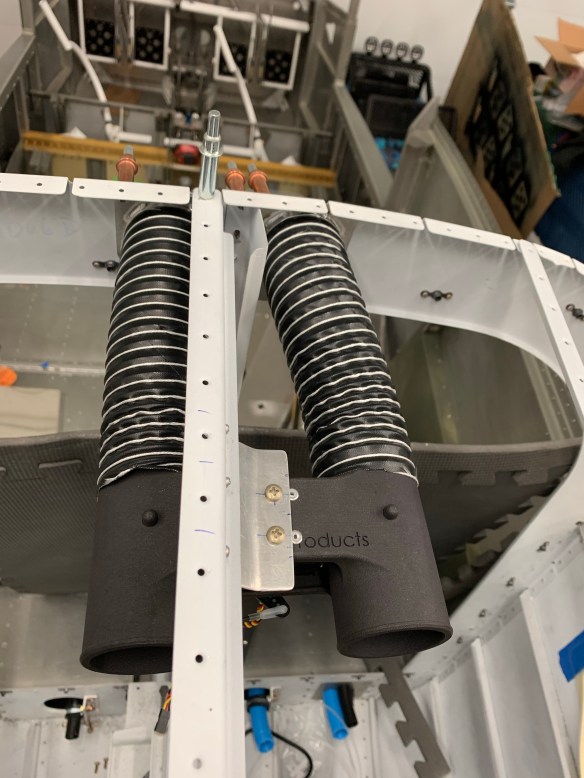
One item I snuck in while waiting on other things, was to add the rear NACA vent SCAT tubes and vent controller which will ultimately blow air into the overhead console vents.

Adding 2″ bulkhead flanges to the rear bulkhead

NACA butterfly vent controller


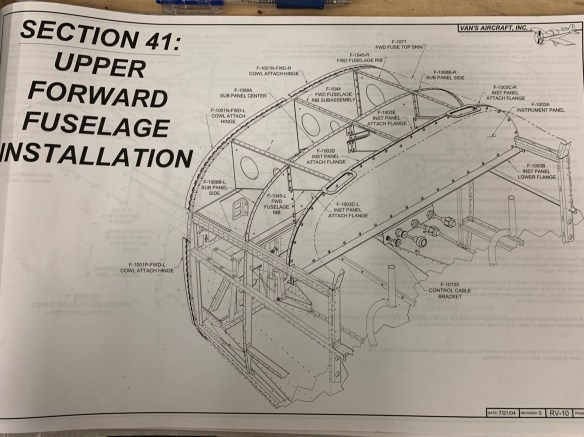
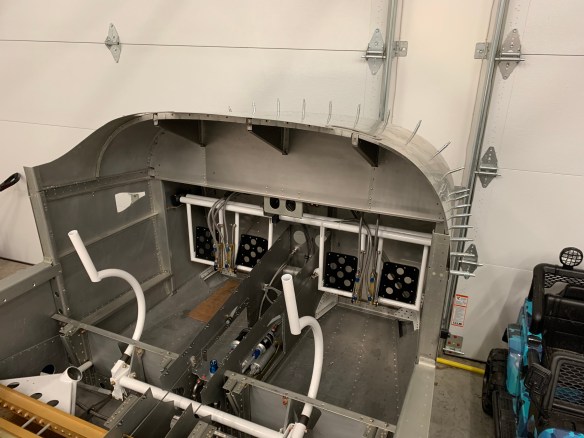
Then it was on to the Upper Forward Firewall section. Some pis that show this temporarily installed with Clecos.