I’ve gotten down to a short enough list of things to do, it was time to write them all down and formulate an approx. schedule to move to the airport. A Punch list of sorts. That approximation had me moving on Oct. 1st. I’m still within about a week of keeping to that schedule. Below are lots of the items that I’ve checked off that list.
- Ask Van’s for a bill of sale, fill out registration paperwork, and apply. Done!
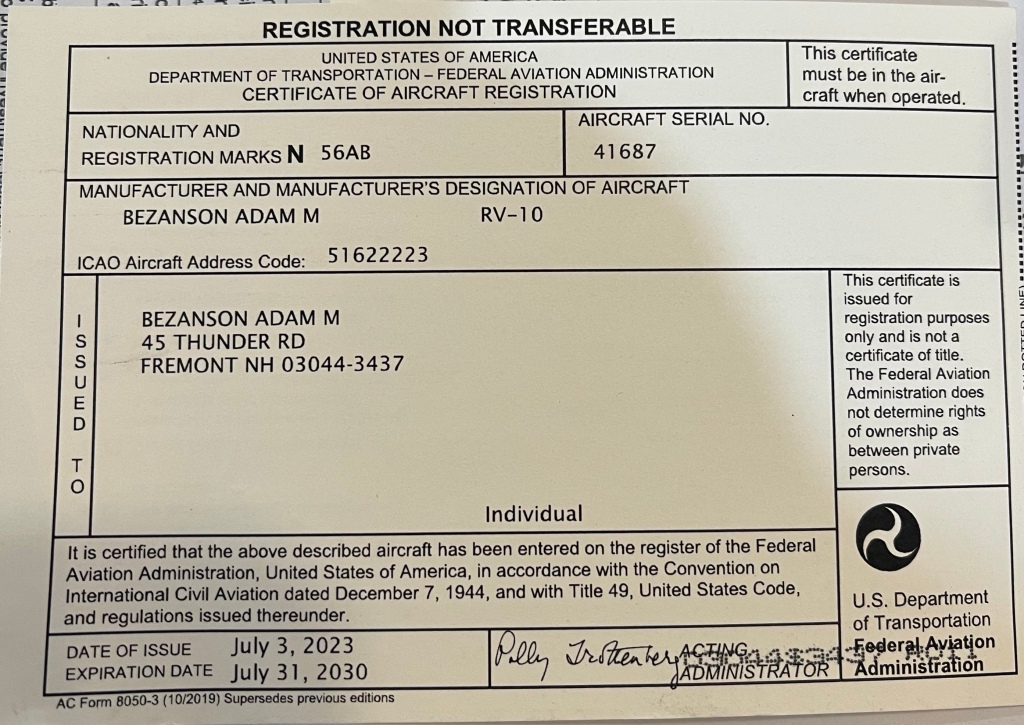
I do have to say, the FAA was rather quick. I know that they expedite new registrations, but still they were quick. The tracking said they received my paperwork on a Sat. So figured no sooner than Monday would they look at it at the earliest. My mid week I noticed they cashed my check. By the end of that week, my info was live with an online lookup, and by the end of the following week, I had the paper cert mailed and in hand.
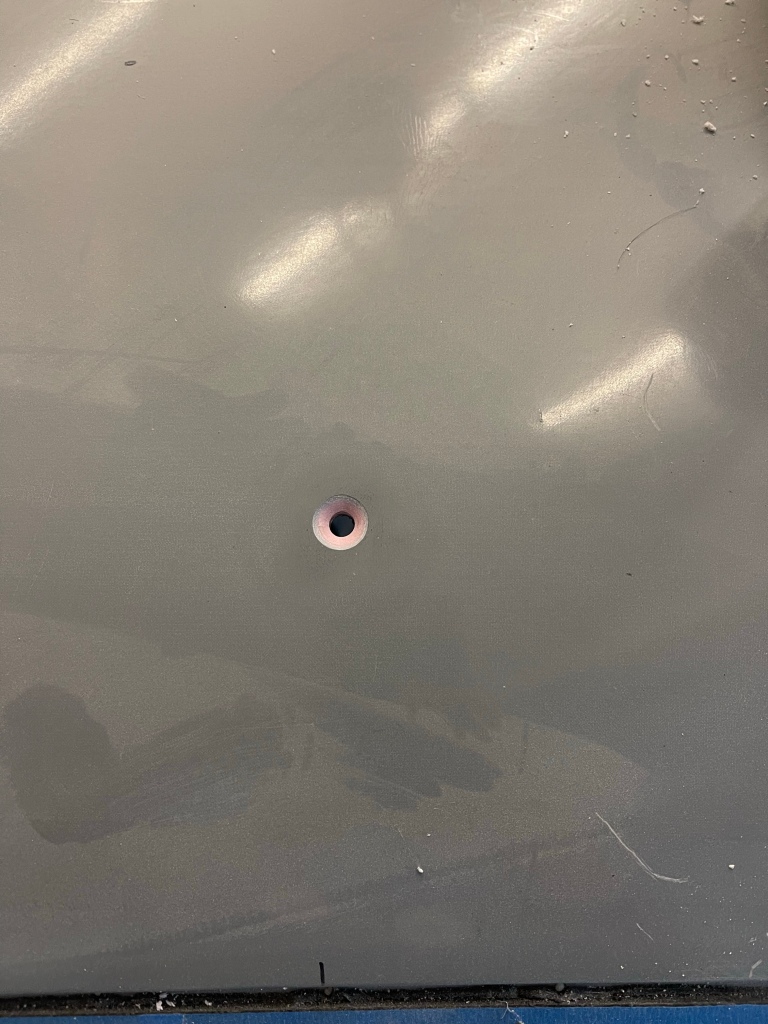
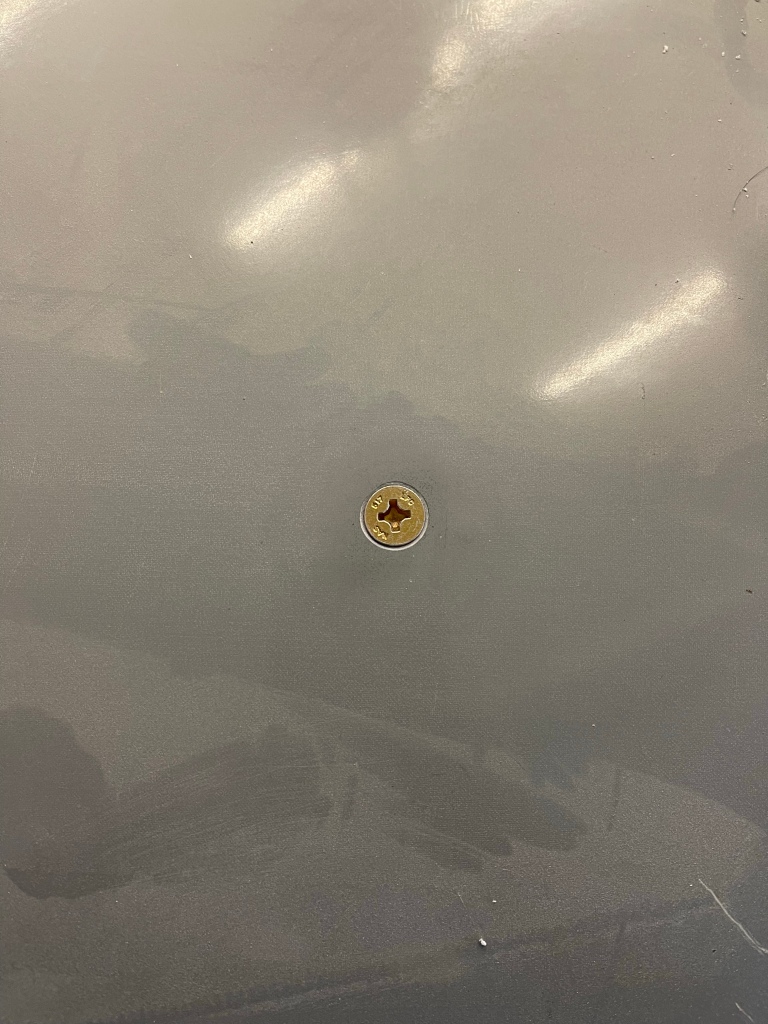
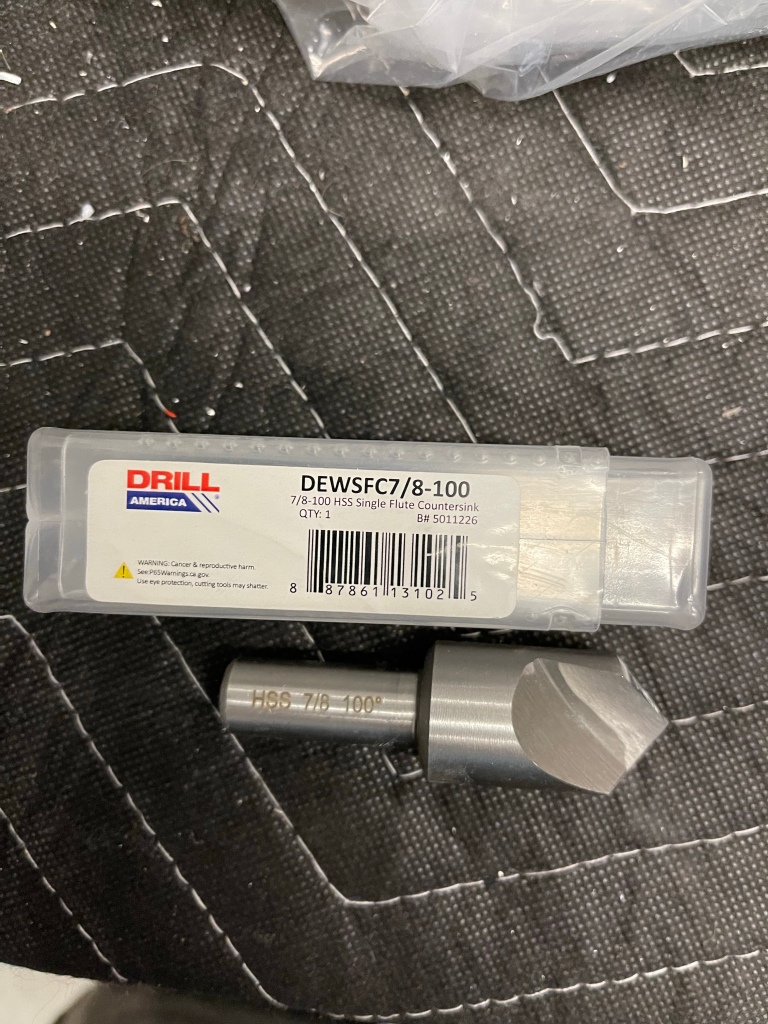
I needed to still drill holes in the cabin top and countersink for screws for the front seatbelt attachment. I wanted to do this before getting the interior done going as well as needing to locate this hole through the headliner material used on the rear ceiling. You drill a 5/16″ hole in the center of the reinforced section of the cabin top. Then countersink it. I bought a countersink bit just because this hole is so large and I didn’t have a bit that would properly do it.
I then started working on interior items. I got the new McMaster door seal in place and installed the door handle plastic.
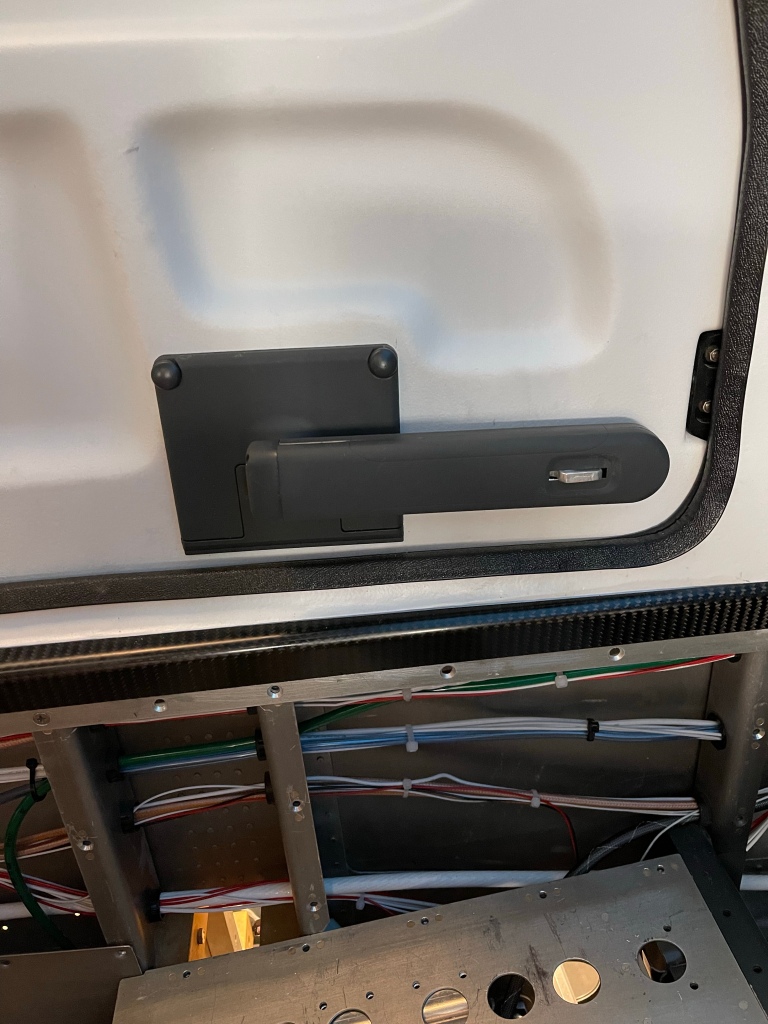
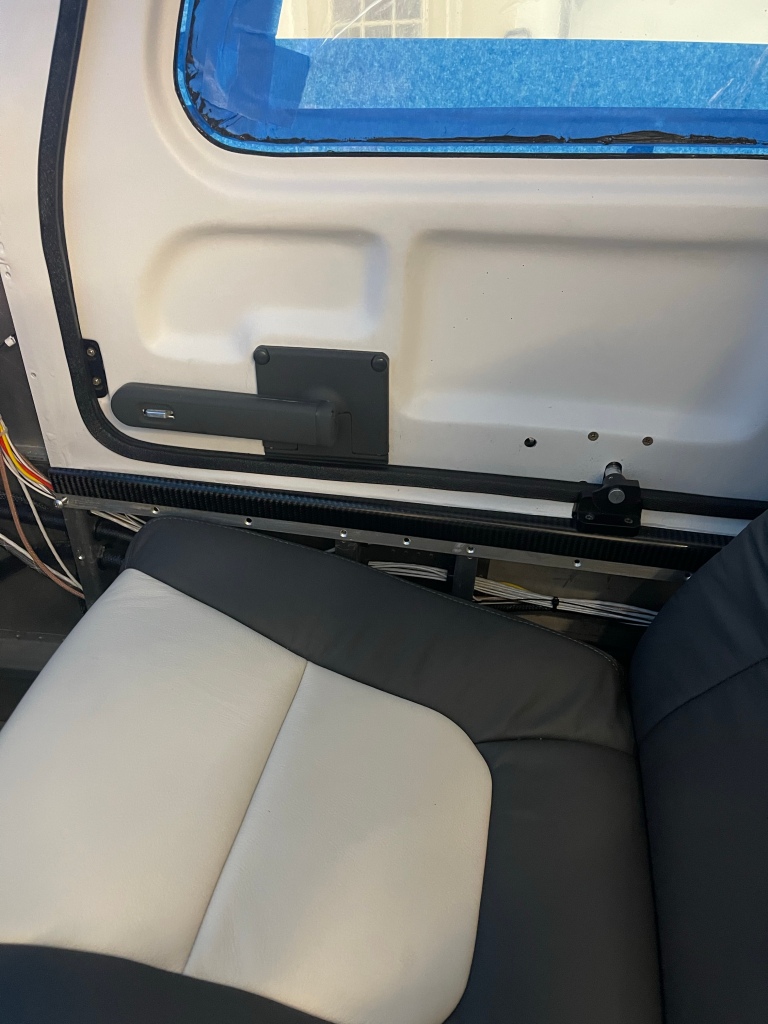
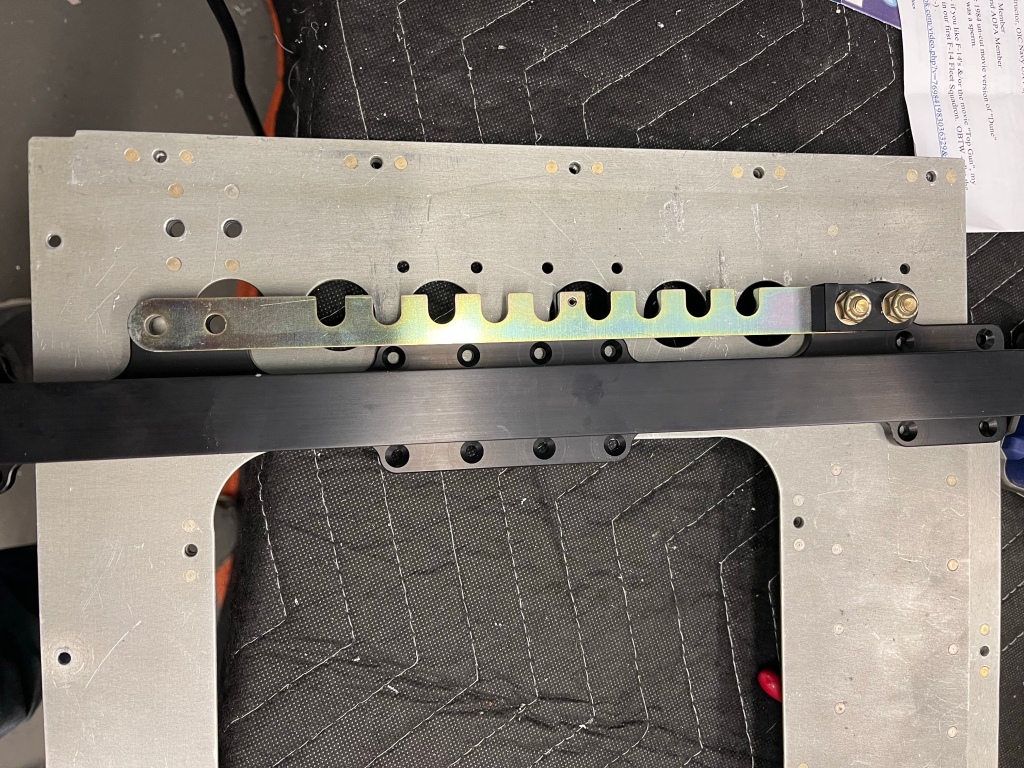
I then needed to install the seats, but first up were the seat rails. These are pretty straight forward, however, I did do one useful mod to easily remove the seats. I took the seat stop bolts out, placed the out-most rail in place and drilled 1/4″ holes into the seat pan below. I then installed nutplates. This allows you to simply install the aft seat stop with AN-4 bolts (slightly longer bolts are needed) from the gap between the door and the seat with a socket. The seat then glides backwards off the tracks and can easily be taken out. I also took out the plastic slides in the rails themselves and cut the first 1/2″ off to help get the seat tilted down a bit earlier to clear the flap tube cover.
Below is a picture of the seat rail sitting next to where it goes and the 2 new holes with nutplates drilled.
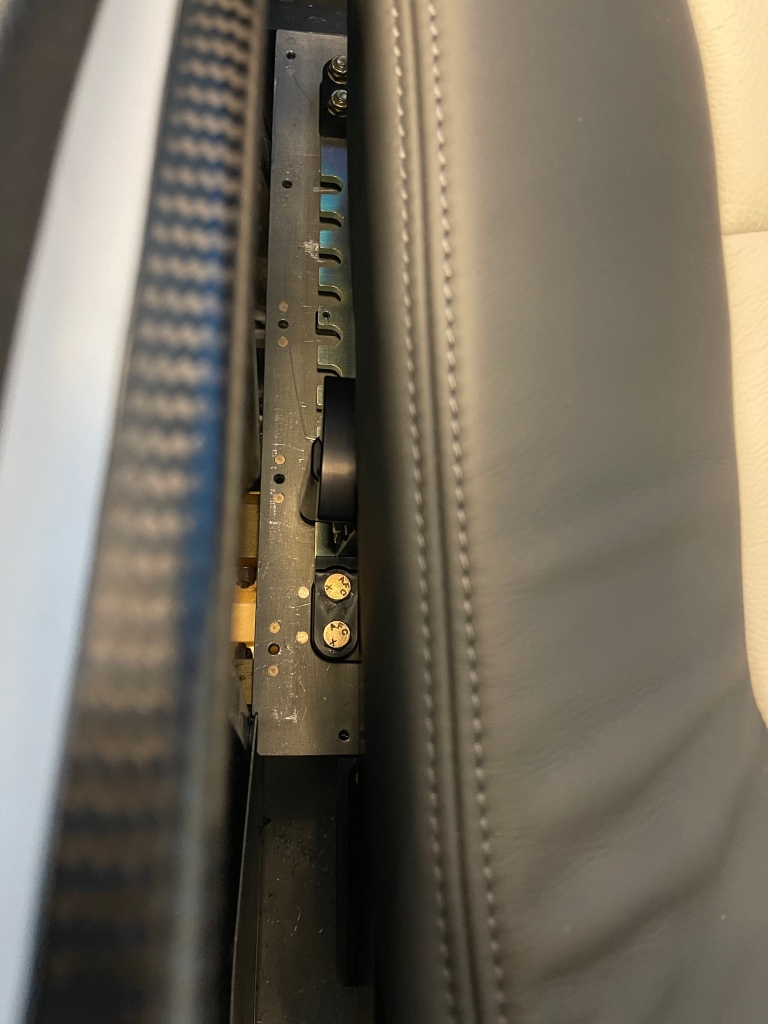
I also installed the Aerosport Products seat levers to have the seat adjustment knob just under the front of the seats to more easily get to. I didn’t seem to take pictures of that install.
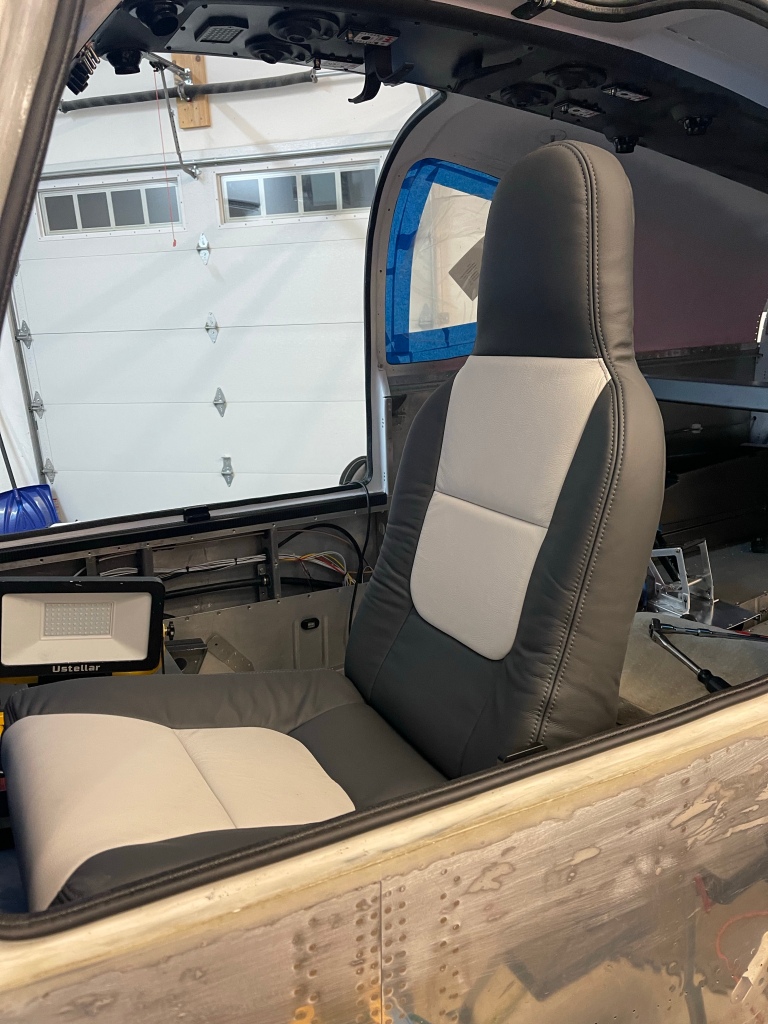
Then I installed the front seats.
Sticks and stick boots were also test fit.
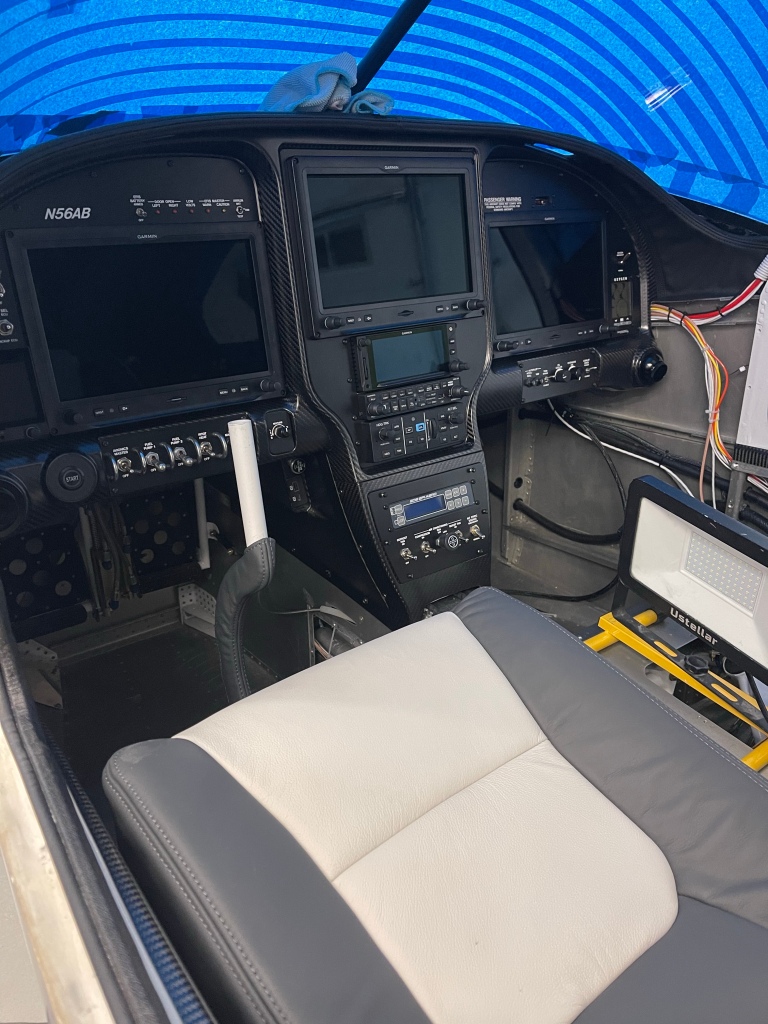
I will say I’m up much higher than I’m used to. I’ve gotten so used to just sitting on the seat pans themselves.
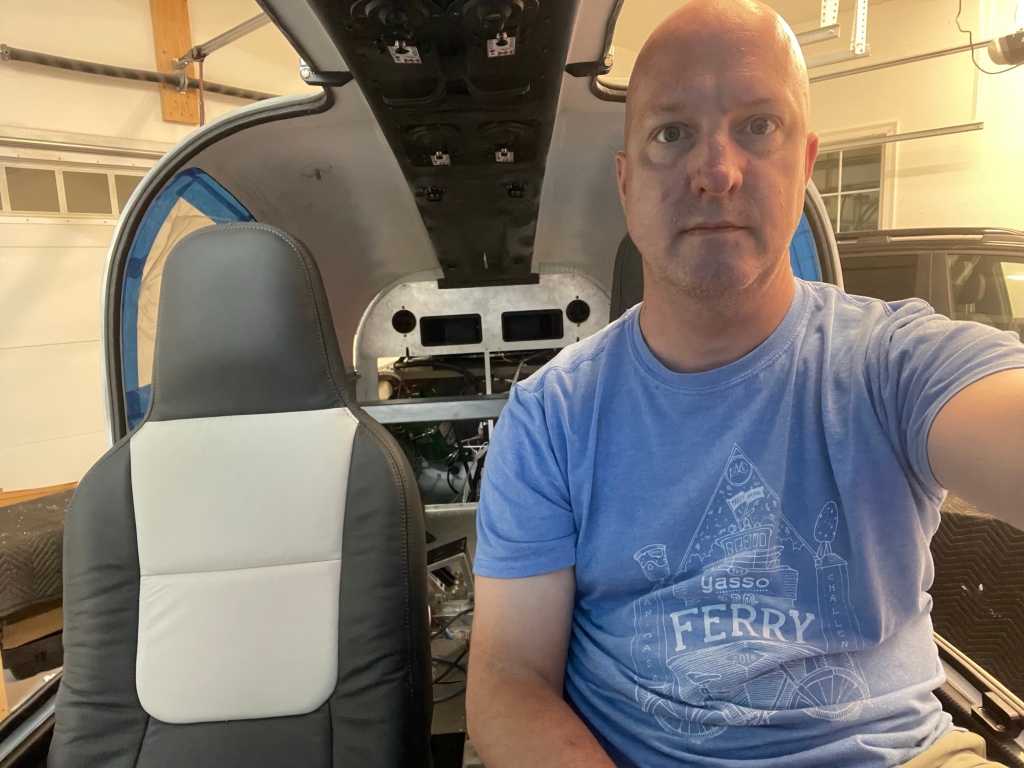
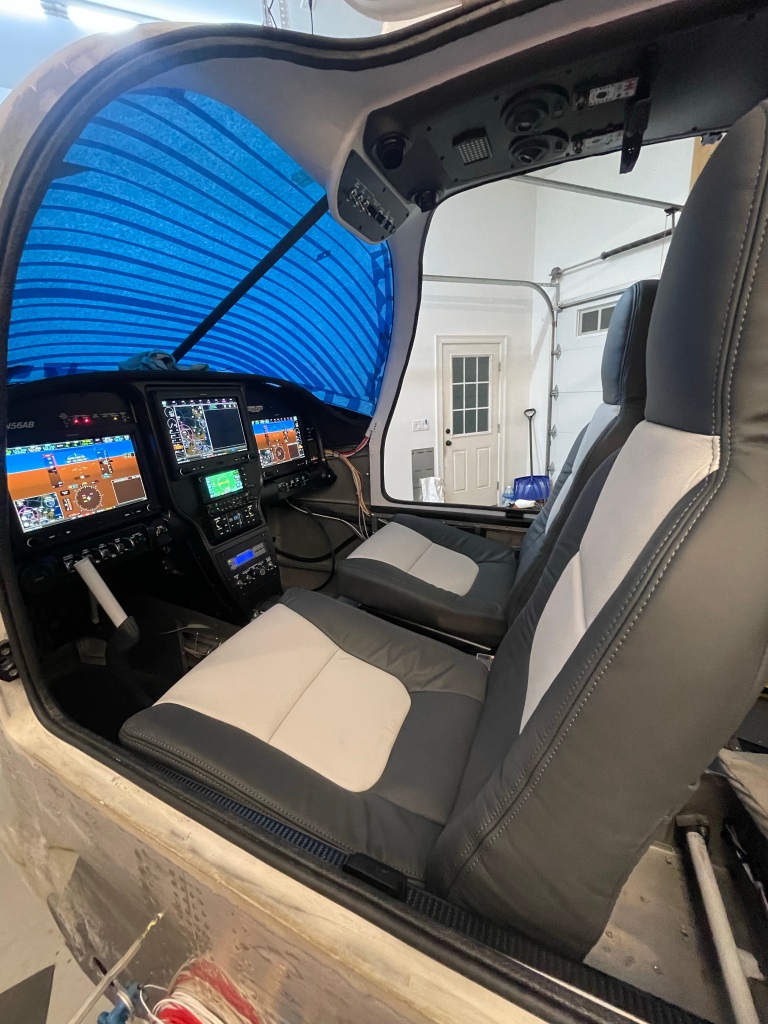
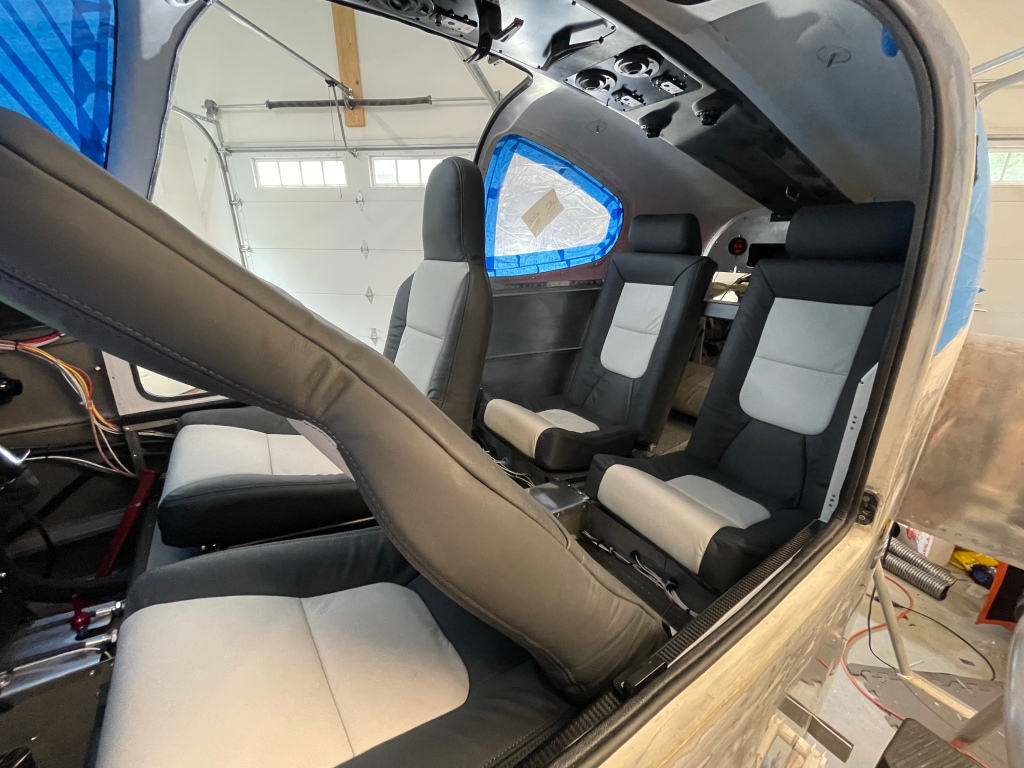
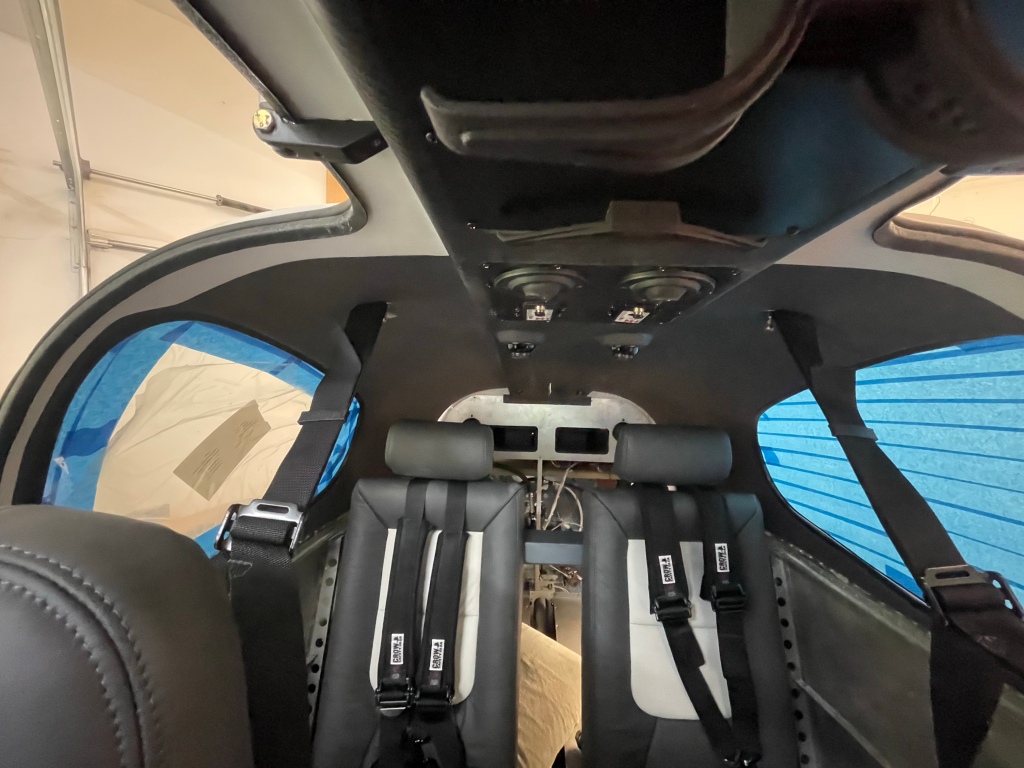
I then got the seat belts installed and the center console loosely in place.
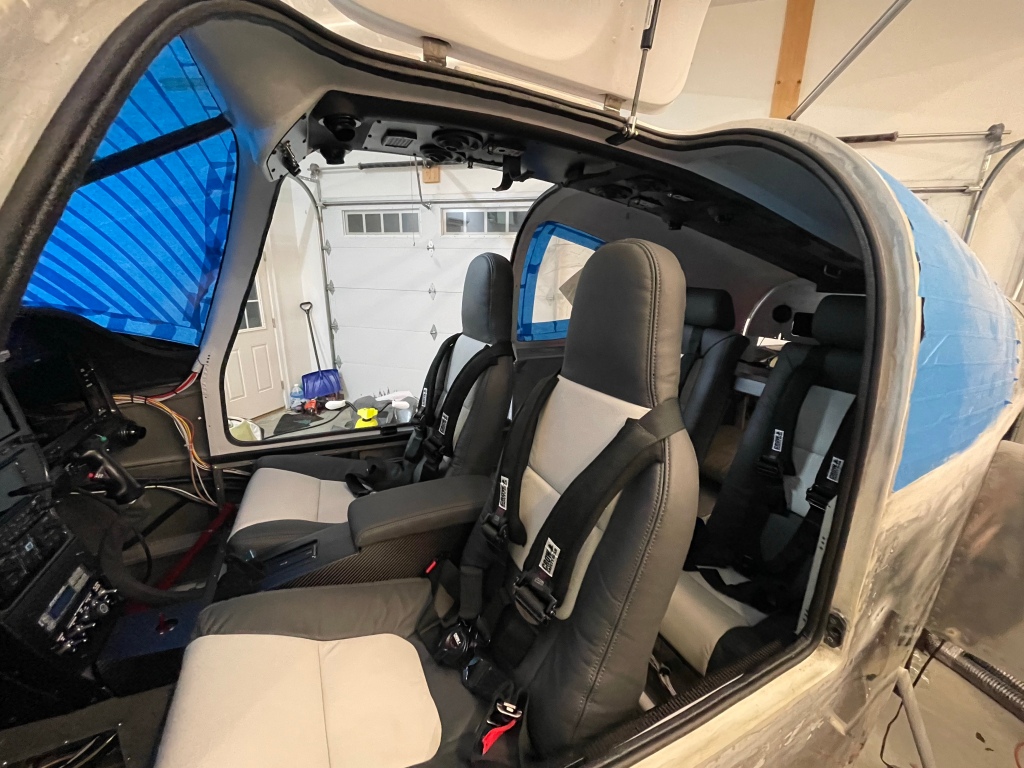
Before I could get the front seat belts anchored to the cabin top, I had to install the Aerosport Products headliner onto the previously trimmed fiberglass substrate. Headliner adhesive from the autoparts store was used to adhere the fabric. I followed the videos on how to make cuts and wrap the material around the backside of the substrate dealing with the inside and outside corners.
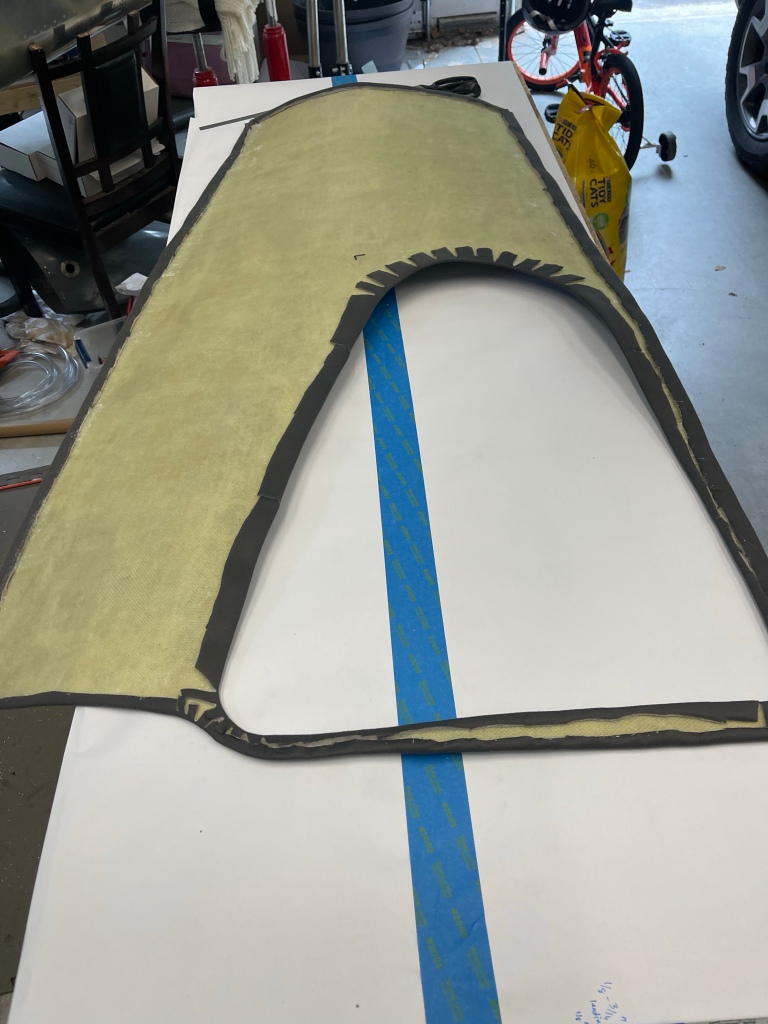
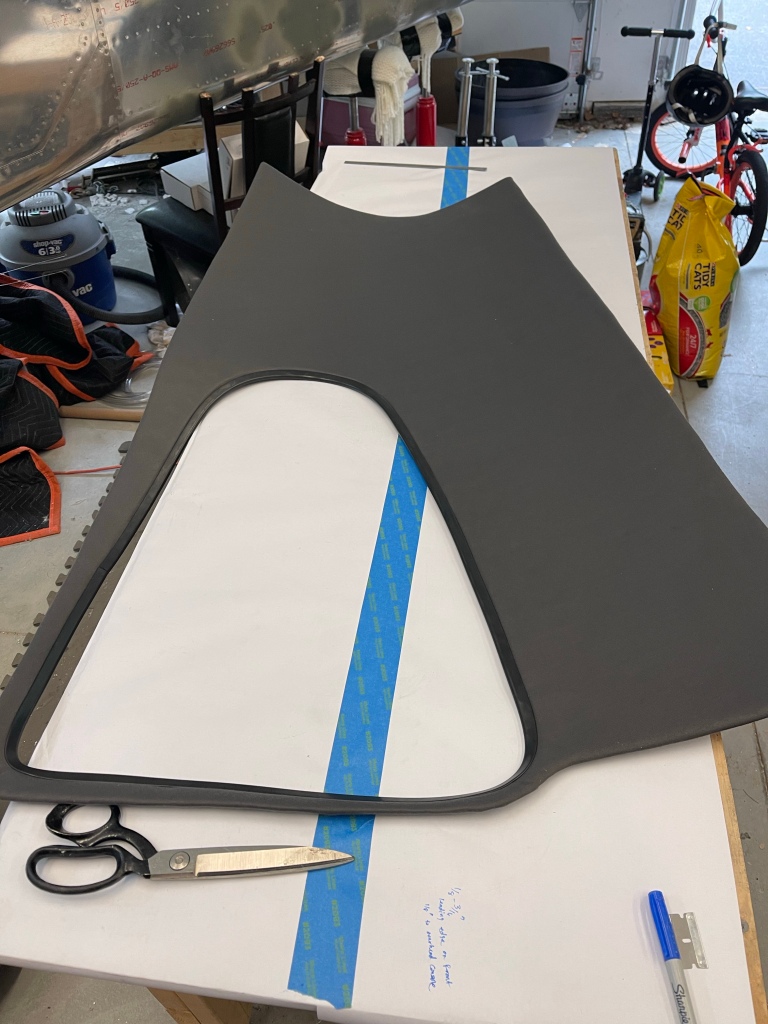
I then used some various widths of velcro to install this into the rear portion of the cabin top as shown below.
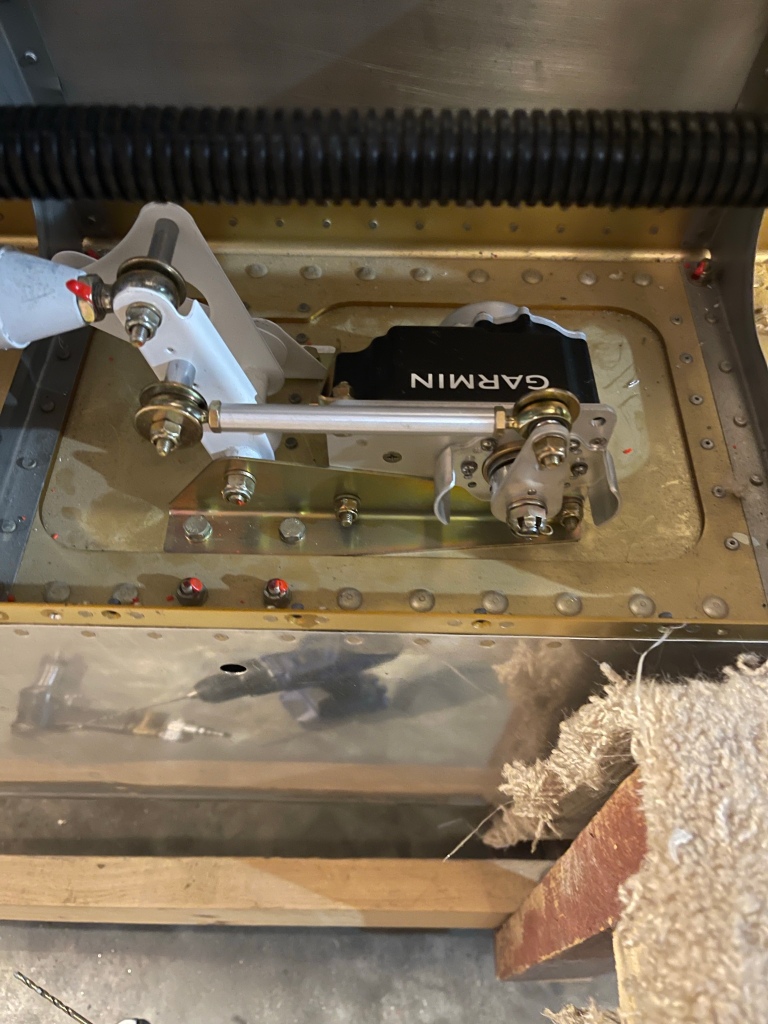
Then some things to finish up in the wings prior to riveting on the bottom skins. I installed the aileron trim motor and springs along with the roll servo.

Then I mounted the prop once again and got it safety wired and the spinner installed.


Adam, Wow! Really looking great! Love the panel shot through the seats. So close, can’t wait to read about first testing.
LikeLike
Adam
Nice job on the overhead. I am just starting mine….
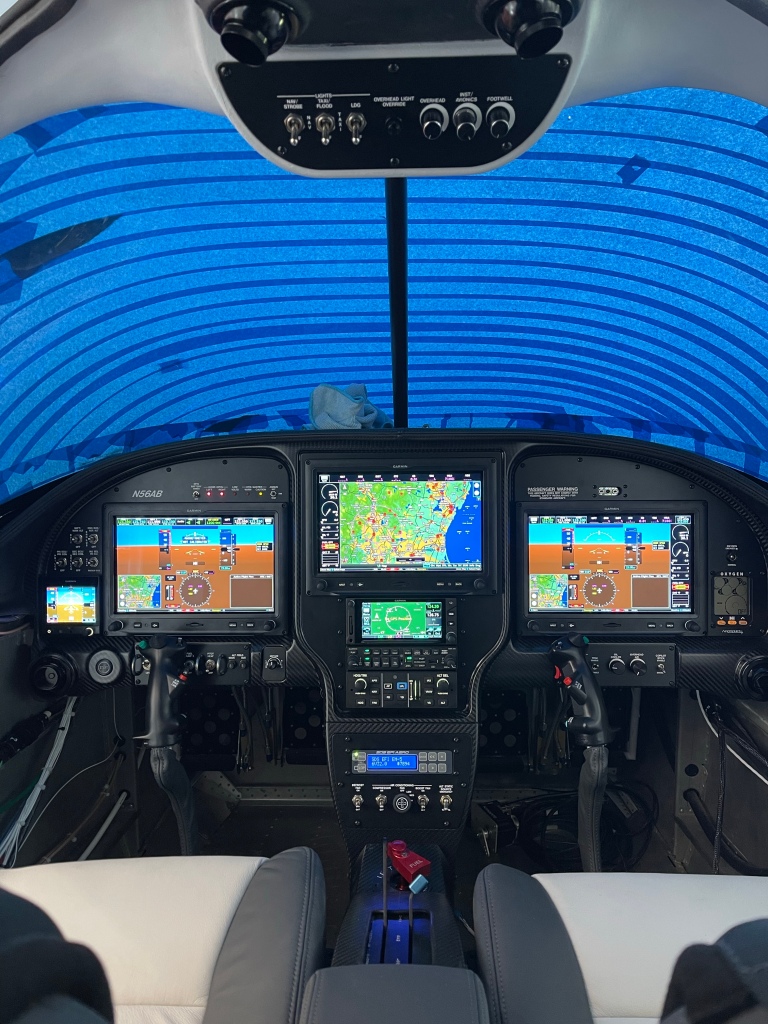
Looking at your “backseat” picture I see you have the same panel and infinity grips I am installing. Can you comment on what you had to do to get clearance for the grips? Cut some off the bottom of the pipe? How much? Did you bend the radius of the pipe?
Respectfully Mark Welch
LikeLike
Nothing… yet. I do expect to have to deal with that issue, but I want to wait until I’m at the airport and have the emp rigged so I know what my actual interference is. Probably will bend if it’s an issue. One thing I’ve learned is sometimes I try to get too far ahead of myself based on what others did or encountered, only to have to revisit or redo stuff later on. So I’m waiting until I know I have an issue and dealing with it then.
LikeLike