Tail and Wings

Lots of progress since moving to the hangar. It started by getting the tail pieces back on.

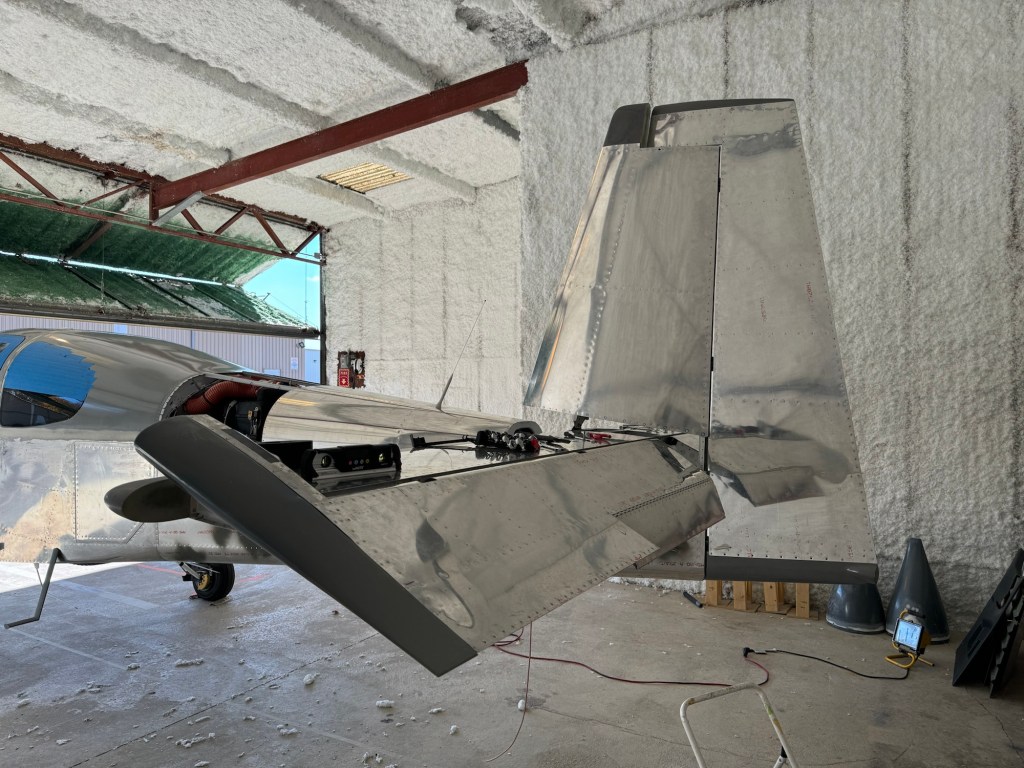
I then worked to get the emp fairing cover trimmed and in place and matched drilled to the holes in the metal using a strap duplicator. Then added nutplates so it can be held down with screws.

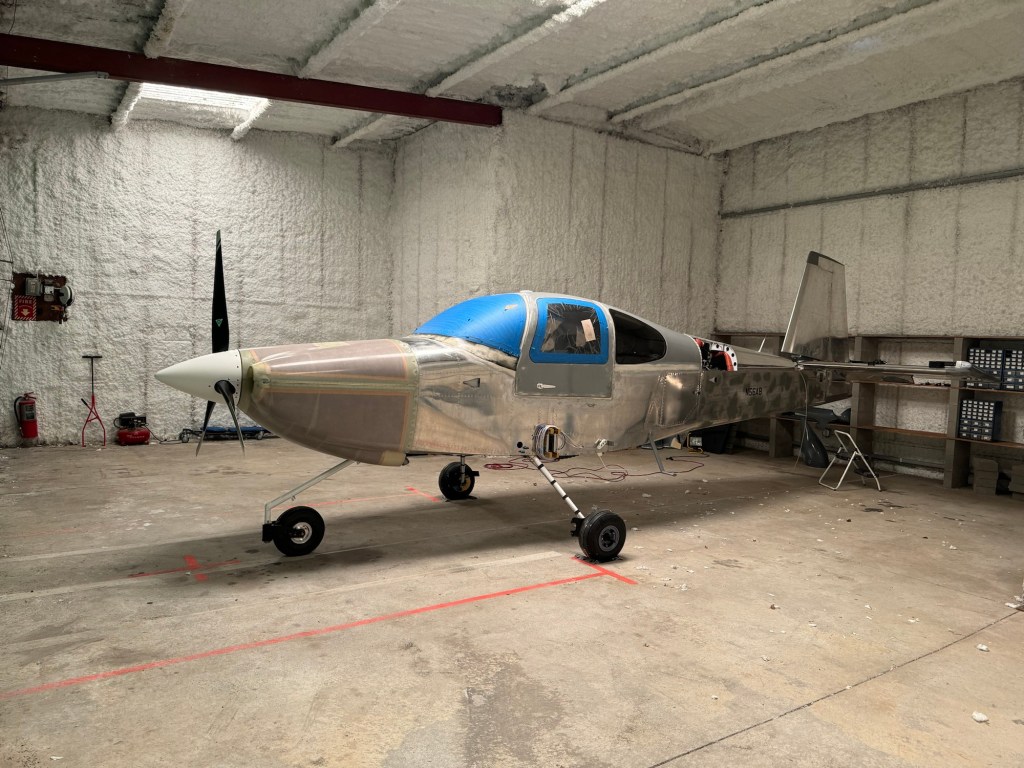
I needed to double check the nose wheel nut break out force and get a cotter pin installed. I really should drill a hole in the floor to thread a ring into for the strap, but I was able to use some blocks I had lying around and my creeper to pull the tail down, lifting the nose wheel off the ground.

I also spent an inordinate amount of time trying to bleed my brakes. In the end, I had to use a garden sprayer type setup to be able to build up enough pressure to push the hydraulic fluid from the brake caliper all the way up to the cylinder on the firewall. All other methods I tried (oil can, and also a vacuum bleeder from the top) failed to be able do the job.

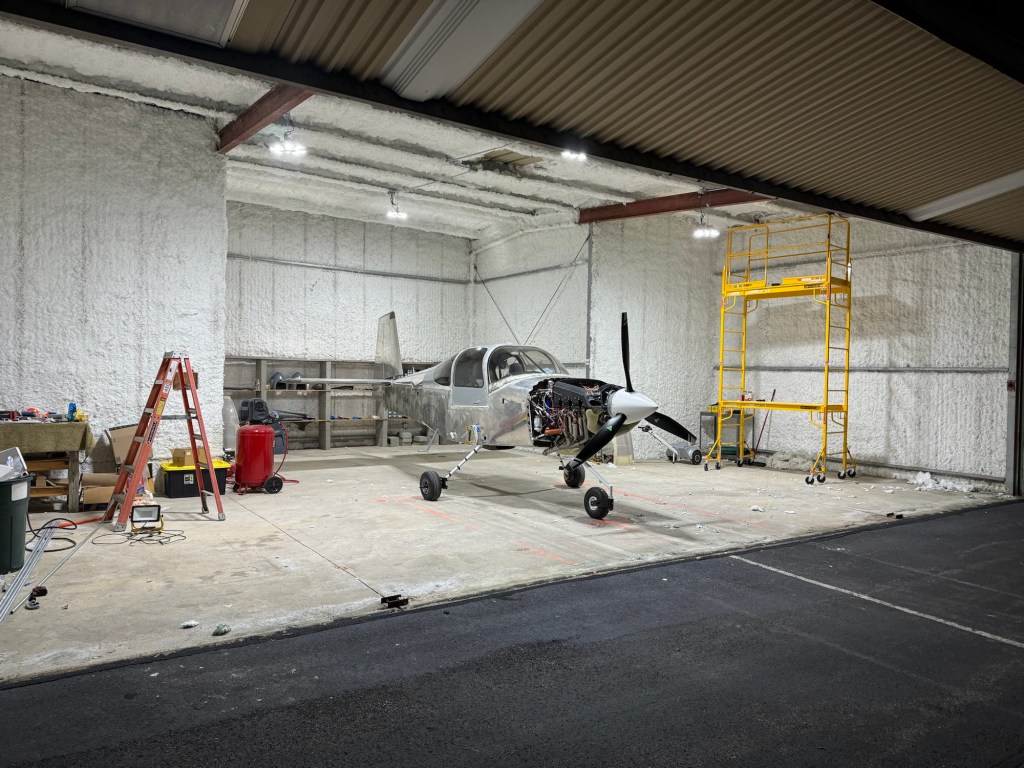
I knew when I got my hangar that the single halogen light was not going to be enough. Still, in order to make progress, I made due with the use of some portable lights in the area(s) I was working. One day the bulb burnt out and rather than replace it, I took it as a sign that I needed to stop and just upgrade the lighting in the hangar. Below is the result of adding some new LED lights.

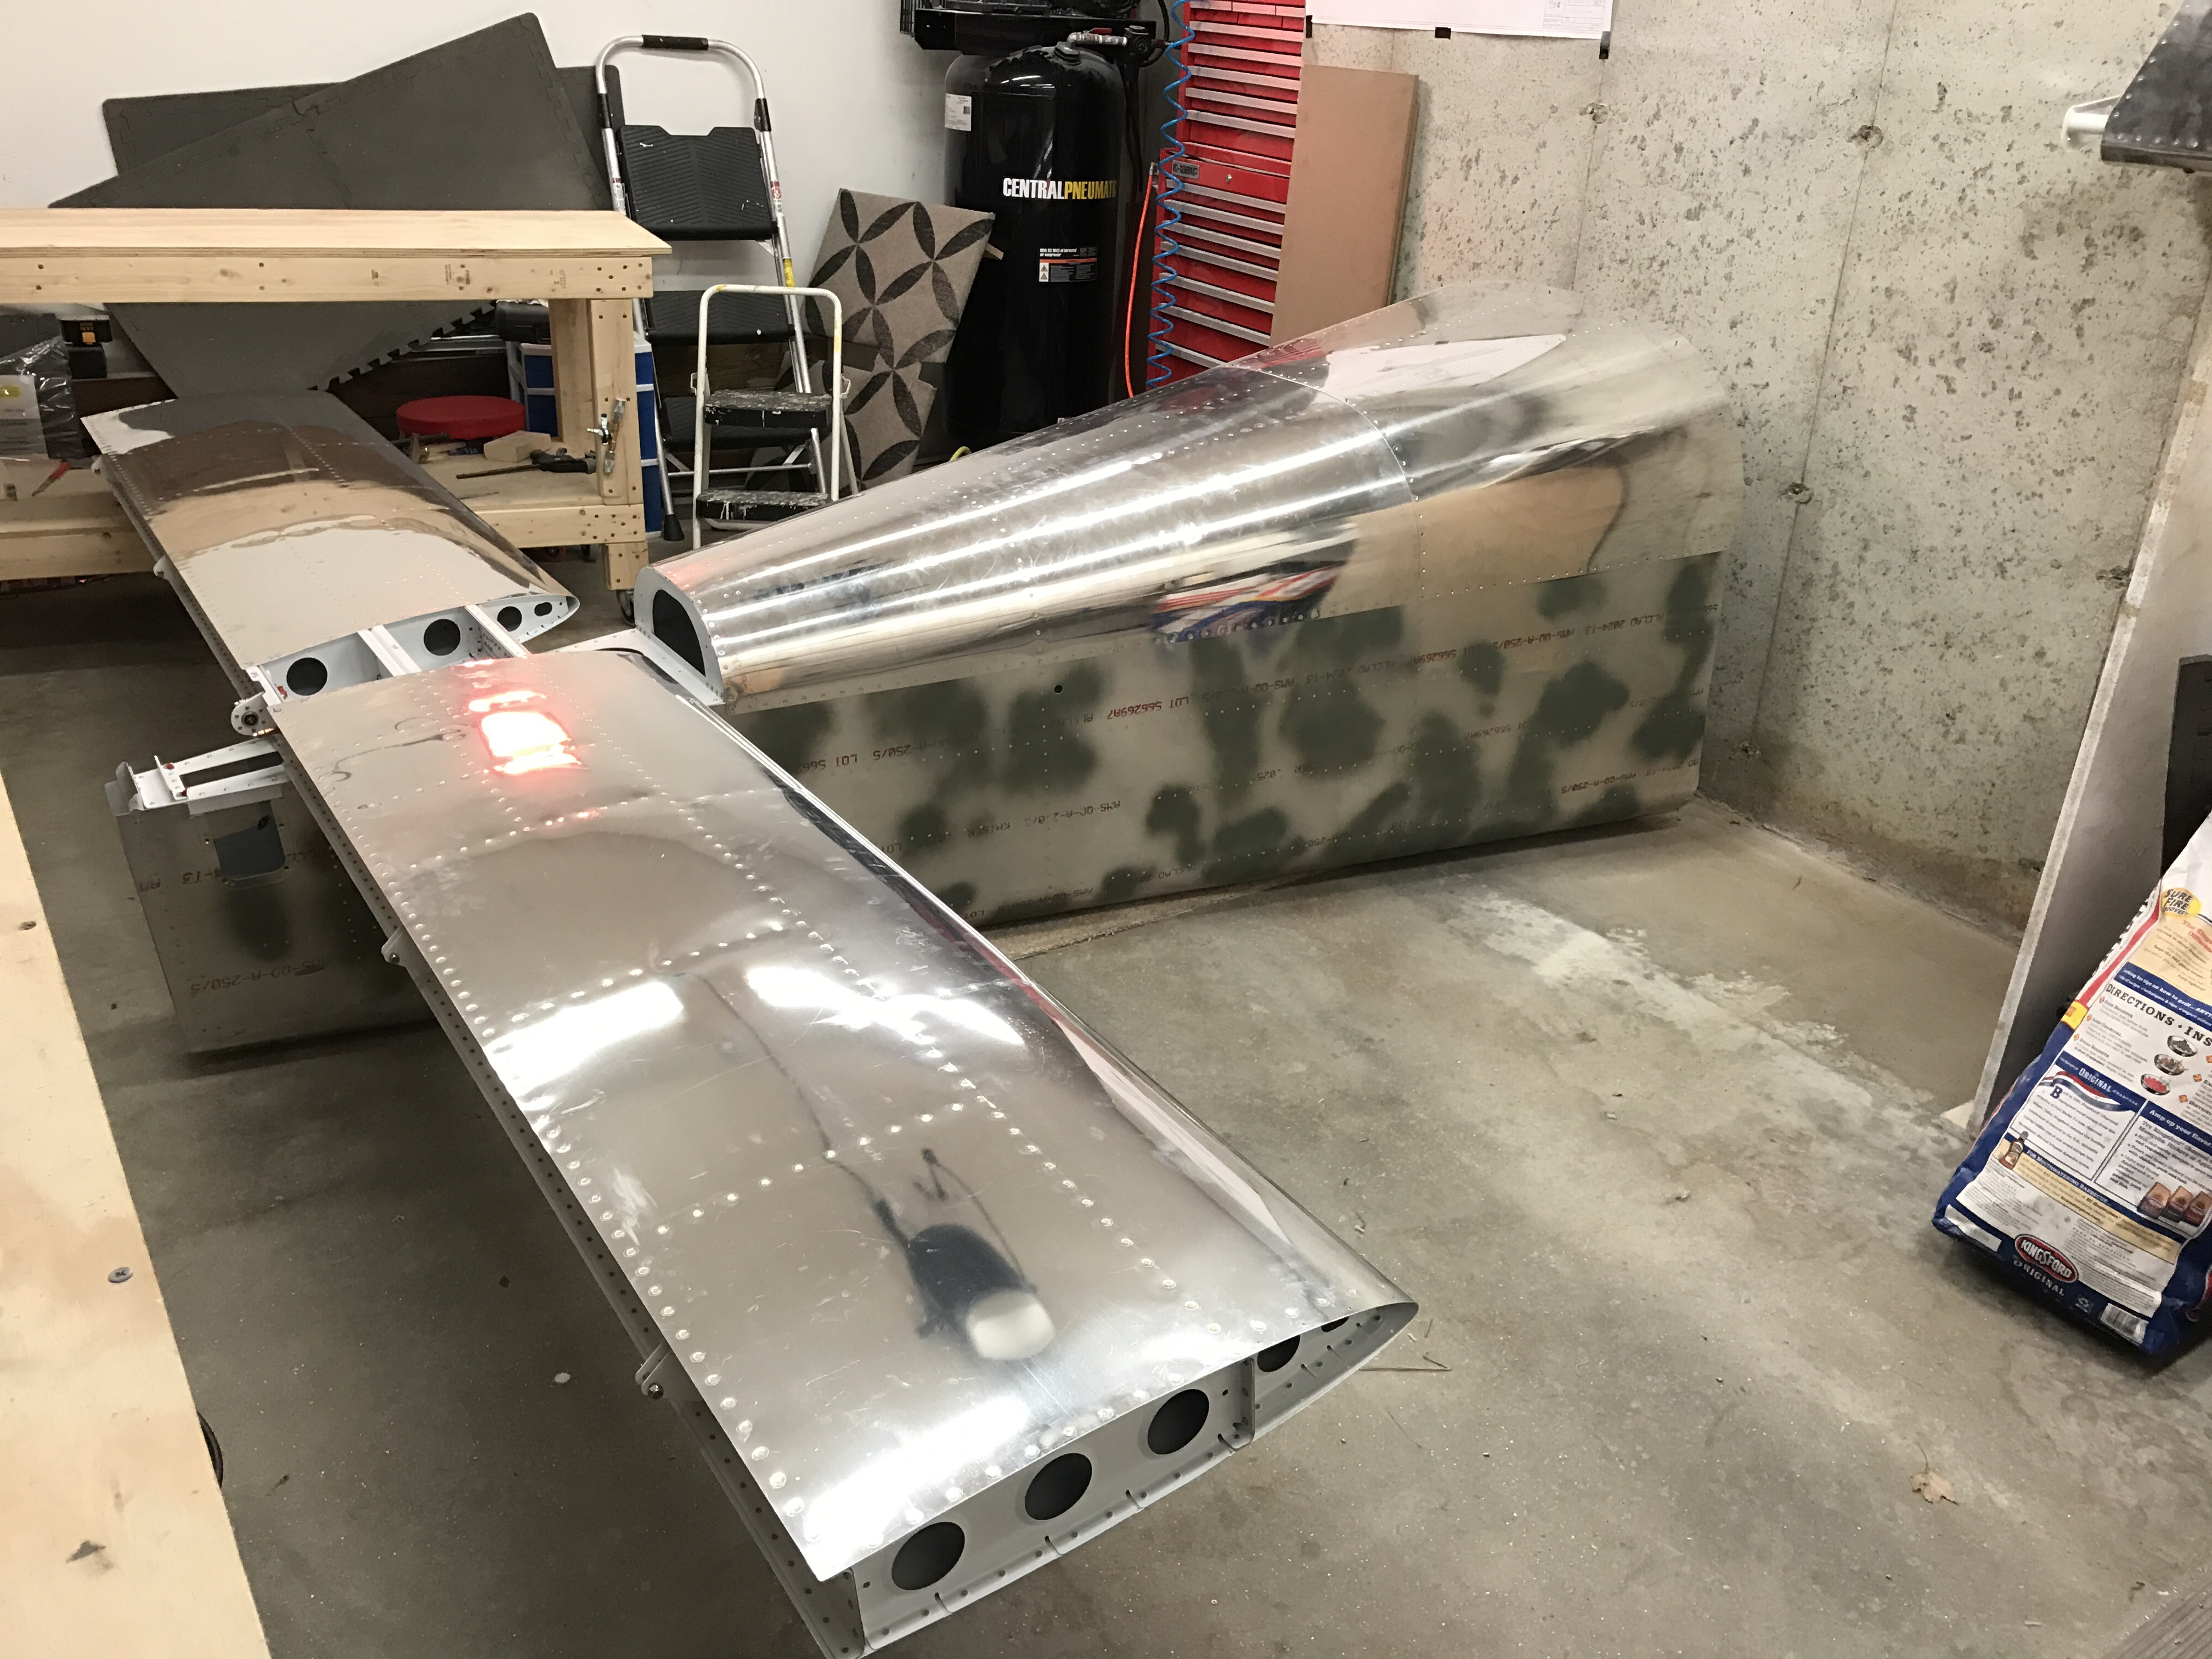
Once my ZipTips were done at home and before the first snow, I was able to get some help to transport the wings to the airport and subsequently get them onto the airplane!!!

Since getting the wings on, I’ve been able to get the flaps and ailerons on and rigged.

I’m now working on finishing up section 44 which is mostly about wing root fairings, fuel tank vent lines, and connecting the fuel lines between the tanks and the fuselage.

Flap connected
Aileron push bar connected.

In testament to the user friendliness of avionics these days, Declan seemed to pick up on how to use the EFIS right away. 🙂

I used some of the soft aluminum tubing to make the vent lines for the tanks as shown below.

So what remains is to finish the wing root fairings and get my fuel lines connected. Then I will need to take the wings off one last time to debur some things and finish some nut plates on the tank. Then I can bolt the wings permanently and finish up the electrical wiring.

After that it is mostly getting ready for first engine start and preparing for inspection.

Empennage Attach Complete

For now.. The only thing remaining is to adjust the elevator trim servo.

The first steps are to attach the elevators to the Horizontal Stabilizer and making sure you have sufficient travel up and down with no binding.

Measuring the UP direction.

After drilling the Elevator horns and clamping them together. 

I then ran into a minor issue in that the gap between the left elevator and the horizontal stab wasn’t very even. The plans say there should be approx a 1/8″ gap along the entire length. I had a 1/8″ gap on the aft end, but it increased to 3/8″ forward. My right side was pretty close to perfect.

Uneven gap on the left side

Right side nearly perfect

This gap isn’t a very critical thing, it’s more critical that the elevators are attached evenly to the Horizontal and that there is no binding through the entire range of motion with both elevators attached together. Still, it was pretty visible and annoying to me. Others have seen similar things, although maybe not quite as bad as me. Van’s suggested either 1) playing more with the rod end bearing adjustments or 2) drilling out 12 rivets (6 top and 6 bottom) and re positioning the elevator counterbalance arm as shown below. unnamed

I played some more with the rod end adjustments, but wasn’t able to get the gap much better without causing it to bind up. So I decided to drill out these 12 rivets, push the counterbalance arm inward where I wanted it, and re-riveted those 12 rivets to hold that position. The results were much better! There’s now only a 3/32″ difference between the aft and forward ends as compared to 8/32″ difference before! Also it was mentioned to me that once you put the fiberglass fairings on, it may tighten it up a bit more by removing any twist remaining.

Much better!

So with that behind me, it was time to make some shims and mount the horizontal stab to the tailcone.

Once mounted and partially secured, you cut a piece of 2×4 to wedge between the forward attach points and clamp it down to the tailcone. You then measure from a common center rivet on the tailcone skin to each corner to make sure the HS is square to the body. The clamps allow you to move the HS left or right and clamp it down in that position until you get it square. Took me a few rounds back and forth trying to get it as perfect as I could.

Horizontal mounted on tailcone with 2×4 and clamp to adjust squareness.

All Square, forward holes drilled and bolted.

The next steps were to mount the Vertical stabilizer, and drill some holes through the back of the tailcone, and then mount the rudder, much like the elevators.

The end result is the realization that I really am building an airplane in my garage!

A few steps are left after this achievement. Namely I connected the elevator push rod and made some basic adjustments.

Elevator pushrod. Primer a little beat up prior to a touchup coat later on. 

The last couple of items to finish up were to fabricate some brackets for the elevator trim bellcrank assembly.

I did run into one issue, which I still have yet to resolve. There was no extra space between the bellcrank to put the washers called out. The plans are clear that thinner washers can be used, but I’m skeptical because I can’t even get a single washer in on one side without significant effort. There are washers available that are half as thick (0.016″ thick) and I have ordered them. There is a little side-to-side play with no washers installed, so maybe these will work. I will wait to get them to see if they will work.

No space to insert washers between the brackets and the middle bellcrank.

I double checked things, and I don’t think I messed anything up. The hold spacing is 7/16″ and the 2 brackets are parallel to each other.

So for now I attached the servo and trim cable, but have left the adjustments for later.