
Over the course of the week and weekend, I was able to debur all the Elevator parts. There are a lot of them! I also started dimpling things.. up until I broke my male 3/32″ dimple die. UGH! I use Cleavland’s tight fit dimple fixture, and a rivet set to hold the die in my rivet gun. I did’t think I was off center or anything, but somehow the male pilot of the dimple die broke off. So I’ve ordered a couple of replacements. I’ve asked a local friend if he has one I can borrow, seeing I’m mostly stuck needing to finish up all the dimpling prior to priming and riveting the structure together.
While deburring one of the skins, I managed to push my cordless drill off the bench with my 2.5mm Ezburr bit in it. Needless to say, the Ezburr bit didn’t fair well. 😦
So today, I dimpled any 1/8″ holes and did all the countersinking needed to some holes on the top of the rear spars and the trailing edge wedges. I also prepped the skins for the foam ribs used on the trailing edges by marking their positions and snuffing up the metal with sandpaper for better adhesion.
Below is a time lapse video of me dimpling one of the four elevator skins.

Marking the foam rib positions
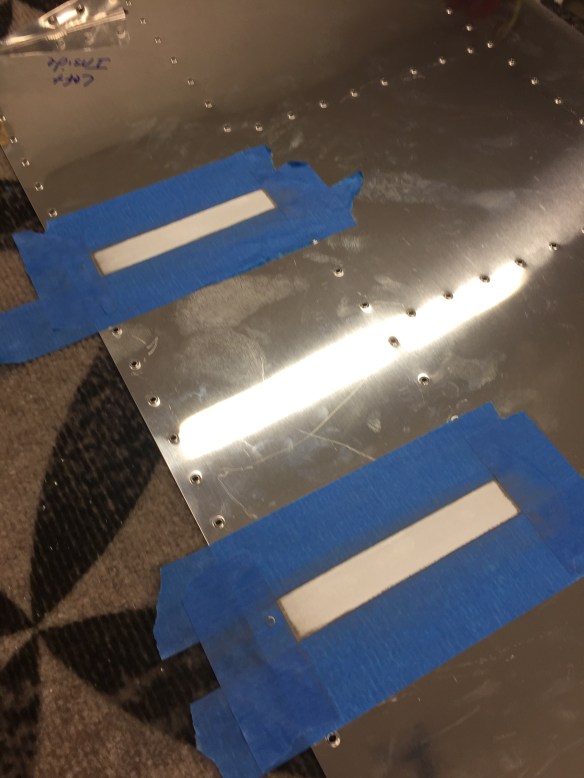
Masking the foam rib positions and scuffing with sandpaper.
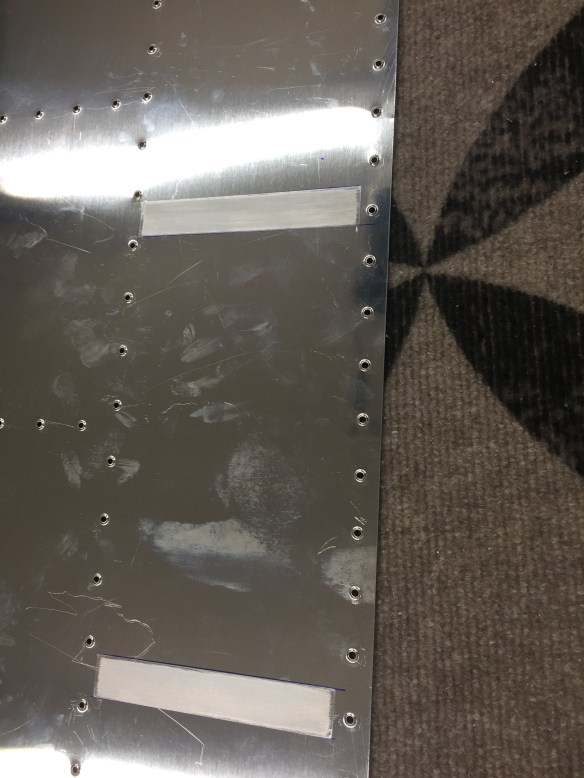
After cleaning and masking removal


On your EZ Burr problem….For a .122″ diameter tool, you should be turning it over 3K rpm. There is a feed and speed calculation chart on their website.
LikeLike
Thanks for the tip. I’ll try spinning it faster.
LikeLike