
Boy there are a lot of parts to prime in the tailcone. It took several sessions to finish all of the priming. I started by doing the skins, and then 2 additional sessions to do the remaining smaller parts. On most parts I take the blue protective coating off of the part the first time I start to work on it. With the skins, I’ve been leaving the outer blue protective coating on until later in the process to help prevent scratches. Upon removing the coating from the side skins, I found a bunch of surface corrosion starting. Nothing too terrible, but enough that some spots took a lot of elbow grease to sand off. I mostly used a maroon scotch brite pad, but a couple of stubborn spots needed a little fine sandpaper to go a bit deeper, followed by more scotch brite to get it completely off. I then sprayed the areas with some rattle can self-etching primer to help protect it for now.

Lots of these corrosion spots on the side skins
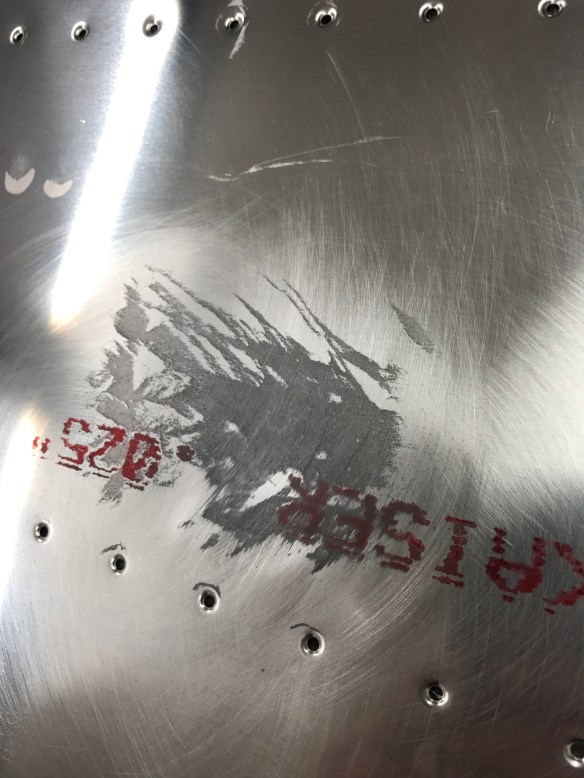

Mostly all gone
This picture will give you an idea of how many spots there were to deal with.

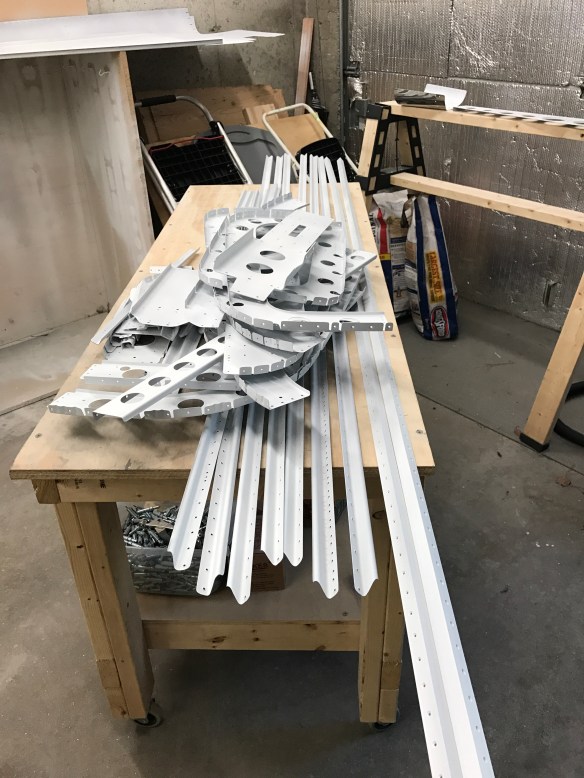
Pile ‘O Primed Parts

Initial Couple of Parts Assembled

Bulkheads Riveted Together

Getting Ready to rivet skins to stiffeners

Those primed parts sure look great. Looks like you’re ’rounding 3rd base on the emp kit. What’s next? 🙂
LikeLike
Still have to attach all the pieces together. Looking forward to taking a picture of that!
Then depending on when the wings get here (scheduled in January) I’ll work on the fiberglass fairings for the tail feathers.
LikeLike
Hi Adam, what primer are you using?
LikeLike
I used Stewart Systems EkoPrime. I wanted some protection but not the mess of a 2 part epoxy primer.
LikeLike