A couple of pics of all 4 side windows now done with the front right window curing.


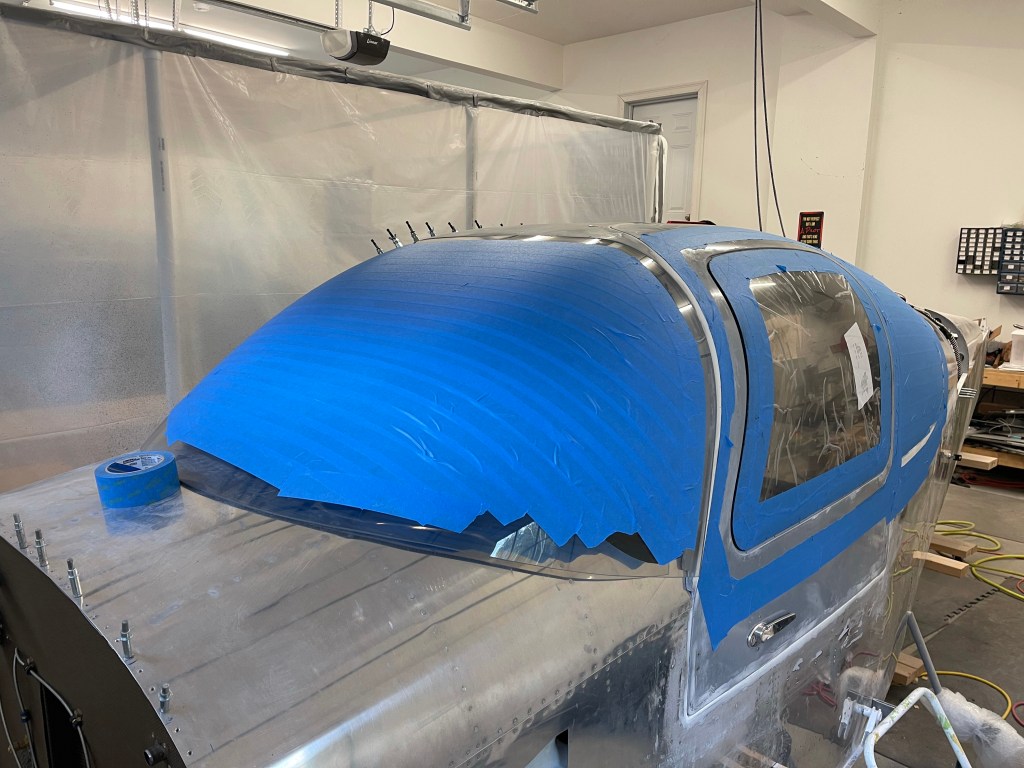
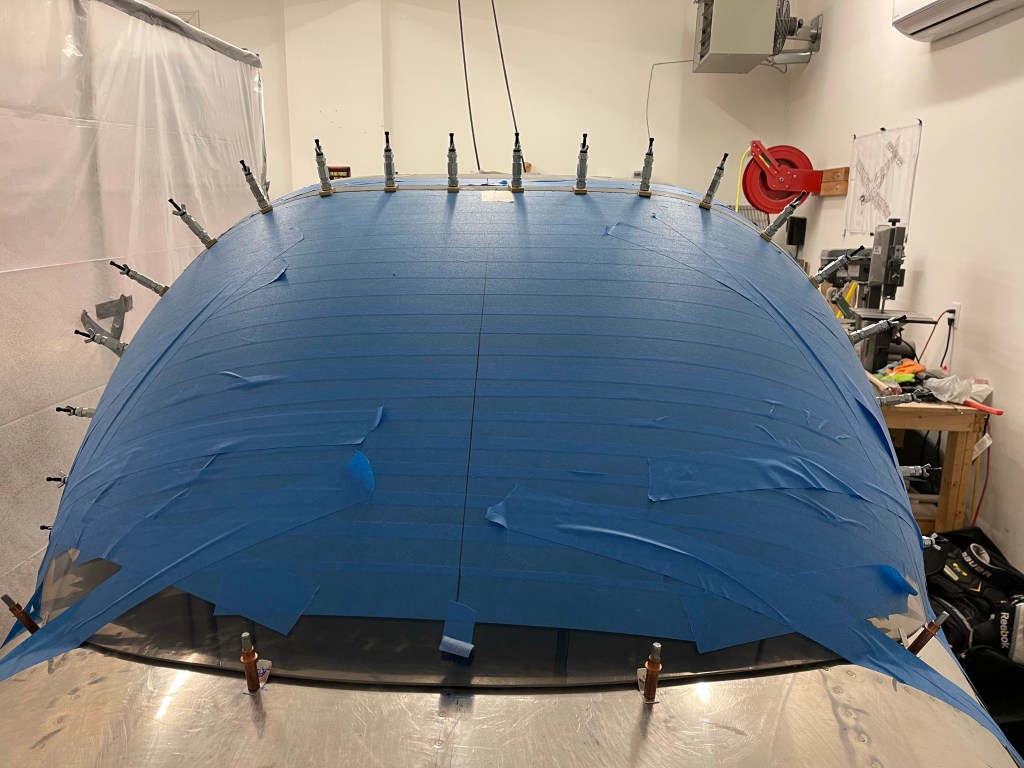
It was then time to start on the windscreen. It was masked off to help protect the plexiglass from getting scratched. Then began the process of trimming. Not too much trimming was needed with the Cee Baileys windows and this one was no exception. I marked the centerline of the fuselage and the window at both the top and bottom to make sure I was always putting it in basically the same position before each marking and trim session. I did trim some off of the front to tilt the window downwards a bit and alleviate the bottom corners bulging outward due to the plexiglass hitting the curved part of the upper forward fuselage. Once I was satisfied with that and made sure that the plexiglass was entirely sitting on the aluminum, I moved on to trim the top. This was solely to create the 3/16” gap which will follow the same Silpruf method as the side windows.


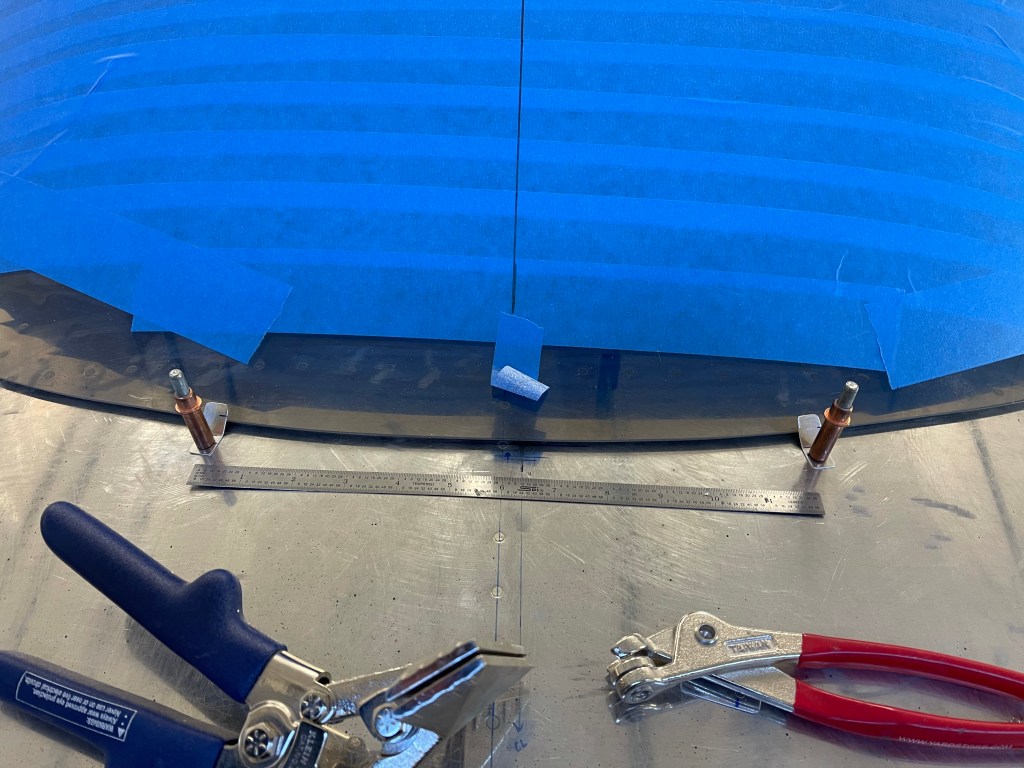
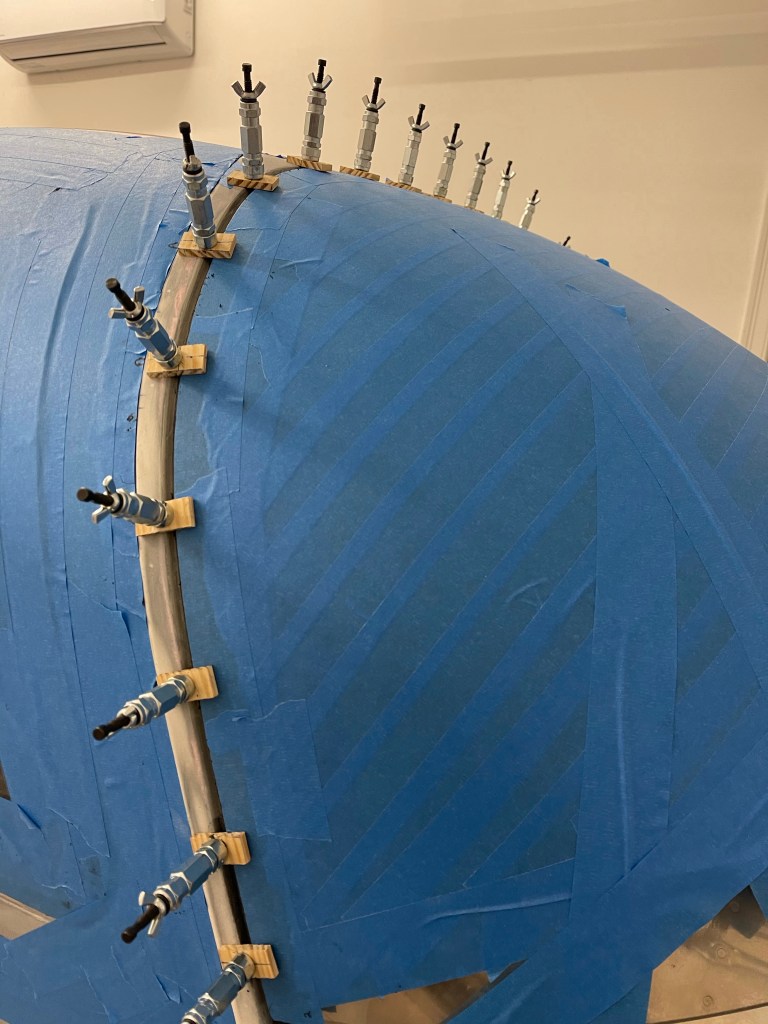
Then I fabricated clips to hold the bottom part of the windscreen in place and put them approx 12” apart along the bottom edge of the windscreen.

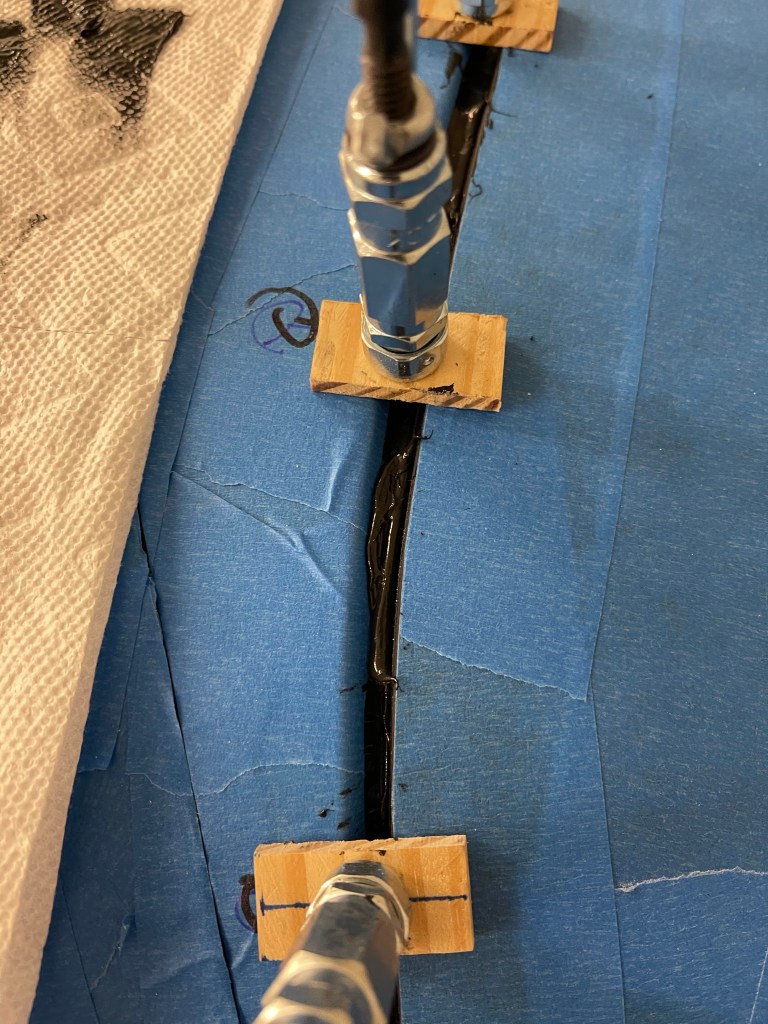
I then installed the Sulpruf standoffs along the joggle and made sure everything was masked around the window.

I then prepped the inside of the top part of the windscreen just like the windows with masking and eventually a boundary layer of Silpruf 12-24 hours ahead of putting the window in. I was a little conservative with the bead of Silpruf I put along the joggle, but wanted to have too much rather than too little. As Zach says in the videos: “ I’d rather you be an overgluer than an undergluer. “

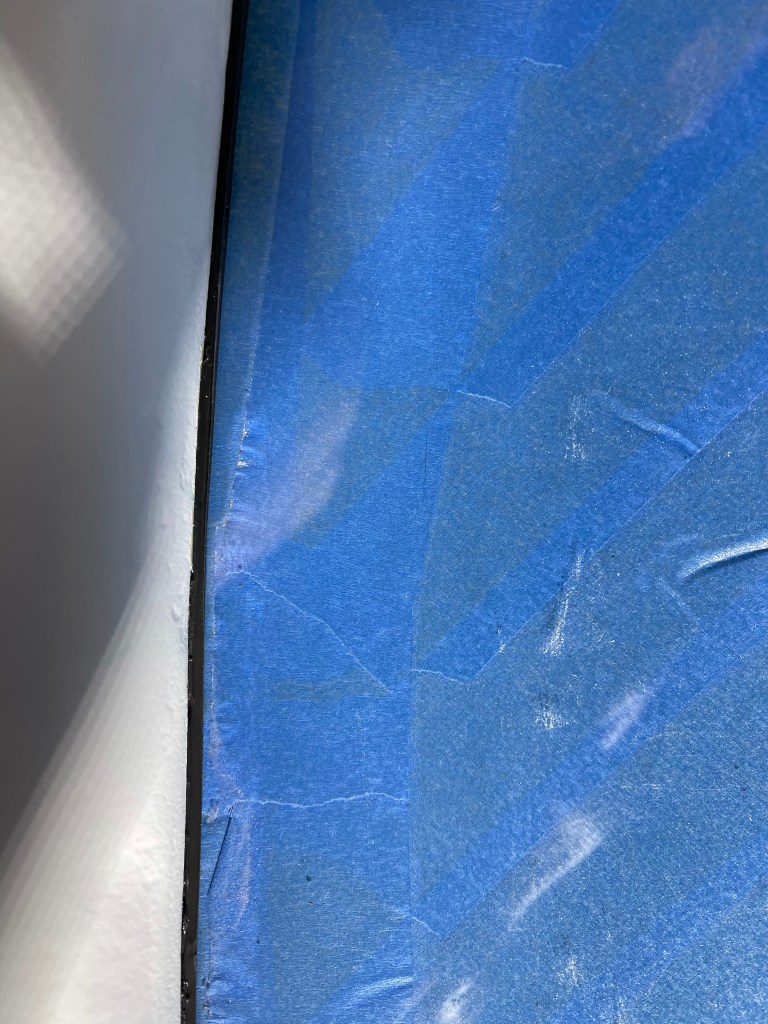
The whole masking process of the inside of the window produces a really nice black “line” along the window joggle once the window is in and the tape is pulled.
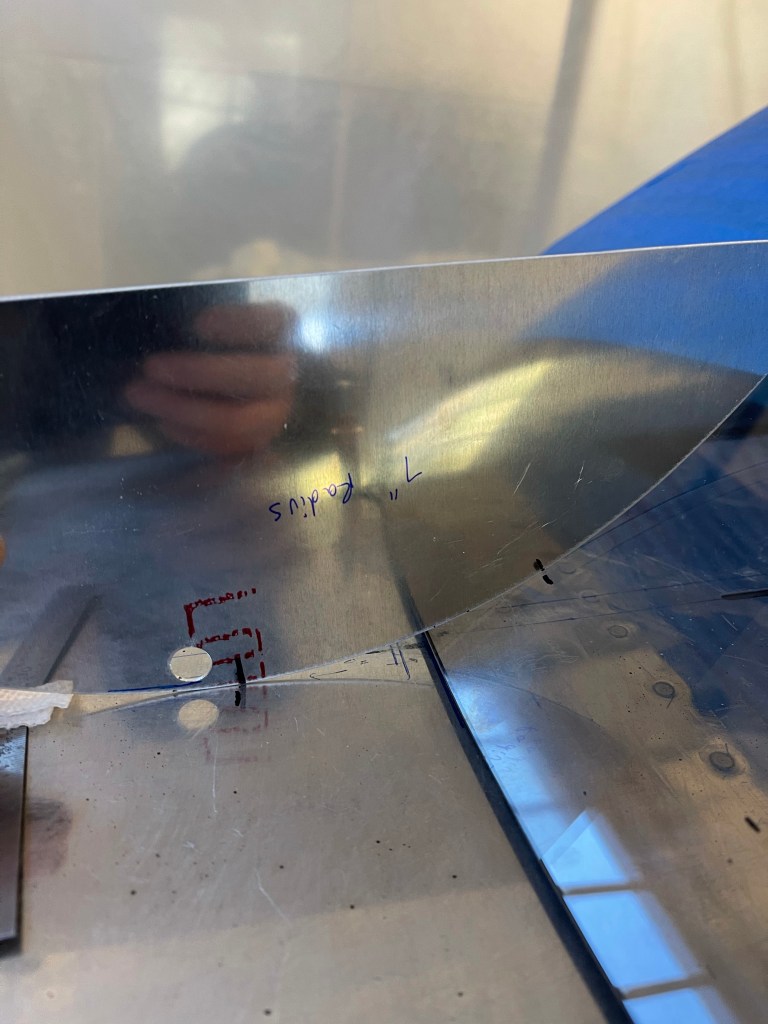
Next up is to do the bottom interface between the plexiglass and the fuselage. This will be a fiberglass layup mostly following the plans, but I have watched the instructional videos the Van’s has put out on the RV-14, and I’m planning to do it more that way. It’s just a slightly different way to layup the fiberglass with the use of tinted fiberglass the full width of the layup as the first layer. This will provide a very uniform line along the base of the windscreen as you look at it from the inside. To start the process, I made a 7” radius tool to mark the upper bounds of the layup on the plexiglass. More on that fairing on the next post.