
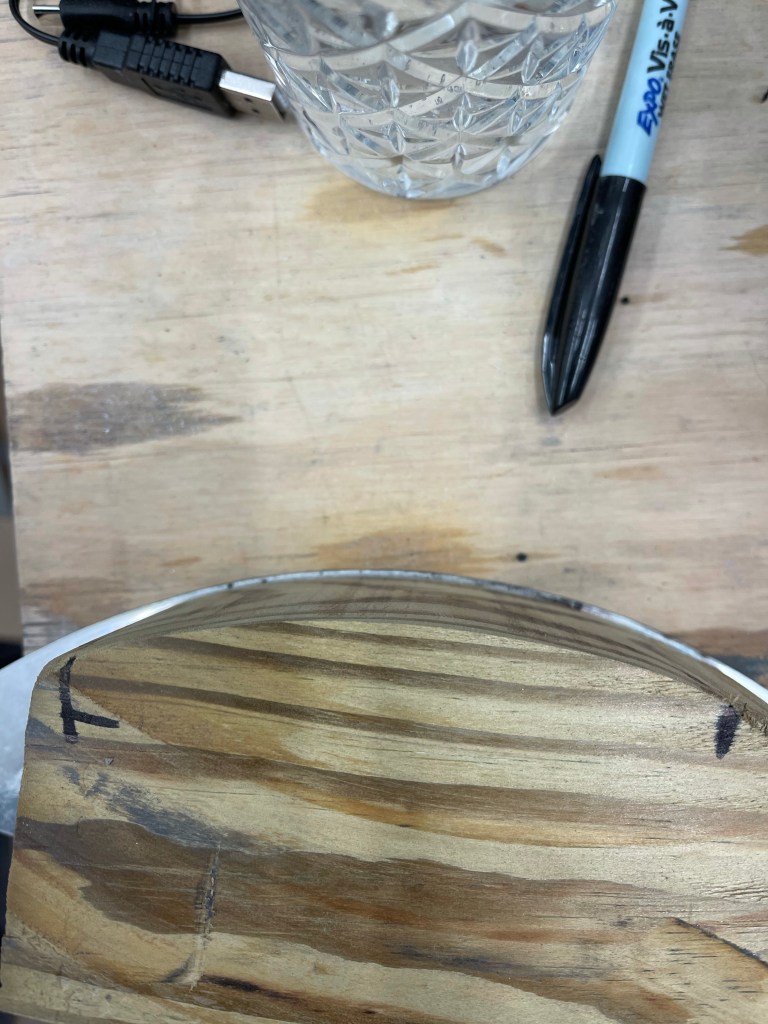
First up while the layup was curing was to make a 7″ radius sanding tool. I had a 4×4 piece of lumber that I ripped to be the same length as the width of the layup.. Then I marked the radius from the metal tool I had made onto the side. It took me a couple of tries to figure out how exactly to mark it (as you can see) in order to have it end up being correct. I then cut it out on my bandsaw and compared to me template.

I used this tool with 50 grit sandpaper glued on initially to sand the shape across the front. The shape is mostly flat as you approach the sides where the leading edge of the door is. In between the front center and the extreme edges, the contour continually changes making it hard to sand. I ended up using the 7″ radius block I had made angled at about 45 degrees and occasionally used circular motions as well. I feel like it worked well.


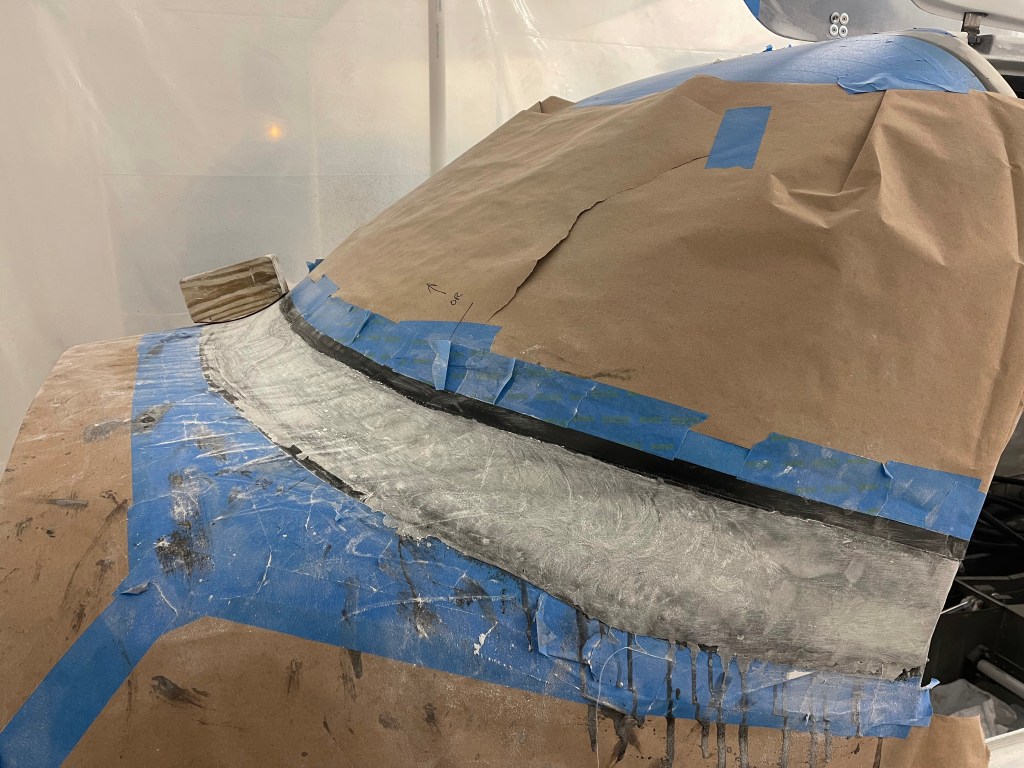
The idea here is there are 2 layers of electrical tape on the windscreen and the metal fuselage. You continue to sand until you’re just scuffing the surface of the top layer of tape. Once that happens, you take the top-most layer of tape off and continue sanding with finer grit until you start scuffing the bottom layer. This will help create a feathered edge onto the mating surfaces. Once I was done with sanding (several days worth.. ) I started to fill some low spots with epoxy and micro.

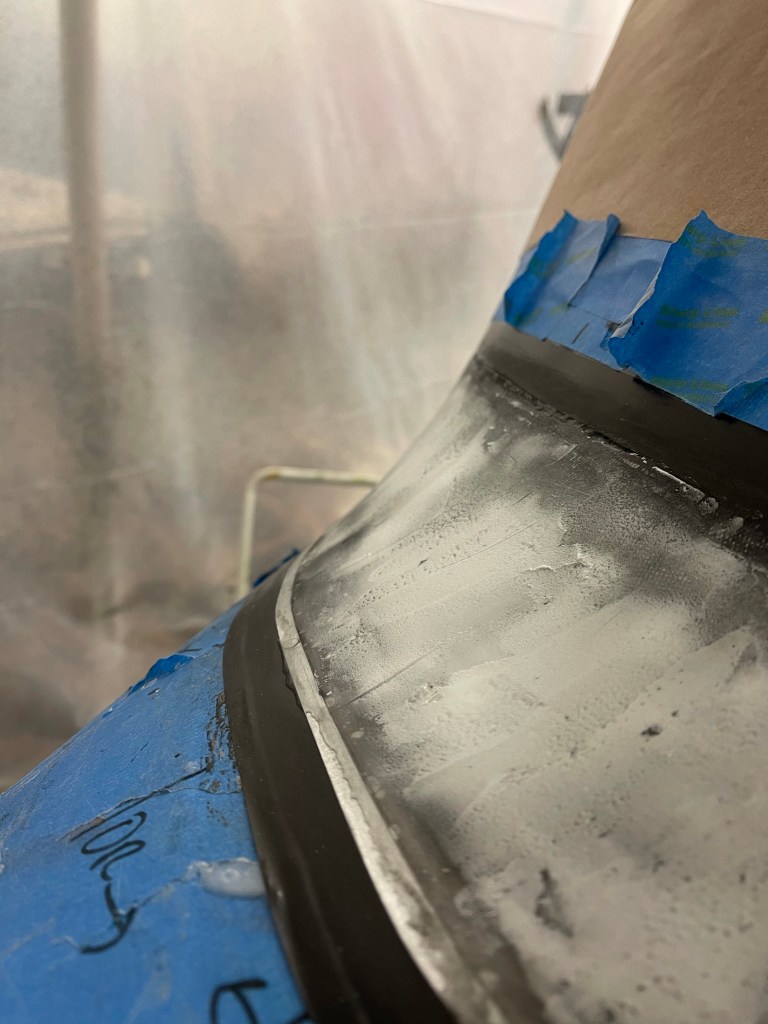


Once satisfied with the overall shape, you start to put a skim coat of epoxy down to seal up the final part and fill any pinholes. A very similar process to what I used to finish the overhead console. I used a squeegee and a foam roller to get good coverage and left it to cure overnight.
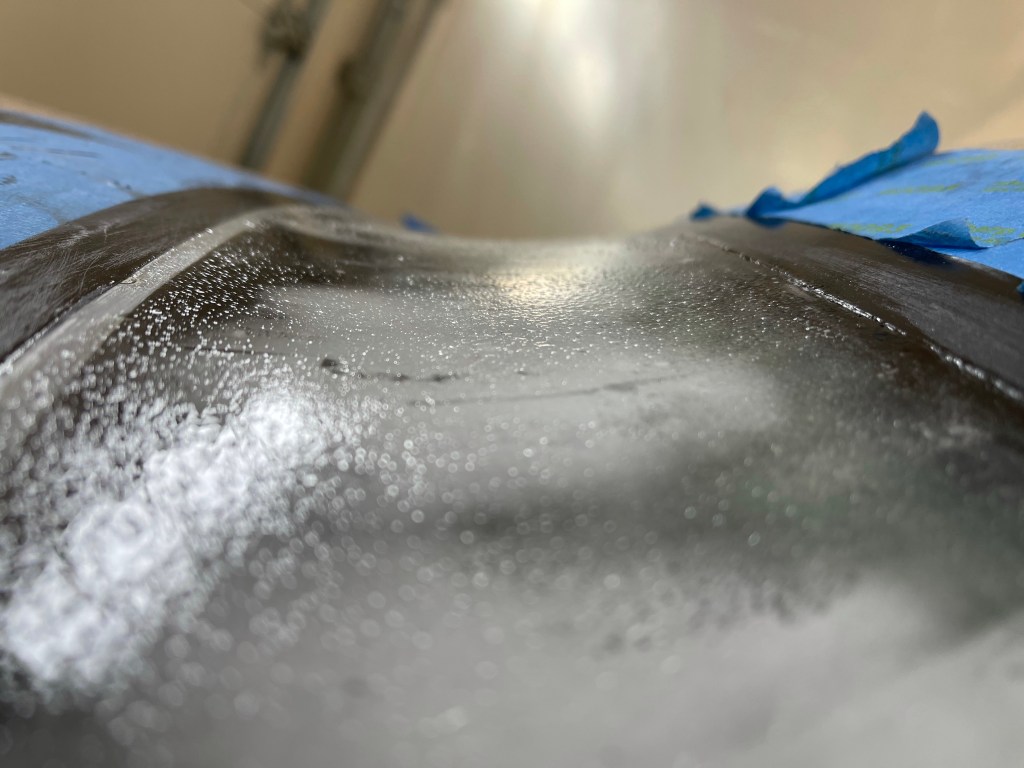

Once done, I pulled off the tape to see the result.. Here is a shot along the left side.

A view from the inside where you can see the really nice black line all the way around the base of the windscreen. Very happy with how this turned out!


I still have some touchup to do along the feathered edges and then I will be using some high-build primer to paint the fairing. I’ll leave it that way until paint.
