
A very late post of this content that I found in my drafts.. Apparently I started on this, but never finished/published it.. so I’m doing it now.
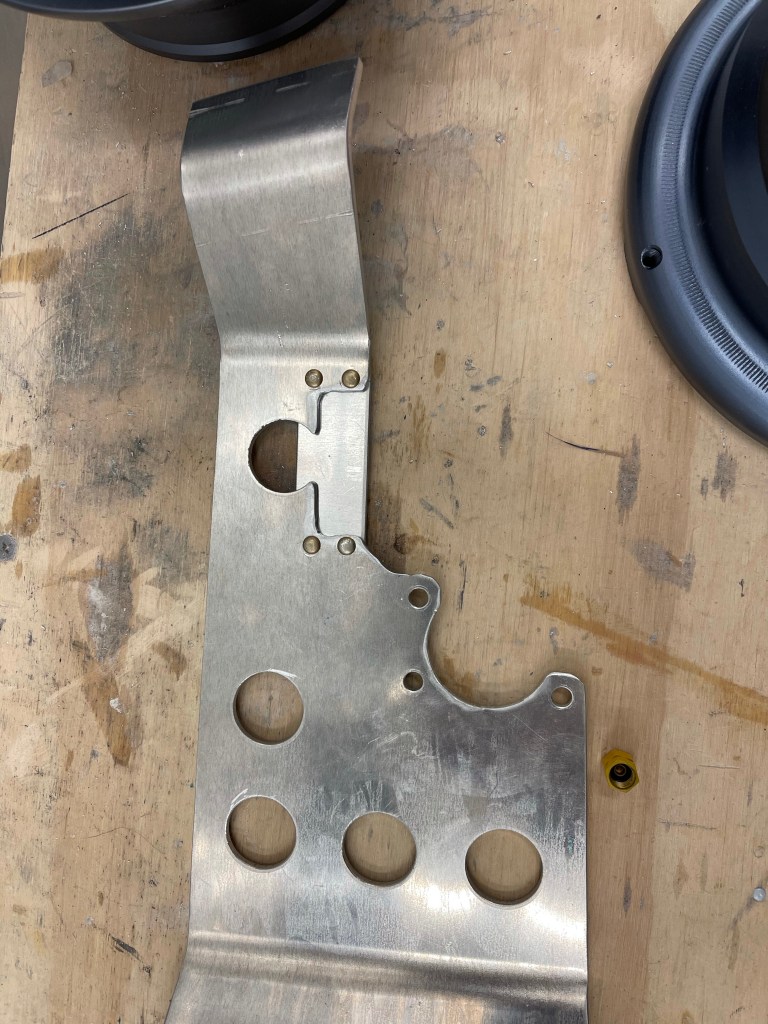
The wheel fairing brackets needed to be modified to accommodate the Matco brakes. The AN fitting for the brake line interferes so a section needed to be cut out as marked below.

I added an extra piece os .125″ material riveted on where the piece was cut out, but offset to allow a pocket for the brake line AN fitting to sit in.
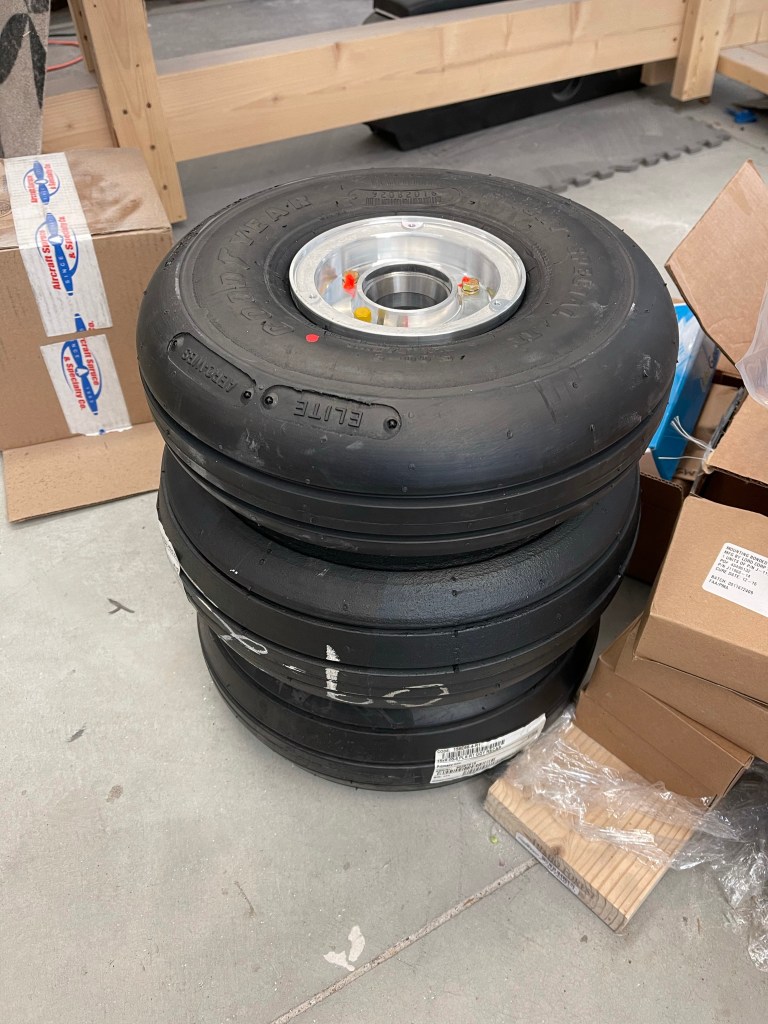
The wheels were prepped and the tubes and tires placed on them.

All 3 tires and wheels done.
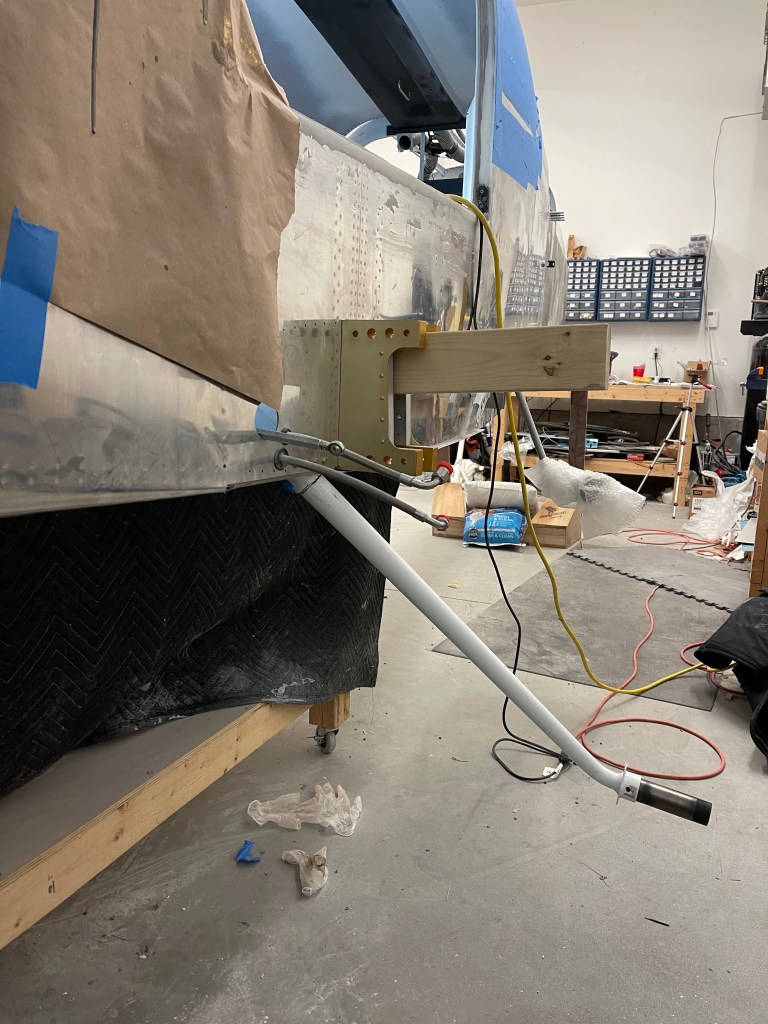
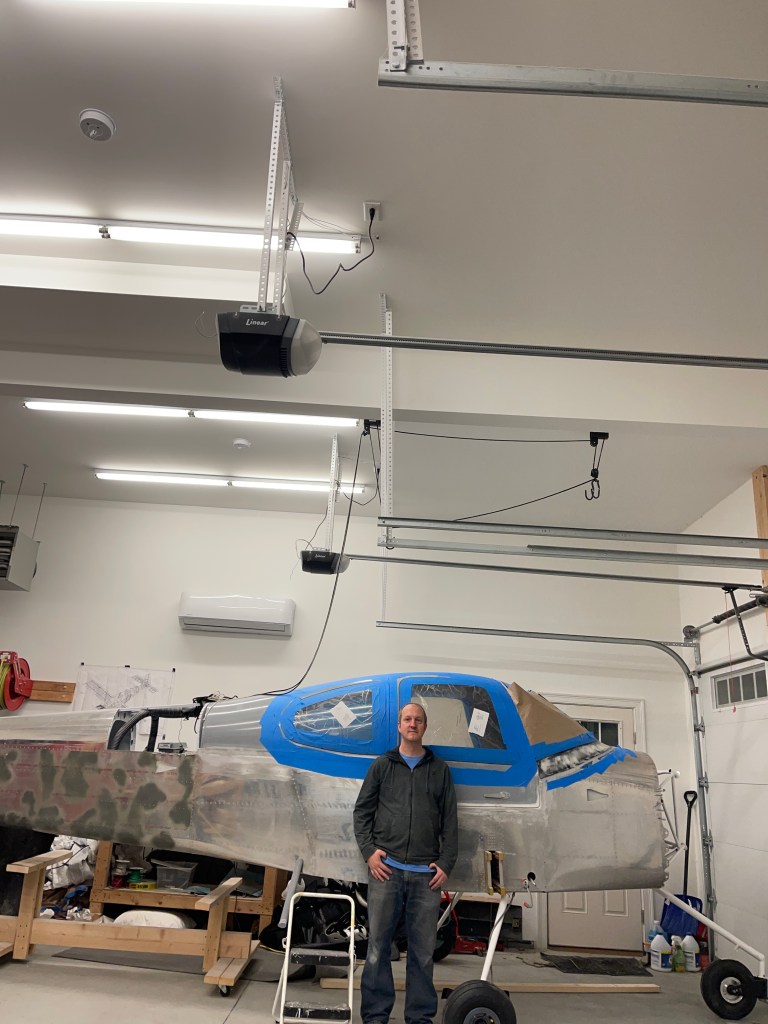
Then the plane was lifted up onto the table with the help of several friends and family. It was much heavier than anticipated. I utilized a 2×4 through the wing spar area for a person on either side. One person lifting the tail and another lifting at the firewall. Yet one more person to help position the table.

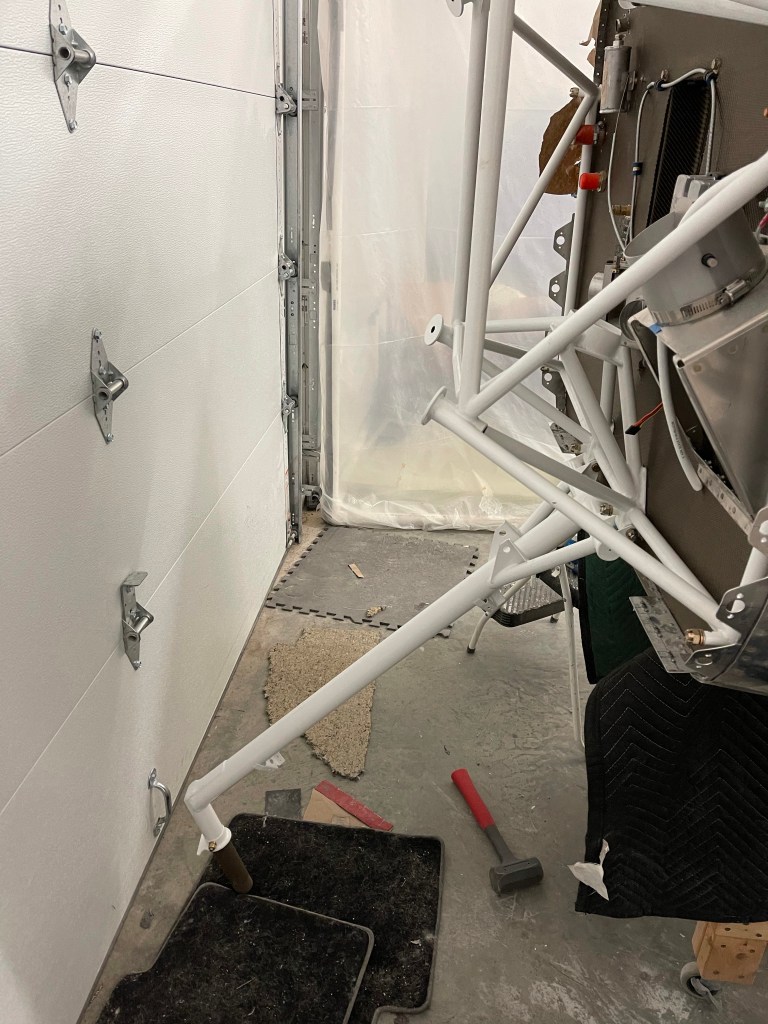
Now that the plane was up on a table, I could then slide the gear legs up into the weldments. I used some grease (same as the wheel bearing grease I have) on the legs to help get them into place. Once close, I used a curved pair of tweezers to feel the edge of the hole in the leg itself. I made small adjustments to get the hole in the weldment aligned perfectly with the gear leg hole. Once I could “feel” the inside of the hole all around without any misalignments between the two, I then reamed out the hole to final size.

Bolt and washer(s) and nut were installed..

Left gear leg installed.
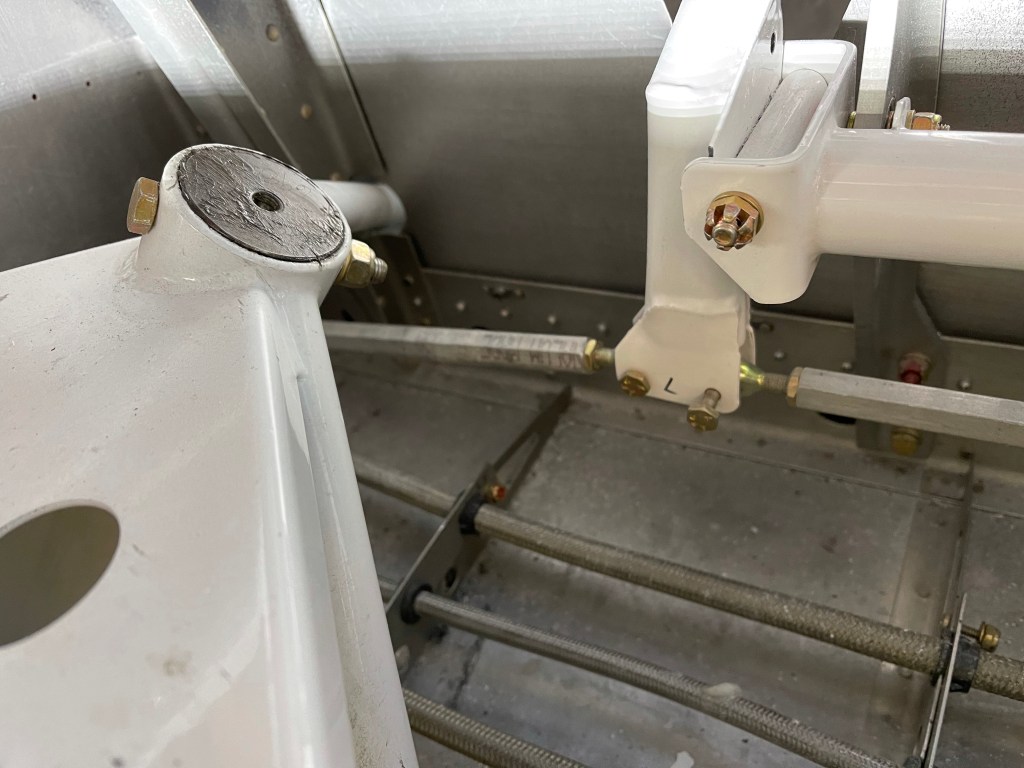
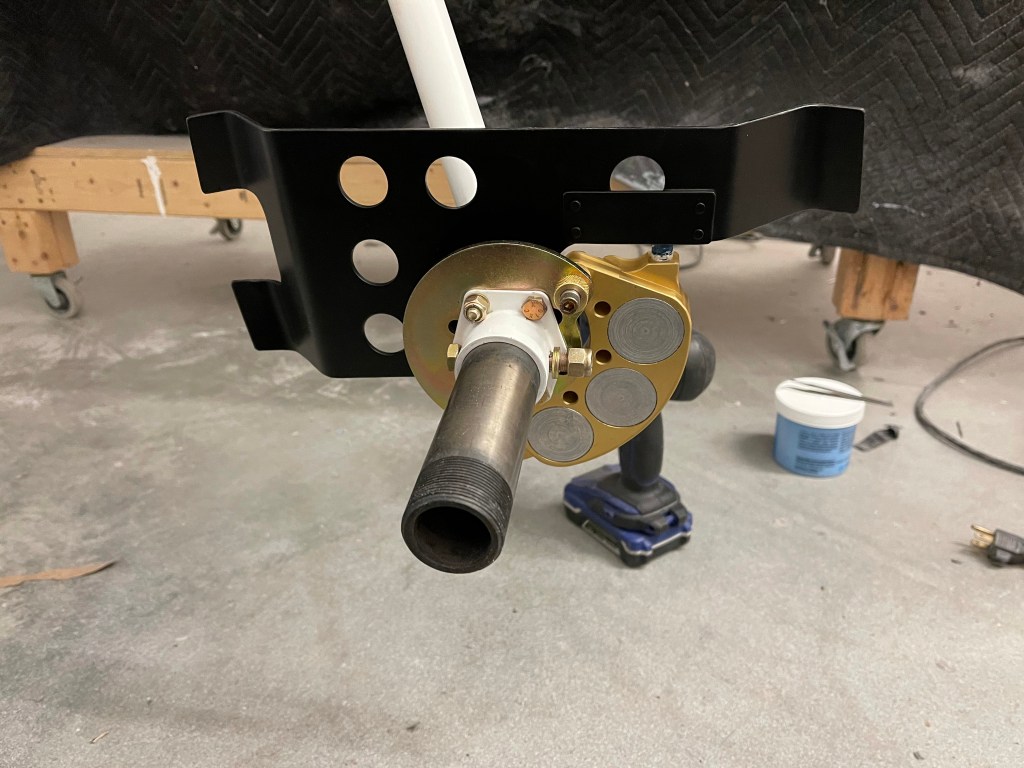
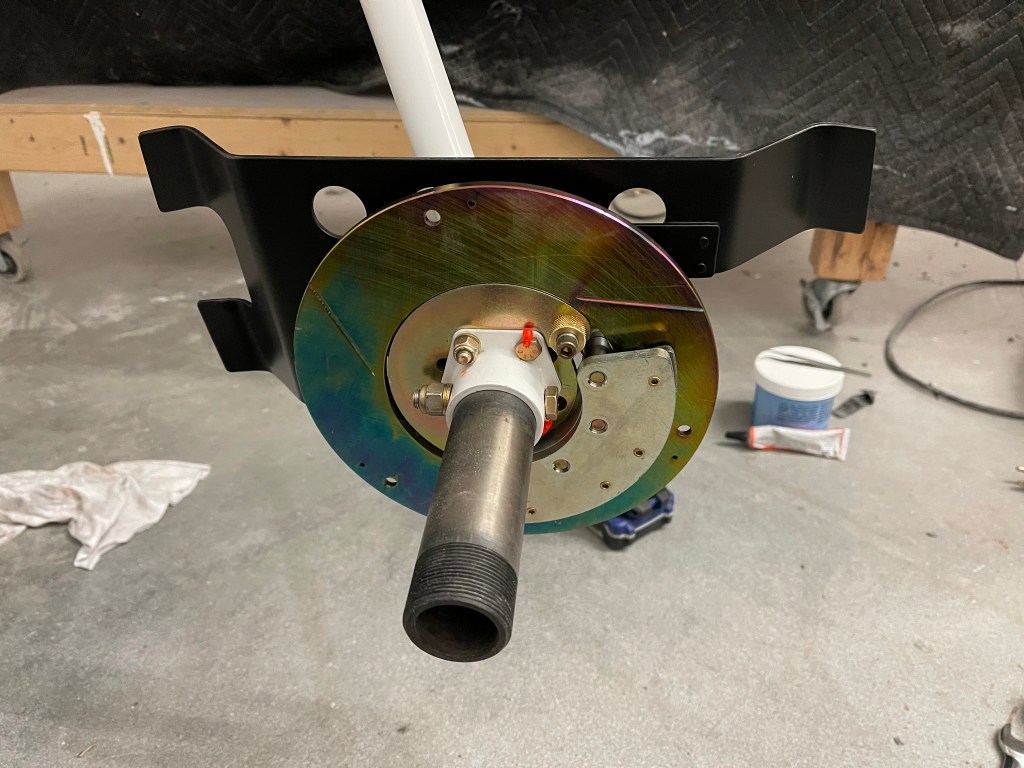
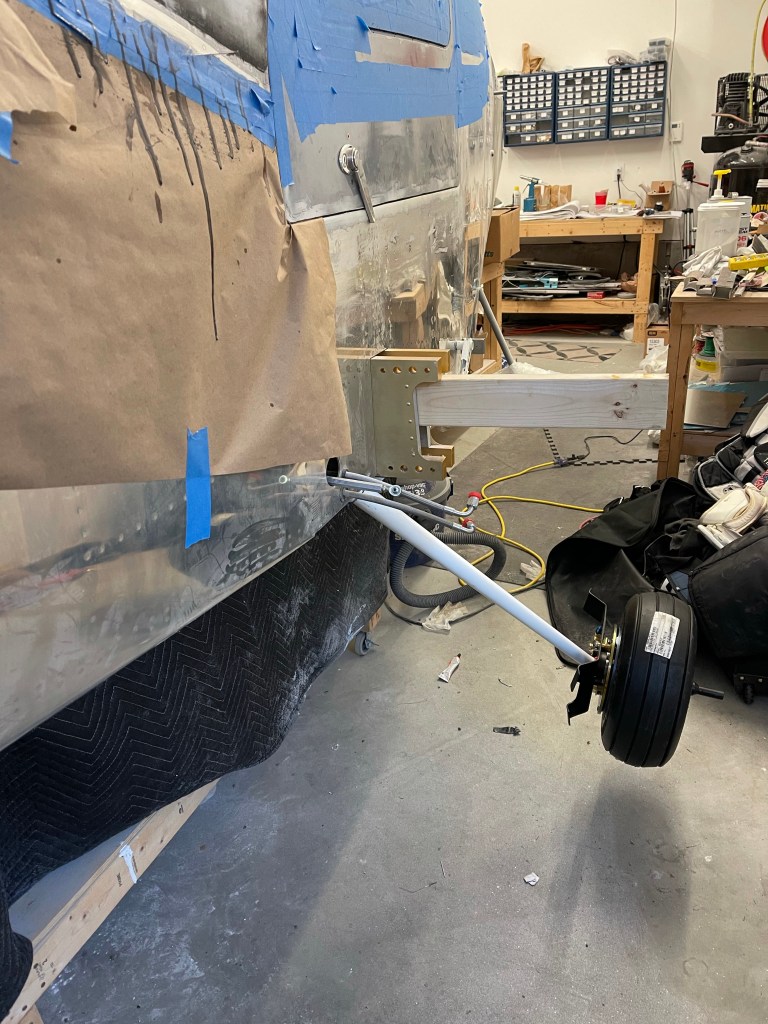
After priming the gear fairing bracket, I continued assembling the Brake assembly per the Matco and Van’s instructions.

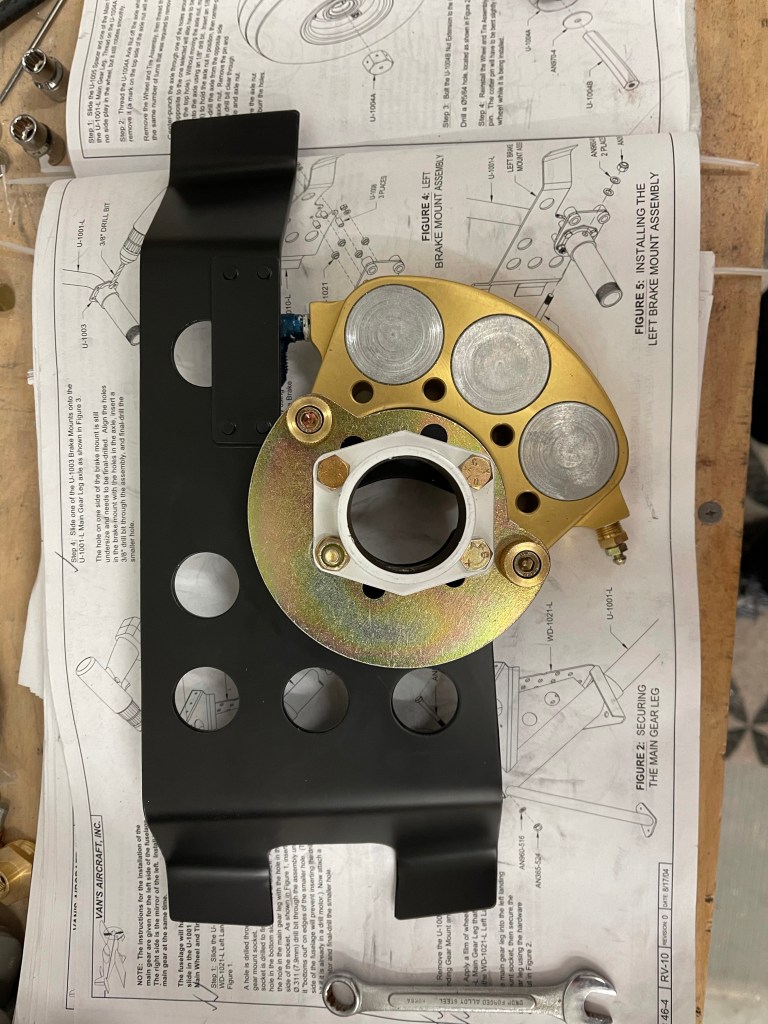
The initial brake assembly was put into place and the axle was drilled for a bolt (which was later turned the other way to avoid interference)
The wheel bearings were then packed with grease using this nifty tool from Amazon.

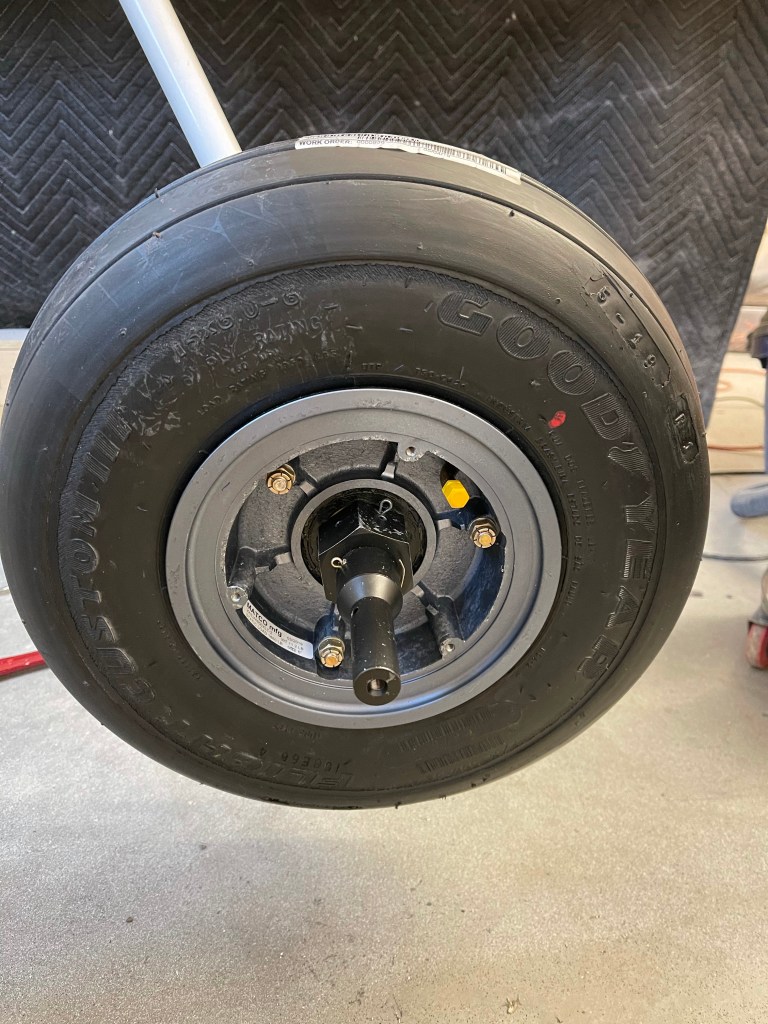
Then the wheel was installed on the axle.

Rather than oblonging the axle nut hole as depicted in the Macto instructions, I opted to drill a 2nd hole a little farther inboard as depicted below. The Van’s instructions were followed to count the number of turns required to remove the nut.. then the wheel/tire were removed and the nut added back the same number of turns. The axle was then matched drilled to the hole in the nut.

The assembly was then put back together and cotter pins added through the axle nut and the wheel fairing extension.
The same steps were repeated for the right side.

The nose wheel fork was prepped and primed.

The nosegear leg was then put into place.
Initial fit of the nose wheel in place.

The rubber donuts for the nosegay were put into place, but not compressed down yet

With all of that done, the plane was pushed off of the table and onto its own gear for the first time!!! Pictures below of it wheeled out into the driveway and back into the garage afterwards. For now, a table is used to hold up the tail until the engine is put on.


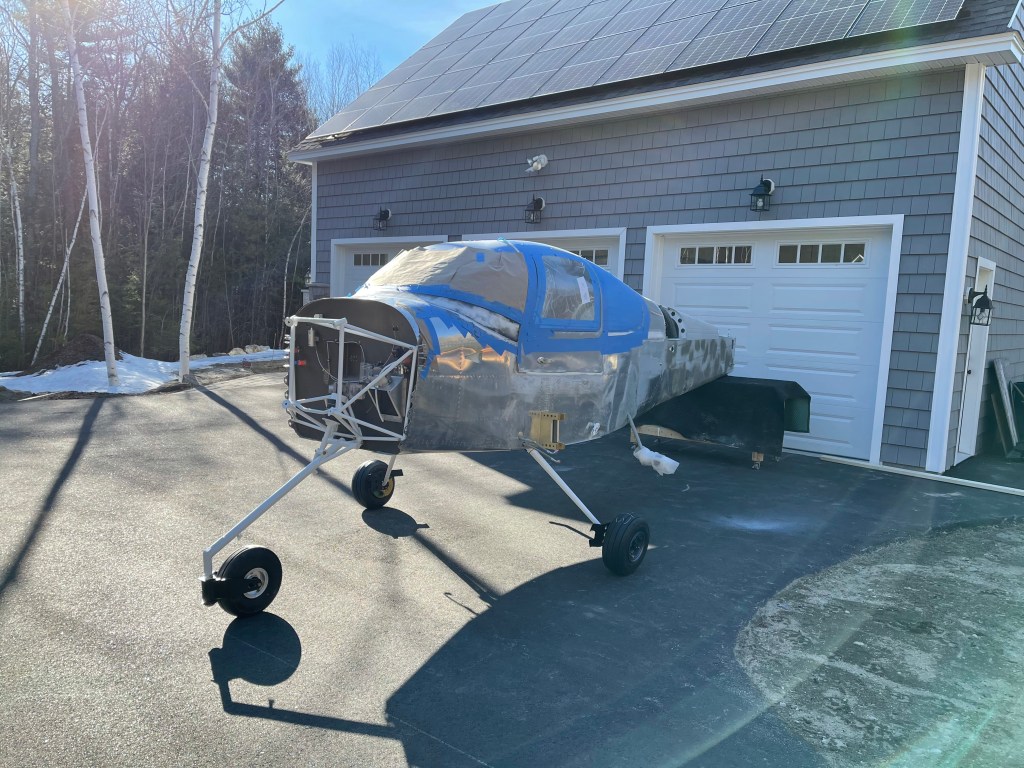

A Major milestone complete!!!
