I decided to send my Mountain High bottle back to take the regulator off of the bottle (shown on the bottle below) so I could remote mount the regulator. That will give me the option to take the tank out and get it filled at a shop somewhere. I chose to copy Joe Keys’ installation and mount the bottle to the right side behind the baggage bulkhead. I used an ELT mount along with some angle and flat 1/8″ stock aluminum bar. The angles were mounted to the J stiffeners and I used one hole of the ELT mount for attaching the mounting brackets. It’s hard to see in the pictures, but I used 1/8″ flat aluminum bar between the bottle mounting bracket and the angle/ELT mount to Secure to extend as far as I needed to and attach to the structure.


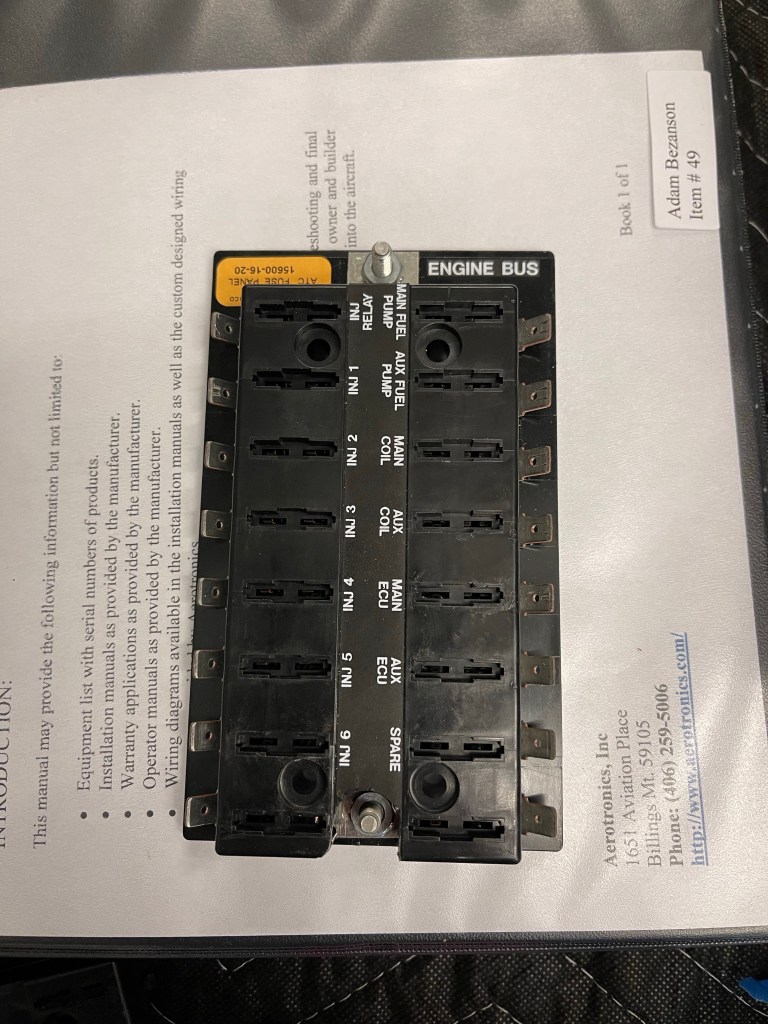
In somewhat of a paranoid redundancy of my engine bus move, I decided to modify the fuse block to add a 2nd stud. The unit has a spot (both a hole and an indent in the plastic) for a 2nd stud.. it’s just not exposed. Below is a picture of the fuse block as it came to me.
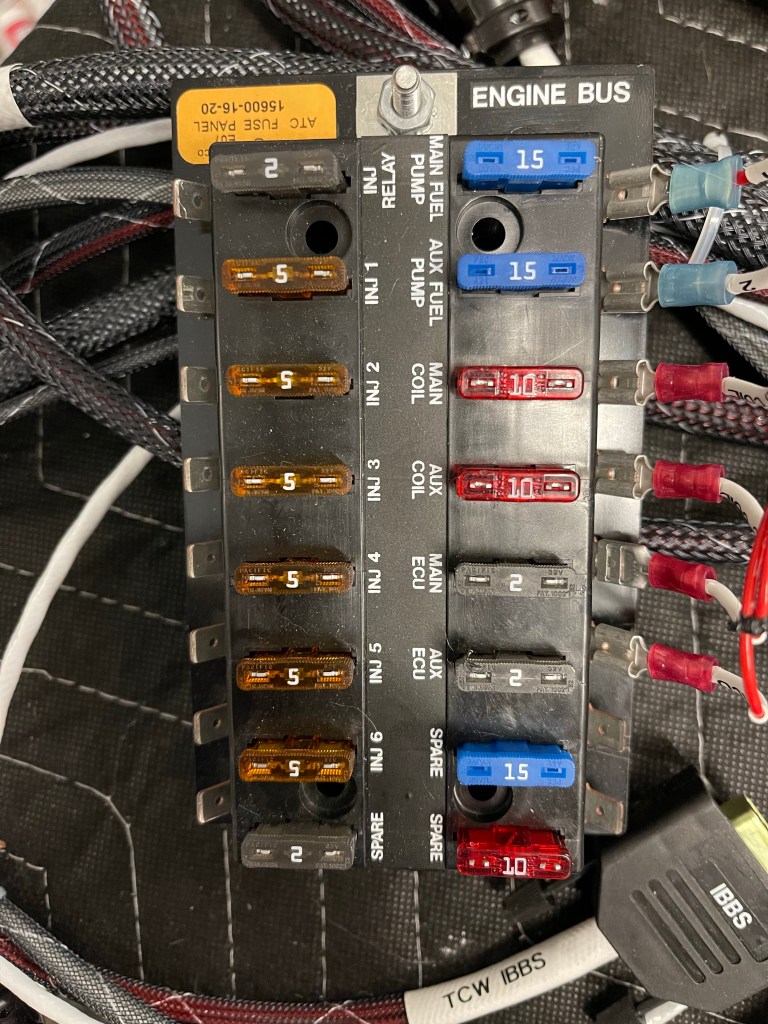
I popped the top open and inserted a second stud and then drilled the plastic to expose the stud and be able to tighten down the nut. This will allow me to have the 2 separate feeds of the engine bus connect to different locations protecting against a nut coming loose or something breaking from removing power from the fuse block.
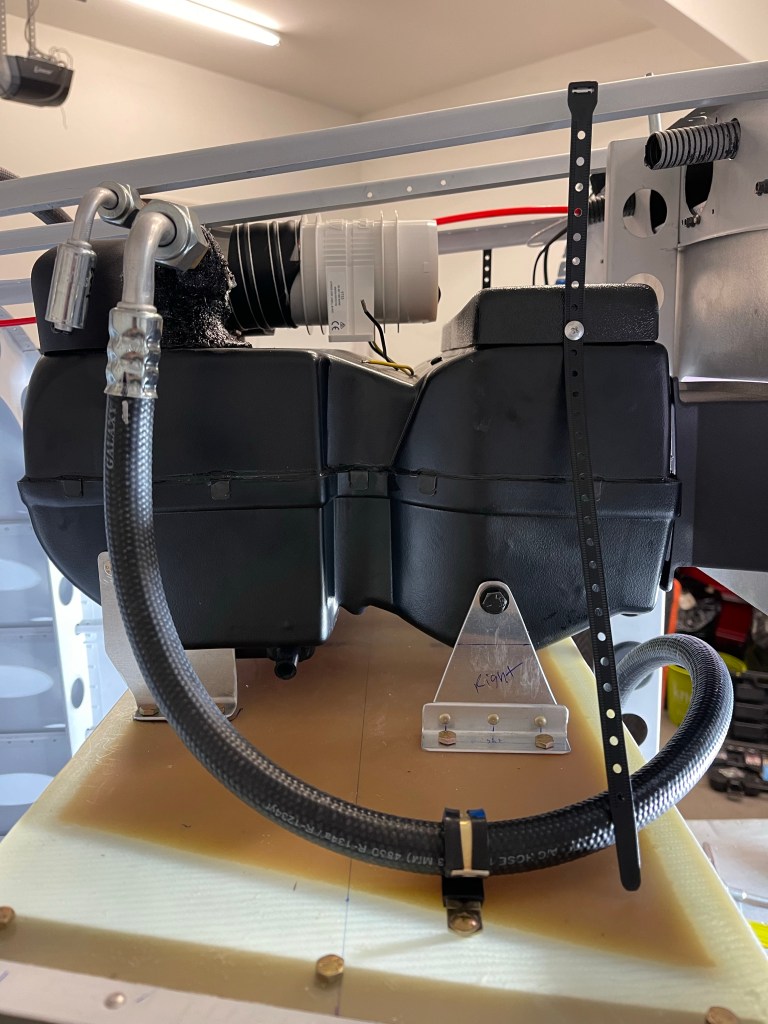
I then moved on to more AC work. I got the skinnier return ducts from Bill and installed them. This moves the whole evaporator forward to give more clearance to the J stiffeners on the top.

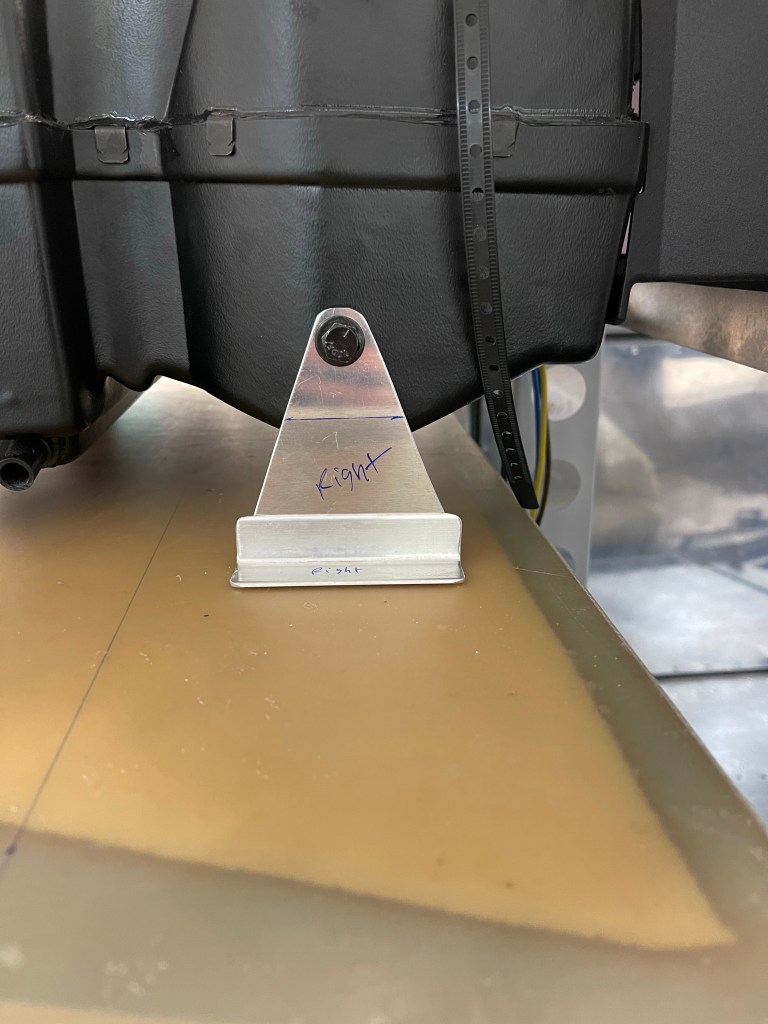
With those installed, I positioned the evaporator, and fabricated new forward brackets with an angle and some scrap metal, seeing it sat much higher than the bracket provided to me and they didn’t reach the shelf. This was a suggestion from Bill.
I spent some additional time routing the hoses to the evaporator unit with the service ports easily accessible by taking the lower baggage bulkhead off.


Then it was on to antennas.. More in the category of finishing electrical runs out to the tailcone. One of the things I had yet to finish was mounting the NAV antenna on top of the Vertical Stabilizer. I fabricated a doubler plate and drilled holes in the skins at an angle to accept the cat whiskers.

I sanded down a long wooden dowel to a point in order to insert nutplates up into the VS to hold the antenna puck in place. I’ve also seen people use a rod threaded for the 10-32 nutplate as well, but this worked okay too.


ELT antenna was next. A lot of builders try to mount this inside under the fiberglass. Some DAR’s, including the one I’m using, want to see this external to the airplane.. so I decided to just bite the bullet and put it just forward of the Vertical Stabilizer. I fabricated a doubler, riveted it to the skin, and mounted the antenna in place.


I also utilized another ELT mount on the left side to mount the diode with it’s heatsink and the Battery Bus relay. Shown just below and aft of the ELT.


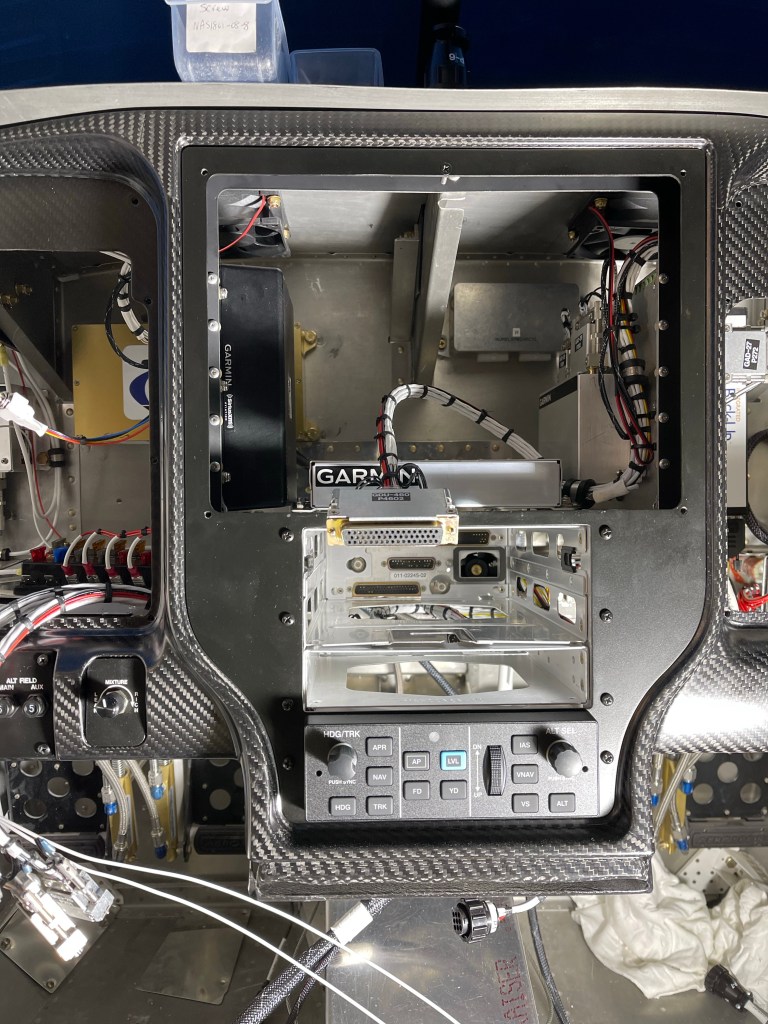
Then it was lots of panel wiring. I first got the remote transponder mounted on the left side with some angles added front to back.

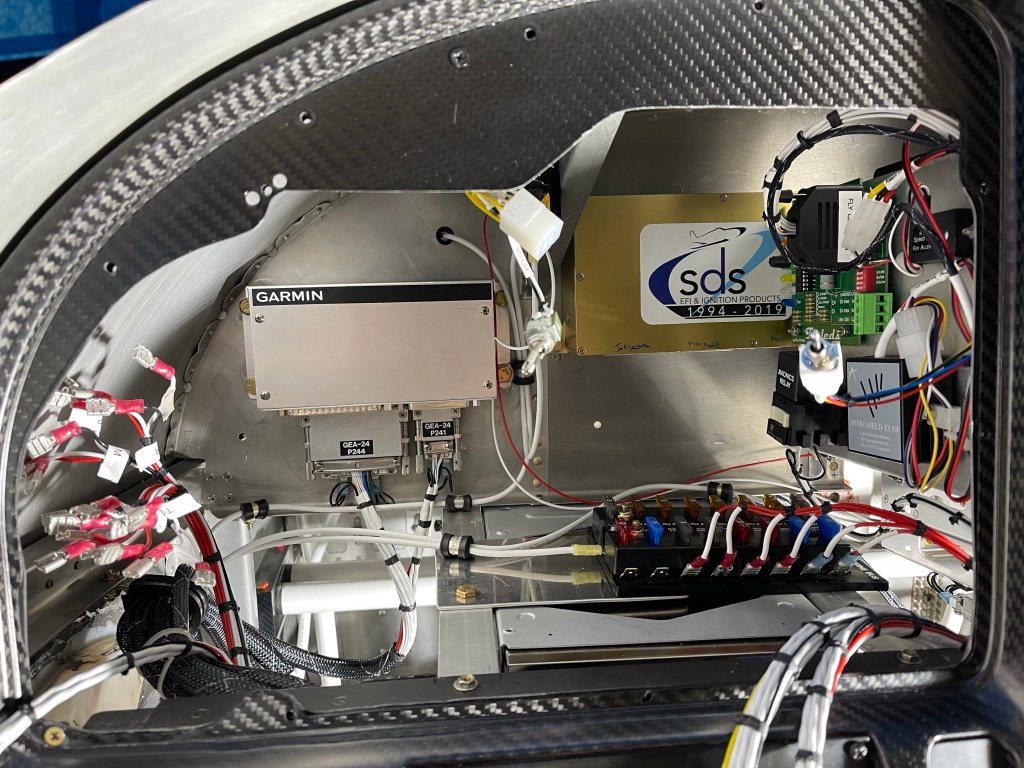
I mounted all the needed components not already on the avionics shelves to the sub panel shown below.

I then put the metal panel frame and outer panel back in place and got the wiring harness re-attached to all the switches etc..

A bunch of time was spent locating the fuse blocks and getting the basic power connections hooked up. Still lots to do, but this is a snapshot of where I am today. Left side, right side, and center of the panel.