
Now that the center support bar is in, it was time to finish the front of the cabin top to glass it in. I started by taking some scrap fiberglass pieces from the Aerosport headliner carrier material and drilling a couple of holes to hold things down with clecos. I then mixed up some epoxy and thickened it with Cabo so it wouldn’t run all over the place. This was left overnight to cure.

Once cured, a quick sand and then application of micro. Again wait overnight to cure.
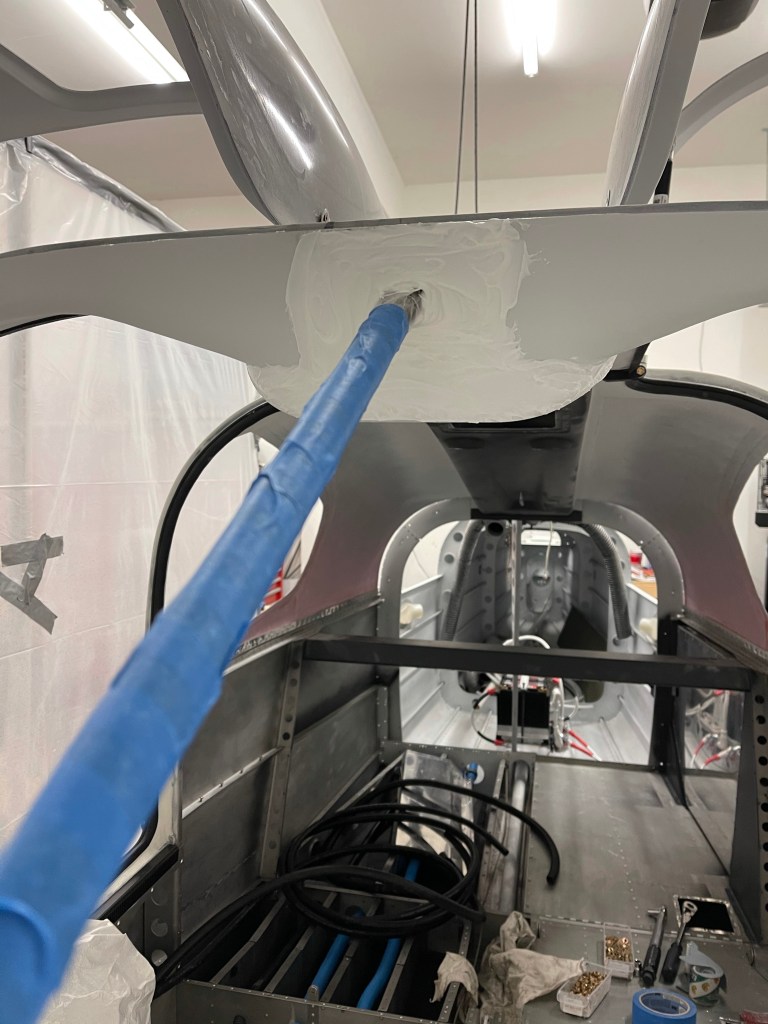
Then began the sanding process to get it to be as flat as possible and also blend into the surrounding surfaces that I had already finished.
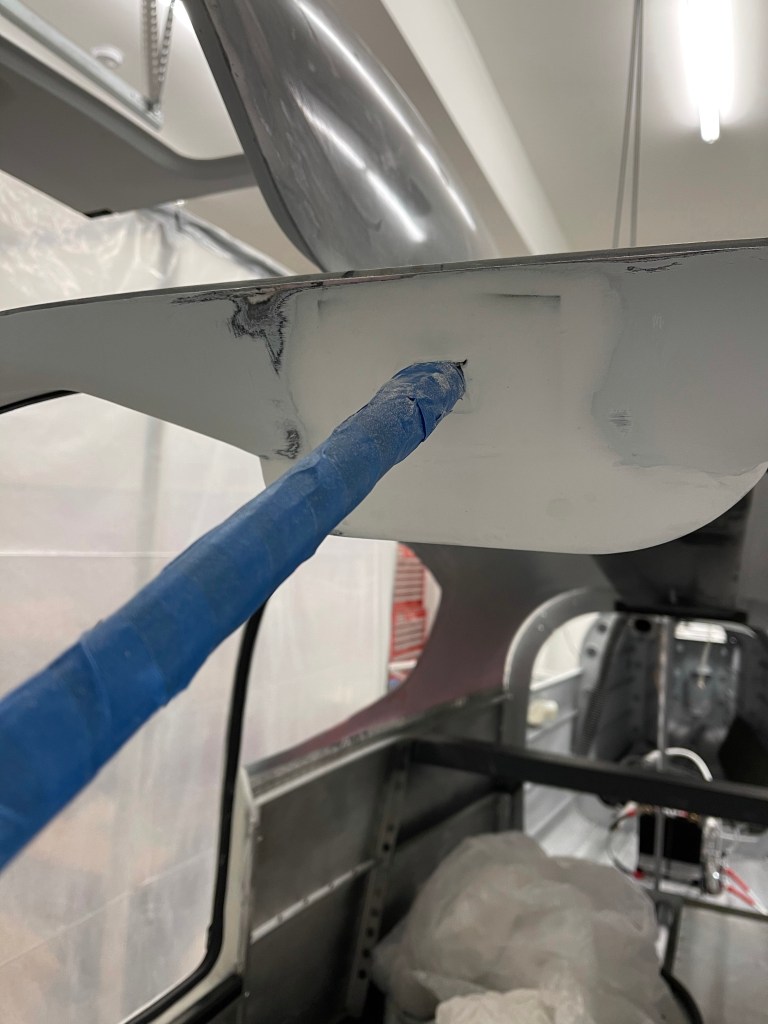

Once I was satisfied, I filled in a couple of divots with glazing compound, sanded, and applied a skim coat of epoxy with a squeegee and foam roller. That was left overnight, lightly sanded and then painting started. I followed the same process as the cabin top where I sprayed black DPLF primer, cleaned the gun, then shot K36 high-build primer. Just one coat was needed. After that dried, I sanded with 400 grit and cleaned prepping for topcoat paint.


Then it was time to apply the omni sealer, top coat (Oxford White), finsishing with a matte clear coat. I donned my fresh air breathing hood and matching bunny suit due to the toxic nature of these paints. I applied the omni sealer, waited the time required to dry, followed by 4 coats of paint. Once dried, I applied the clear coat and let it cure overnight.


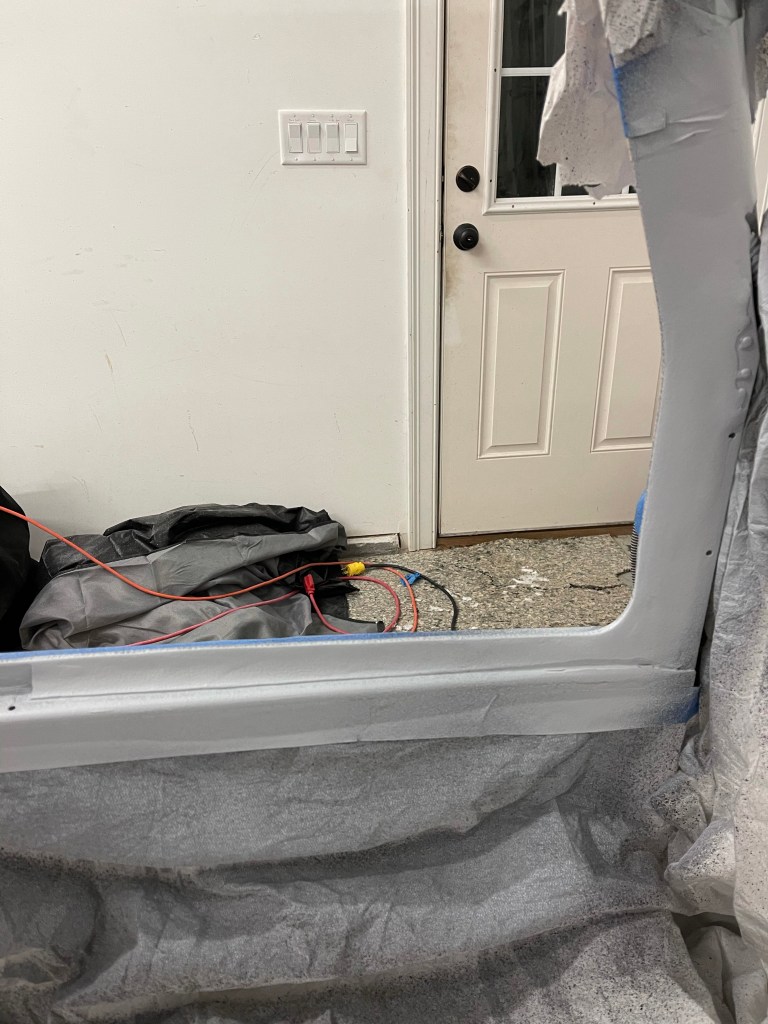
Lower door frames are not as perfect as the rest of the cabin top, but also there will be the McMaster door seal sitting here too, so not as much surface area will be exposed.

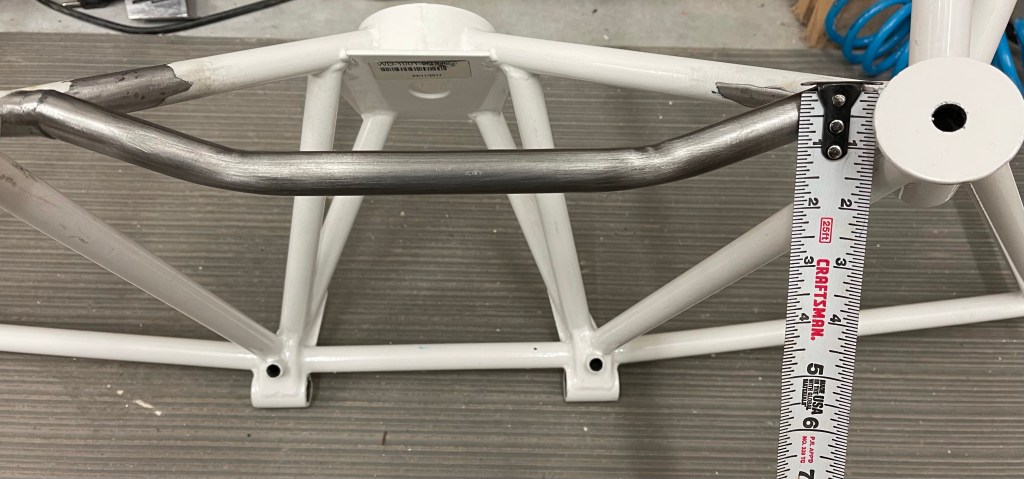
I had previously mentioned that I needed to modify my engine mount to accommodate the Barrett Cold Air Induction. I sought out a local welder and dropped it off for him to cut the existing bar out and replace with this curved one proving more clearance. I was never able to get an exact number on how much clearance was needed. I was mostly directed to leave about 1″ from the existing weld on each side and cut the new bar provided down to meet up and weld together. My welder was able to leave a little less than an inch from the weld on each side, which left approx. an inch of clearance, which should be more than enough. Now to prime/paint the exposed steel.

Initially, I had crimped some of my battery wires with a hex die hydraulic crimping tool. I was told by the supplier through ACS that that is not correct method for the terminals I had bought. I then decided to buy the crimping tool that Stein sells along with the terminals they sell as well to re-do everything I had already done. I don’t want any flakiness in the battery connections, so re-doing was simply the correct thing to do.


A side view of the plane as it stands. I’m just now starting to work on window installation using Silpruf. More details to come on that method.

