Wings finished up

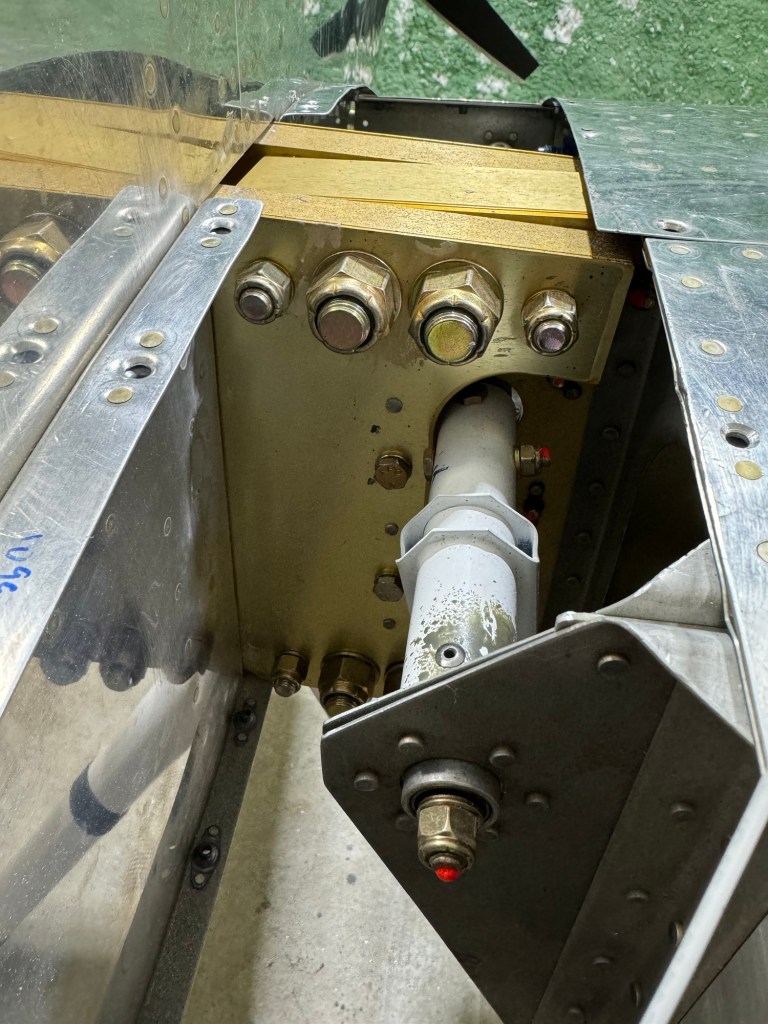
I test fit the fuel supply and return lines in the wing roots. Everything looked good once I clocked the sidewall bulkhead fitting downward a bit. I plan to put some tubing on the fuel line to avoid abrading the spar and side skins.

Left side before return line clocking.
Looking at the supply shutoff/filter setup.
Looking up on the whole supply line/filter
Right side after clocking

I then went down the road of finalizing my rigging. Everything went well except for my elevator rigging, which was somewhat expected. I was fighting a couple of different things. The first was that my stick hits the switches on the Aerosport panel, like so many before me. Some end up bending their stick to get more clearance. I decided to solve it by adjusting the forward and aft stops as well as changing the aft rod end of the forward (F-1089) pushrod from a MD3614M to a MD3616M to get more thread length to allow me to unscrew it more, resulting in the stick not going as far forward, while still having enough thread engaged in the pushrod.

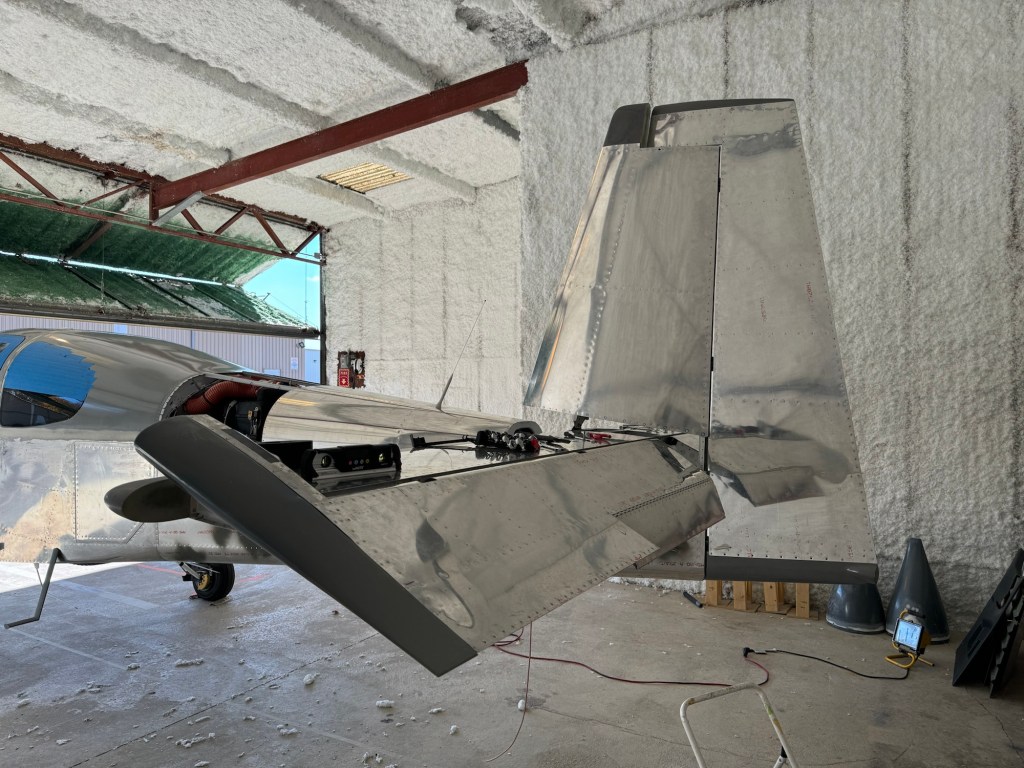
Additionally, I was very close to needing to do the elevator stop service bulletin. So I took the opportunity to do that as well. To do these changes, I needed to take the rudder and Vertical Stab off to get better access.

Unbolting and unriveting the original aft elevator stop.
Stop completely off
Showing the elevator horn angle and how close it is to being able to jam on the stop.
New aft elevator stop installed to address service bulletin and adjust travel as needed.

I also installed a forward stop as well to help further limit the down stick travel by limiting elevator down travel to the min of 20 degrees.

Horn sitting against new forward stop installed

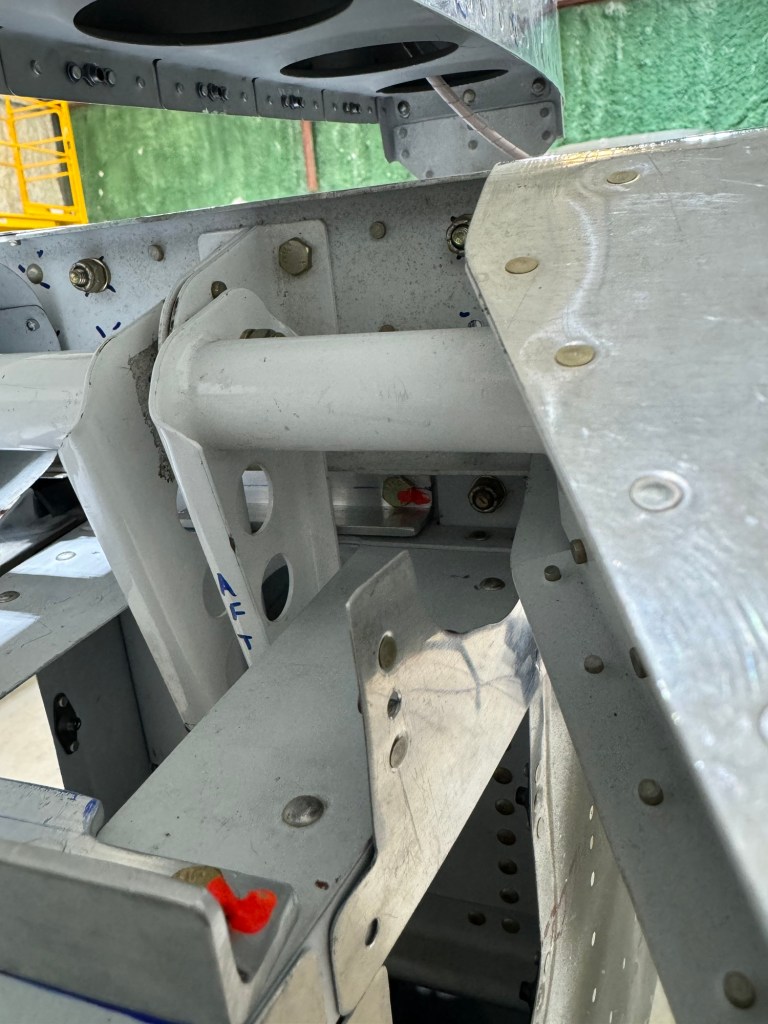
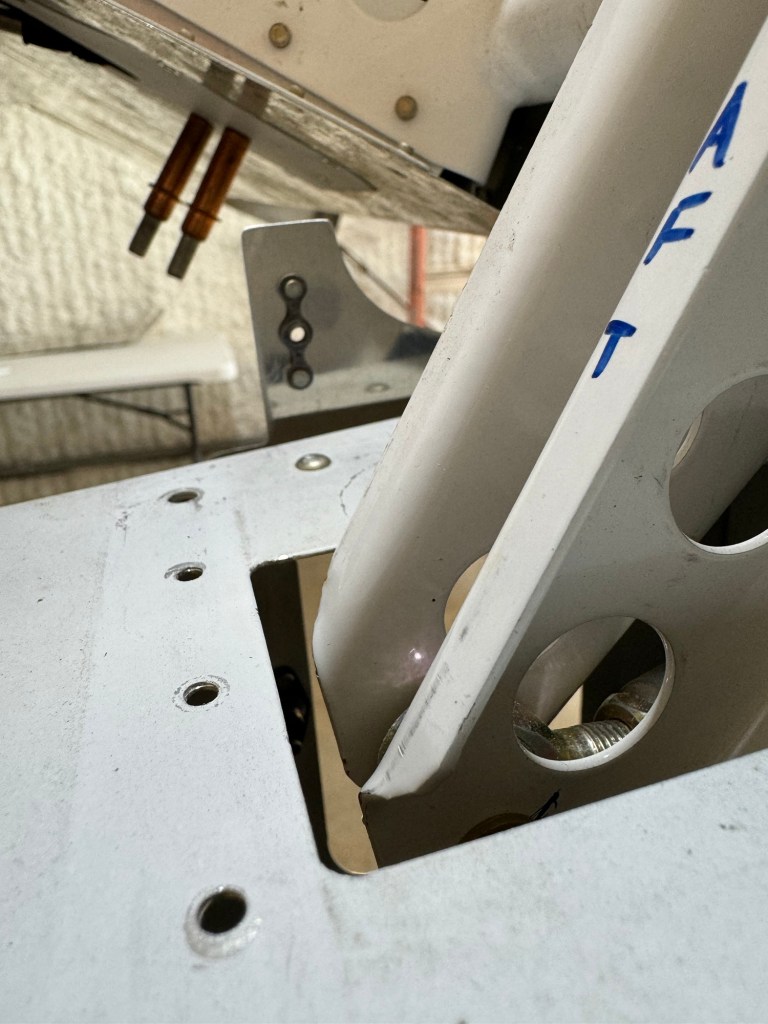
I then battled another issue with the control stick travel and a bolt head hitting the control column mount. This seems to be due to the angle of the stick weldment not being 70 degrees. It is causing the travel in the space cutout for the aileron pushrod to be biased forward as shown below.

Stick aft rod is completely forward
Stick forward only 3/4 travel in slot

Van’s tells me that this is usually due to the pushrod lengths being off. So I spent a ton of time removing all 3 of my pushrods and re-checking their lengths. They were really close as they were. Then working on setting things up properly from aft to front. At the end of the day, even with the stock measurements of the pushrods, I still have the same issue, so that is not the root cause.

Below I show the interference with the bolt and the mount.

You can see where the bolt was hitting.

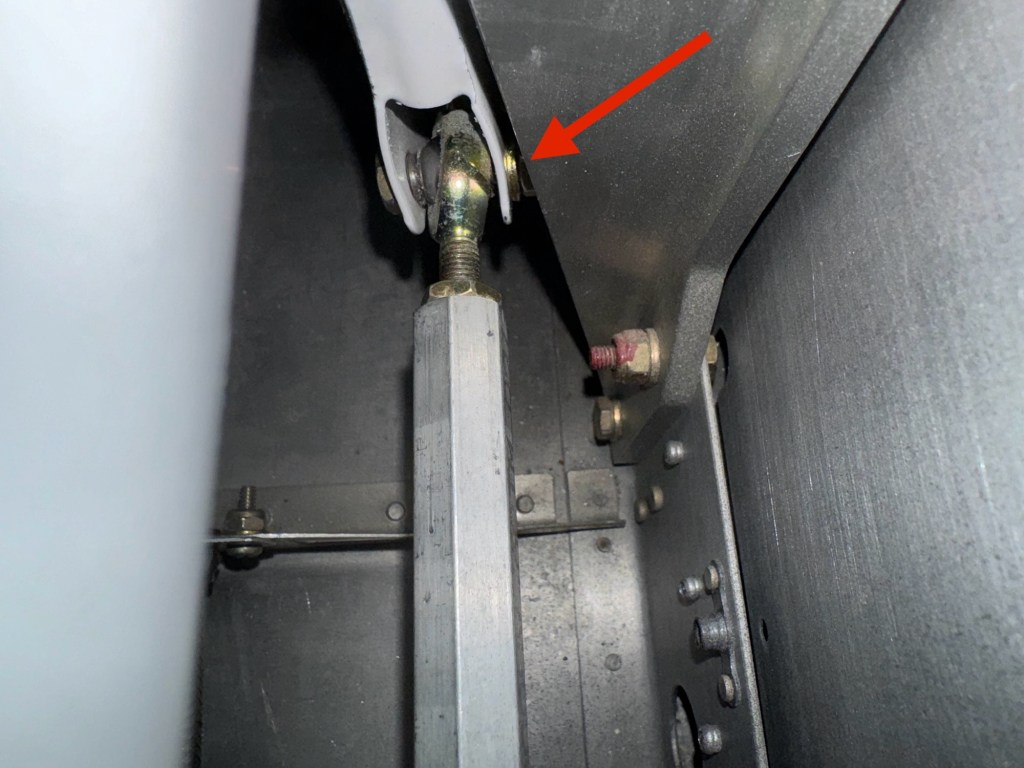
So I decided to carve out a half moon as shown above in the mount to create clearance for the bolt. At least one other builder has told me they have seen this a bunch of times and done the same thing.

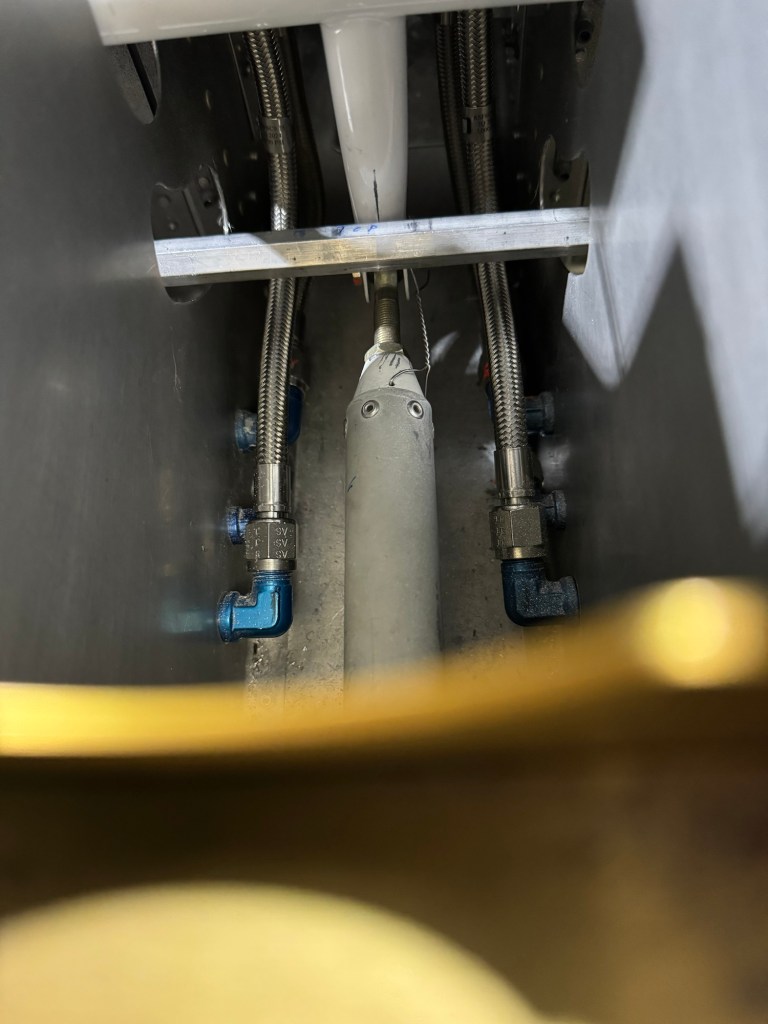
One other problem that resulted from this forward bias, is that the aileron pushrod that connects the 2 sticks through the tunnel was rubbing on my fuel lines as shown in the video below.

There was no possible way to move the lines forward anymore due to me having a brake line in the way.

In talking with Tom, I asked him to make 2 new lines for me that were 1/2″ longer to solve this issue.

New lines in place and rubbing problem solved.

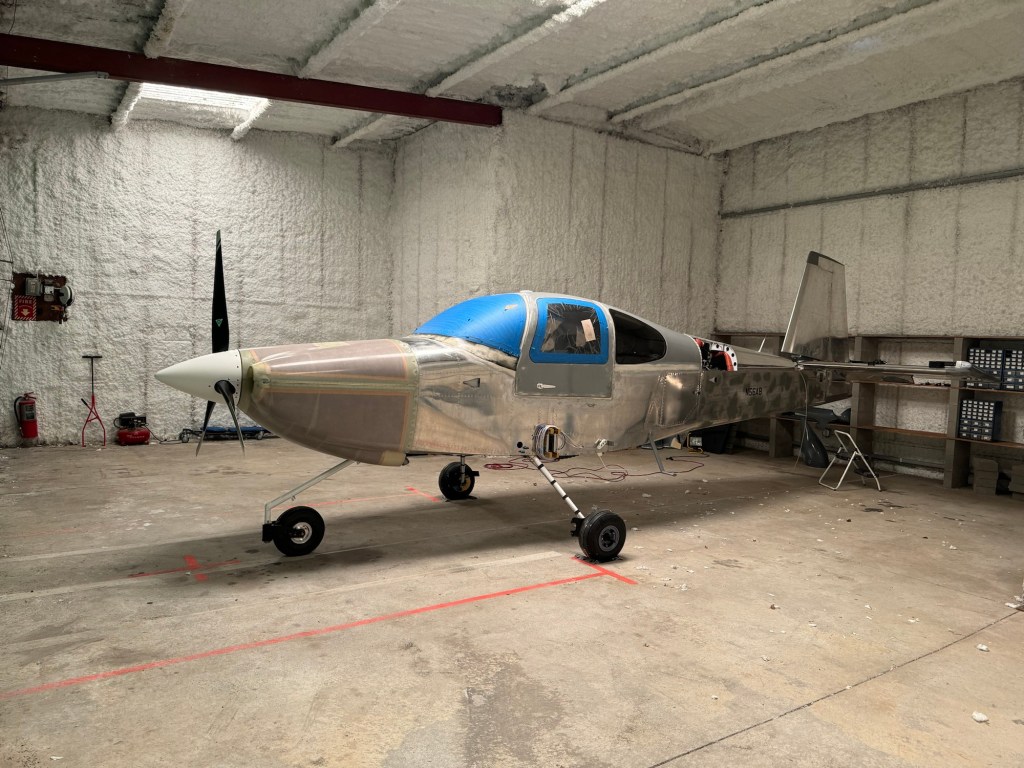
With that saga behind me, I then bolted the wings on permanently. There are 8 bolts holding each wing on.

I also finished wiring the wings. Below is the air temp sensor under the 2nd access panel on the right wing.

Wingtips were also installed and tested out.

Now there are a couple of things left to finish up and then it’s time to get ready for my inspection. Calibrating gauges, fuel tanks, doing fuel flow tests, etc…

Tail and Wings

Lots of progress since moving to the hangar. It started by getting the tail pieces back on.

I then worked to get the emp fairing cover trimmed and in place and matched drilled to the holes in the metal using a strap duplicator. Then added nutplates so it can be held down with screws.

I needed to double check the nose wheel nut break out force and get a cotter pin installed. I really should drill a hole in the floor to thread a ring into for the strap, but I was able to use some blocks I had lying around and my creeper to pull the tail down, lifting the nose wheel off the ground.

I also spent an inordinate amount of time trying to bleed my brakes. In the end, I had to use a garden sprayer type setup to be able to build up enough pressure to push the hydraulic fluid from the brake caliper all the way up to the cylinder on the firewall. All other methods I tried (oil can, and also a vacuum bleeder from the top) failed to be able do the job.

I knew when I got my hangar that the single halogen light was not going to be enough. Still, in order to make progress, I made due with the use of some portable lights in the area(s) I was working. One day the bulb burnt out and rather than replace it, I took it as a sign that I needed to stop and just upgrade the lighting in the hangar. Below is the result of adding some new LED lights.

Once my ZipTips were done at home and before the first snow, I was able to get some help to transport the wings to the airport and subsequently get them onto the airplane!!!

Since getting the wings on, I’ve been able to get the flaps and ailerons on and rigged.

I’m now working on finishing up section 44 which is mostly about wing root fairings, fuel tank vent lines, and connecting the fuel lines between the tanks and the fuselage.

Flap connected
Aileron push bar connected.

In testament to the user friendliness of avionics these days, Declan seemed to pick up on how to use the EFIS right away. 🙂

I used some of the soft aluminum tubing to make the vent lines for the tanks as shown below.

So what remains is to finish the wing root fairings and get my fuel lines connected. Then I will need to take the wings off one last time to debur some things and finish some nut plates on the tank. Then I can bolt the wings permanently and finish up the electrical wiring.

After that it is mostly getting ready for first engine start and preparing for inspection.

More Cabin Top, Overhead prep, and Start of the Dreaded Doors

A little more cabin top work in locating the center of the top to align the center support bar. I drew 2 lines at the recess for the door hinges, extended them to the front of the top,  and then measured the center point between those 2 lines to find it. That method seemed to work well.

Center support bar in place.

One thing of note is that section 44 (Wing attachment) is the last section of the Fuselage section. I will be skipping this for now as it’s mostly working on the fairings that go between the wings and the fuselage as well as tank vent lines etc… Seeing my wings are in the basement still, and I’m not sure I have a ton of room to do this in my garage anyways, I’ll likely skip until I get to the airport and have the wings permanently on the plane.

So now some bouncing around in the plans, as well as off plans, will start to happen. I turned my attention to prepping the overhead console as much as I can. This involved match drilling holes in the joggles for the metal covers plates, drilling, countersinking, and installing nutplates.

Then onto cutting out holes for the overhead air vents. A little geometry to find the center of the circle to start cutting a hole. I originally attacked this by trying to drill a hole in the exact center and using a unibit to cut the hole. I have one that is pretty big and just shy of the size I needed. I figured I’d finish up with a little sanding/filing to get it right. In the end, once I went above a 3/4″ hole, it started getting off center for whatever reason. So I found it was best to just lay the retaining nut for the vent on the circle eyeballing it for center and marking the inner edge for the cut. Then drilling a large enough hole to get my jigsaw blade in there to finish it up. Worked out well. Maybe not 100% centered perfectly, but not too bad.

Geometry to find center of circle

Initial hole drilled. Looks good. 

All nutplates are complete

Overhead air vents in place.

An example of one of the holes cut out for the air vent.

That’s about what I can do with the overhead console for now. From what I’ve read on others blogs, it’s best to have the doors rough fit prior to attaching the overhead, so I’m bouncing onto starting that section.

The RV-10 doors are basically fiberglass shells (inner and outer) that the builder has to bond together. The first steps of getting the doors going and initially fit to the cabin top involves marking a bunch of lines for both trimming and eventually holding the doors together during the bonding process.

Marking Window Joggle lines

Marking the outer trim lines.

The easiest way I’ve seen to make these marks is by using a popsicle stick with holes drilled through at the various dimensions called out in the plans. This way you can insert your fine point sharpie through the hole and trace a line that is that distance away from the reference point, which is usually a joggle or raised structure easy to slide the stick along.

Tool for marking trim lines

Trimming and making dust (while making sure not to breathe it in)

Window area initial trim.

And finally marking along the 1-1/4″ line about every 1.5″ and drilling a #40 hole.

I’ve now started working on the outer door shells and will be soon starting the initial fit to the cabin top.