
A little more cabin top work in locating the center of the top to align the center support bar. I drew 2 lines at the recess for the door hinges, extended them to the front of the top, and then measured the center point between those 2 lines to find it. That method seemed to work well.
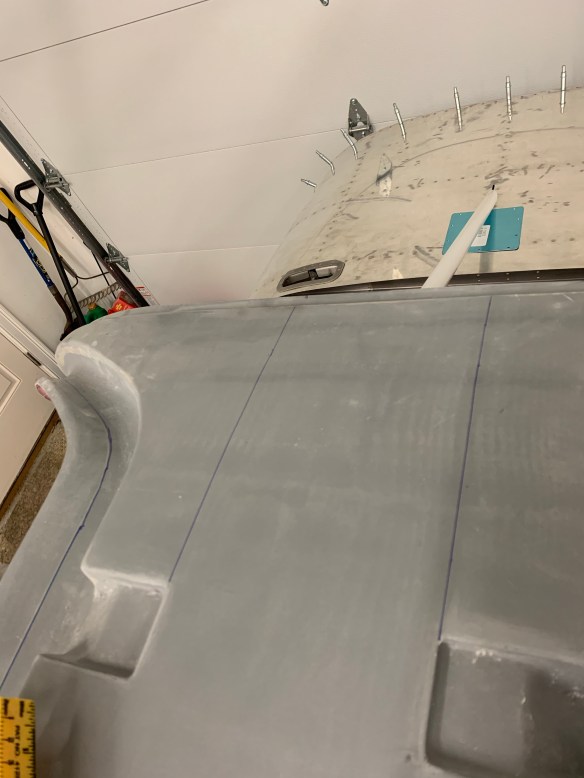

Center support bar in place.
One thing of note is that section 44 (Wing attachment) is the last section of the Fuselage section. I will be skipping this for now as it’s mostly working on the fairings that go between the wings and the fuselage as well as tank vent lines etc… Seeing my wings are in the basement still, and I’m not sure I have a ton of room to do this in my garage anyways, I’ll likely skip until I get to the airport and have the wings permanently on the plane.
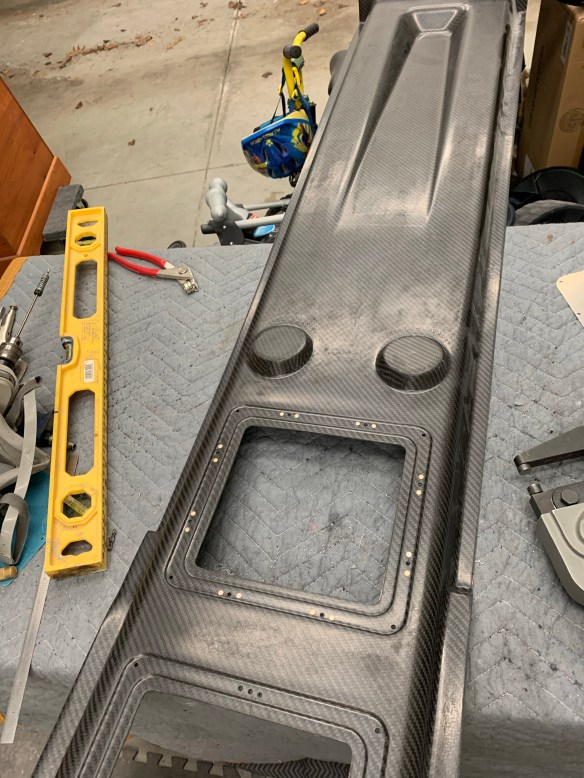
So now some bouncing around in the plans, as well as off plans, will start to happen. I turned my attention to prepping the overhead console as much as I can. This involved match drilling holes in the joggles for the metal covers plates, drilling, countersinking, and installing nutplates.
Then onto cutting out holes for the overhead air vents. A little geometry to find the center of the circle to start cutting a hole. I originally attacked this by trying to drill a hole in the exact center and using a unibit to cut the hole. I have one that is pretty big and just shy of the size I needed. I figured I’d finish up with a little sanding/filing to get it right. In the end, once I went above a 3/4″ hole, it started getting off center for whatever reason. So I found it was best to just lay the retaining nut for the vent on the circle eyeballing it for center and marking the inner edge for the cut. Then drilling a large enough hole to get my jigsaw blade in there to finish it up. Worked out well. Maybe not 100% centered perfectly, but not too bad.
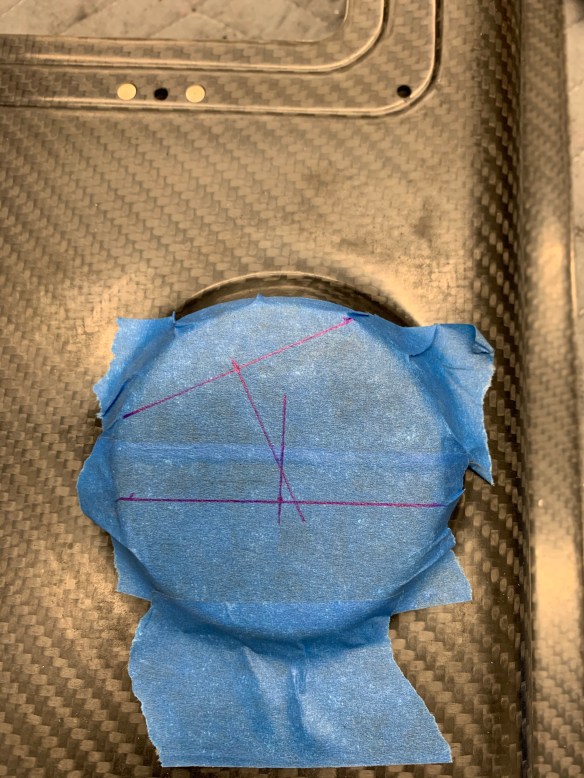
Geometry to find center of circle

Initial hole drilled. Looks good.

All nutplates are complete

Overhead air vents in place.

An example of one of the holes cut out for the air vent.
That’s about what I can do with the overhead console for now. From what I’ve read on others blogs, it’s best to have the doors rough fit prior to attaching the overhead, so I’m bouncing onto starting that section.

The RV-10 doors are basically fiberglass shells (inner and outer) that the builder has to bond together. The first steps of getting the doors going and initially fit to the cabin top involves marking a bunch of lines for both trimming and eventually holding the doors together during the bonding process.

Marking Window Joggle lines
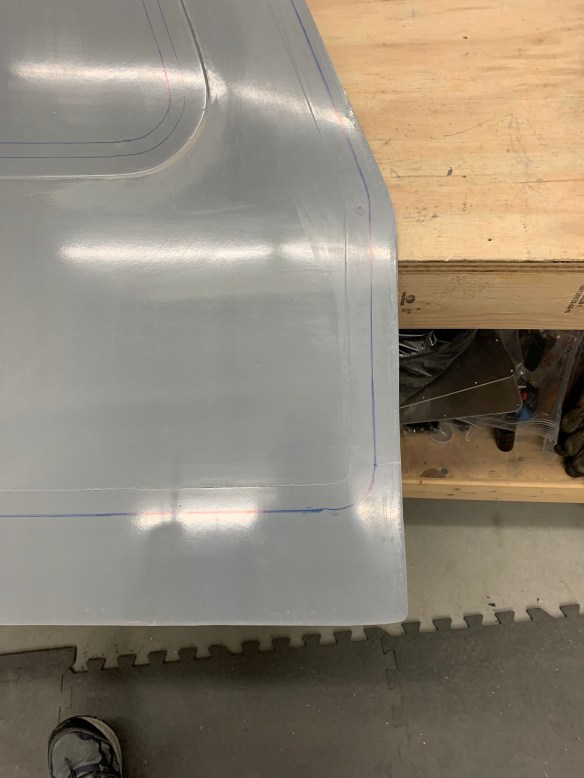
Marking the outer trim lines.
The easiest way I’ve seen to make these marks is by using a popsicle stick with holes drilled through at the various dimensions called out in the plans. This way you can insert your fine point sharpie through the hole and trace a line that is that distance away from the reference point, which is usually a joggle or raised structure easy to slide the stick along.

Tool for marking trim lines

Trimming and making dust (while making sure not to breathe it in)

Window area initial trim.
And finally marking along the 1-1/4″ line about every 1.5″ and drilling a #40 hole.

I’ve now started working on the outer door shells and will be soon starting the initial fit to the cabin top.
