
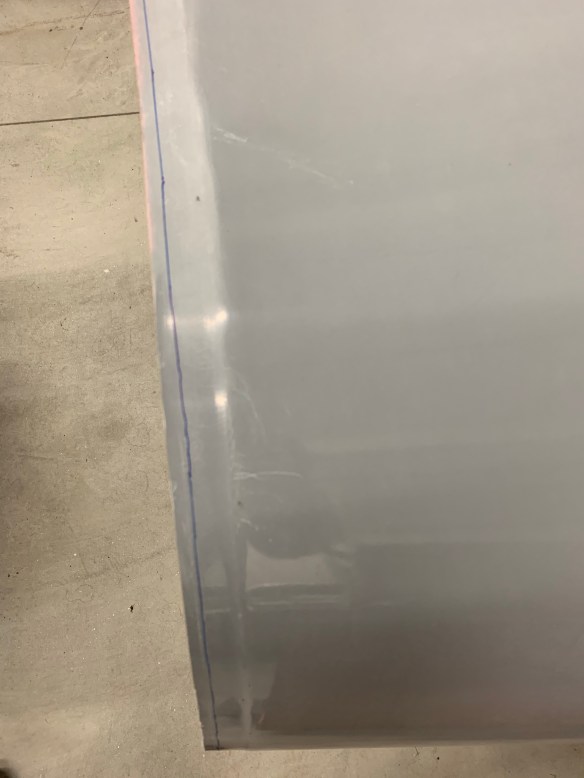
Marking the scribe lines on the cabin top is one of the first things on the agenda when starting the cabin top. There are also a couple of flanges that are measured and marked to 3/4″. All of this to get a line to rough trim to.
I decided to use a jig saw with a Perma-Grit Carbide blade. It works really well and doesn’t leave too much dust flying around.

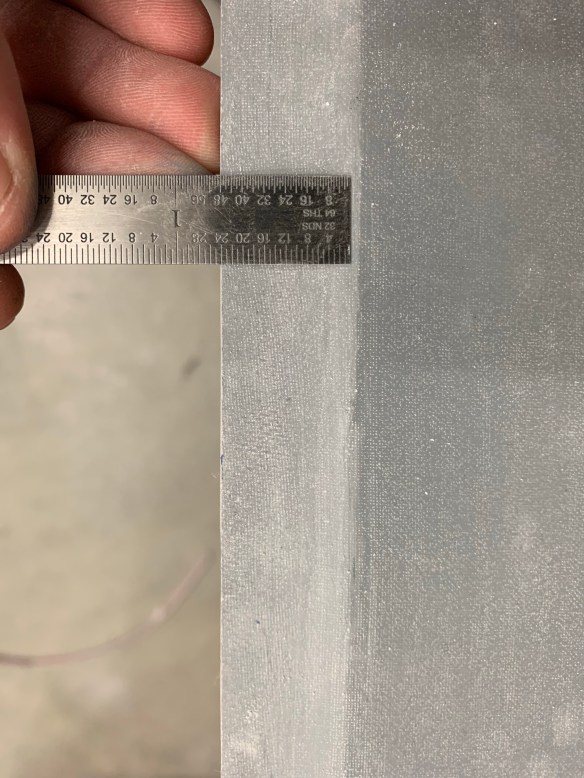
Tailcone flange 3/4″

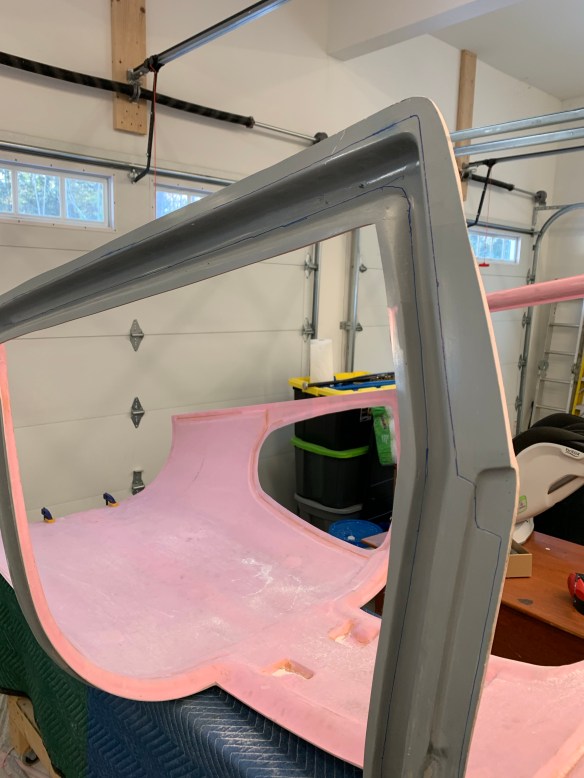
More scribe lines around the windscreen and door areas

Jig saw really worked well!
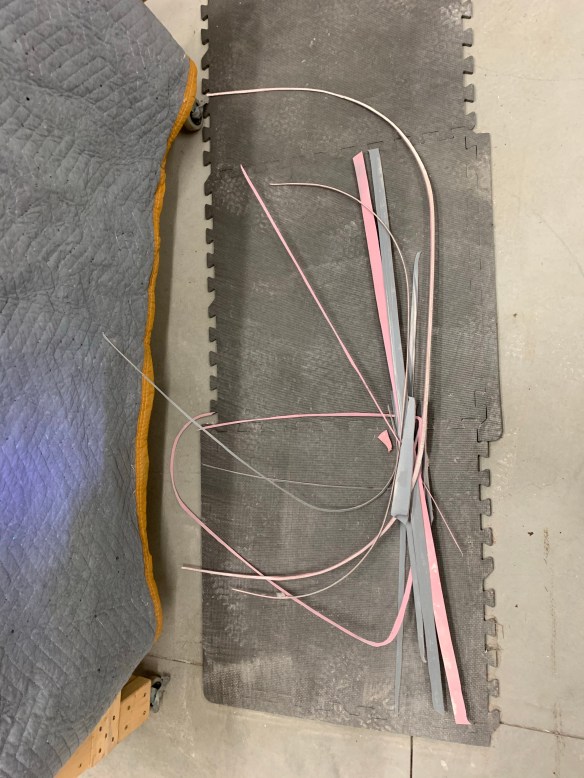
Fiberglass trimmings.
Shown are the trimmings from around the perimeters of the doors, along the mid fuse skins, the tailcone top forward skin, the windscreen, and around the rear windows.
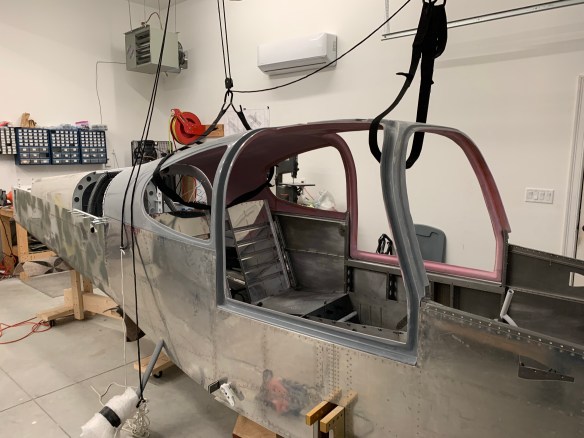
These scribe lines are not very accurate and then begins arduous task of sanding the sides of the door openings to get the cabin top to fit between the structure. Lots and lots of sanding. Little by little, I was able to lower the cabin top down into the fuselage structure. I also bought something that I saw Dr. Mark (also building an RV-10 down in TX) suggest. That something was a Kayak hoist to help lift the top on and off relatively easily. Seeing I work 95% on my own, this was highly needed. The top isn’t terribly heavy, but it’s very big and awkward to handle on your own.

Lots more sanding to get past this point.
Finally on!
Once the sides were sanded to make the top fit between the structure, it was then time to sand the bottom door edge. This is to both make sure it rests against the door frame decks relatively flush as well as to lower the front a bit to get the flange of the mid-side skin section to come down a bit. To keep things in plane, they suggest using lumber with sandpaper to straddle the entire structure as shown below. I grabbed a spare 2×4 lying around and used carpet tape to secure the 60 grit sandpaper.
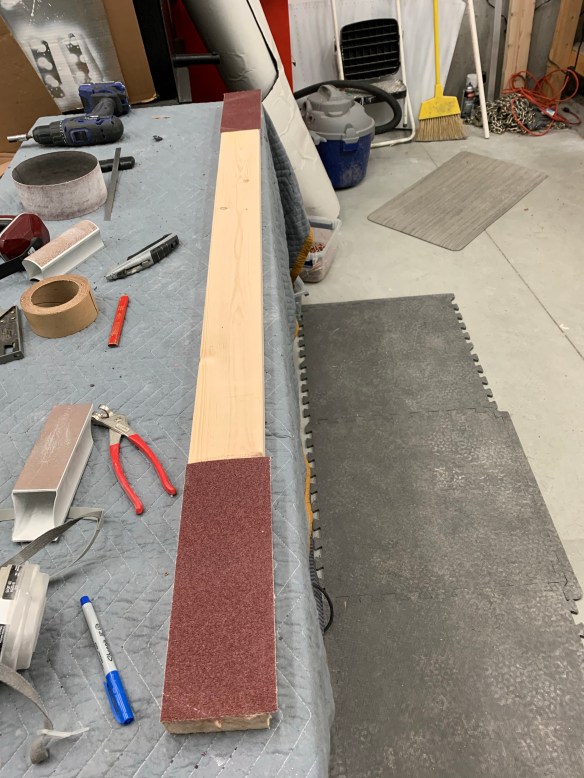

Sanding both door bottoms at the same time.
And after a few sessions of sanding and sanding again… The end result is something that looks very much like an airplane for the first time. As you can see here, I’ve also attached the top forward tailcone skin as it is used to match drill to the cabin top.

Right side view
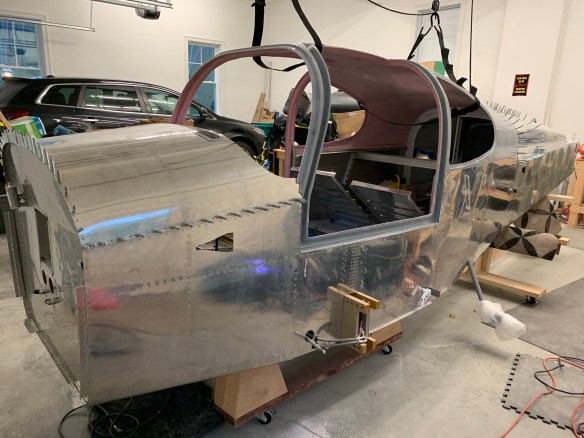
Left side view
I then started to match drill the cabin top to the top forward fuselage skin.
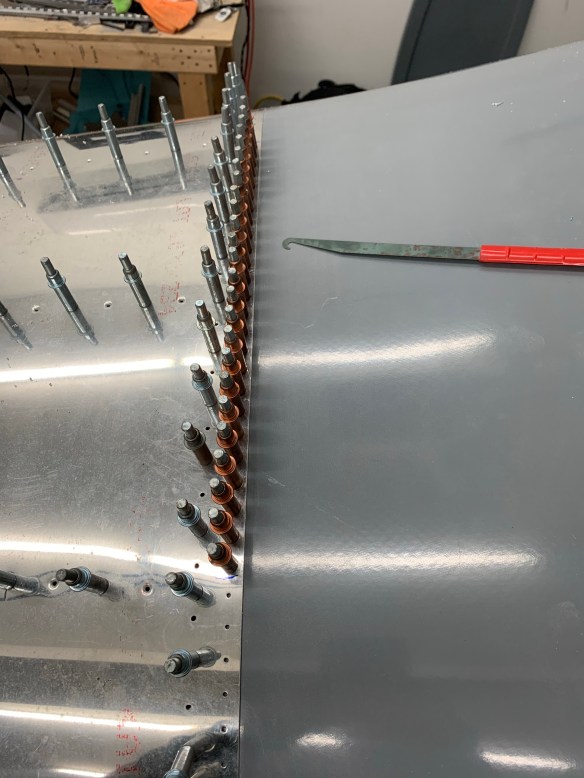
First 25 holes done!

All match drilled
