
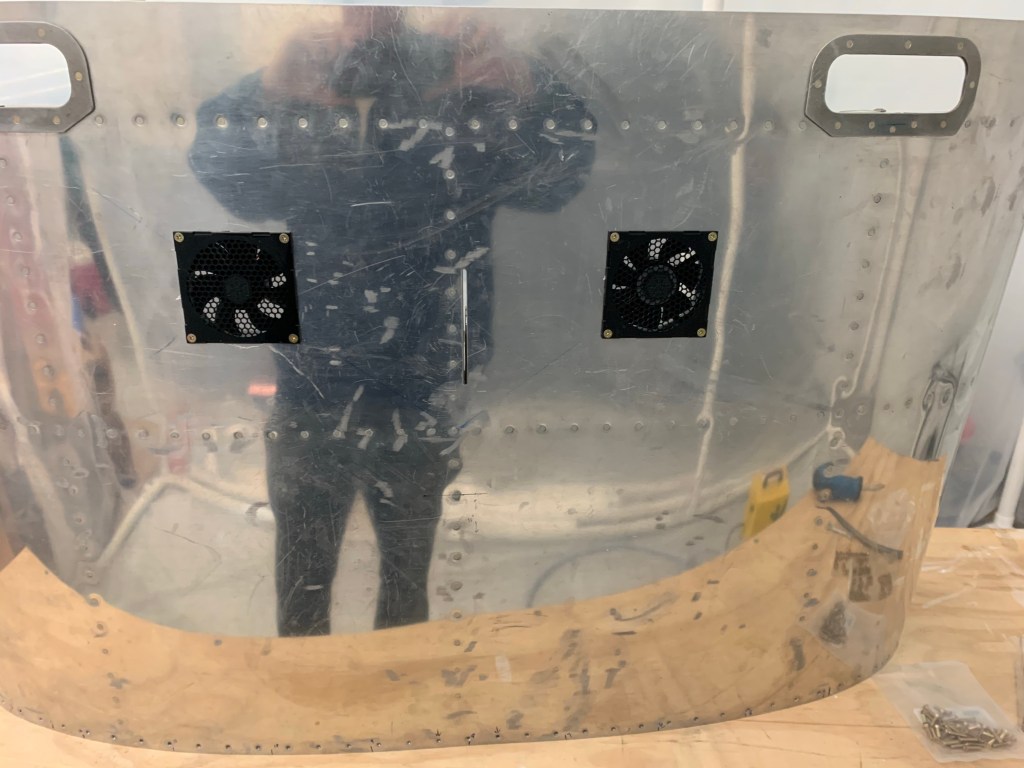
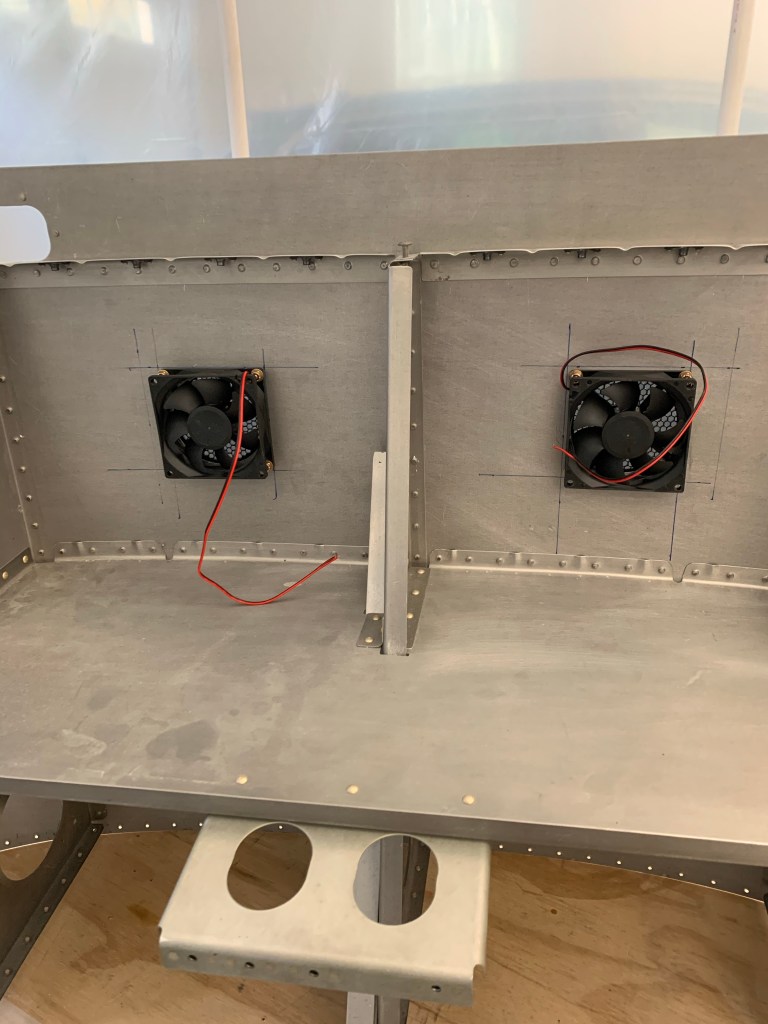
I’ve been knocking off lots of tasks here there and everywhere lately. I got the defrost fans and their plates installed. Below are views from the top and bottom side.
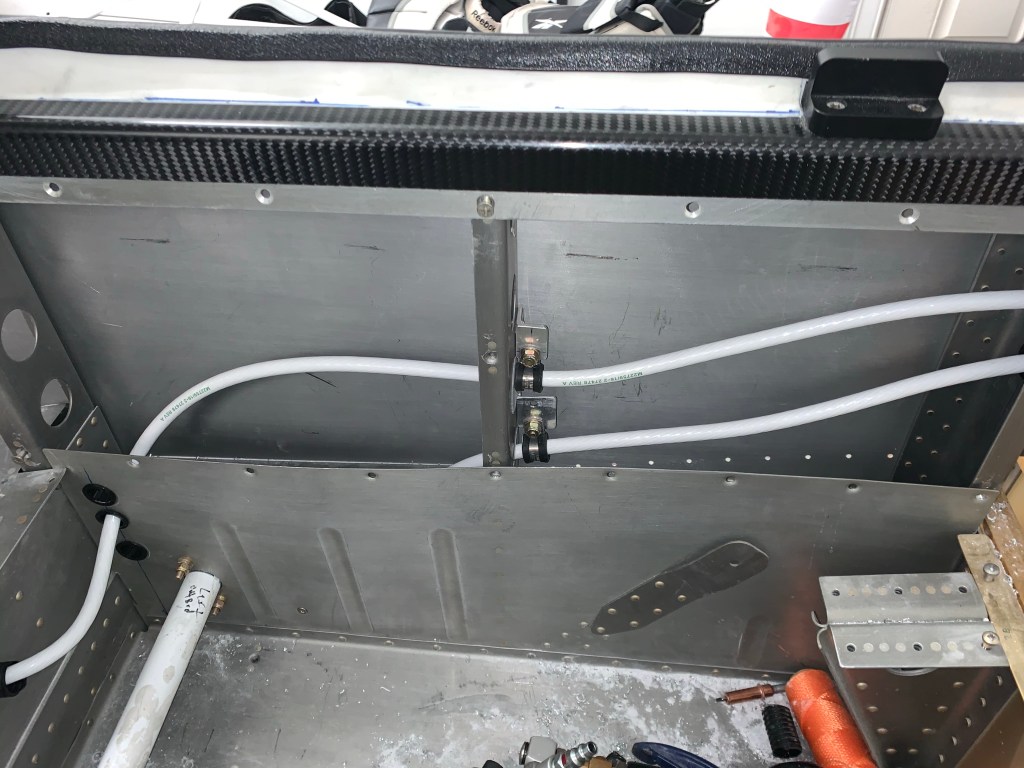
While waiting for some additional firewall items to arrive, I started pulling some #2 fat wire, 1 for each battery from the tailcone to the firewall. I fished the wire through the previously installed conduit


A bunch of work getting Adel clamps, drilling holes for bushings and routing the wires down the left side of the plane.

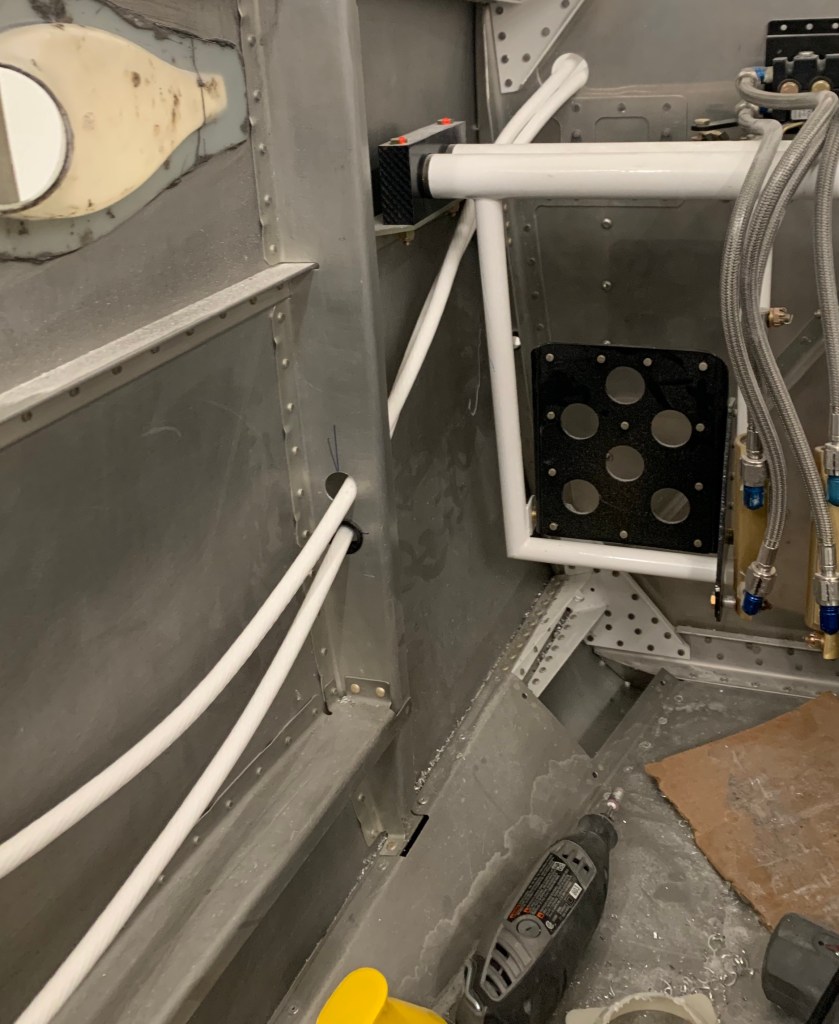
I added some Adel clamps around the 2 larger lighting holes with some caterpillar grommet around the holes for extra protection. The wires end up away from the edges of the holes, but I want to be sure these runs are solid.

I also took the time to install the spring and collars on the brake cylinders. I’ve heard that if the rudder assembly isn’t 100% square, that some binding can take place and cause the brakes to stay slightly engaged. These will help ensure that they always return all the way out ones your feet are off the brakes.

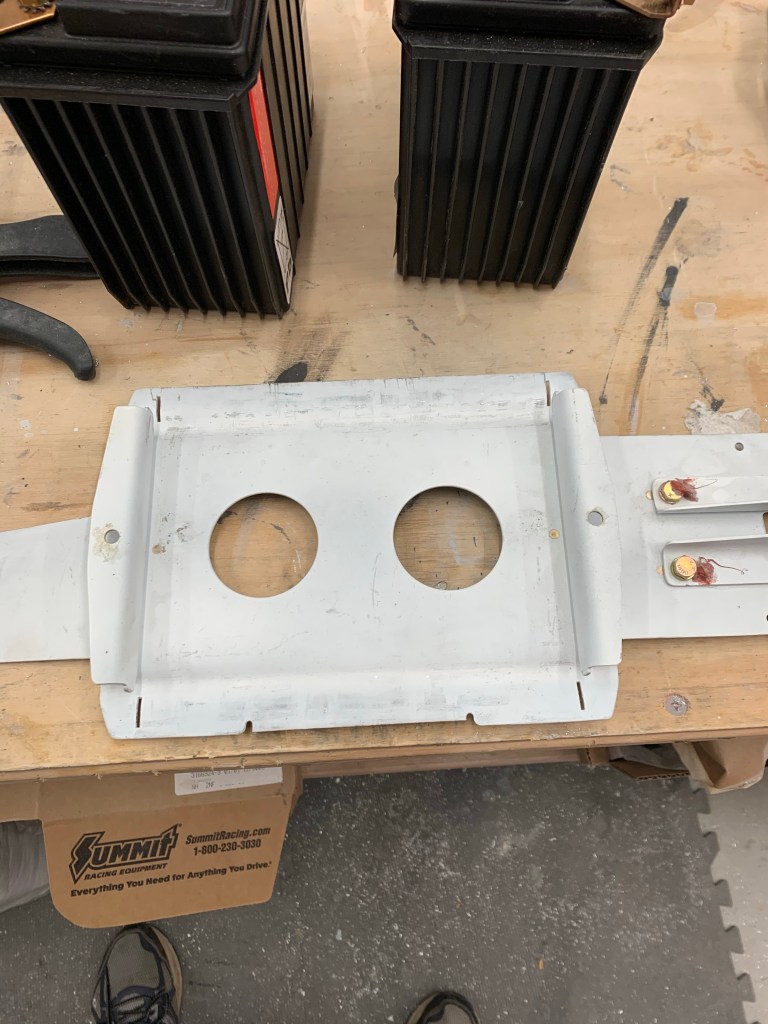
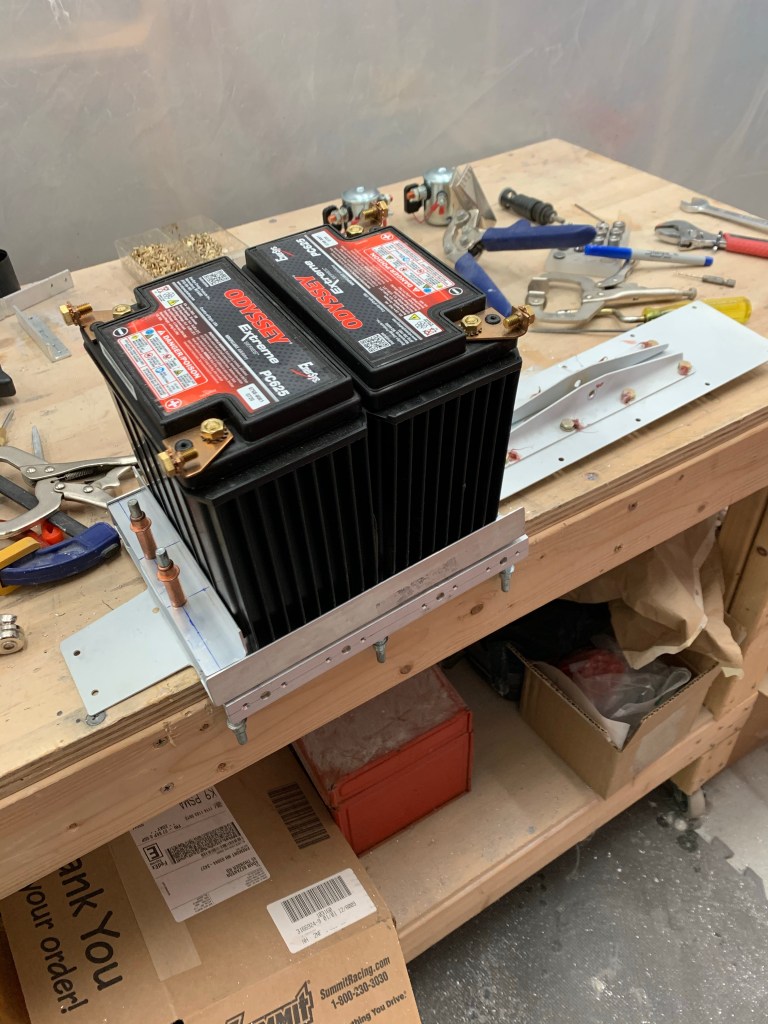
I then got to modifying the stock battery box. It needed some slight modifications to support two batteries. I decided to see if I could bend the sides downward to gain more space left and right. It seemed to work, and was a pretty close fit in the end. I’m glad I went this route, rather than cutting the sides off.

I then used some angle stock to retain the battery on the left and right. I also added an angle on the forward side to eat up an approx 1/4″ gap. Another angle was used on the left side below the whole assembly to house the battery contactors. You can see the holes for AN4 nut plates ready to go.

I then installed a ELT/Strobe bracket between the J-channels of the tailcone that I had on hand from Van’s to house a couple of fuse blocks. These will be the main and aux battery bus hubs for all things related to my EFII installation.

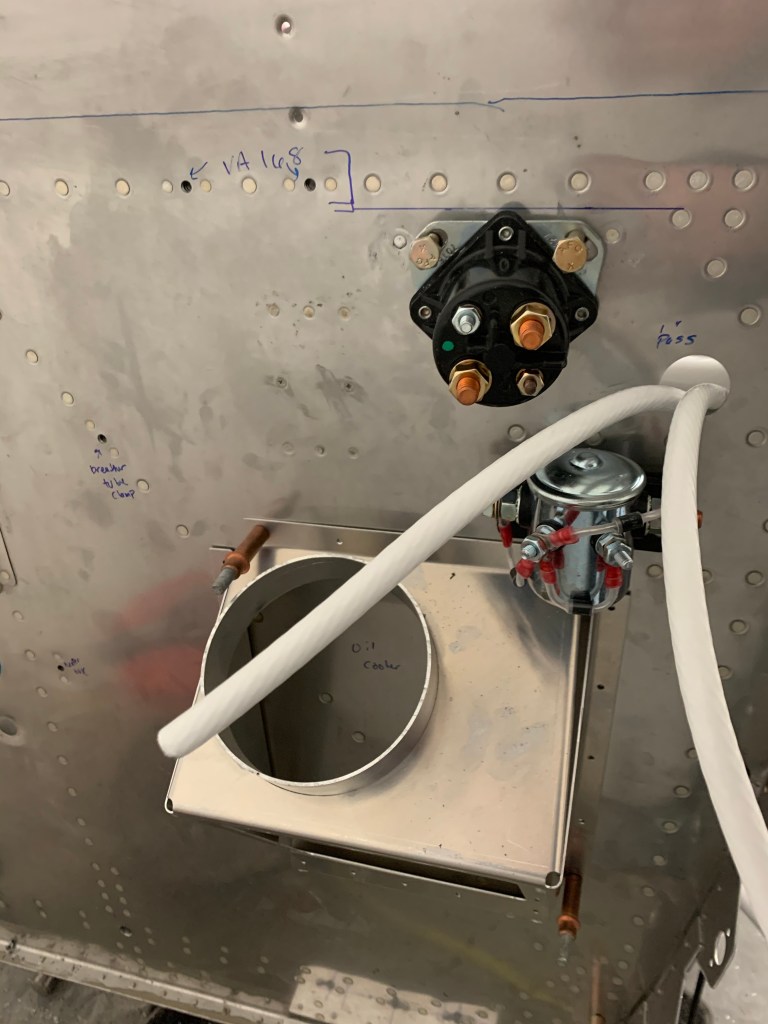
Then it was time to go back and work on mounting the firewall related items. I’m doing all of this prior to installing insulation of the engine side of the firewall. I want to have as many of the passthroughs and holes/nutplates setup as possible before I do this. I mounted the cross-feed contactor in the stock location for the starter solenoid, and mounted the starter solenoid just above and to the right of it.
I also go the ground block (forrest of tabs) installed. This is a kit that has 24 grounds on the engine side and 48 grounds on the cabin side of the firewall. This will be the central point of all grounds.


I’m now working on Installing a couple of ANL bases between the alternators and the main/aux busses on the firewall. I’ve also ordered the AntiSplat aero Air/Oil separator and will be locating that on the firewall too. My air conditioning unit should be shipping soon so I’ll likely hold off a bit longer to drill holes for the 2 hoses that have to pass through the firewall too. Once I get to a point where I’m mostly comfortable with the firewall the path forward will be as follows:
- Install upper forward fuse permanently.
- Finish installing what I can of the Skybolt flanges.
- Install firewall insulation.
- Install support bar in center of windscreen area.
- Finish fiberglass area around support bar.
- Paint remaining areas of fiberglass around support bar and lower door area.
- Install windows
- Plane up on gear!!!
I hope to have all of this done before I have my engine in April/May timeframe.
