
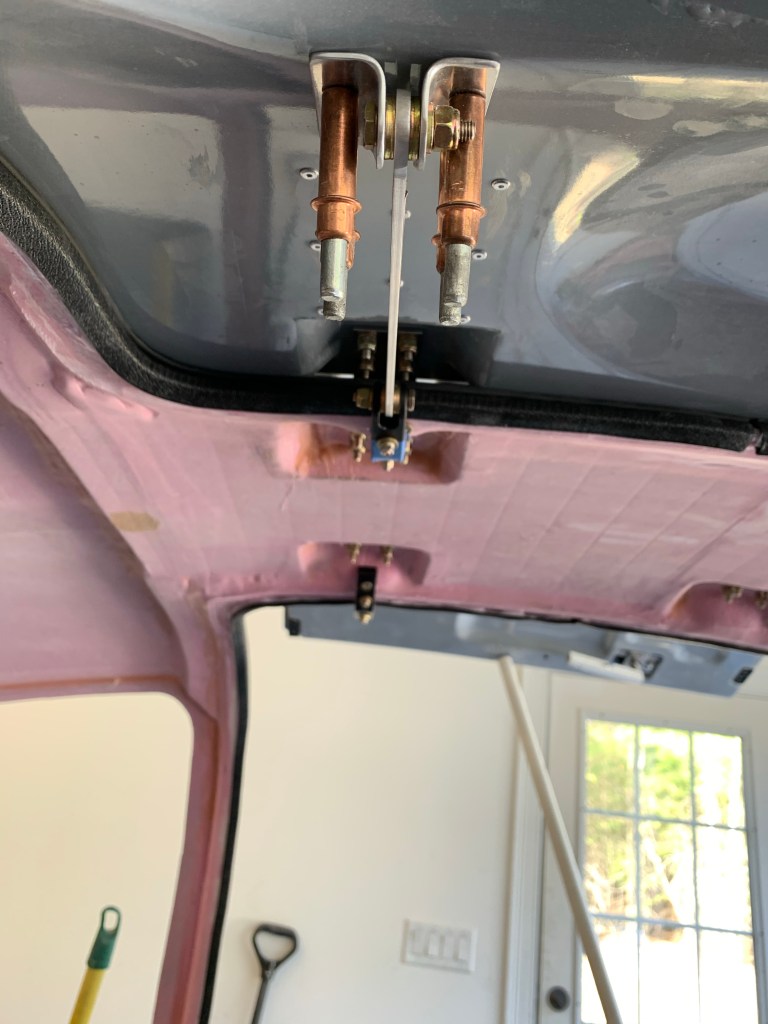
I got started by using a laser level to find the optimal position for the center of the door strut brackets. The end result might have been a little different than this line as I found the brackets tended to want to sit cocked aft and not want to be straight up and down to connect to the center of the rivet pattern (and where there’s a metal backing plate bonded in the door). I also inserted a washer under the right side door to get it to sit the way I wanted it.

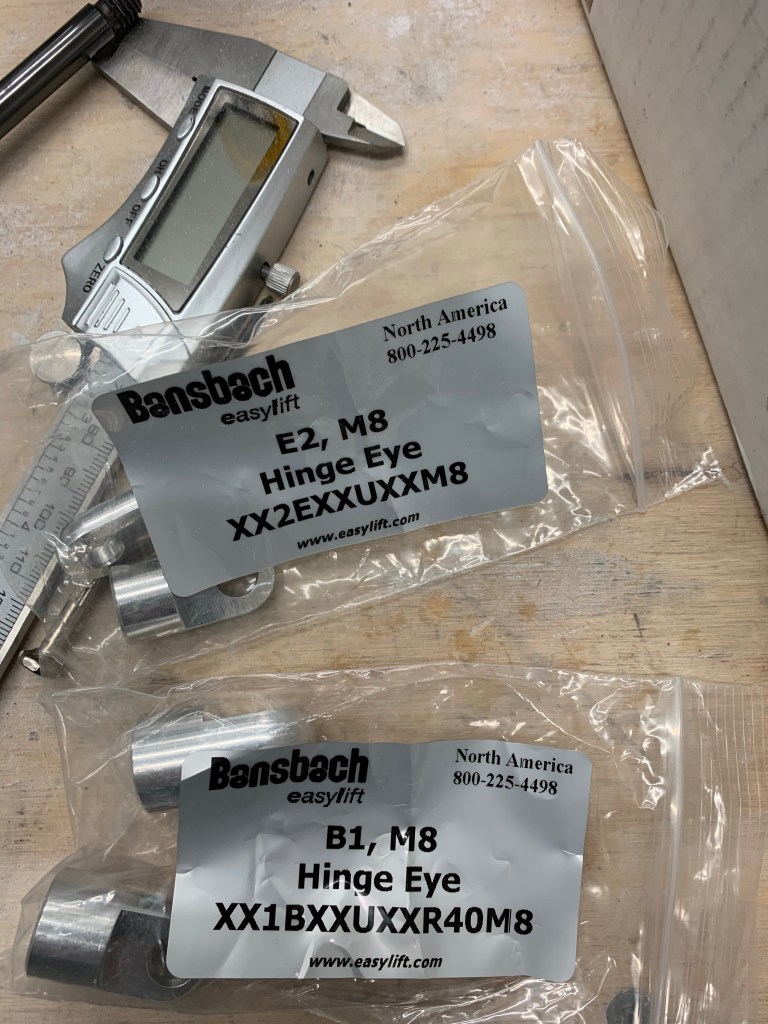
I ordered an aftermarket strut from Bansbach Easylift. The part number was B0N0F50-100-247/XXXN with a 550 newton force. The extra oomph is needed with the extra weight of the Planearound 3rd latch kit so far out on the door as it swings up. I read a bunch of posts on which ends to get and ended up going with 2 E2, M8’s for the door attachment and 2 B1, M8’s for the strut bracket side. The trouble with the B1, M8’s is they are too thick to go into the 3/8″ opening of the strut bracket. I knew this going into it, but read that you can sand them down to fit. Which is what I did, but I still would need to sand more to get the proper washers on either side of the eye. I decided to buy a couple more E2, M8’s to make things 1000% easier. These are 25mm each and the overall length of both plus the gas strut itself is very close to the stock Van’s setup.
You then fabricate a locating bar out of 1/8″ thick material to locate the brackets on the door. I got this bar attached to the strut bracket and matched drilled the holes into the doors.

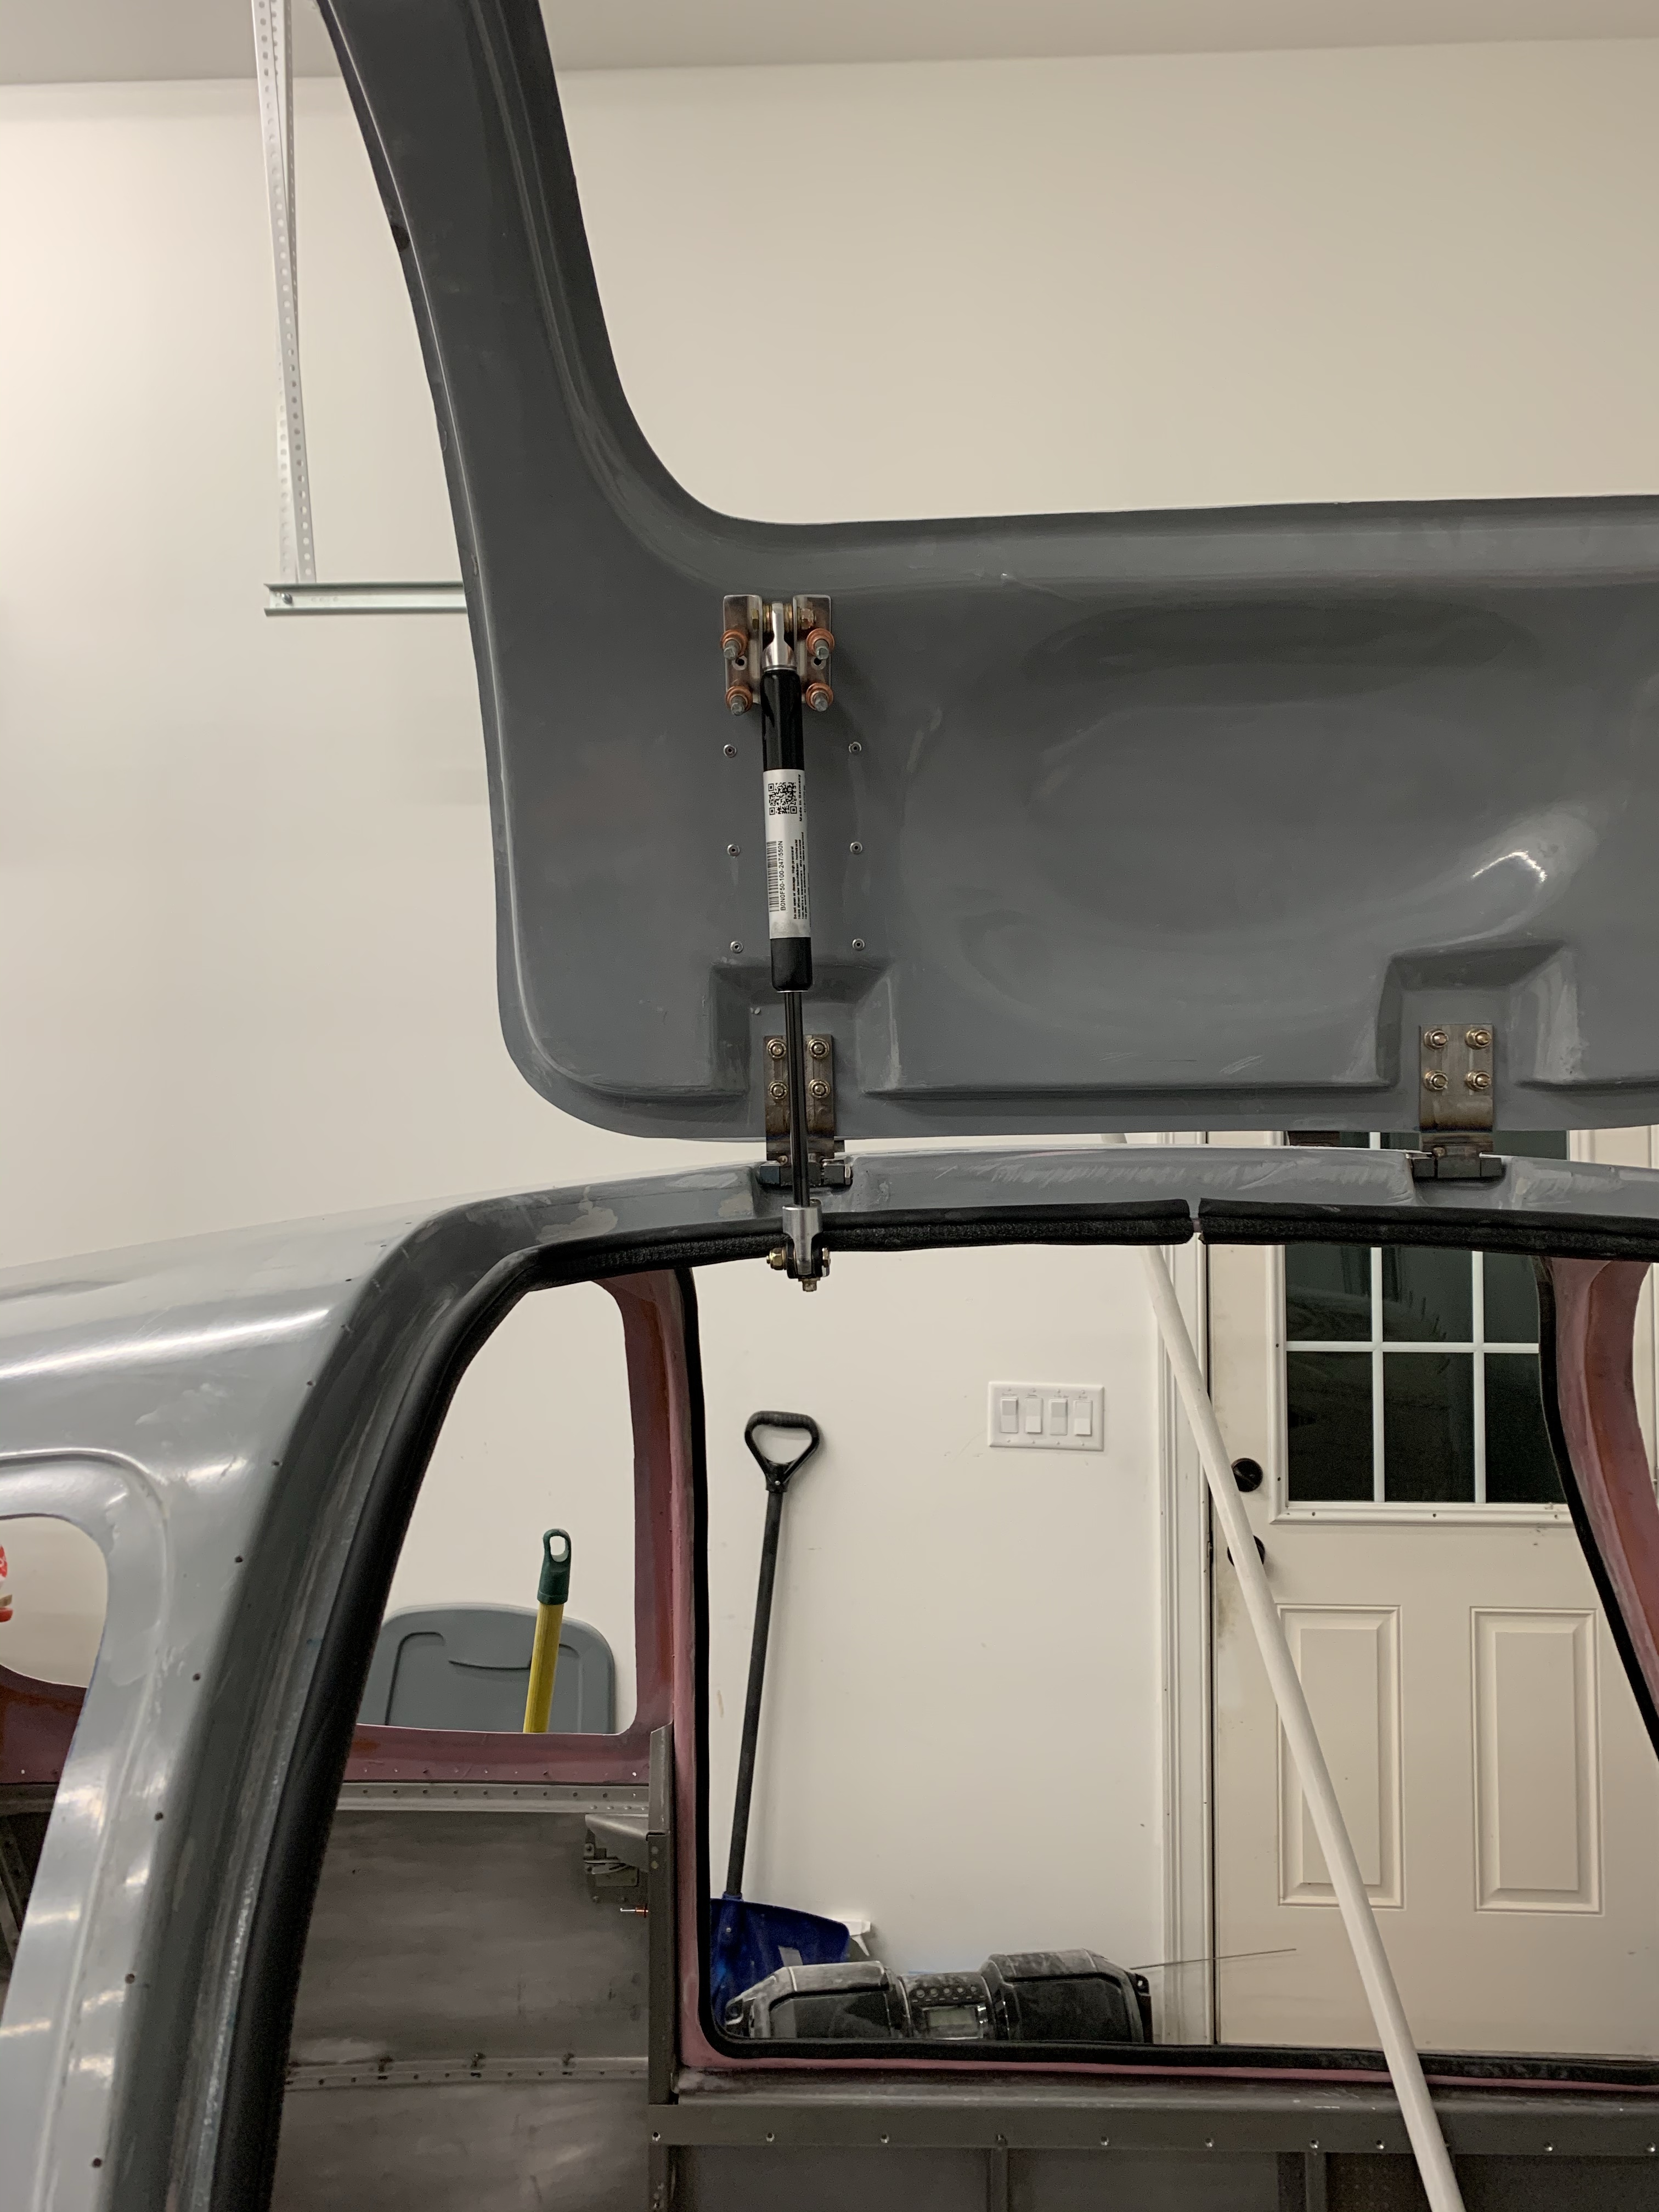
Then I clecoed the bracket to the door for now and what do you know. The door stands on its own!! Below are shots of a couple of different angles.

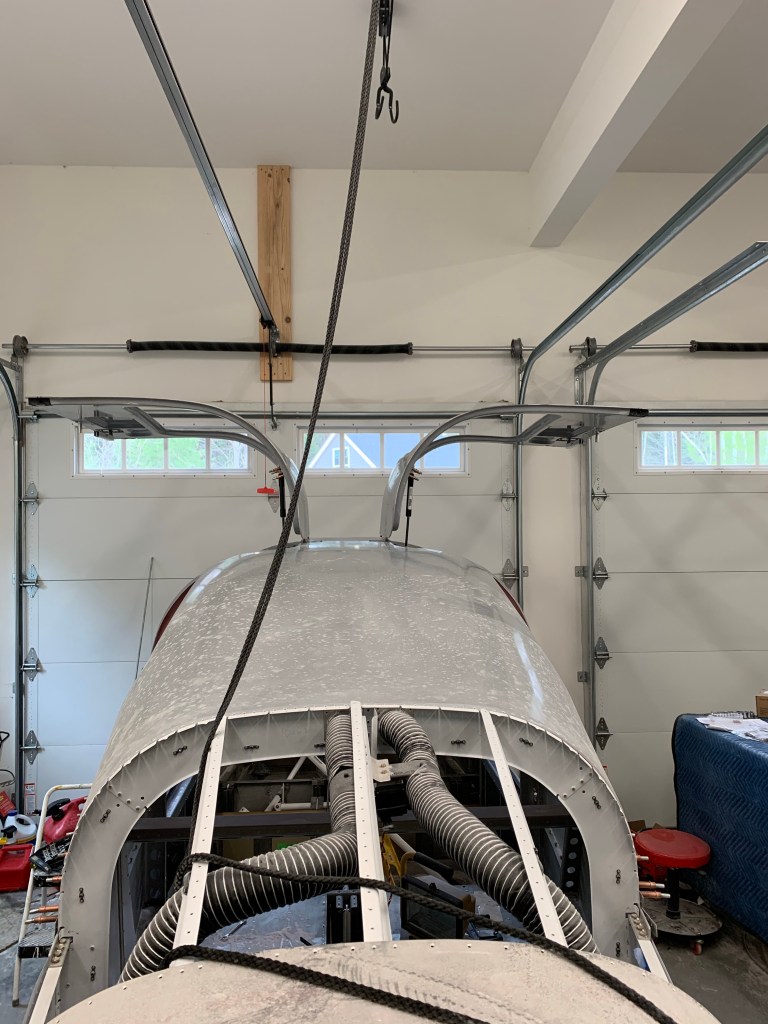

And a short video to show the operation of the doors.
Now it’s onto fitting the overhead console and taking the top off and finishing the insides of both the doors and cabin top on the bench.
