
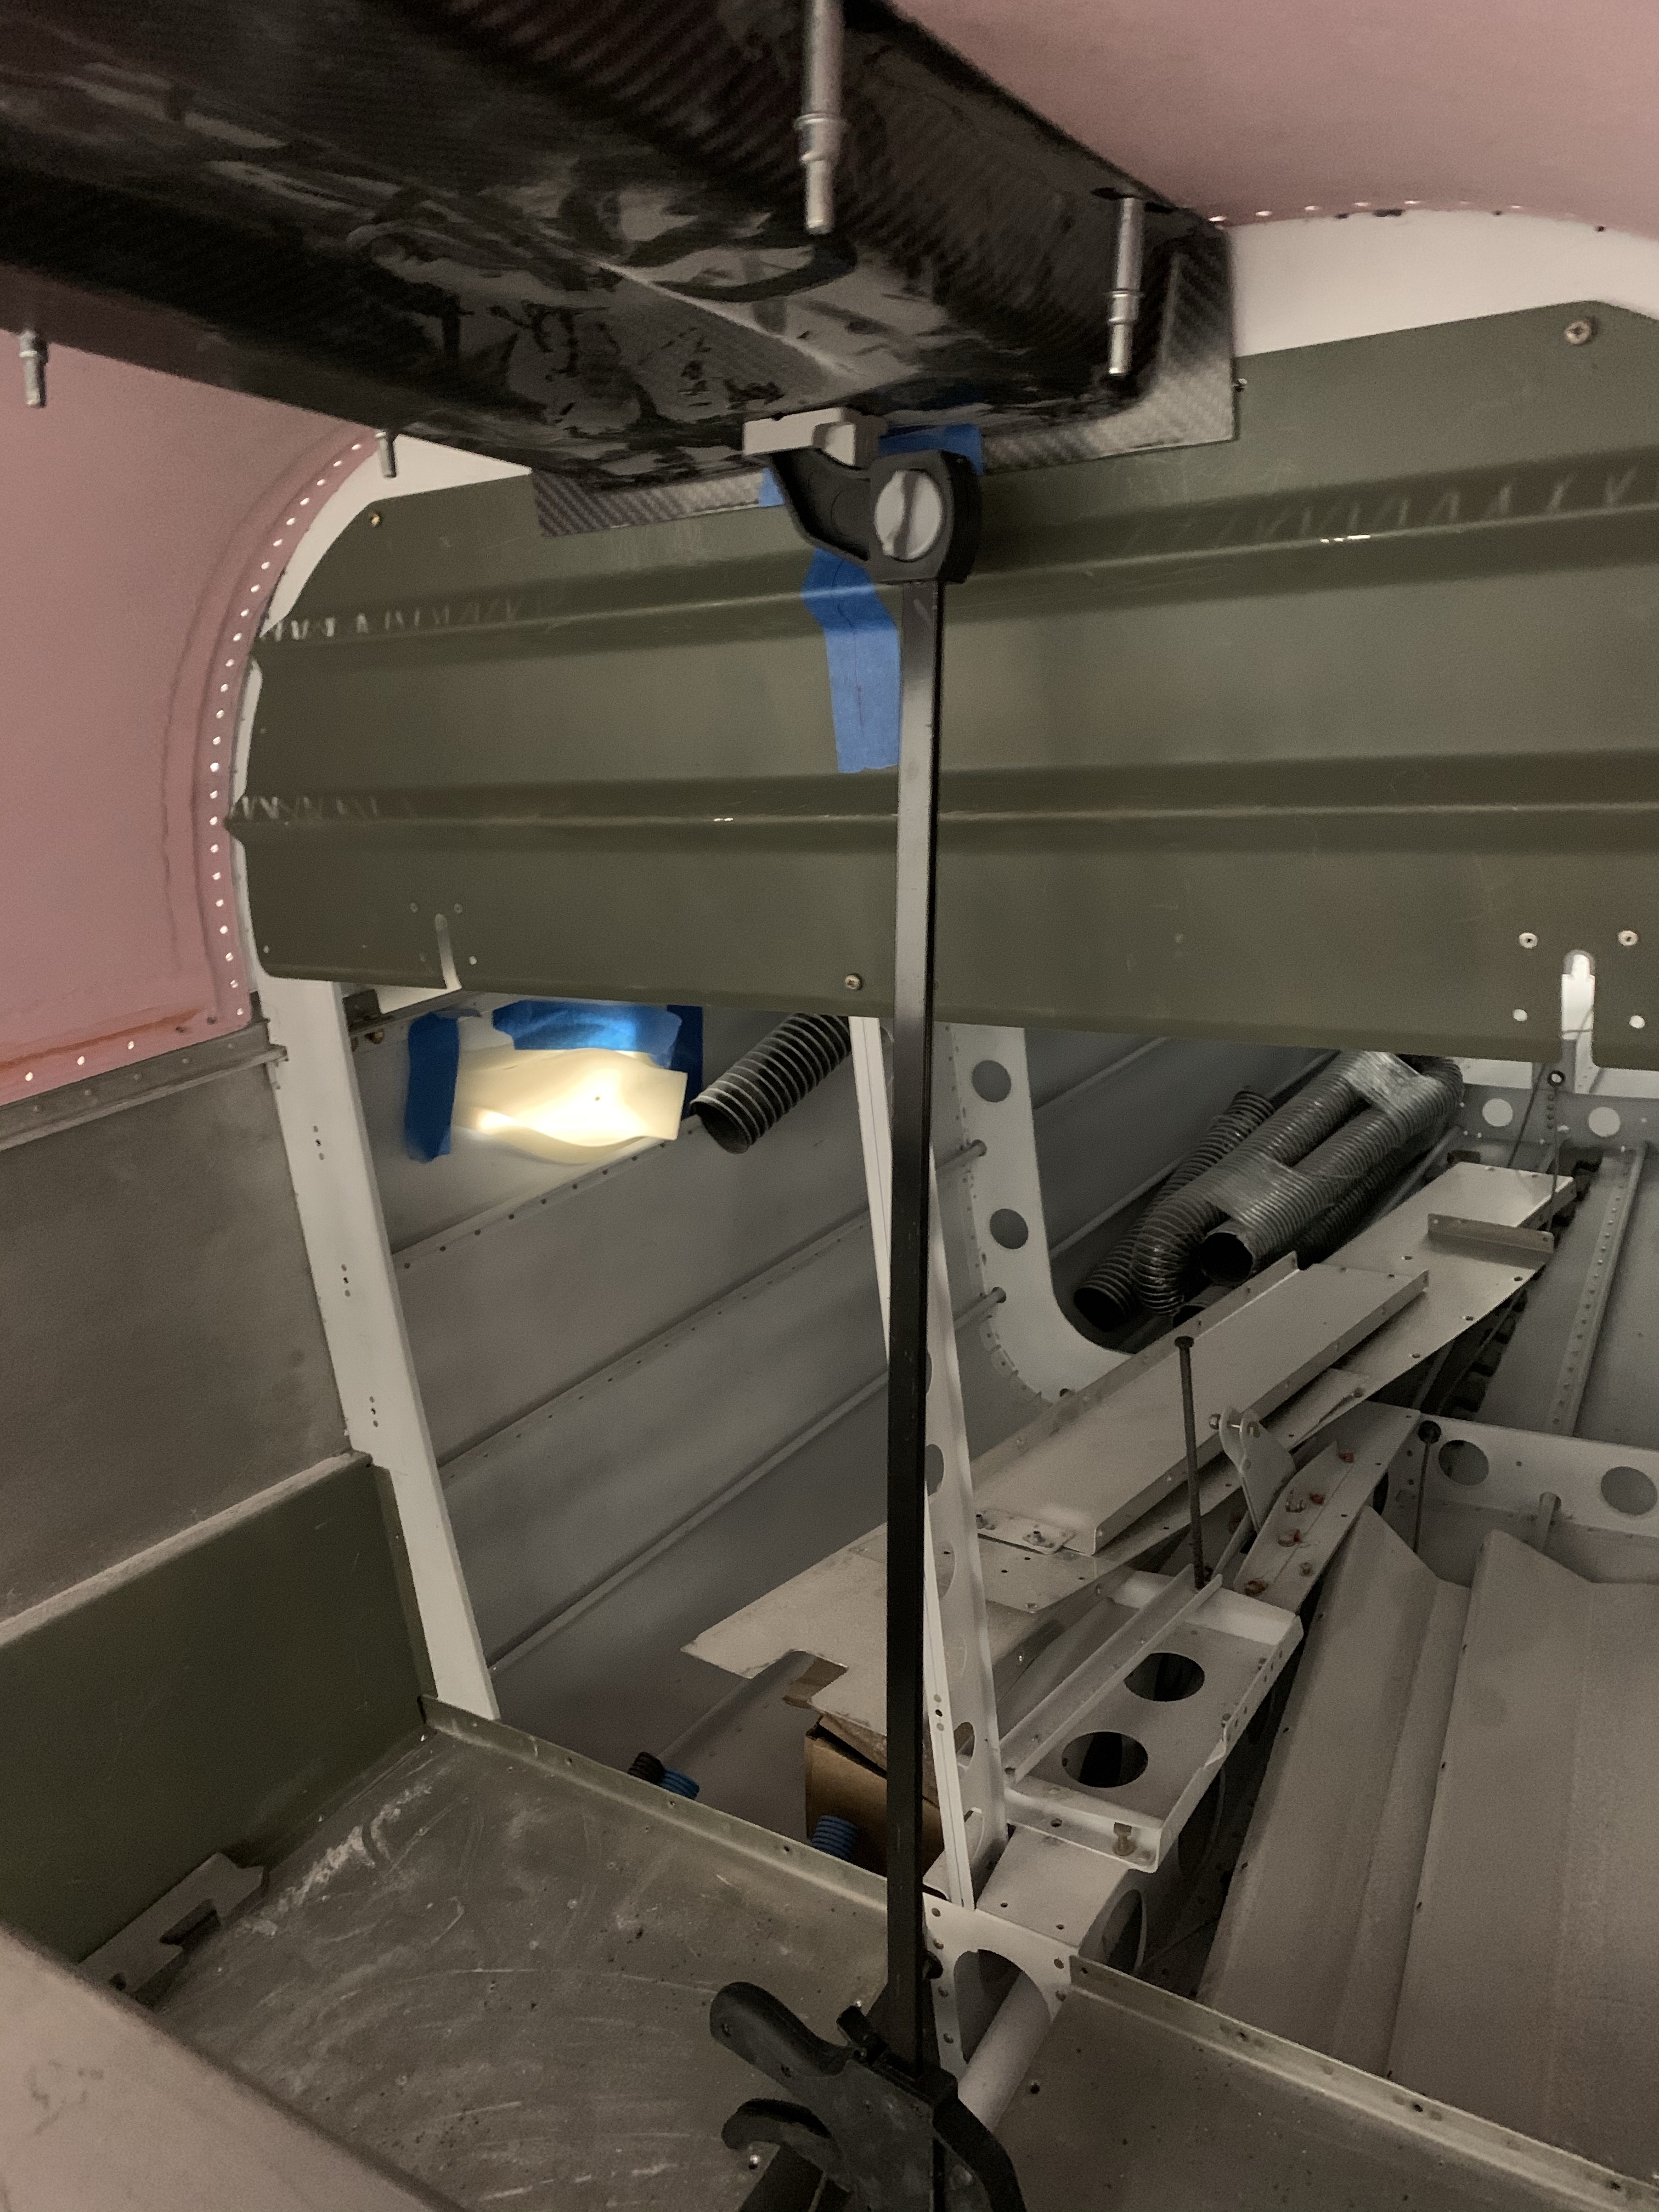
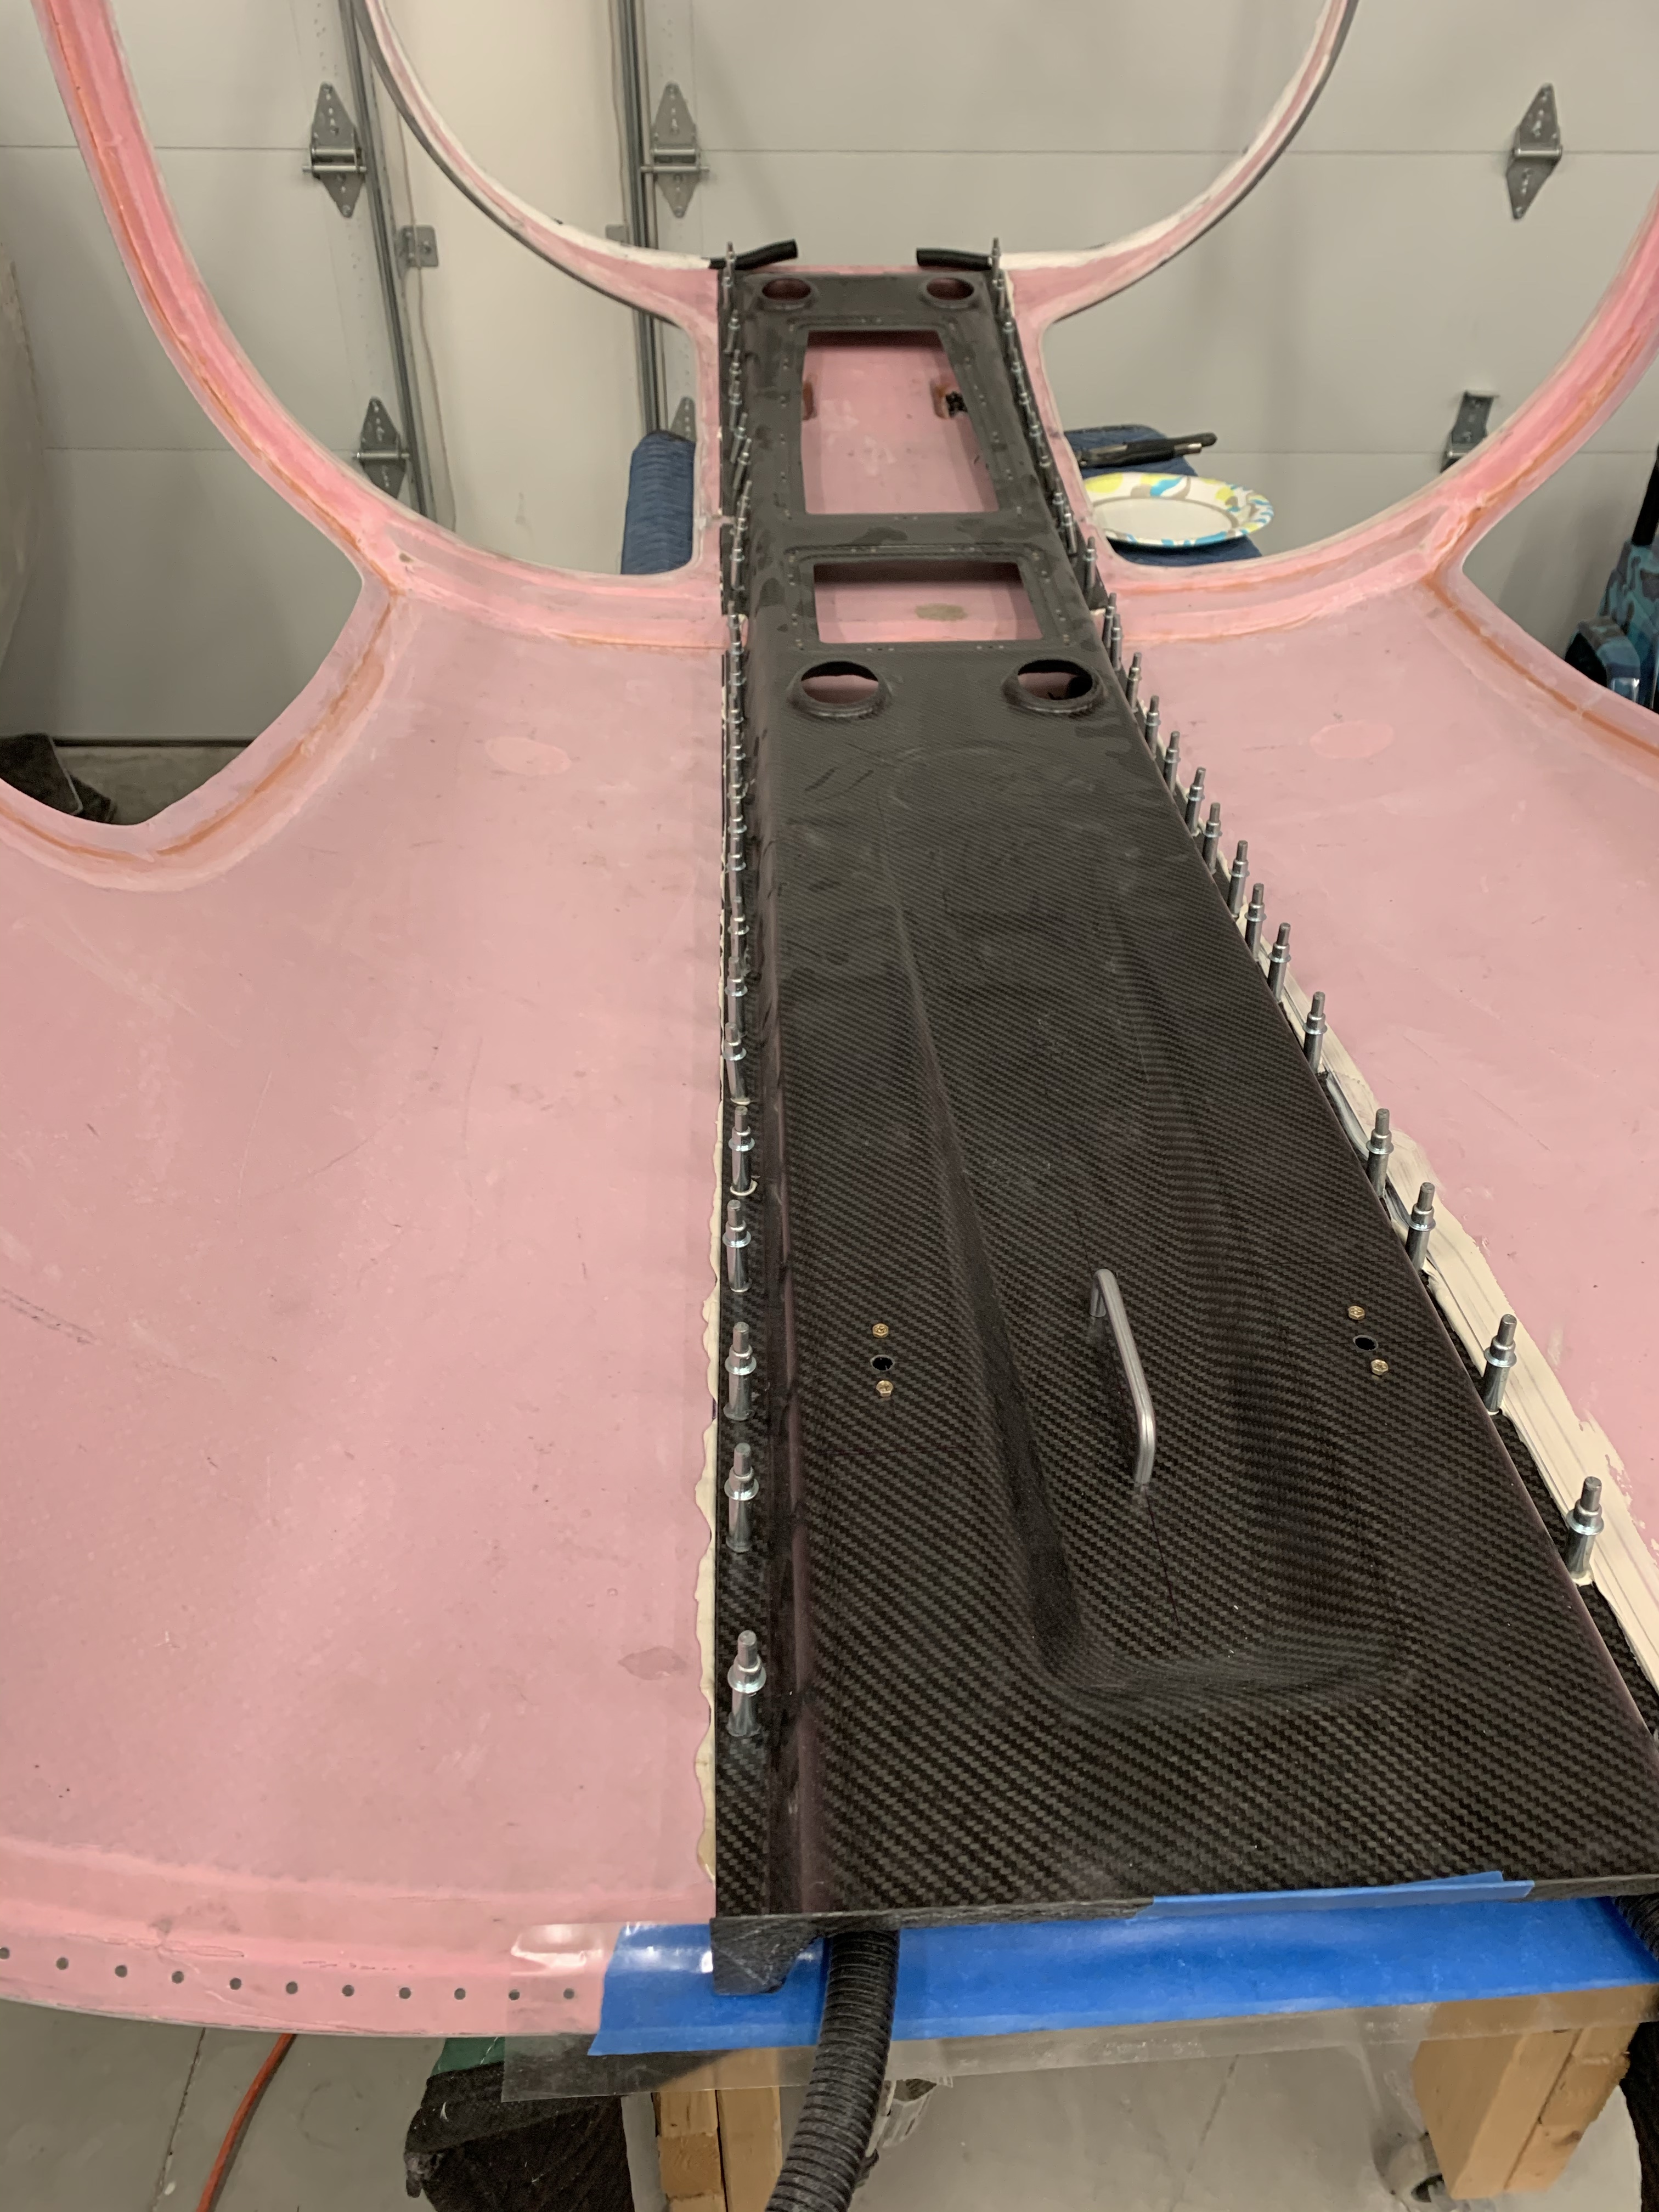
I started off by getting the center of the cabin top marked in the aft and forward positions as well as marking spots on the overhead console itself to align both the front and rear to the top. I also installed the top baggage bulkhead and the skin to keep the rib steady as it can be floppy otherwise. Below is a picture of the spreader I bar I used to hold the aft end up while drilling holes (not all the way through, just enough for a cleco to bite) through the flange and into the cabin top. The forward end was held with clamps in the door openings.

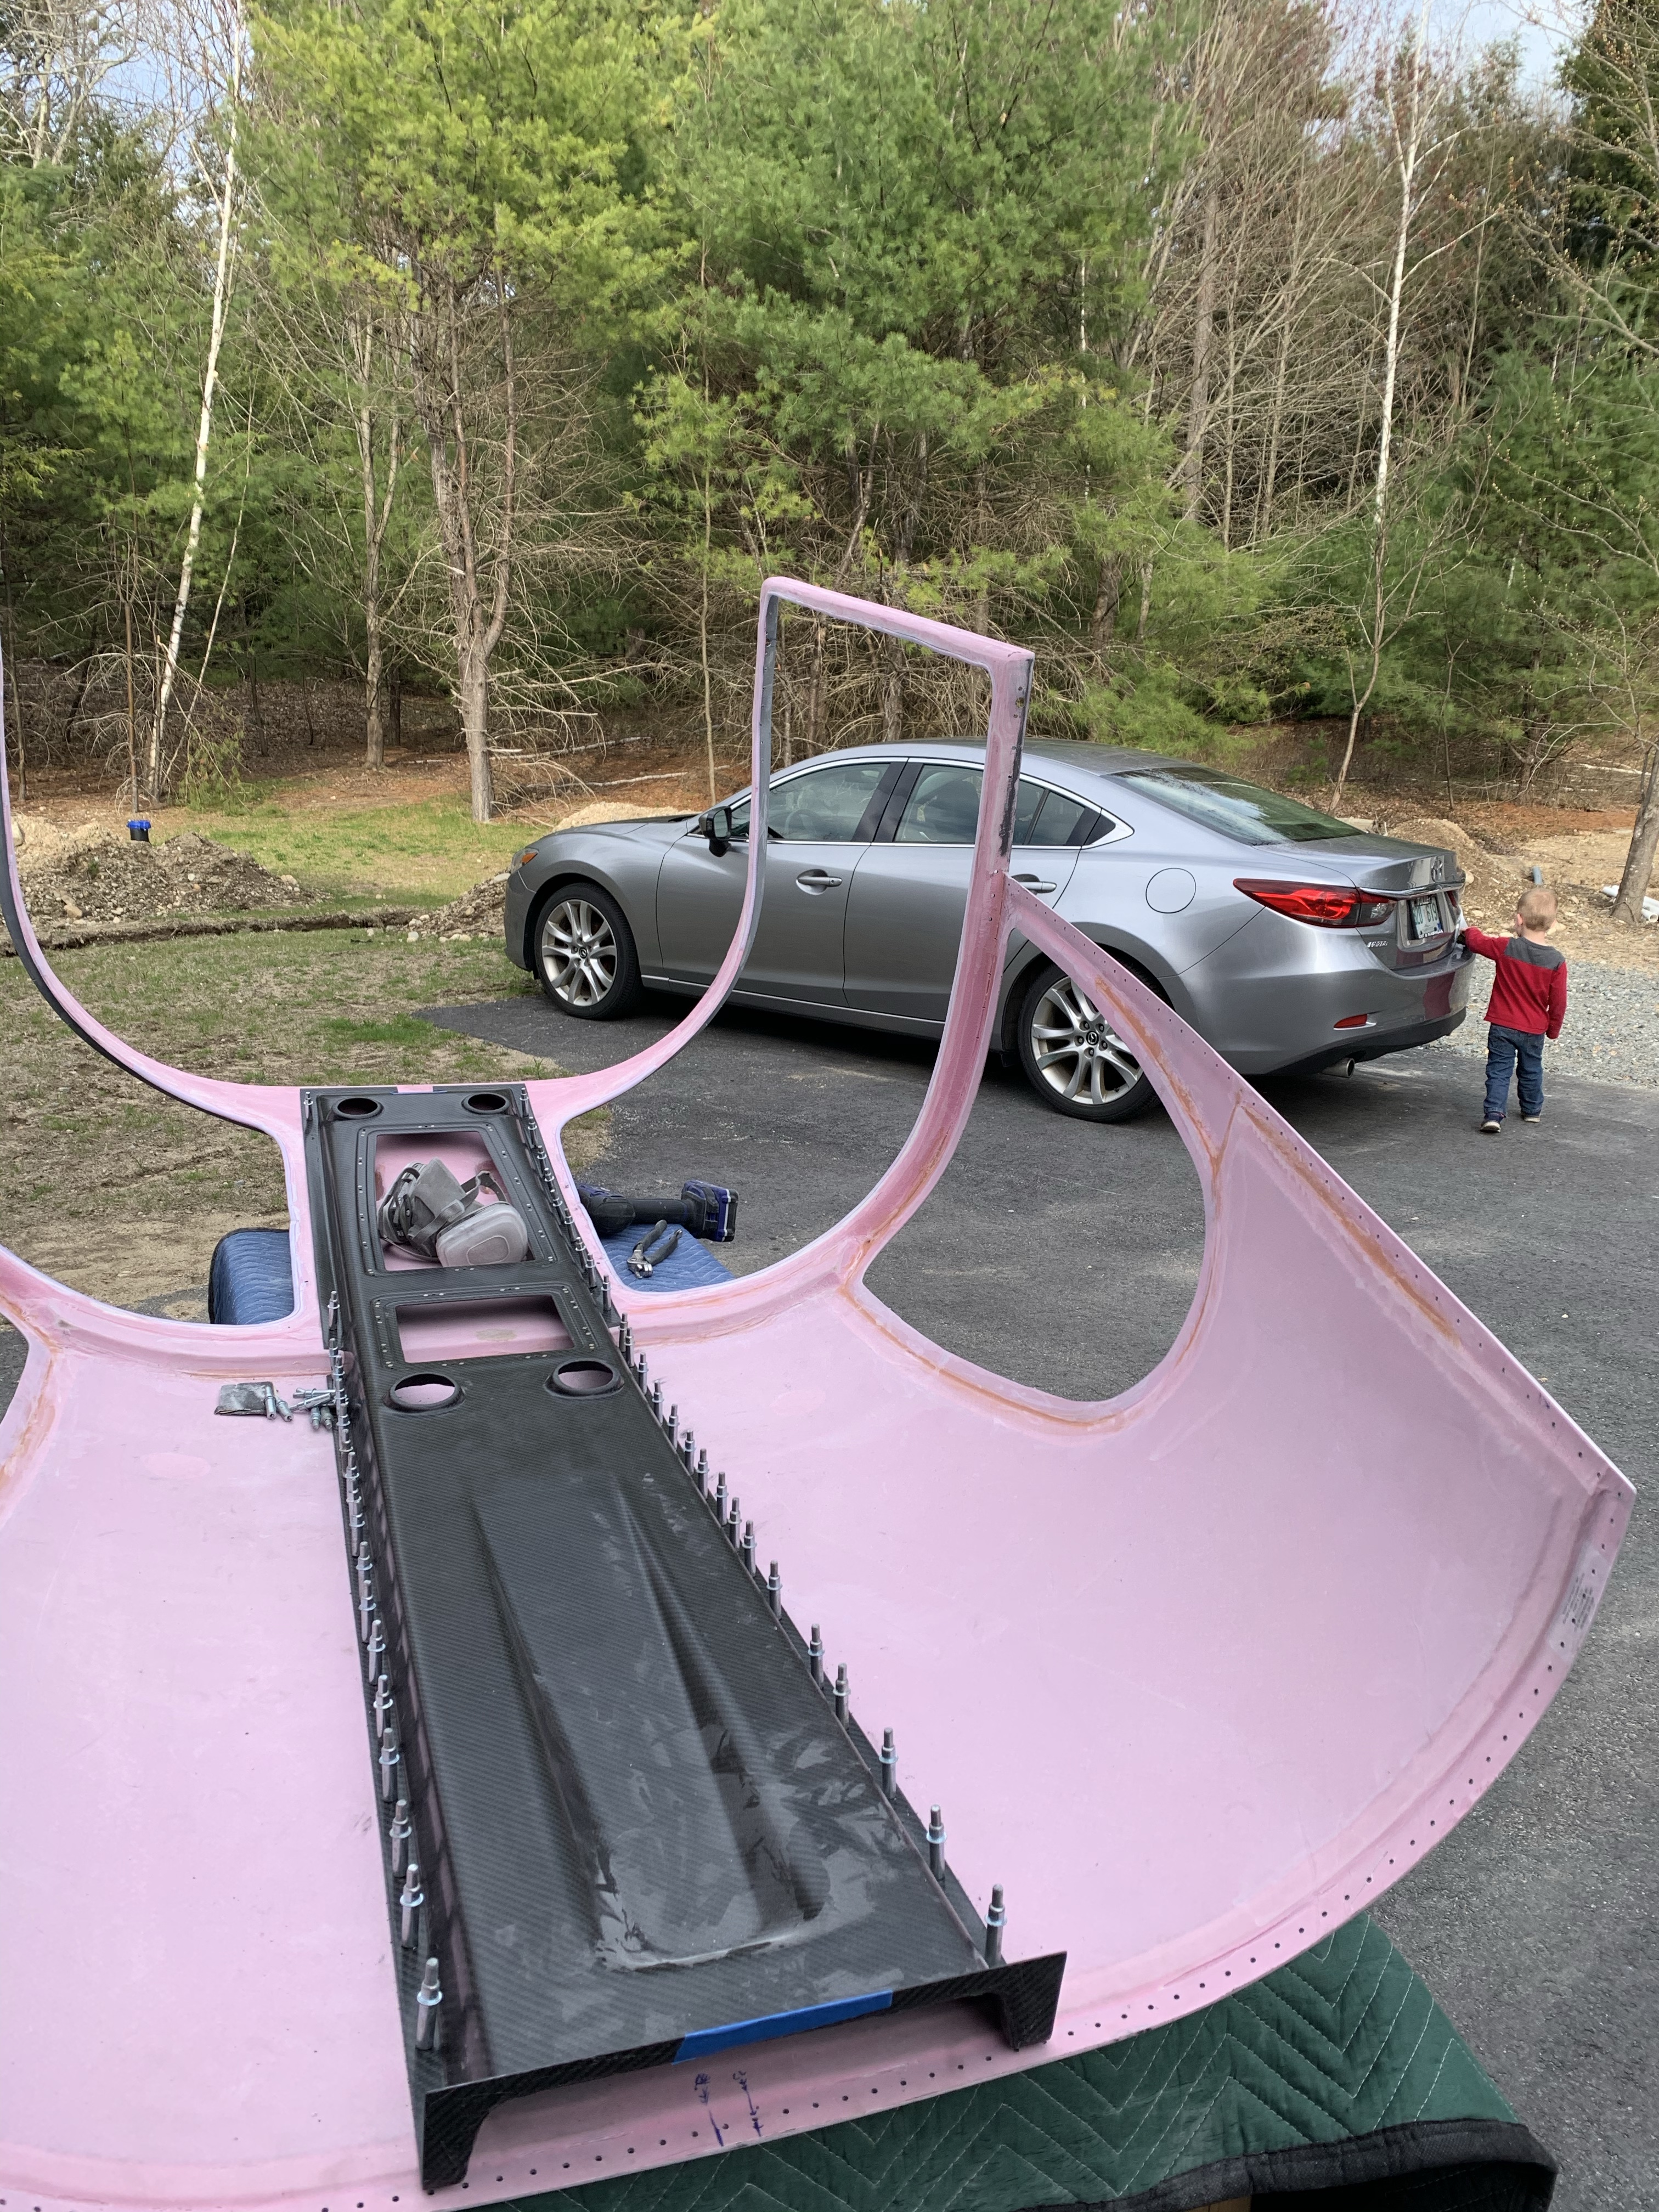
Once that was done, I took the cabin top off of the structure to work on finishing it upside down on the bench. First up was to sand down the high and ugly spots around the door frame and near the hinge pockets. It was such a nice day out that me and my son (who is up my butt constantly) went outside to make some fiberglass dust out there for a change. One note is that I am using a headliner material for the back half of the plane, so that area I don’t have to be too fussy with. I just need to make the areas around the doors pretty. As you can probably see from the pictures, the inside surfaces aren’t the best. I can say that this is the most recent top that is gel coated on the outside and the best quality that Van’s has put out yet. The 2 prior versions, especially the first, green color, one was really bad, and a lot more work to deal with for the early builders.


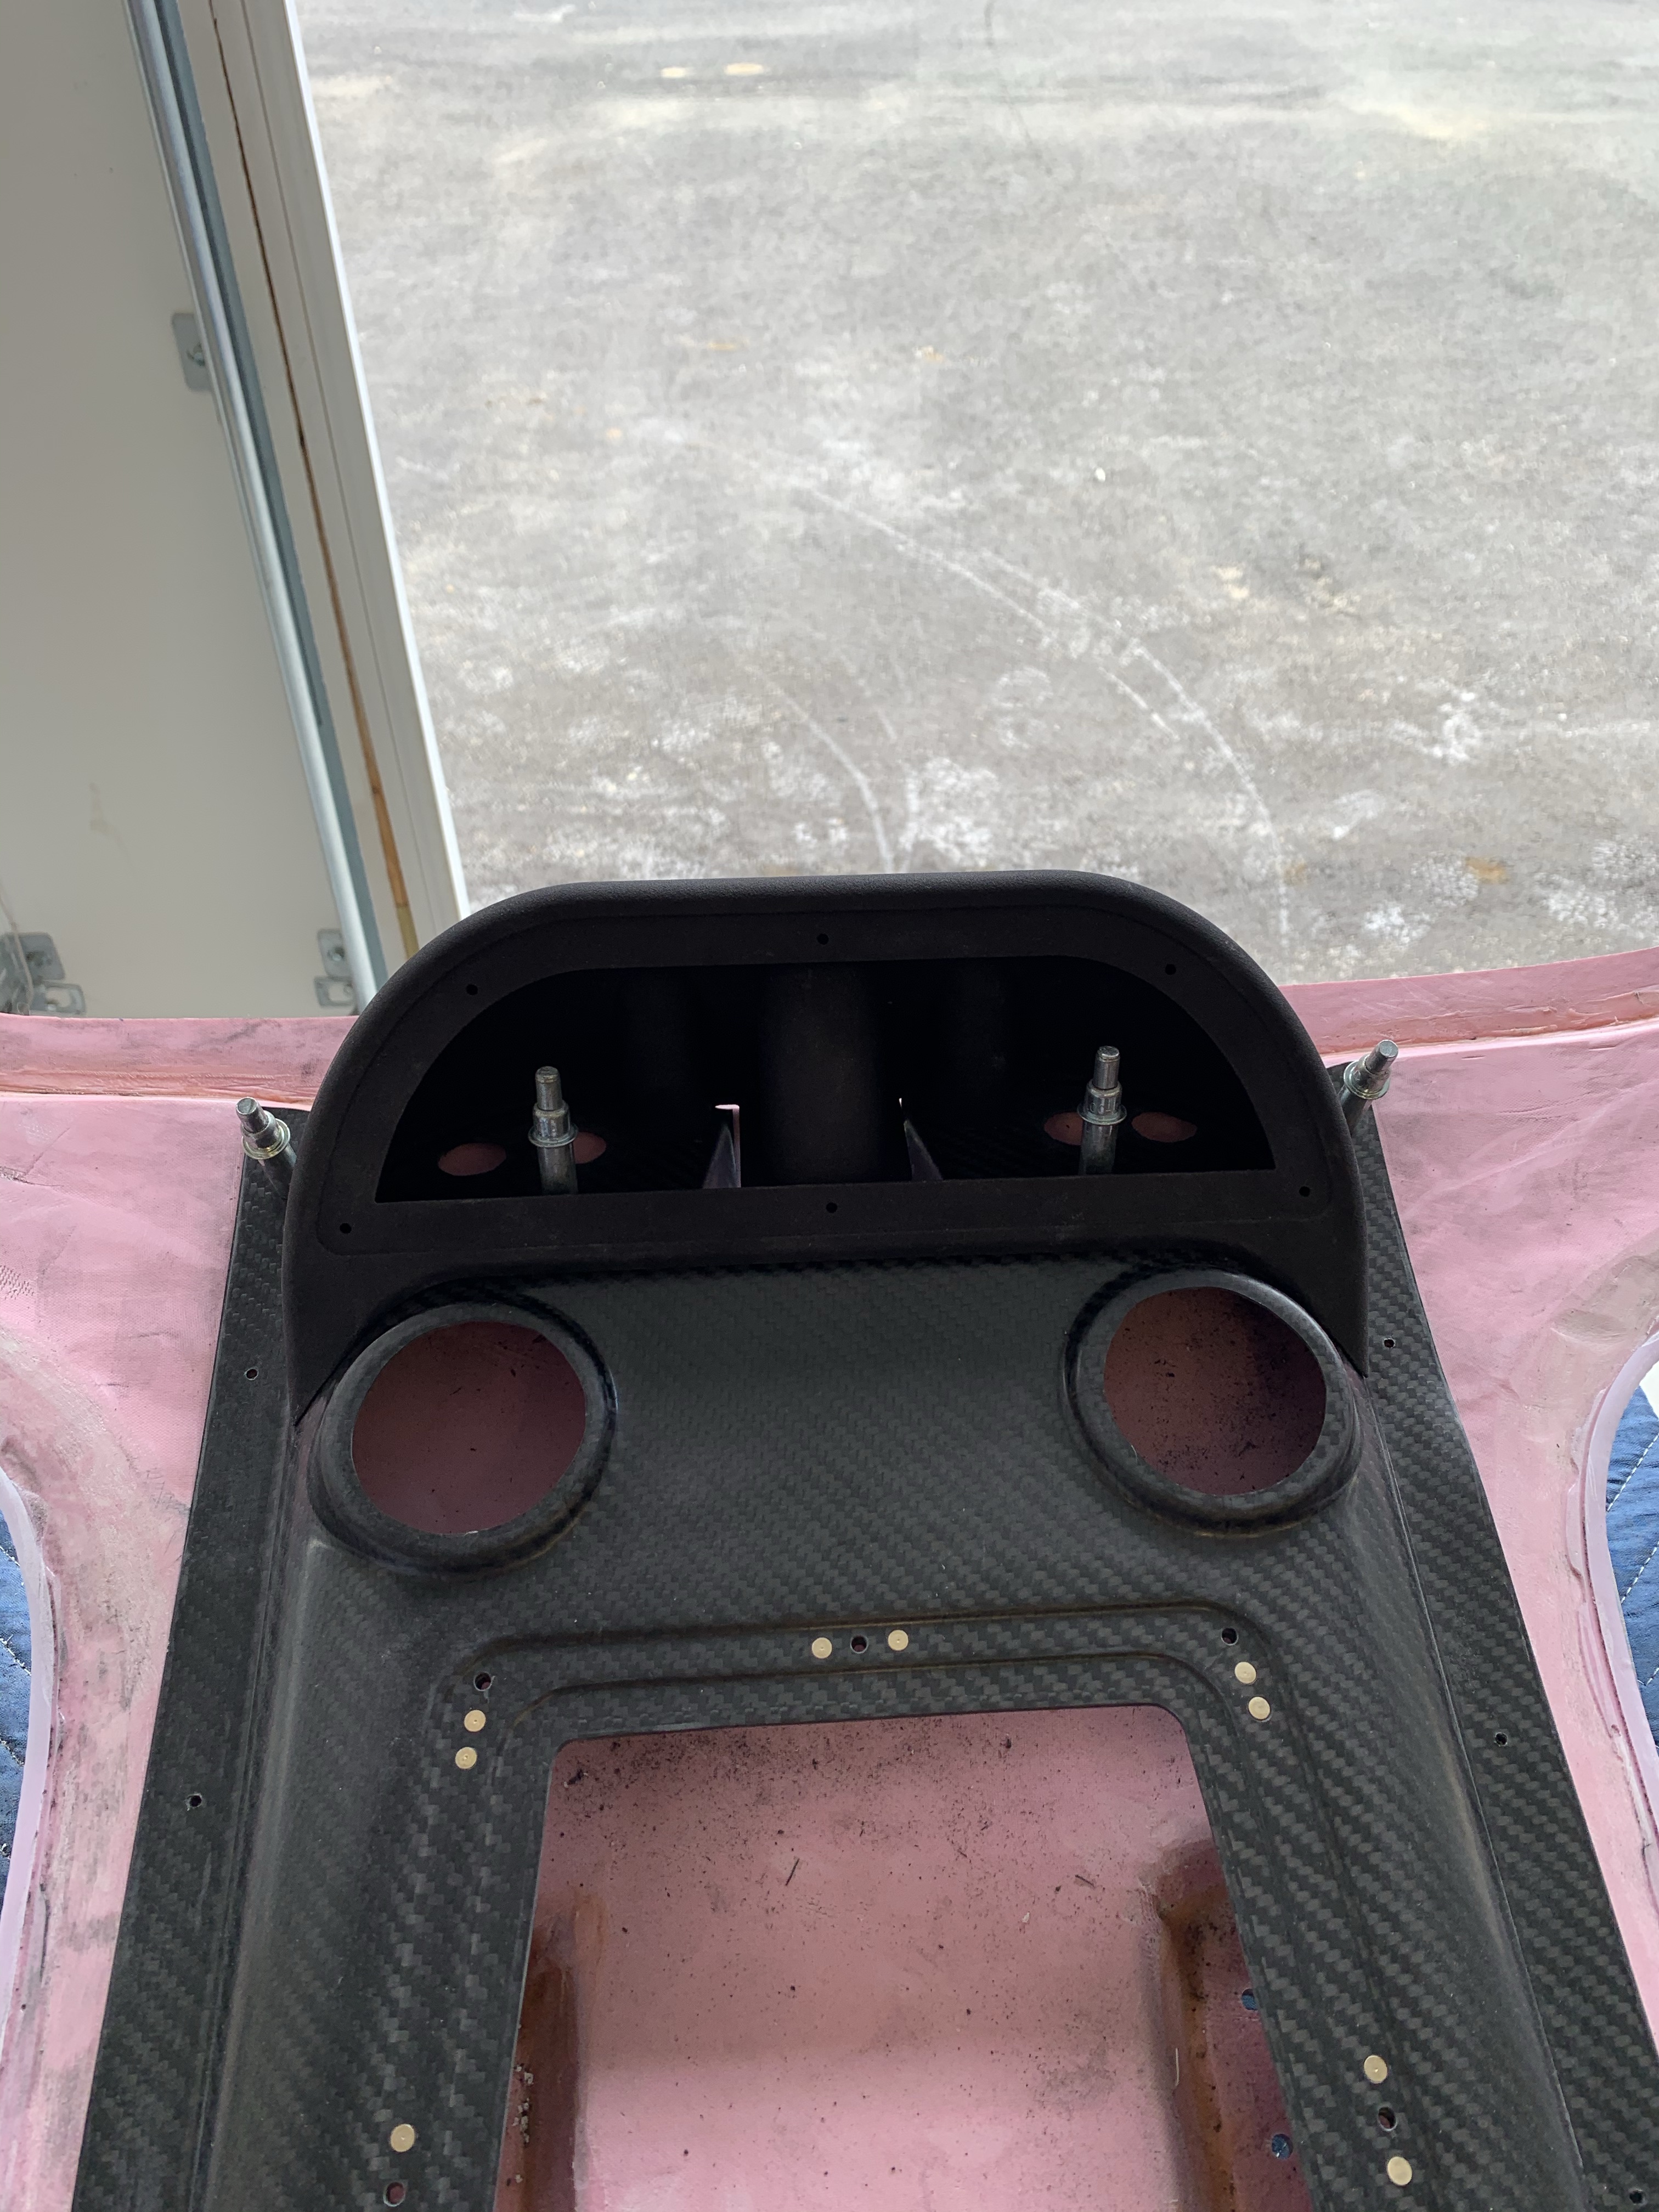
I then got the switch pod match drilled into place. This will house my light switches for taxi, landing, etc.. along with light dimmers for all interior lighting.
The overhead comes with a bar over the baggage compartment area to hang things on, if needed. I got to installing that by finding the center line and drilling the holes for screws to hold it in place.

I plan to do a matte clear coat on the overhead and leave the carbon fiber finished look. I think it’ll come out great. This is the 2-part clear coat I am using for the job (to be done later).

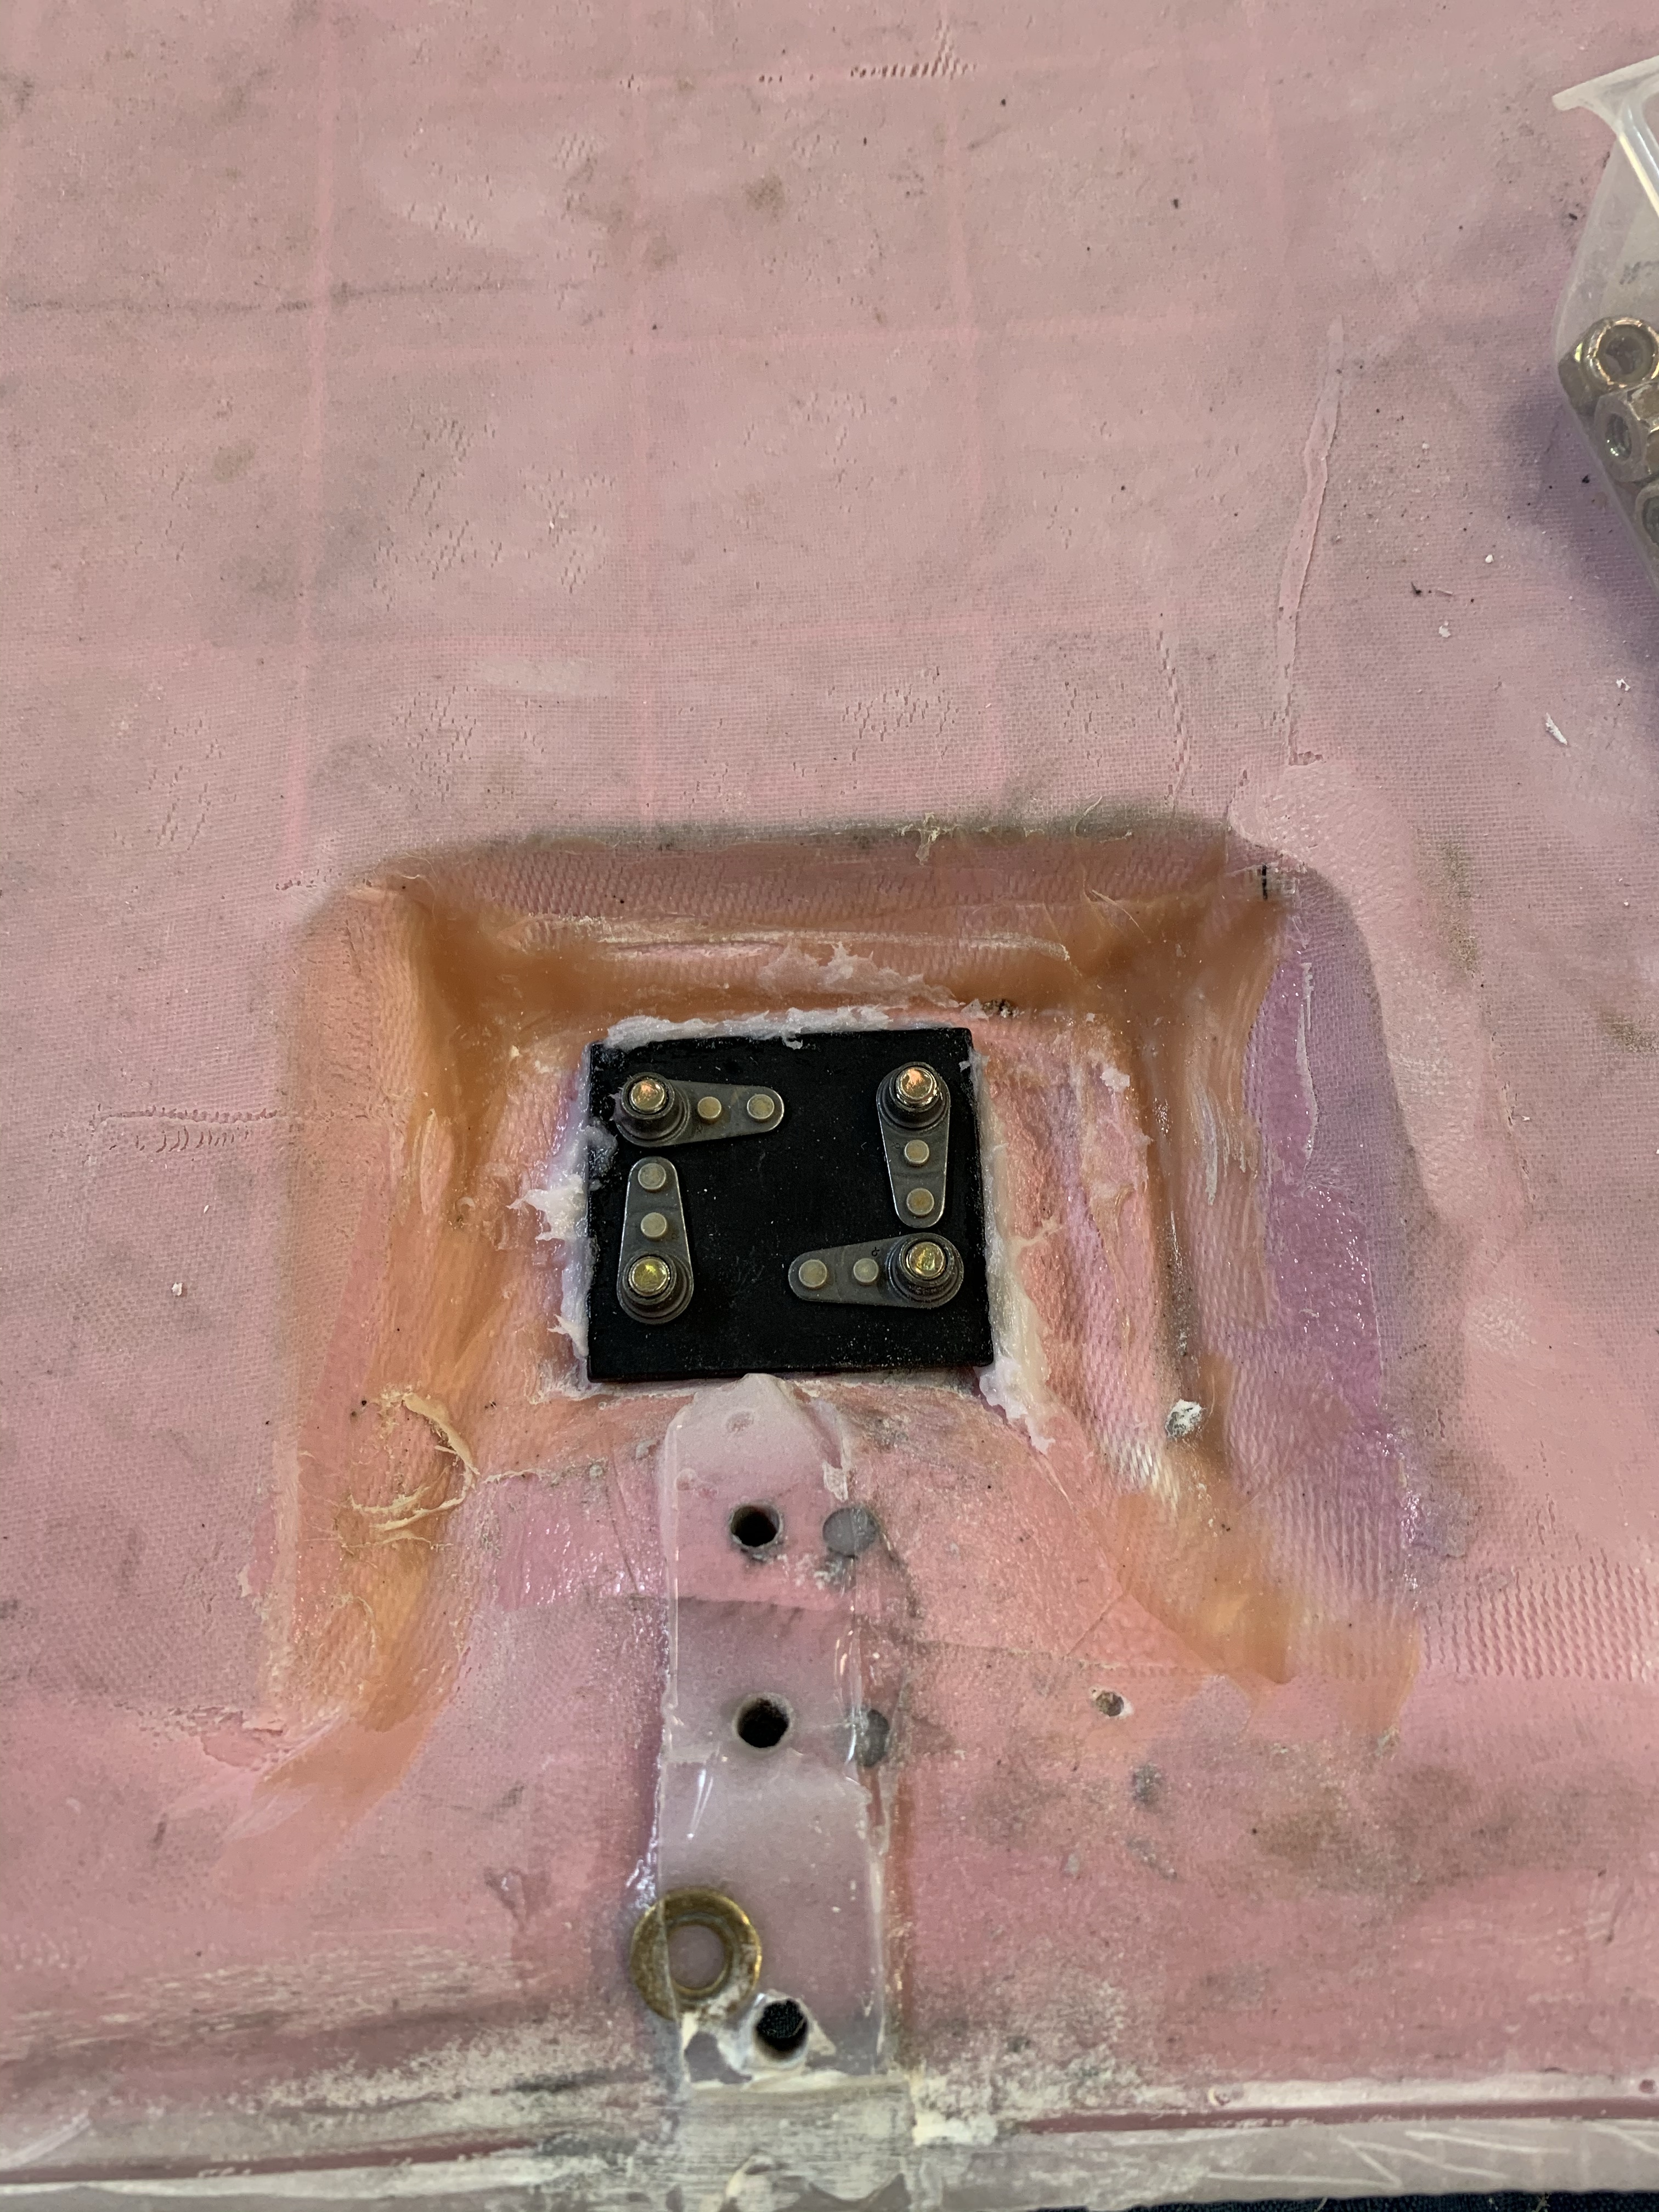
I then finished something I delayed a little but until I took the top off. I used the door strut brackets and wrapped them in packing tape and epoxy/floxed the area underneath of them. There were some gaps in the curvature of the fiberglass compared to the angle of the brackets and this provides a nice solid underlying surface for them to rest on. After curing, I popped them off and this is the end result. This side is the side that I used a washer to get the strut angled the way I wanted it, and you can see it is now permanently part of the structure.

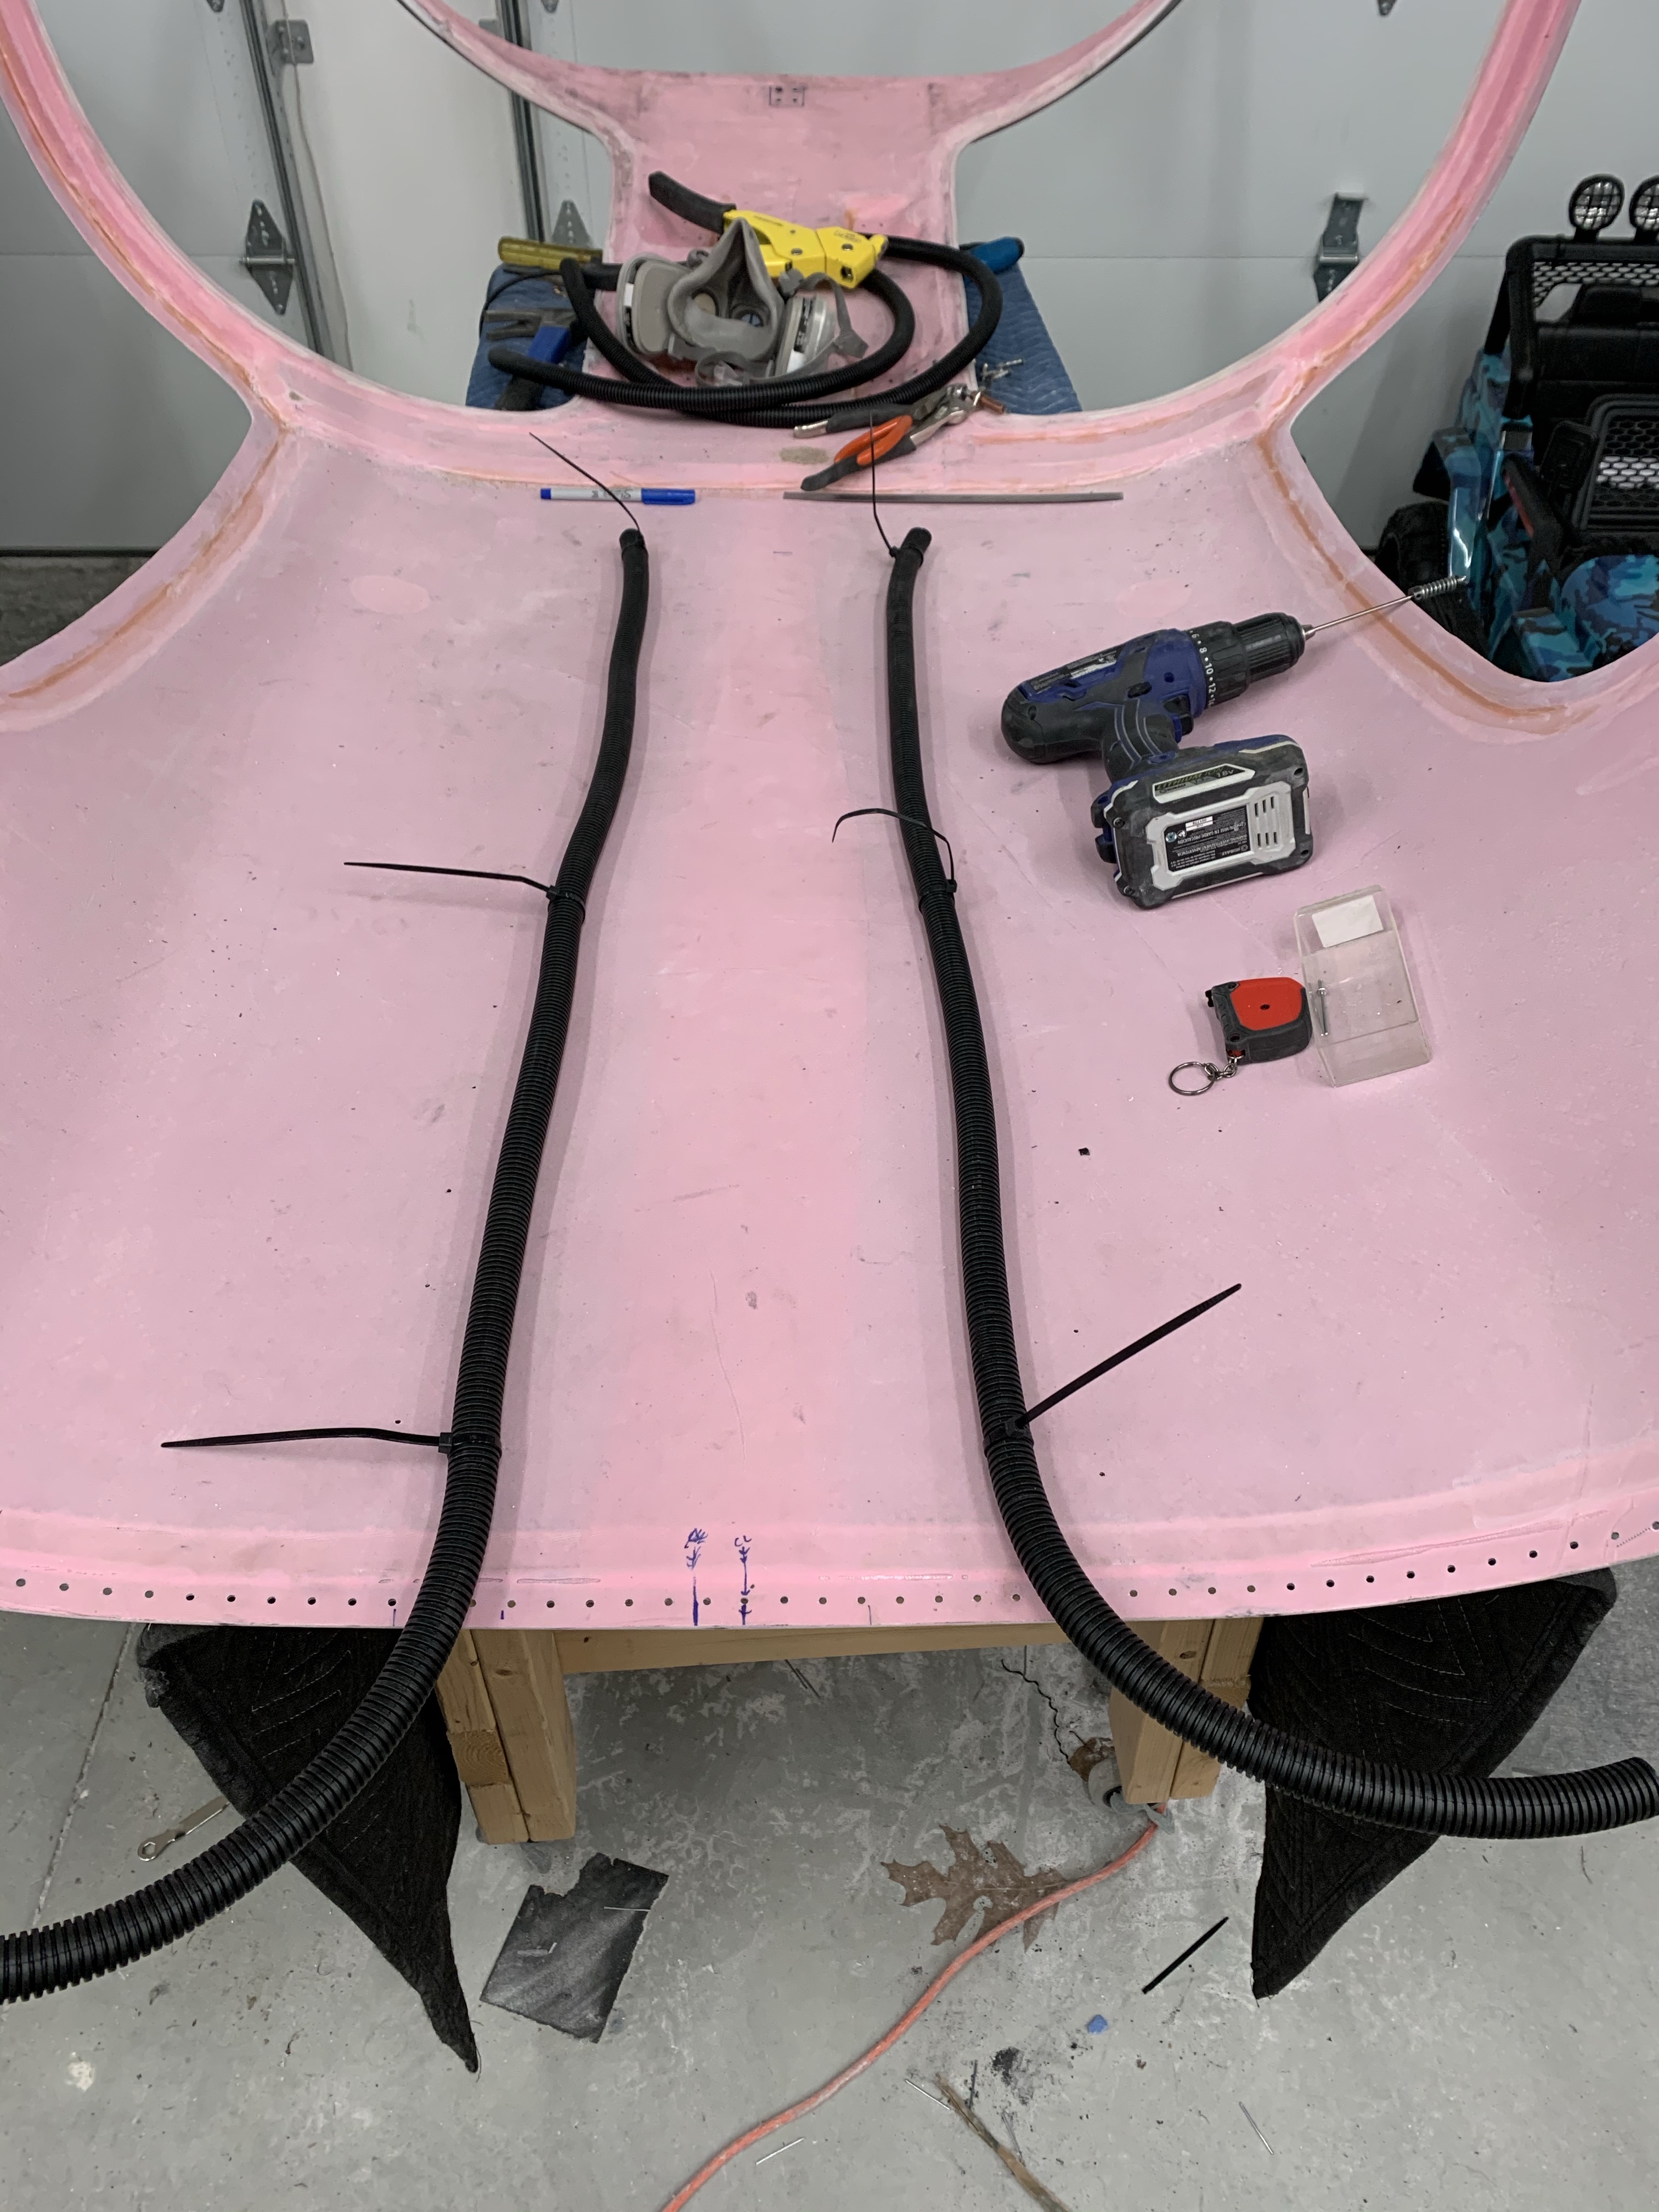
I then worked on putting conduit runs on the back half of the overhead to easily run whatever I want/need through here. First to secure it, I copied what Dr. Mark in TX did with using zip ties and small pieces of metal riveted into shallow holes (same depth as the cleco holes) in the cabin top. This worked really well. Once done, I used some epoxy and flox to secure the areas between the ties so they don’t flop around and make noise.

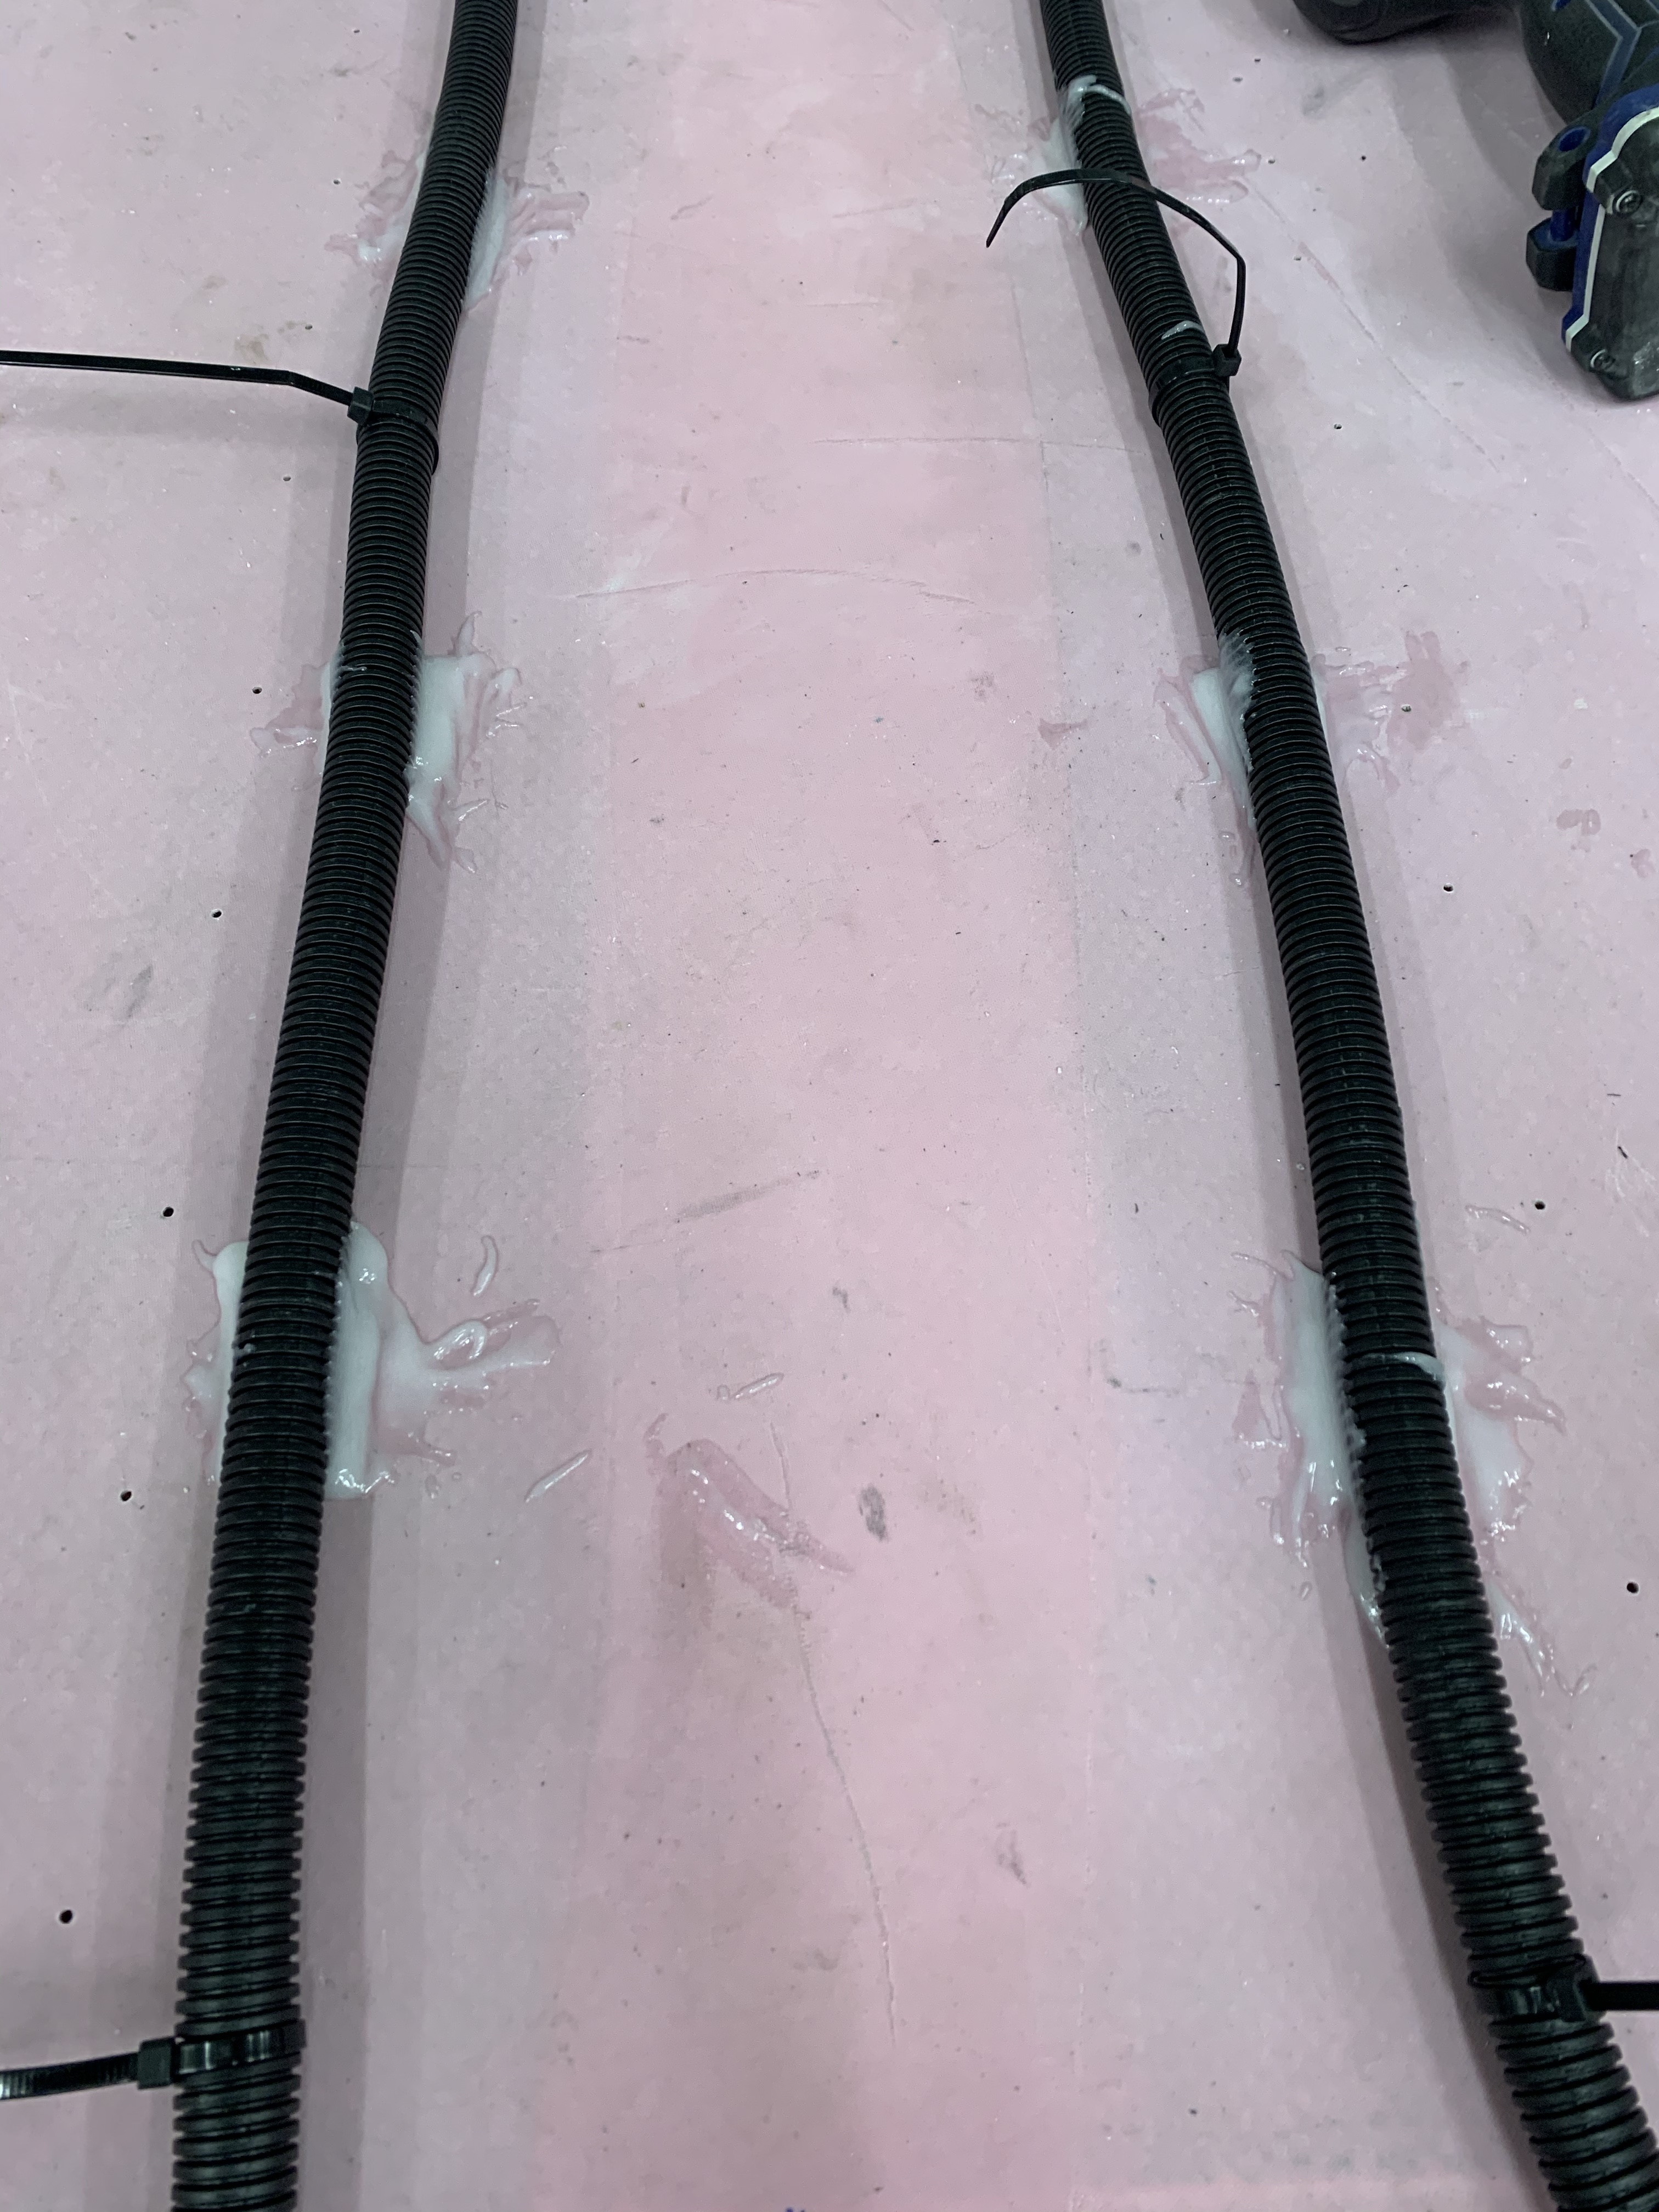
Then it was time to run conduit in the door pilars. This will allow me to easily get wires up to the switch pod for all the functions intended. It’ll also allow me additional paths to get wires from the back of the plane down to the front, as needed.

Once cured, I used some Loctite Expanding foam to fill in the gaps around the conduit. This will eventually be covered over with some epoxy flox mix for strength, but can be sanded down to shape beforehand.

Even though I did decide not to use the Airward hinge reinforcements I bought, I did decide to use the backing plates on the interior of the cabin and door hinges on the door side. Here is a picture of the cabin side after attaching them with some epoxy/flox and using screws to hold it in place while curing. This will alleviate needing to fumble around with nuts and washers.
One of the last things I needed to do was to figure out lighting for the overhead prior to bonding it down permanently. Most lighting will end up in the metal panels that screw into the openings you see, so really nothing to do for those right now. I did, however, decide to put two small LED lights in the baggage area. So I centered those around the hanger bar drilled the holes, and test fit them in place.


I drilled some 3/4″ holes in the back of the switchpod to run the conduit into it and as you can see, I also drilled a couple of holes on either side of the overhead to more easily allow wires that come from the back and get them into the switch pod and down the conduit.


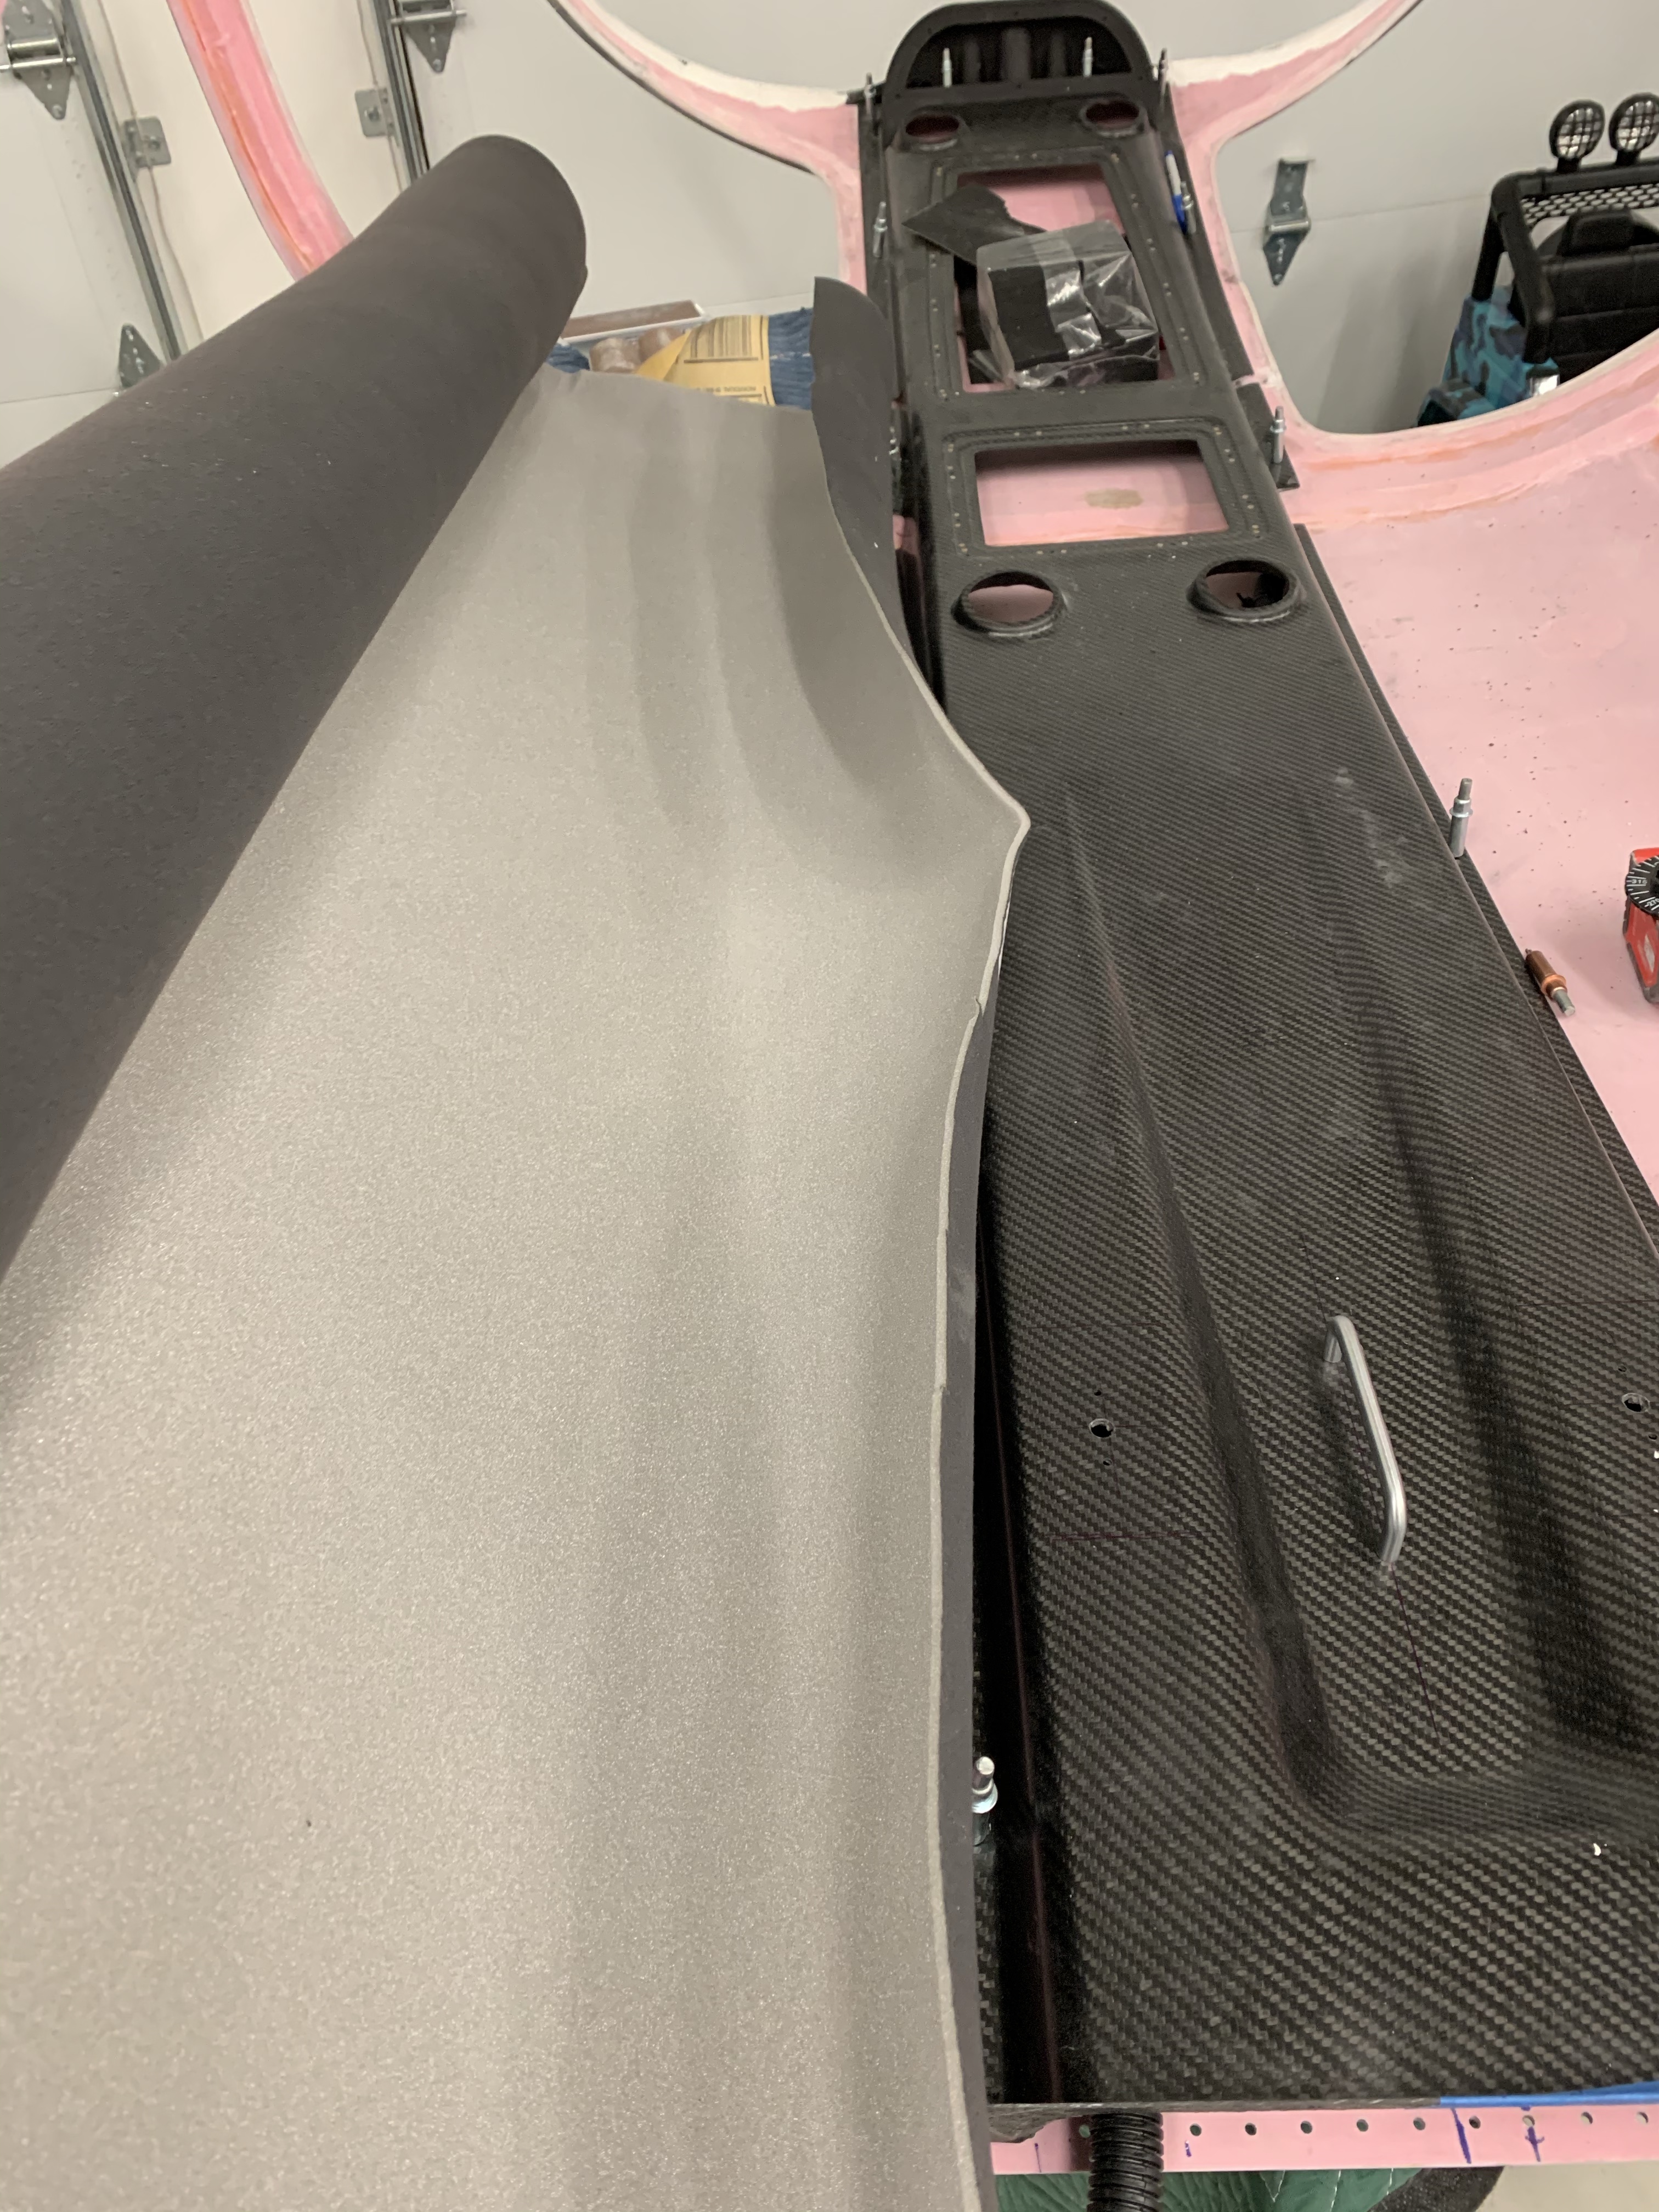
I decided to unroll the headliner material (graphite is the color name) that came in to see how it looks against the dark carbon fiber finish of the overhead console.
Then the time came.. to permanently attach the overhead to the cabin top! I used the 2 part Lord Adhesive from Aerosport Products for this job and made sure to use a release agent on the clecos so they wouldn’t get stuck!.
I then used some #6 screws and some epoxy/flox to attach the switch pod in place. You can see some squeeze out here, which I wiped up prior to finishing up for the night.

After things cured overnight, I then took all the clecos out. Sanded down some squeeze out and filled in the area around the switch pod with some more foam to start to shape the transitions from the door pillars to the switch pod. I’ll let that cure overnight and then I’ll sand it to a basic shape and then next up will be starting to perfect the surfaces around all of this for final paint.


