My panel items don’t contact the sub panel, but the connectors with wire bundles did, so I cut out a rectangle from the sub panel to make sure there was plenty room for the connectors and wiring bundles with strain relief.

I fabricated a doubler per Van’s plans

Laid out a hole pattern, drilled, and riveted it in place.


I may end up re-connecting the bottom flanges back together once the location of the connectors are in place. I then fabricated supports of the avionics trays and shelf that houses some components to the sub panel for overall support. I used a small angle riveted to the sub panel and connected another angle to it with a couple of rivets. The aft side where it connects to the avionics trays has a screw with a Nutplates for easy removal if ever needed in the future.

I also took some time to fabricate some hinged access doors to get to the AC connections under the rear seats in the first bay. These will secure down using the 2 existing screw locations on the rib. These connections are for the AC condenser.


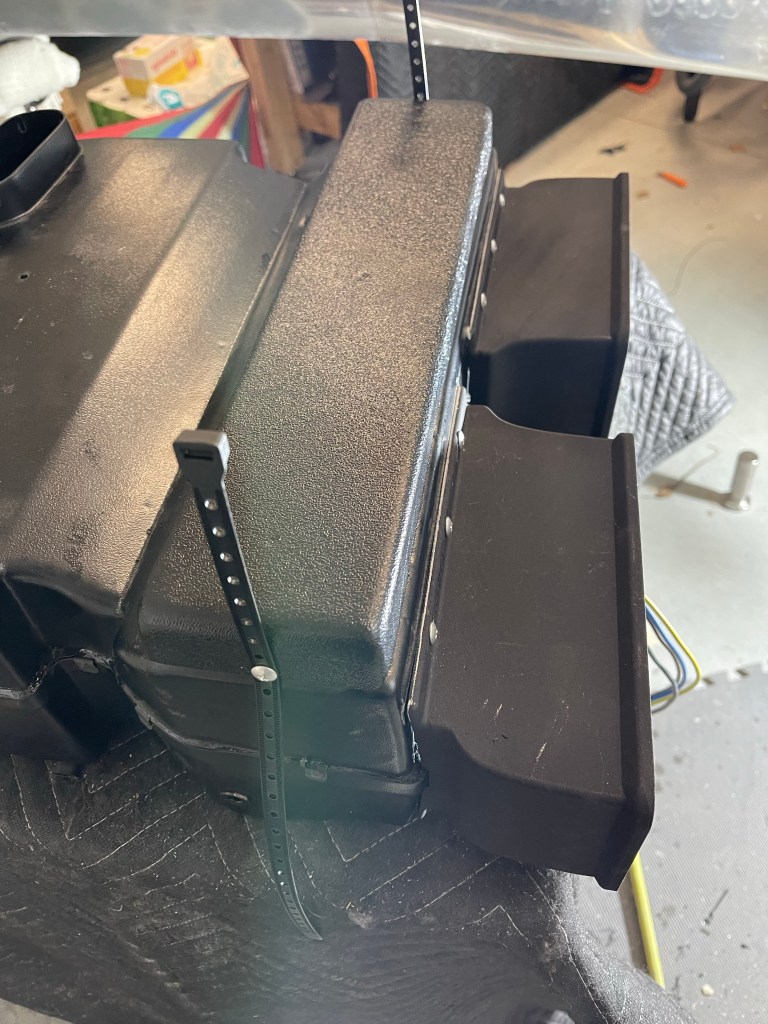
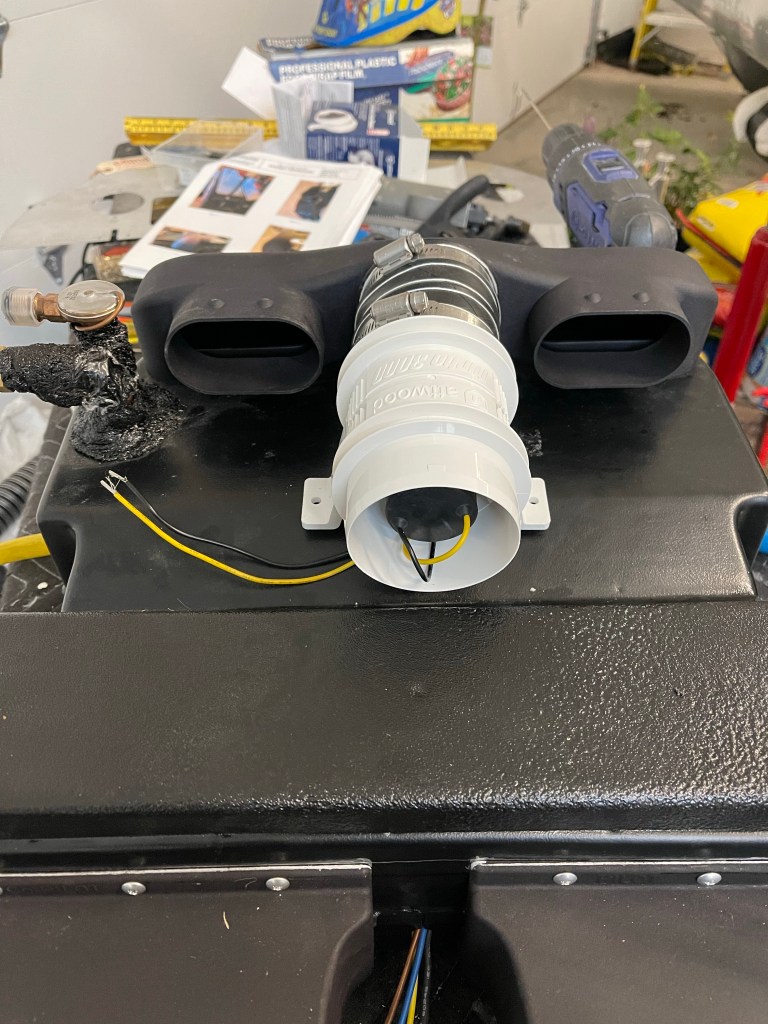
Additional work was started on the AC evaporator unit. First up was to mount the return air ducts.


I’m adding a 3″ blower fan to boost airflow into the overhead.
I then placed the flat upper panel from Airflow into position and started rough fitting the evaporator in place on the shelf.


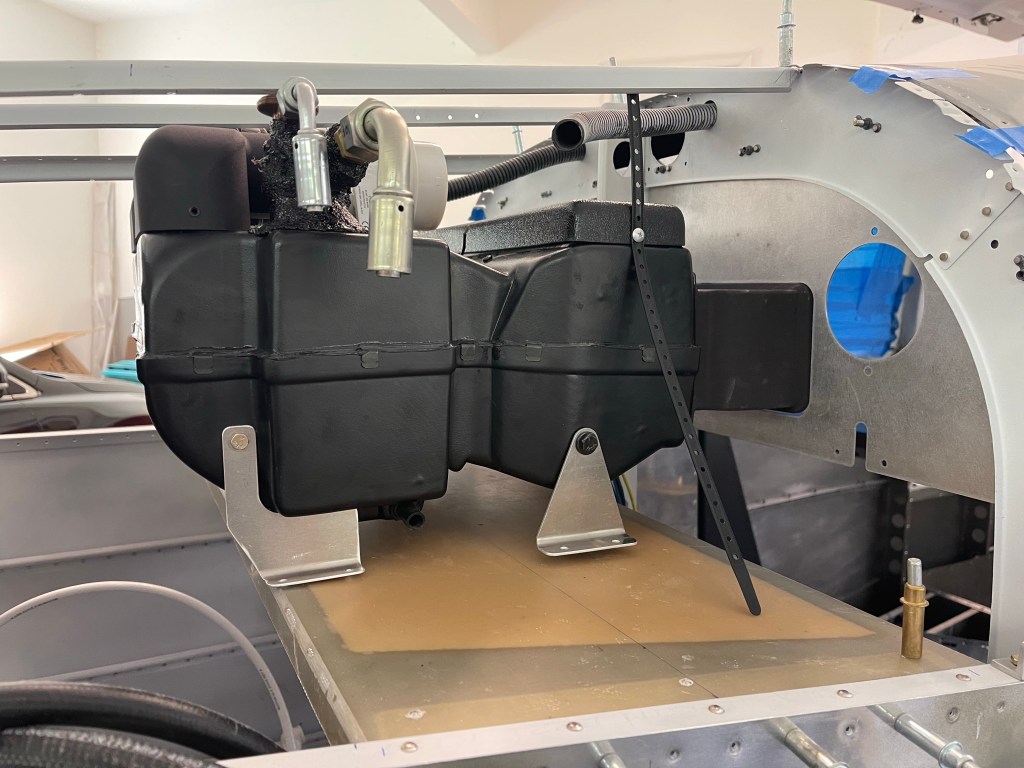
You can see that I will need spacers on the front mounts. I’ve seen several others have to do the same thing. Also I ran into a clearance issue with the J stiffener on the top as shown below. Bill from Airflow said he’s had others run into the same thing due to variation in the units from his suppliers. He’s sending me shorter return ducts to move the unit 2″ forward to solve the clearance issue.


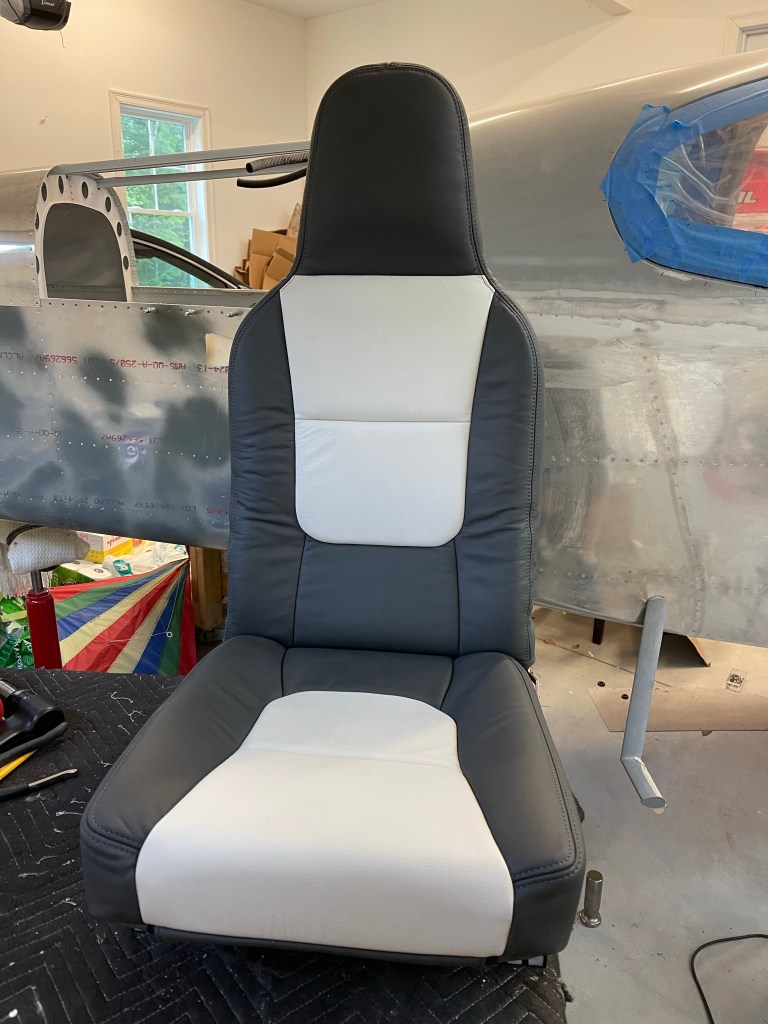
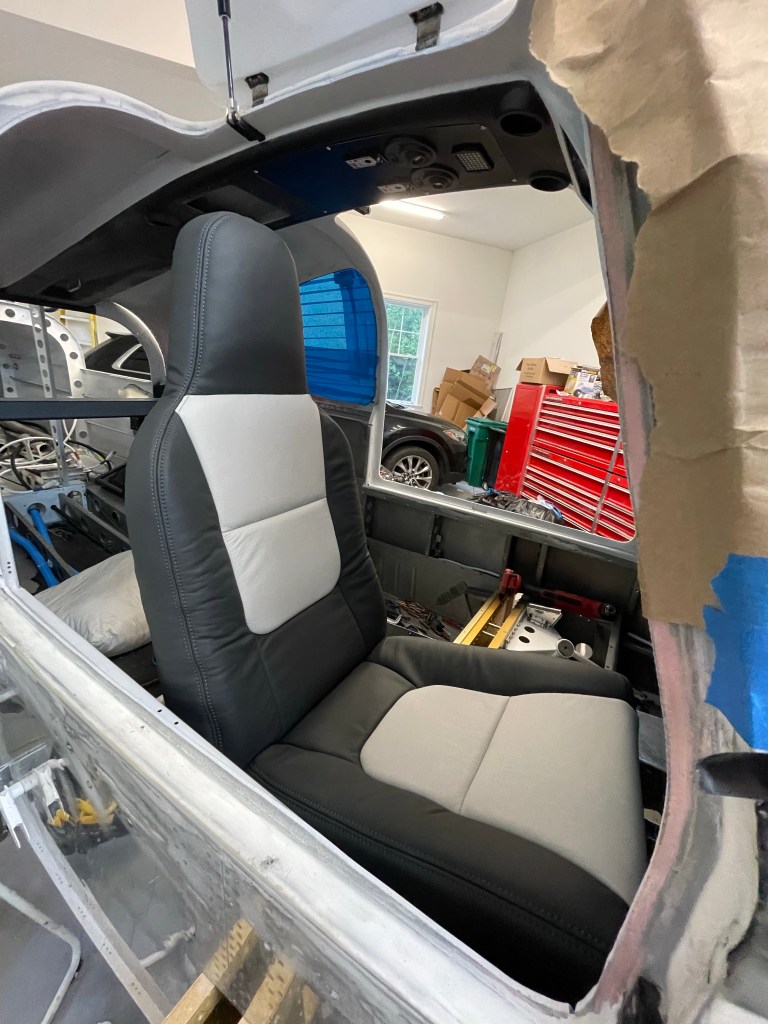
Just before Oshkosh, my seats from Aerosport Products arrived. They came out great! I had to place one into the plane in rough position to see what they look like.
While waiting for AC parts to arrive and needing to finish up some things in the rear of the plane prior to putting the evaporator in place more permanently, I decided I needed to finish some remaining tasks out in the tailcone.
I installed my ELT unit and wired things up to the panel.

I also worked on plumbing my static line from rear to front. This thing needs to go multiple places, so I’ll likely be using a manifold style connector behind the panel vs a long daisy chain.

Pitch and Yaw servo installation was next. I used a laser level to help drill the hole needed for the pitch trim arm to connect to.

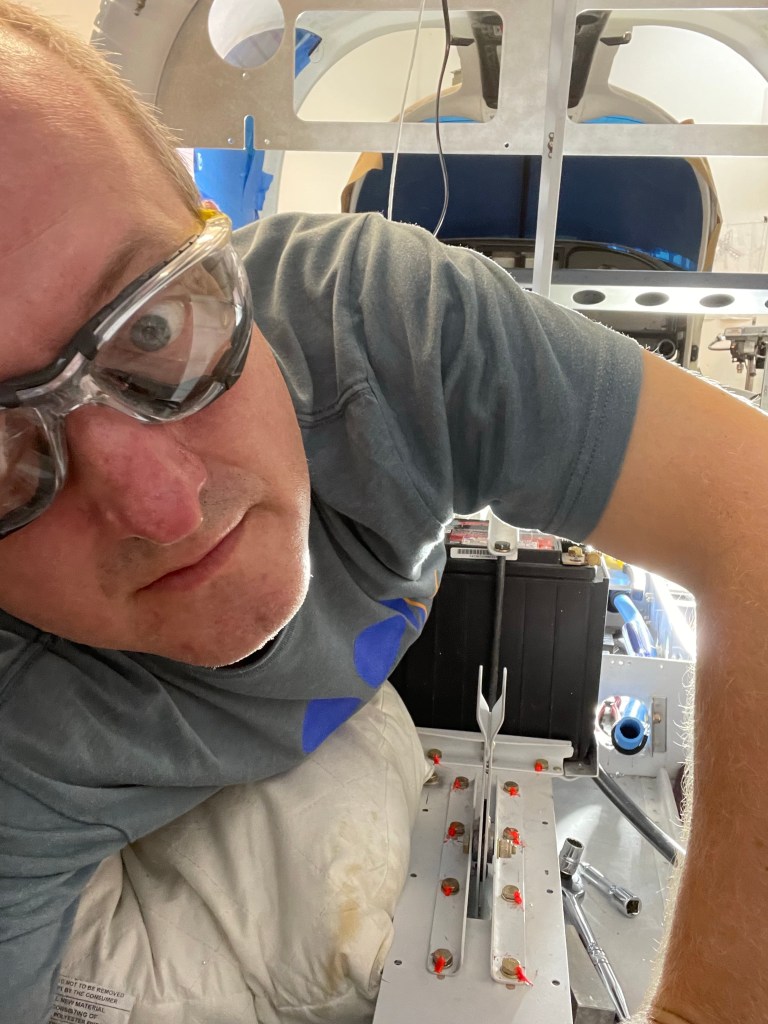
Crawling into a small and uncomfortable space is always painful. Here I am in the back sort of on my side to drill out 4 rivets so I can attach the yaw bracket to the airframe.. Wish I had waited to buck these 4 rivets, but got them drilled out.