
With the Skybolts and horizontal split line with hinges complete.. I moved on to fitting the two fairing pieces that come with the showplanes cowl. I trimmed the aft fairing to have 3/4″ flanges and then marked the center point. Additional trimming was needed to clear the front gear leg to get the aft fairing into position. 3 holes were drilled into the bottom of the fuselage for now to hold this in place. Later I will install rivets for screws to hold this into position.
Once you’re happy with this you place the lower cowl back on and drill a couple of holes on each side to lock in the position of the aft fairing to the cowling.


Then with the aft fairing and lower cowling back on the bench. The forward faring was placed into position and trimmed as needed to get a good fit with the forward fairing. Once satisfied, 3 holes were drilled on each side to hold the forward and aft fairing together.
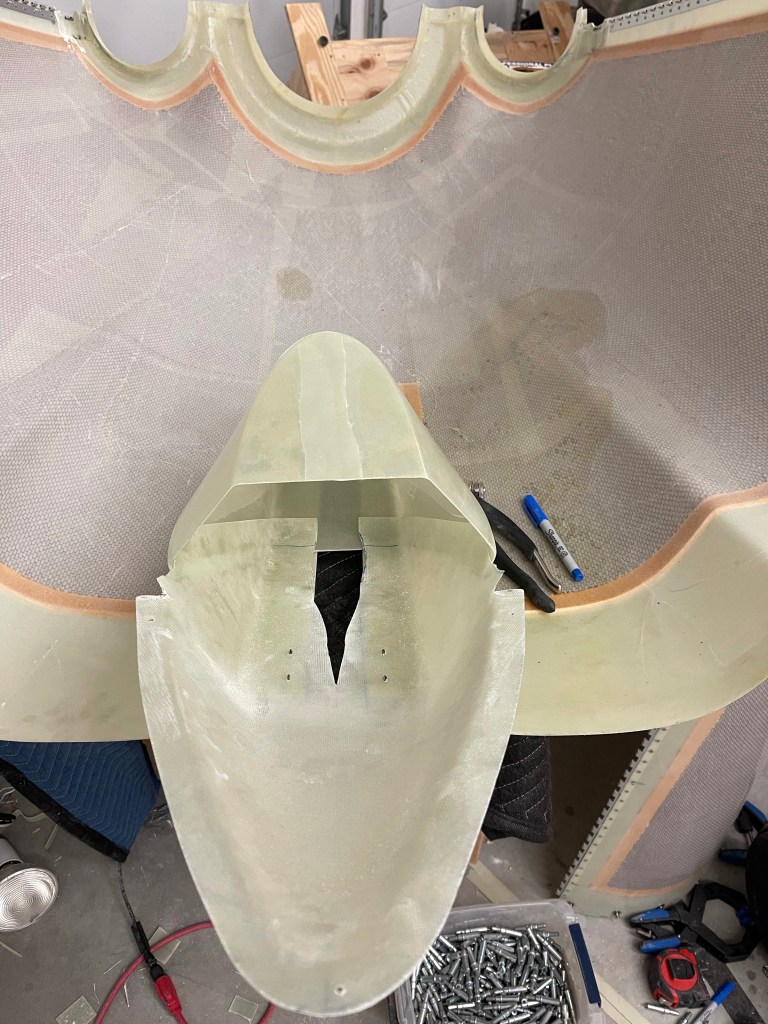
The aft fairing was put back into place on the fuse, and the forward fairing was trimmed to clear the engine mount tubes until the drill holes on each side lined up.


Once that was done, the lower cowl was put back into place to verify and adjust fit. The forward fairing needs to lay flat across the area of the cowling that has no honeycombed and be as centered as possible.
I then had to add some fiberglass back to the slot that I had cut to get the lower cowl into position. I was careful to not cut too much when I did this originally, but I still cut a little too much. I sanded the edges at an angle to create a scarf joint with a fiberglass layup over the small area that needed to be added back. I put some peel ply on and let it cure overnight.

The end result was pretty good.. There was a small gap in the rounded edge, which I later filled in with epoxy and let cure and sanded down.
I then sanded the inside of the cowl at the scarf joint that I added. You can see that below just about done.
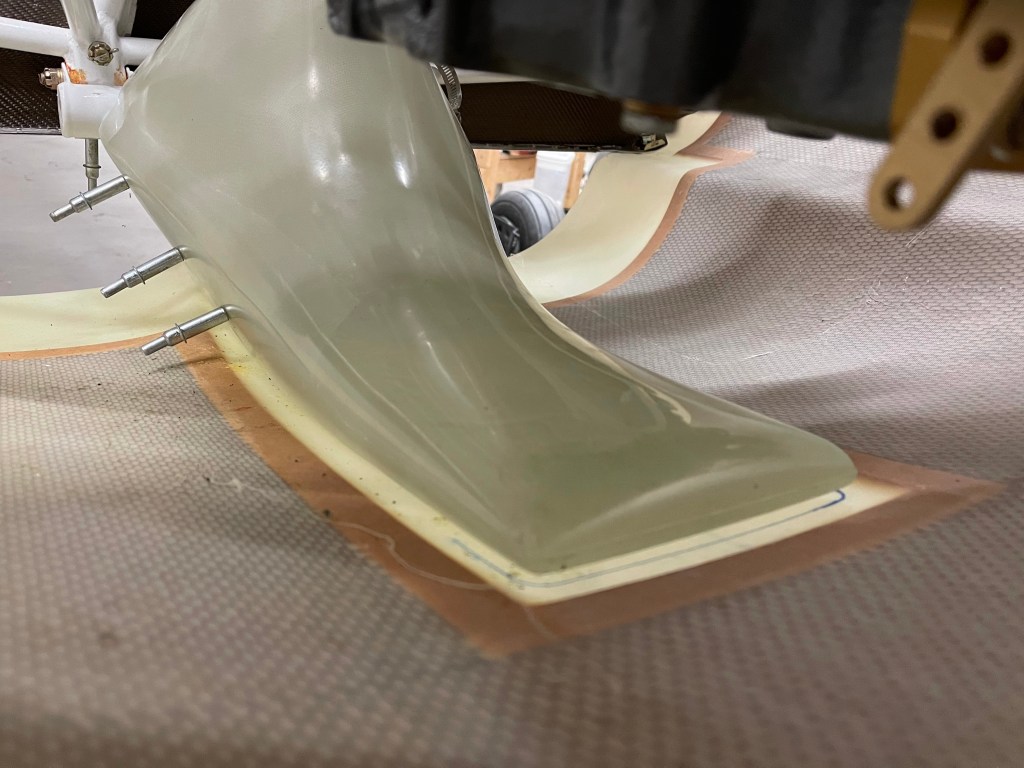
I then put the lower cowl onto some cinder blocks so I could level it as needed. I used the laser level to make sure the intakes were level horizontally, which the vertical was aligned to the center line of the lower cowl.
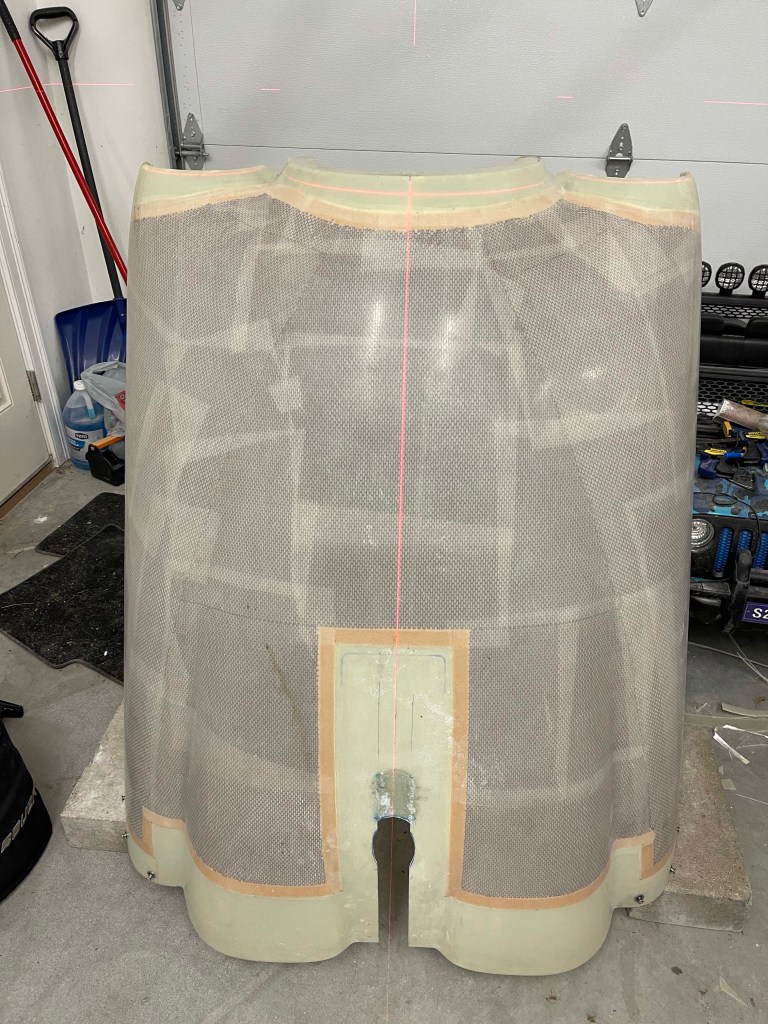
The center line was marked with a sharpie as well as some blue painters tape. I also marked out the locations of 8 holes to drill into the forward fairing that will hold the cowl to that fairing with screws. I also mapped out 8 additional holes that mostly go through the aft fairing into the cowling.

The lower cowling was placed back on and the hole locations were match drilled to the forward fairing

Then the big moment came.. Using a diamond cutting wheel on a dremel tool to cut the lower cowling in half!
For whatever reason, despite having a plan… it seemed scary to me to cut this perfectly good cowling like this…
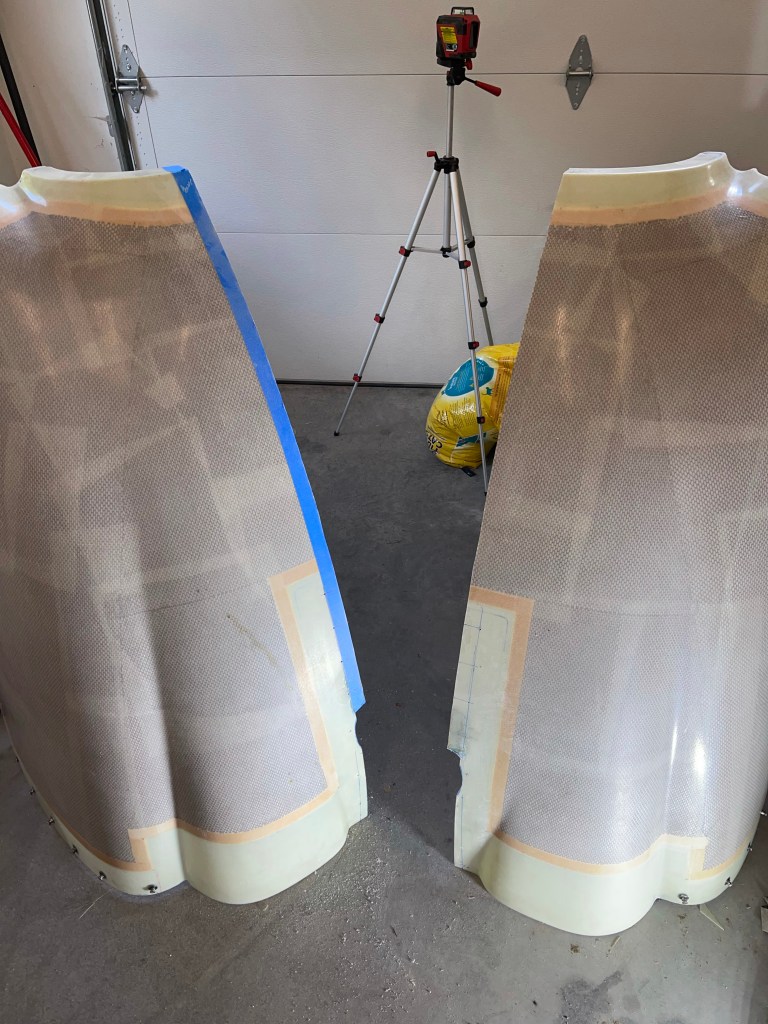
The cut will later be rejoined with another hinge pin like the horizontal sides. Skybolts could also be used here, but I opted for a hinge for a better look.
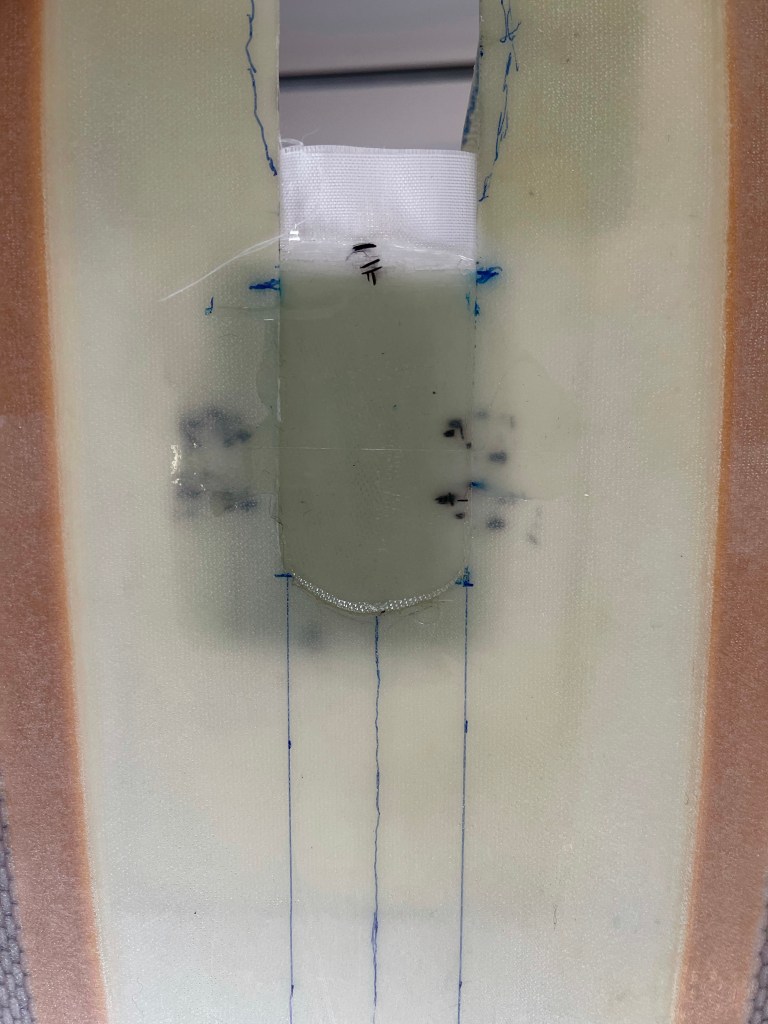
To prep for that hinge.. I marked out a 1.5″ wide rectangular area at the split point. I again used the diamond wheel on the dremel tool to just cut through the inner layer of fiberglass as shown below.
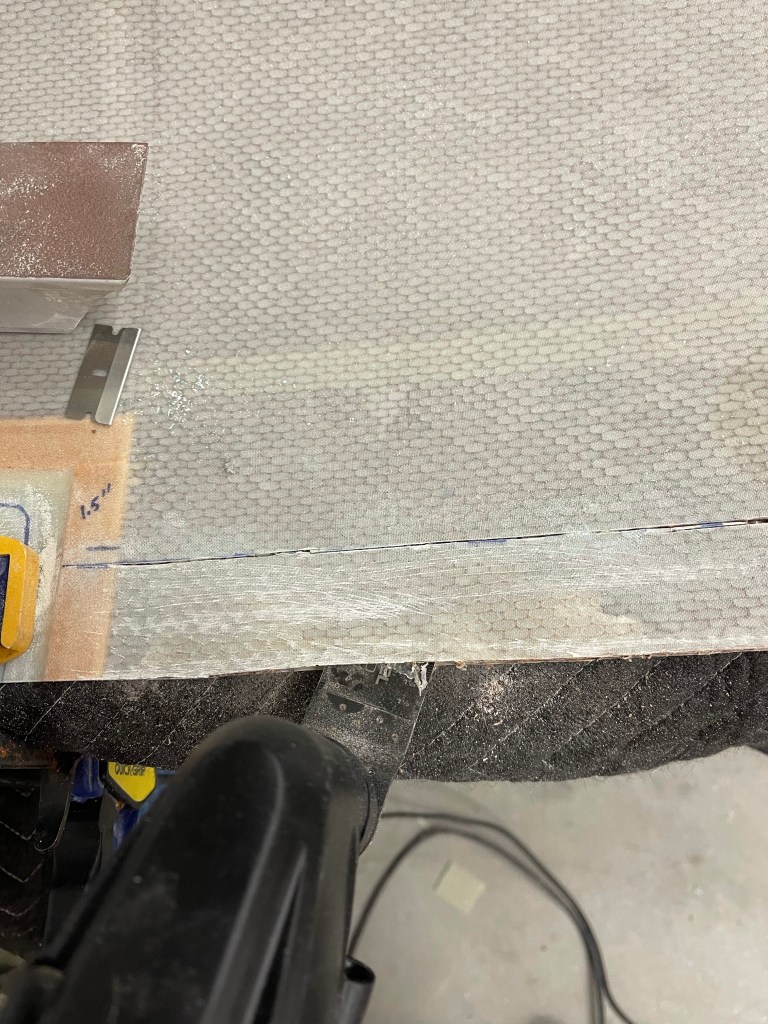
I then used a flat blade on a Dremel multi max oscillating tool to separate the honeycomb material from the inner layer of fiberglass. Below you can see me mostly done separating the fiberglass layer from the honeycomb.
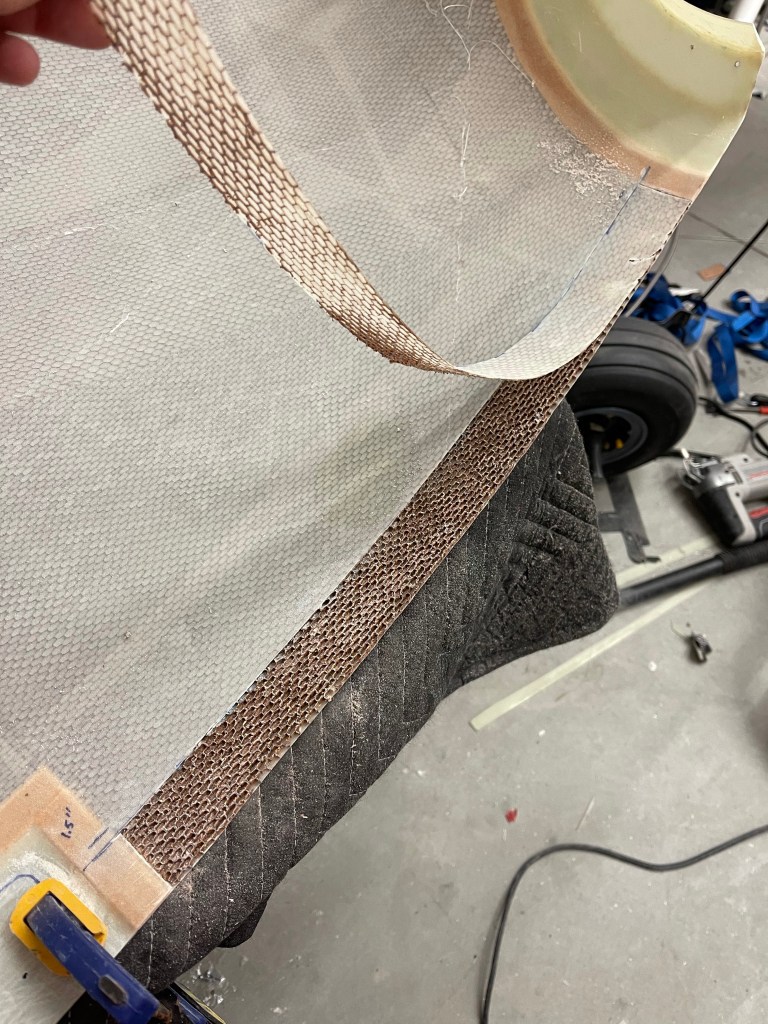
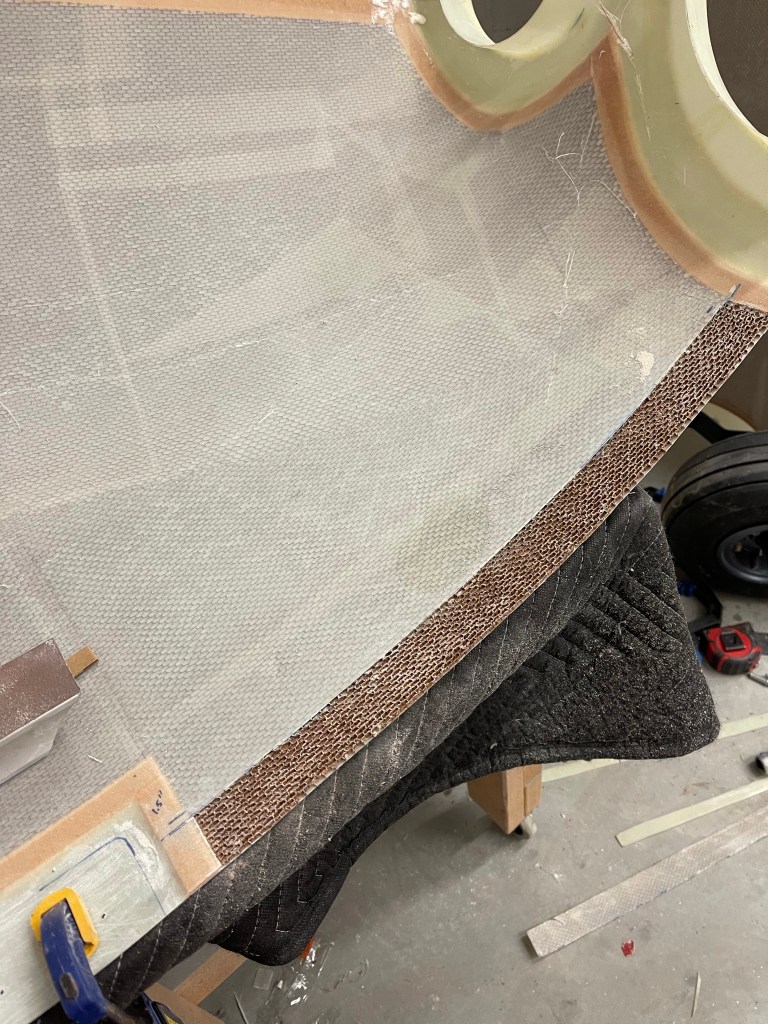
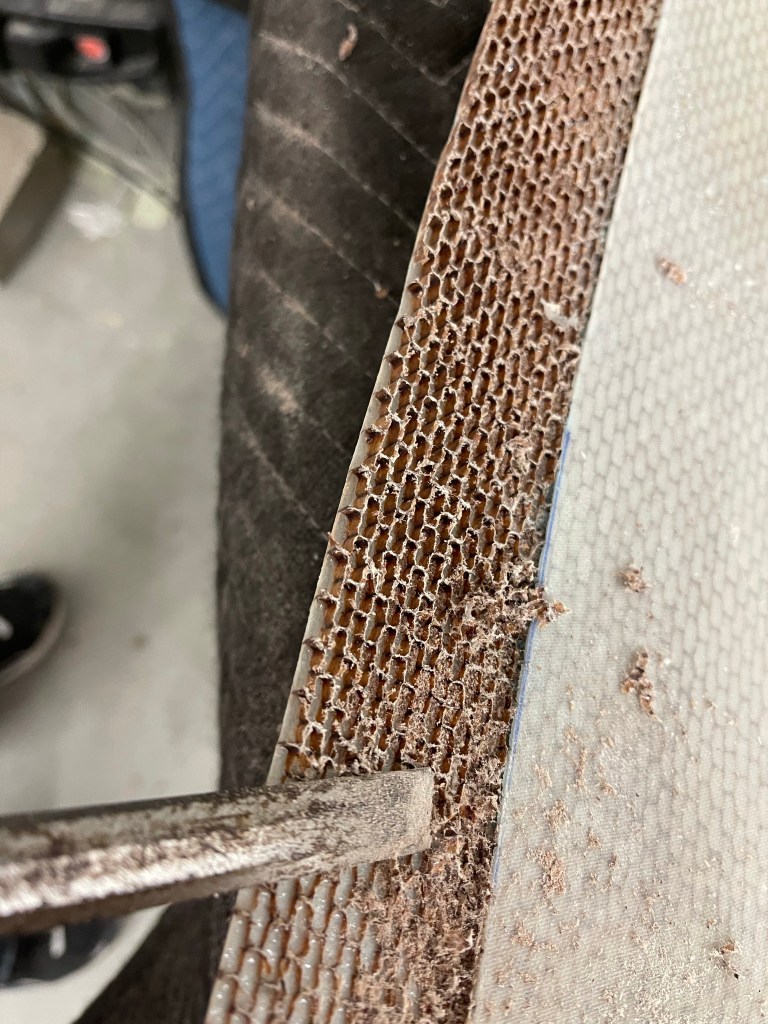
I then used a chisel to carefully remove the honeycomb material. You have to use caution as the remaining fiberglass outer layer is very thin.

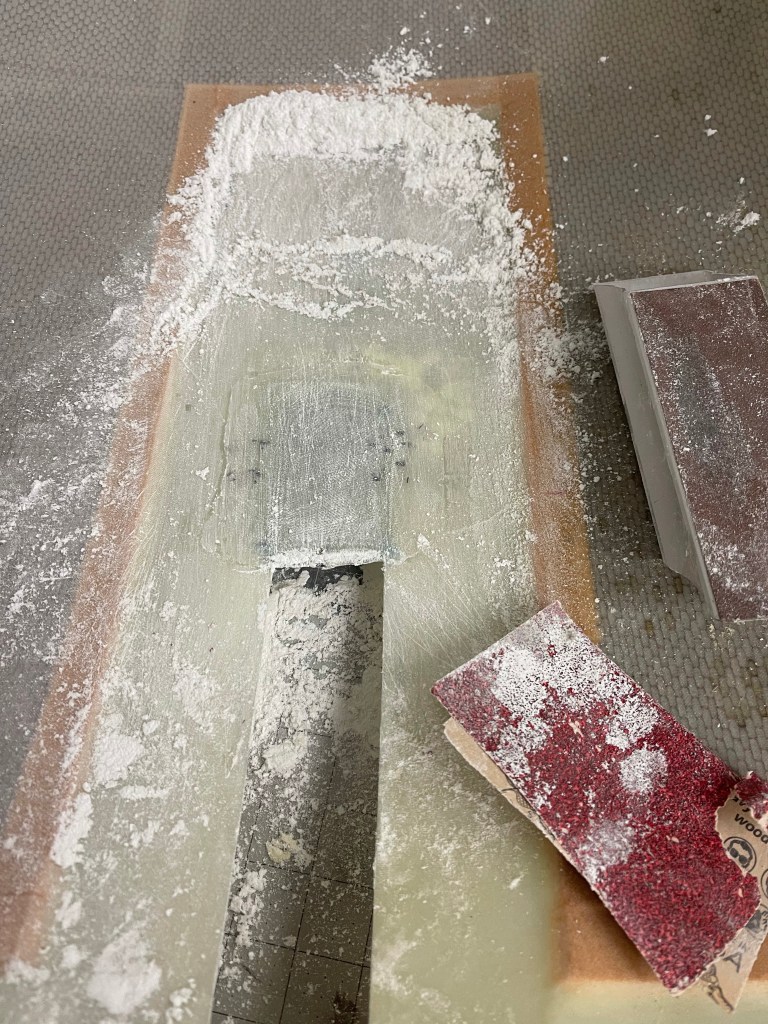
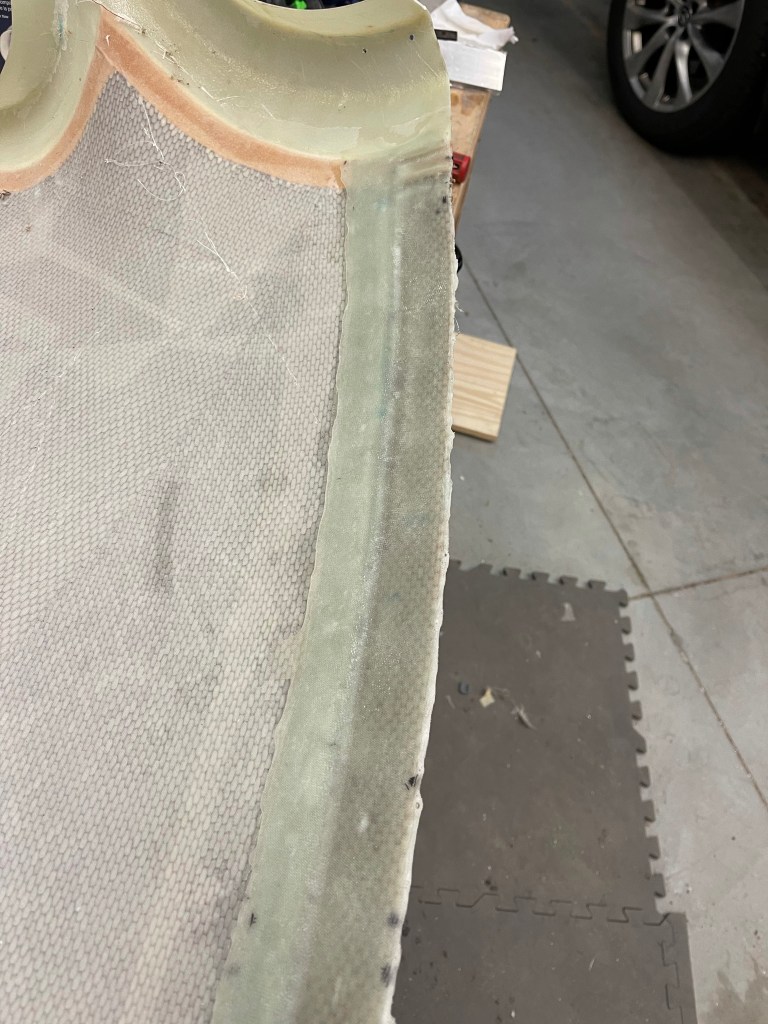
I then cut some strips of 9 oz. fiberglass to build up a flange where the structural material was just removed. I decided to use 6 layers of cloth for this. The end result was a thickness consistent with the other areas of the cowl that don’t have honeycomb.


Then after curing overnight you can see the results of the flange.
Next up will be re-combining what was just cut in half…
