
The Showplanes cowl is one of the last major fiberglass pieces to be worked on. The instructions basically tell you to follow Van’s instructions with a couple of exceptions. So I got to putting the upper and lower halves together and marking the upper cowling for trimming to meet the ratios needed to make a perfect circle for the spinner/prop as well as the air inlets on either side. Here you can see the mark made using a straightedge.

Staightedge used to mark uniformly across the top cowl.

Double checking that the radius is 7.5″ (15″ diameter)

Getting close now with some trimming
Using the prop tool to double check the prop area circle.

You then clamp things in place and drill holes in the flanges to hold this position.

I chose to just do a single cleco on either side of the inlets as well as one in the flange between the inlets and the prop area.

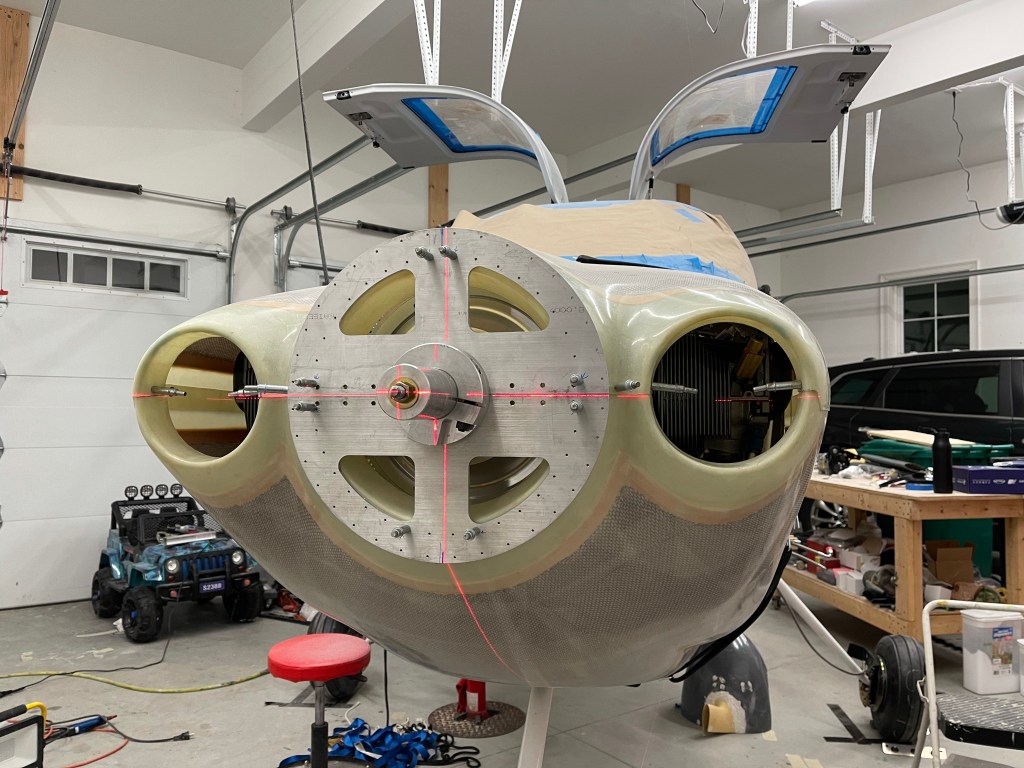
I then used a laser level to mark the center of the bottom cowling to create a cutout for the nose wheel gear leg.
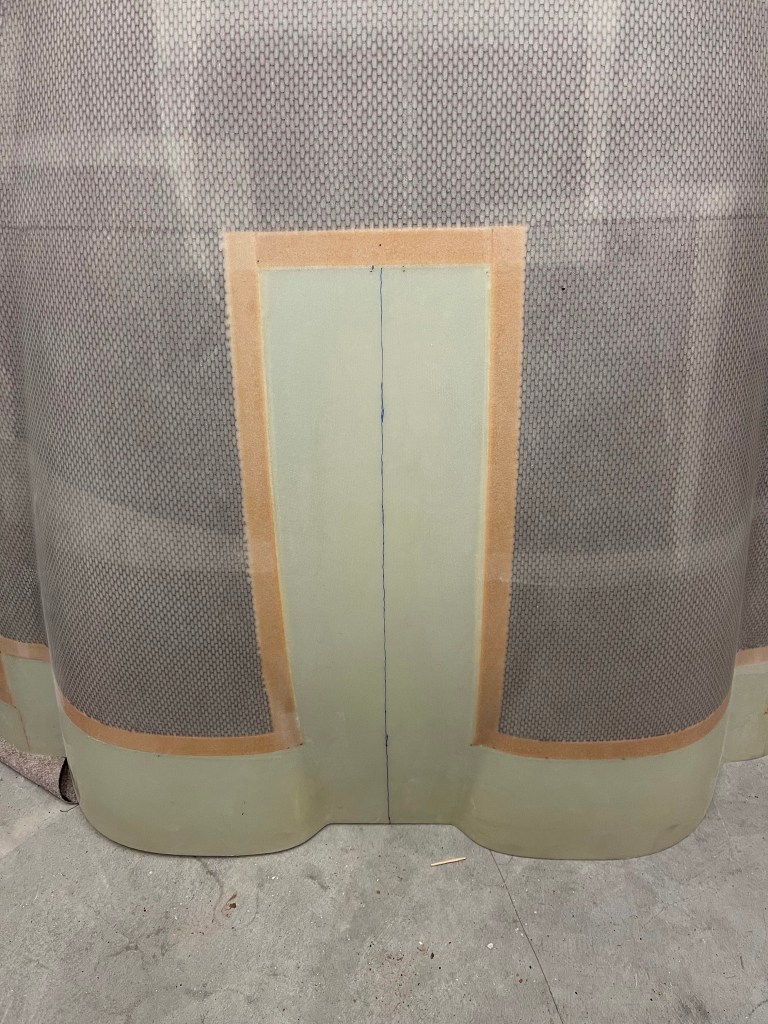
Marking either side of the centerline based on Van’s dimensions for width.
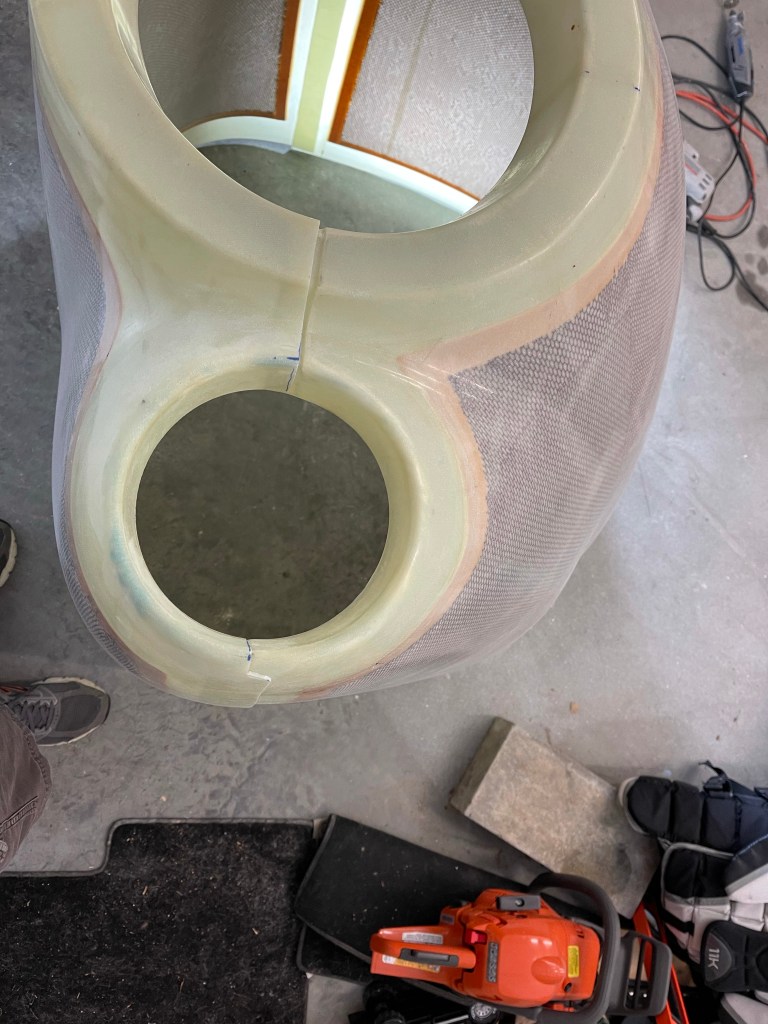
I then used a dremel tool to cut the slot. I estimated the length to cut and then slowly increased 1″ deeper at a time until I was at the bare minimum to get the lower cowling into position. Below is the initial length cut.. I cut a few more inches deeper. My plan is to split this lower cowl into 2 halves to accommodate the 3 bladed prop and I’d like to keep as much original material in this area as possible.

I put the top cowling into position and used a laser level to get it level (after leveling the aircraft) The cowl tool has 3/32″ holes all along the surface to facilitate holding the cowling into place in a fixed location so it doesn’t move during trimming.
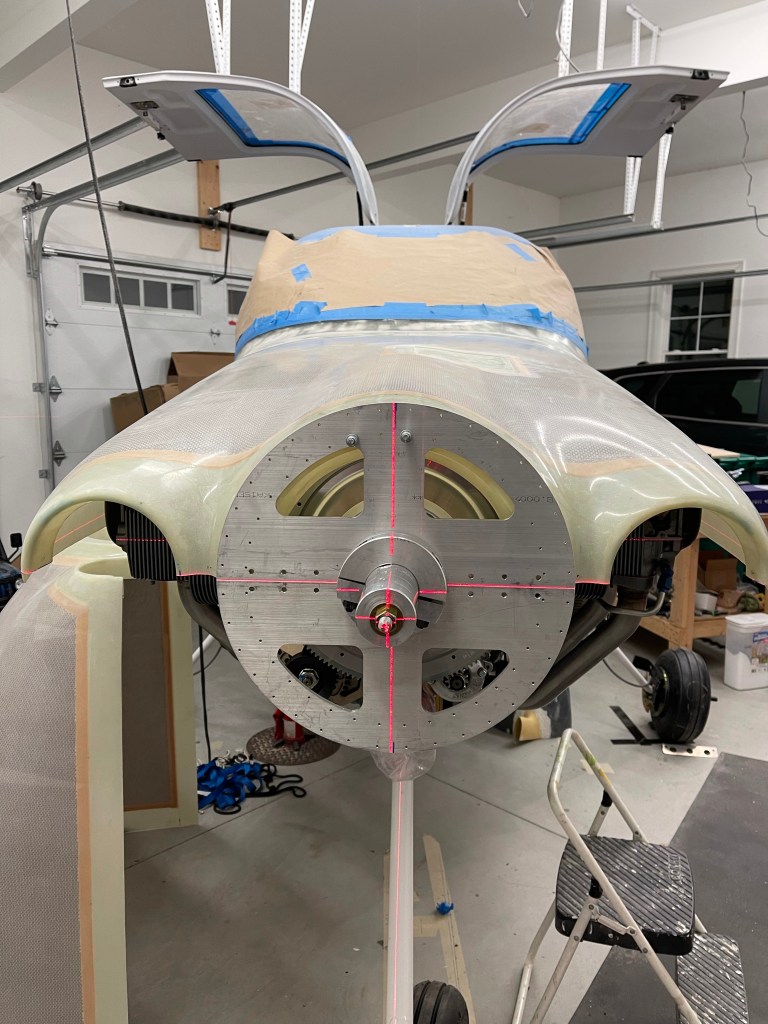
Lining up the center line both fore and aft.

With this “extended” hub prop, the cowling sits far enough forward that there is minimal trimming required at the firewall.

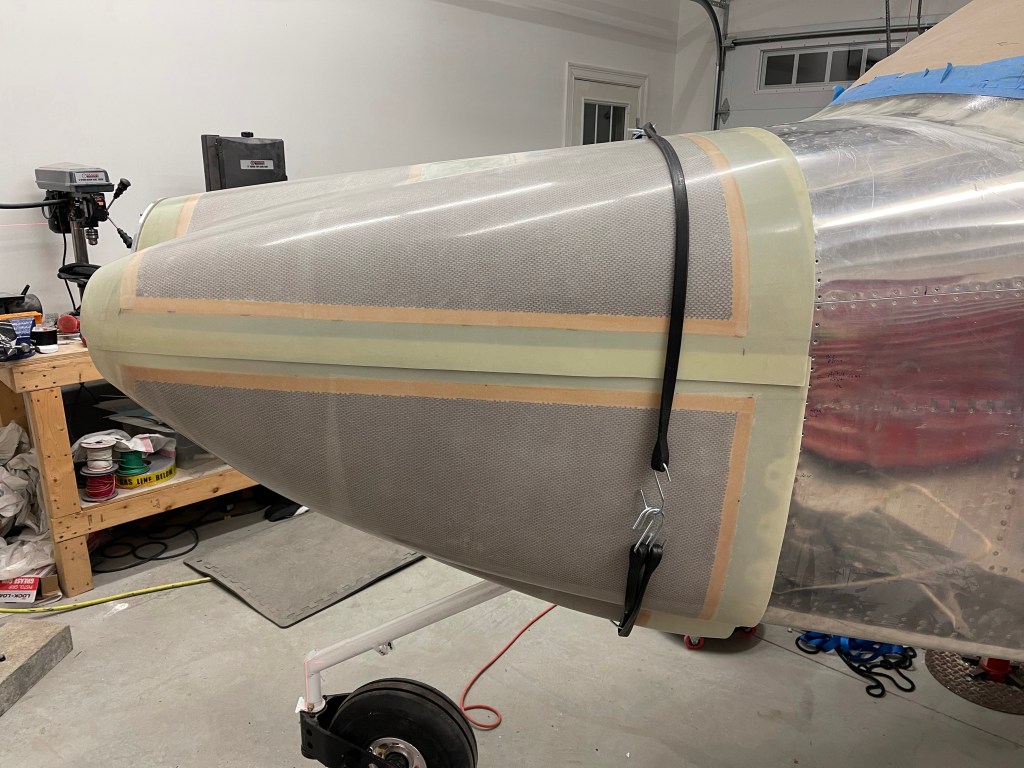
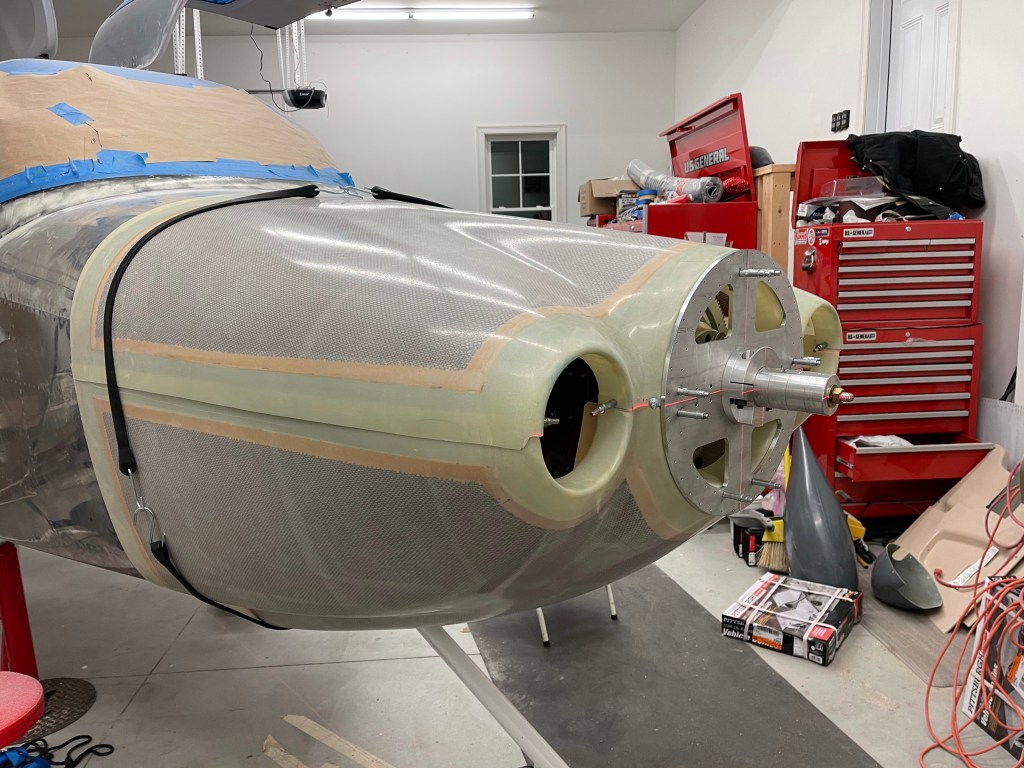
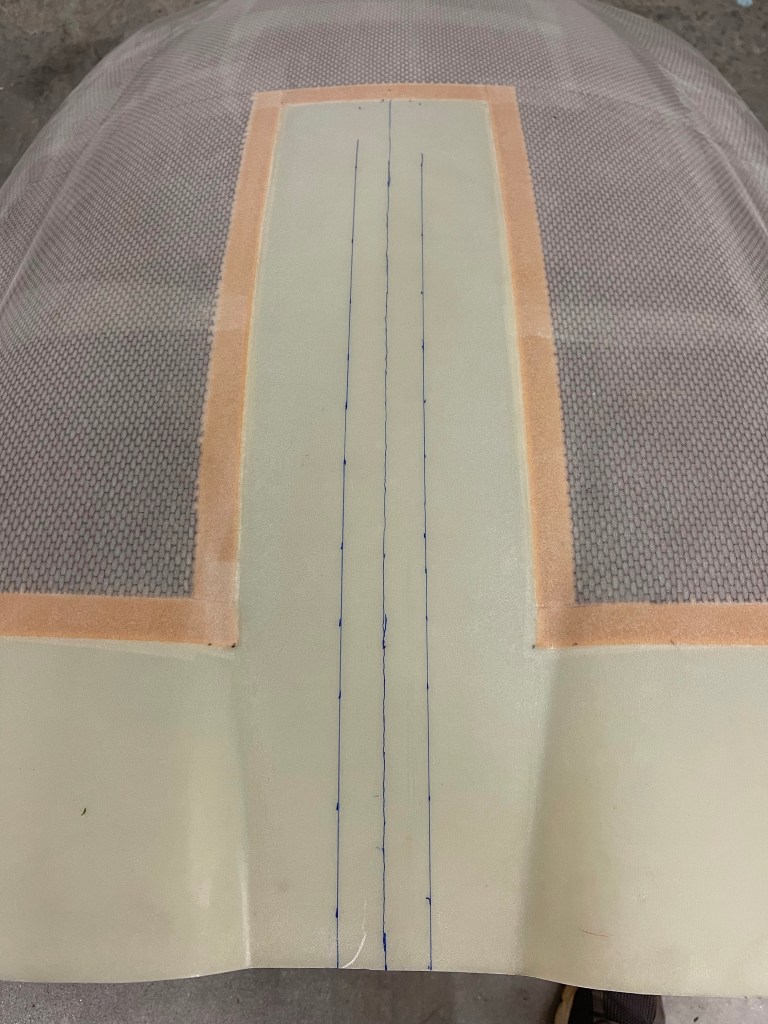
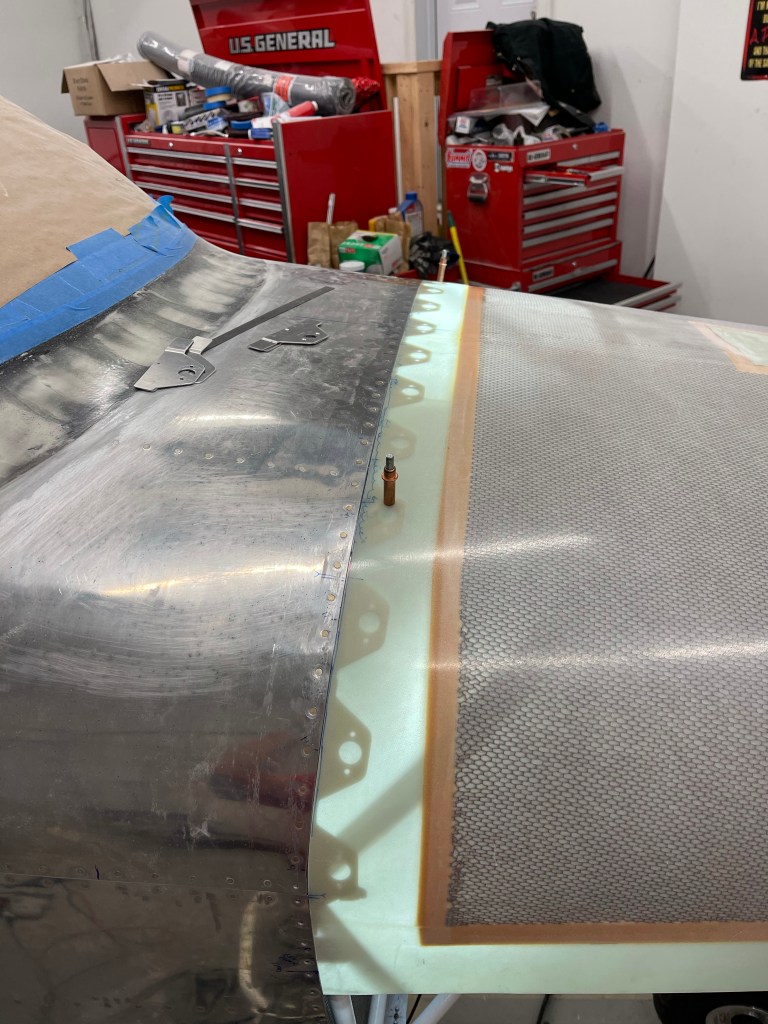
Then starts the task of trimming to the firewall. I used a light on the inside to mark the location of the skin. You then trim 15″ on either side of the center line along the top only. I used a cut off wheel on the dremel tool and left it 2-3mm short.. The 12″ Permagrit sanding block was used for the remainder.. Once this center section is trimmed, the cowl falls down and aft allowing you to get a more accurate trim line for the sides.


I utilized a couple of clecos in the rivet holes of the skybolts to hold the upper cowling in place so it won’t move. I’ll fill these holes in later.
Then starts the task of installing the skybolts and drilling holes in the cowling. I started with a method that I saw Mark use. Using cardboard to drill a hole, I used a small scrap of fiberglass trimmed from the cowl to mock its thickness, and the cleco adapters that came with the kit to mark where the center of the hole was. The cardboard was taped into place so it can be flipped up, the cowl put into place, and flipped back down to drill an accurate hole.
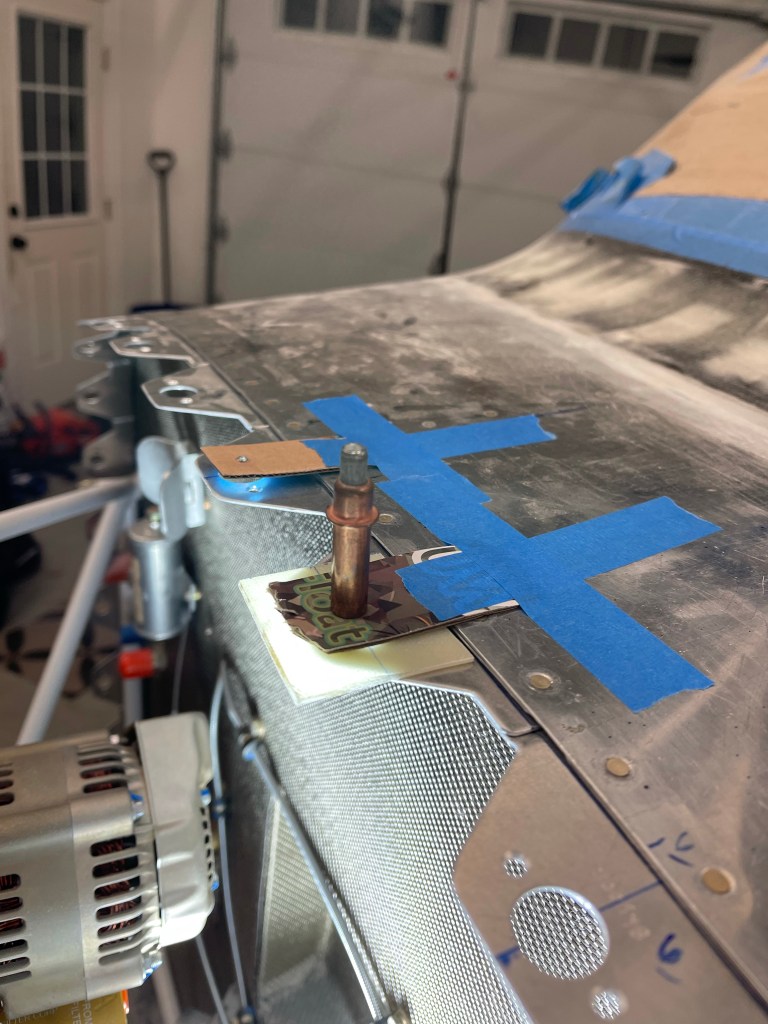
The cowl was then put into place and the hole was drilled.. However, It didn’t really seem to work that well for me. Probably the tolerance of the hole in the cardboard not being perfect.

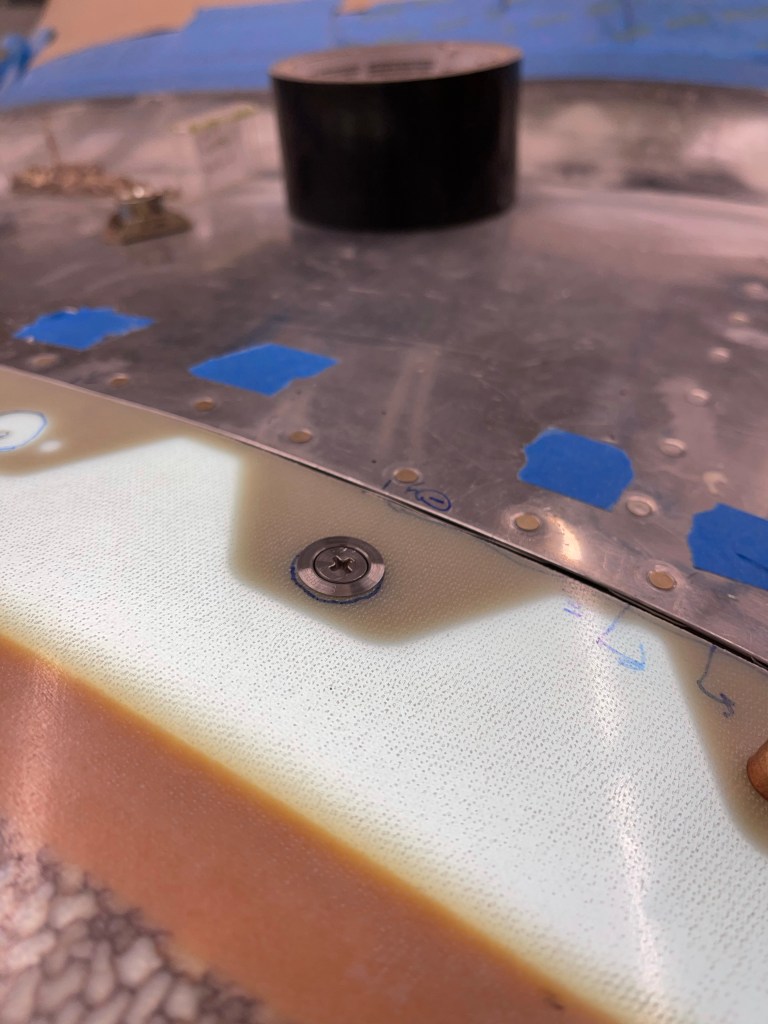
The first Skybolt installed.
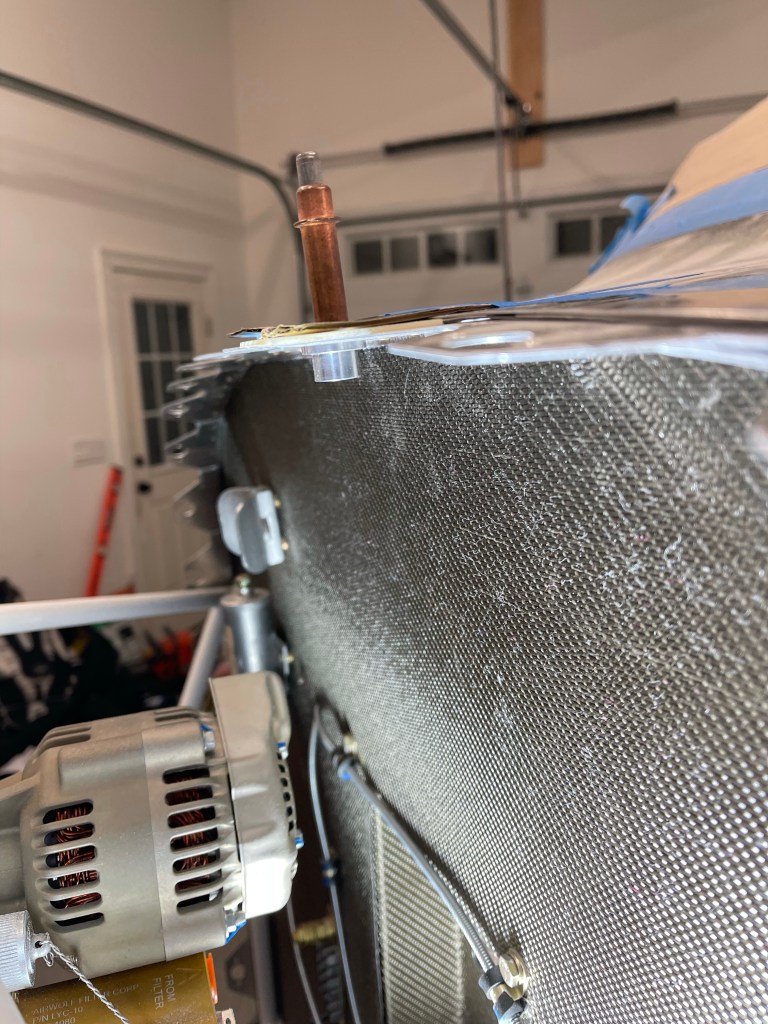
What I found was that the light inside the cowling wasn’t direct enough and caused some incorrect alignments when marking the hole and drilling. So I taped a small light into the bottom of the cleco adapter to shine directly on the cowl while it was in position. This was used to drill the remaining holes which were more accurate.

I then worked one hole at a time from top center downwards towards the sides. Mark and drill the hole to 15/32″, insert the grommet and stud, rivet the receptacle in place, place the cowl back on and test fit the new Skybolt.

More to come..
