Once a consistent gap of approx 1/8″ was achieved all around the perimeter of the doors, I utilized 1/8″ adhesive foam tape to finish off the gap. https://www.amazon.com/gp/product/B06XCK65QM/ref=ppx_yo_dt_b_search_asin_title?ie=UTF8&psc=1
This foam tape was stuck to the edge of the door and a key point was to cover the exposed edges on both sides with packing tape so it releases from the door after the micro dries.


I then slathered up both sides of the tape with micro. I might have gone a little overboard here… Most of this get sanded off in the end.


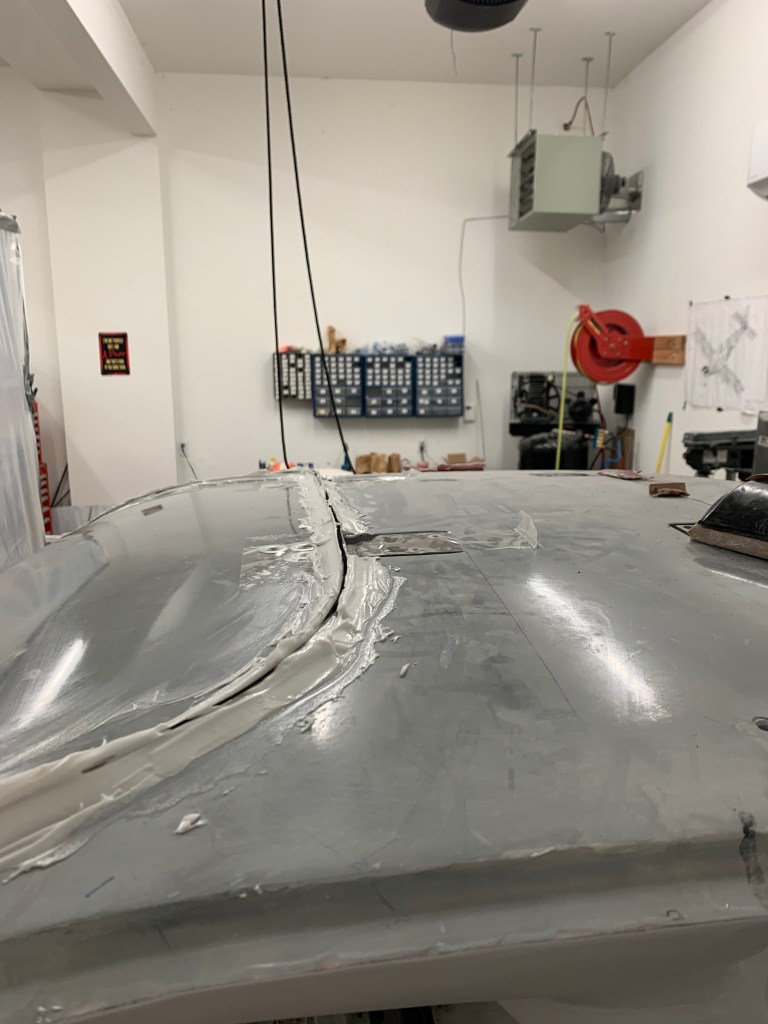

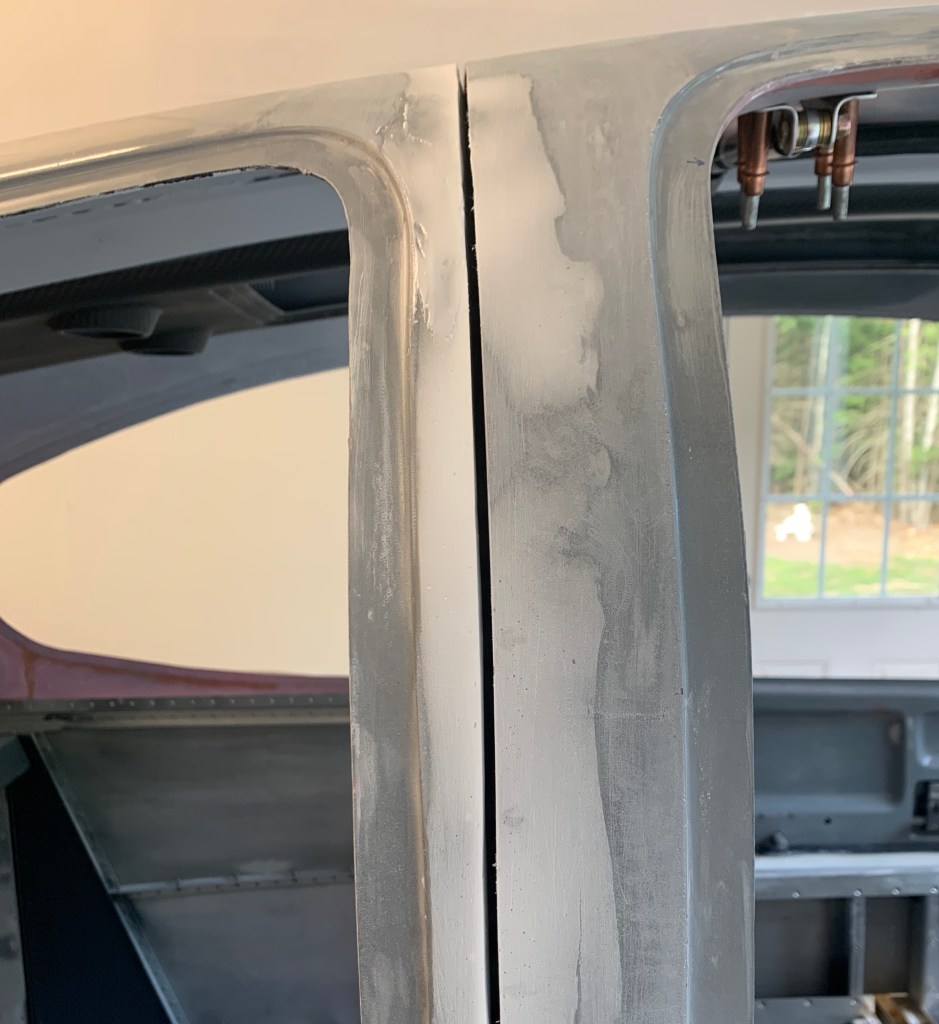
After sanding was completed, it provided a very nice and consistent gap all the way around the door. It also helped fix some spots where the door was ever so slightly above the surface of the cabin top or fuselage. This was mostly in the pillars around the windows/windscreen.

The process was replicated on the left side along with micro’ing over the fiberglass strip covering the small gap between the cabin top and fuselage.


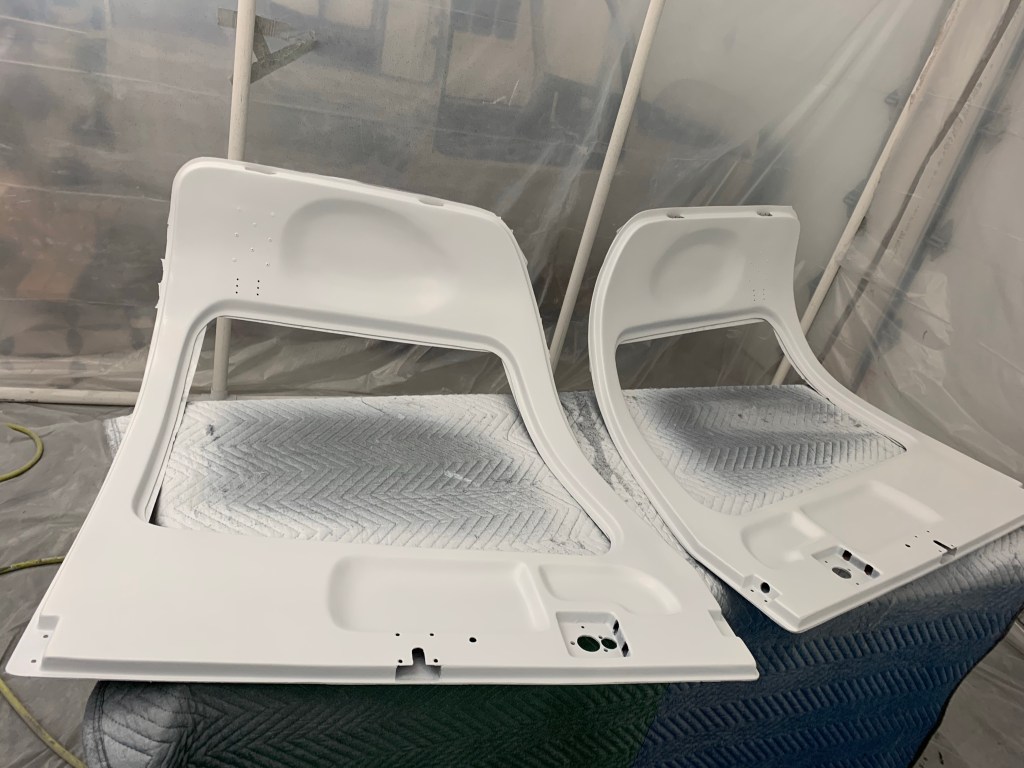
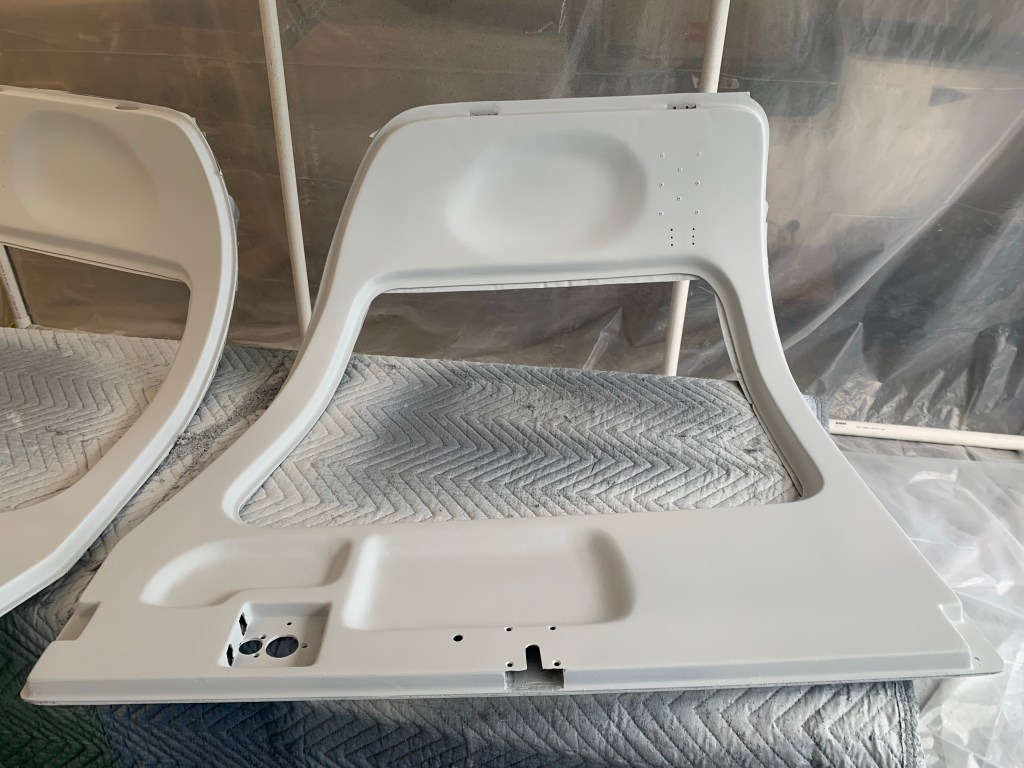
Once all the micro was sanded and I was happy. I moved on to painting the doors. I followed the same process that I did for the overhead. A black PPG DPLF epoxy primer coat followed by PPG K36 high build primer. I did 2 rounds of that after fixing a couple of minor imperfections that really showed through after some paint on it. That was followed by an application of PPG Omni sealer, then 4 coats of the Oxford White base coat. The final step was to use the same Eastwood matte clear coat that I used on the overhead. Hopefully the clear coat will help protect a bit with all the wear and tear these things will endure. Below are some various shots of the doors the latter ones being the completed ones. It’s always hard to take pictures during this process. After the DPLF primer, I’ve basically only got enough time to clean up the gun and get ready for the next coat to be put on while it’s still wet.

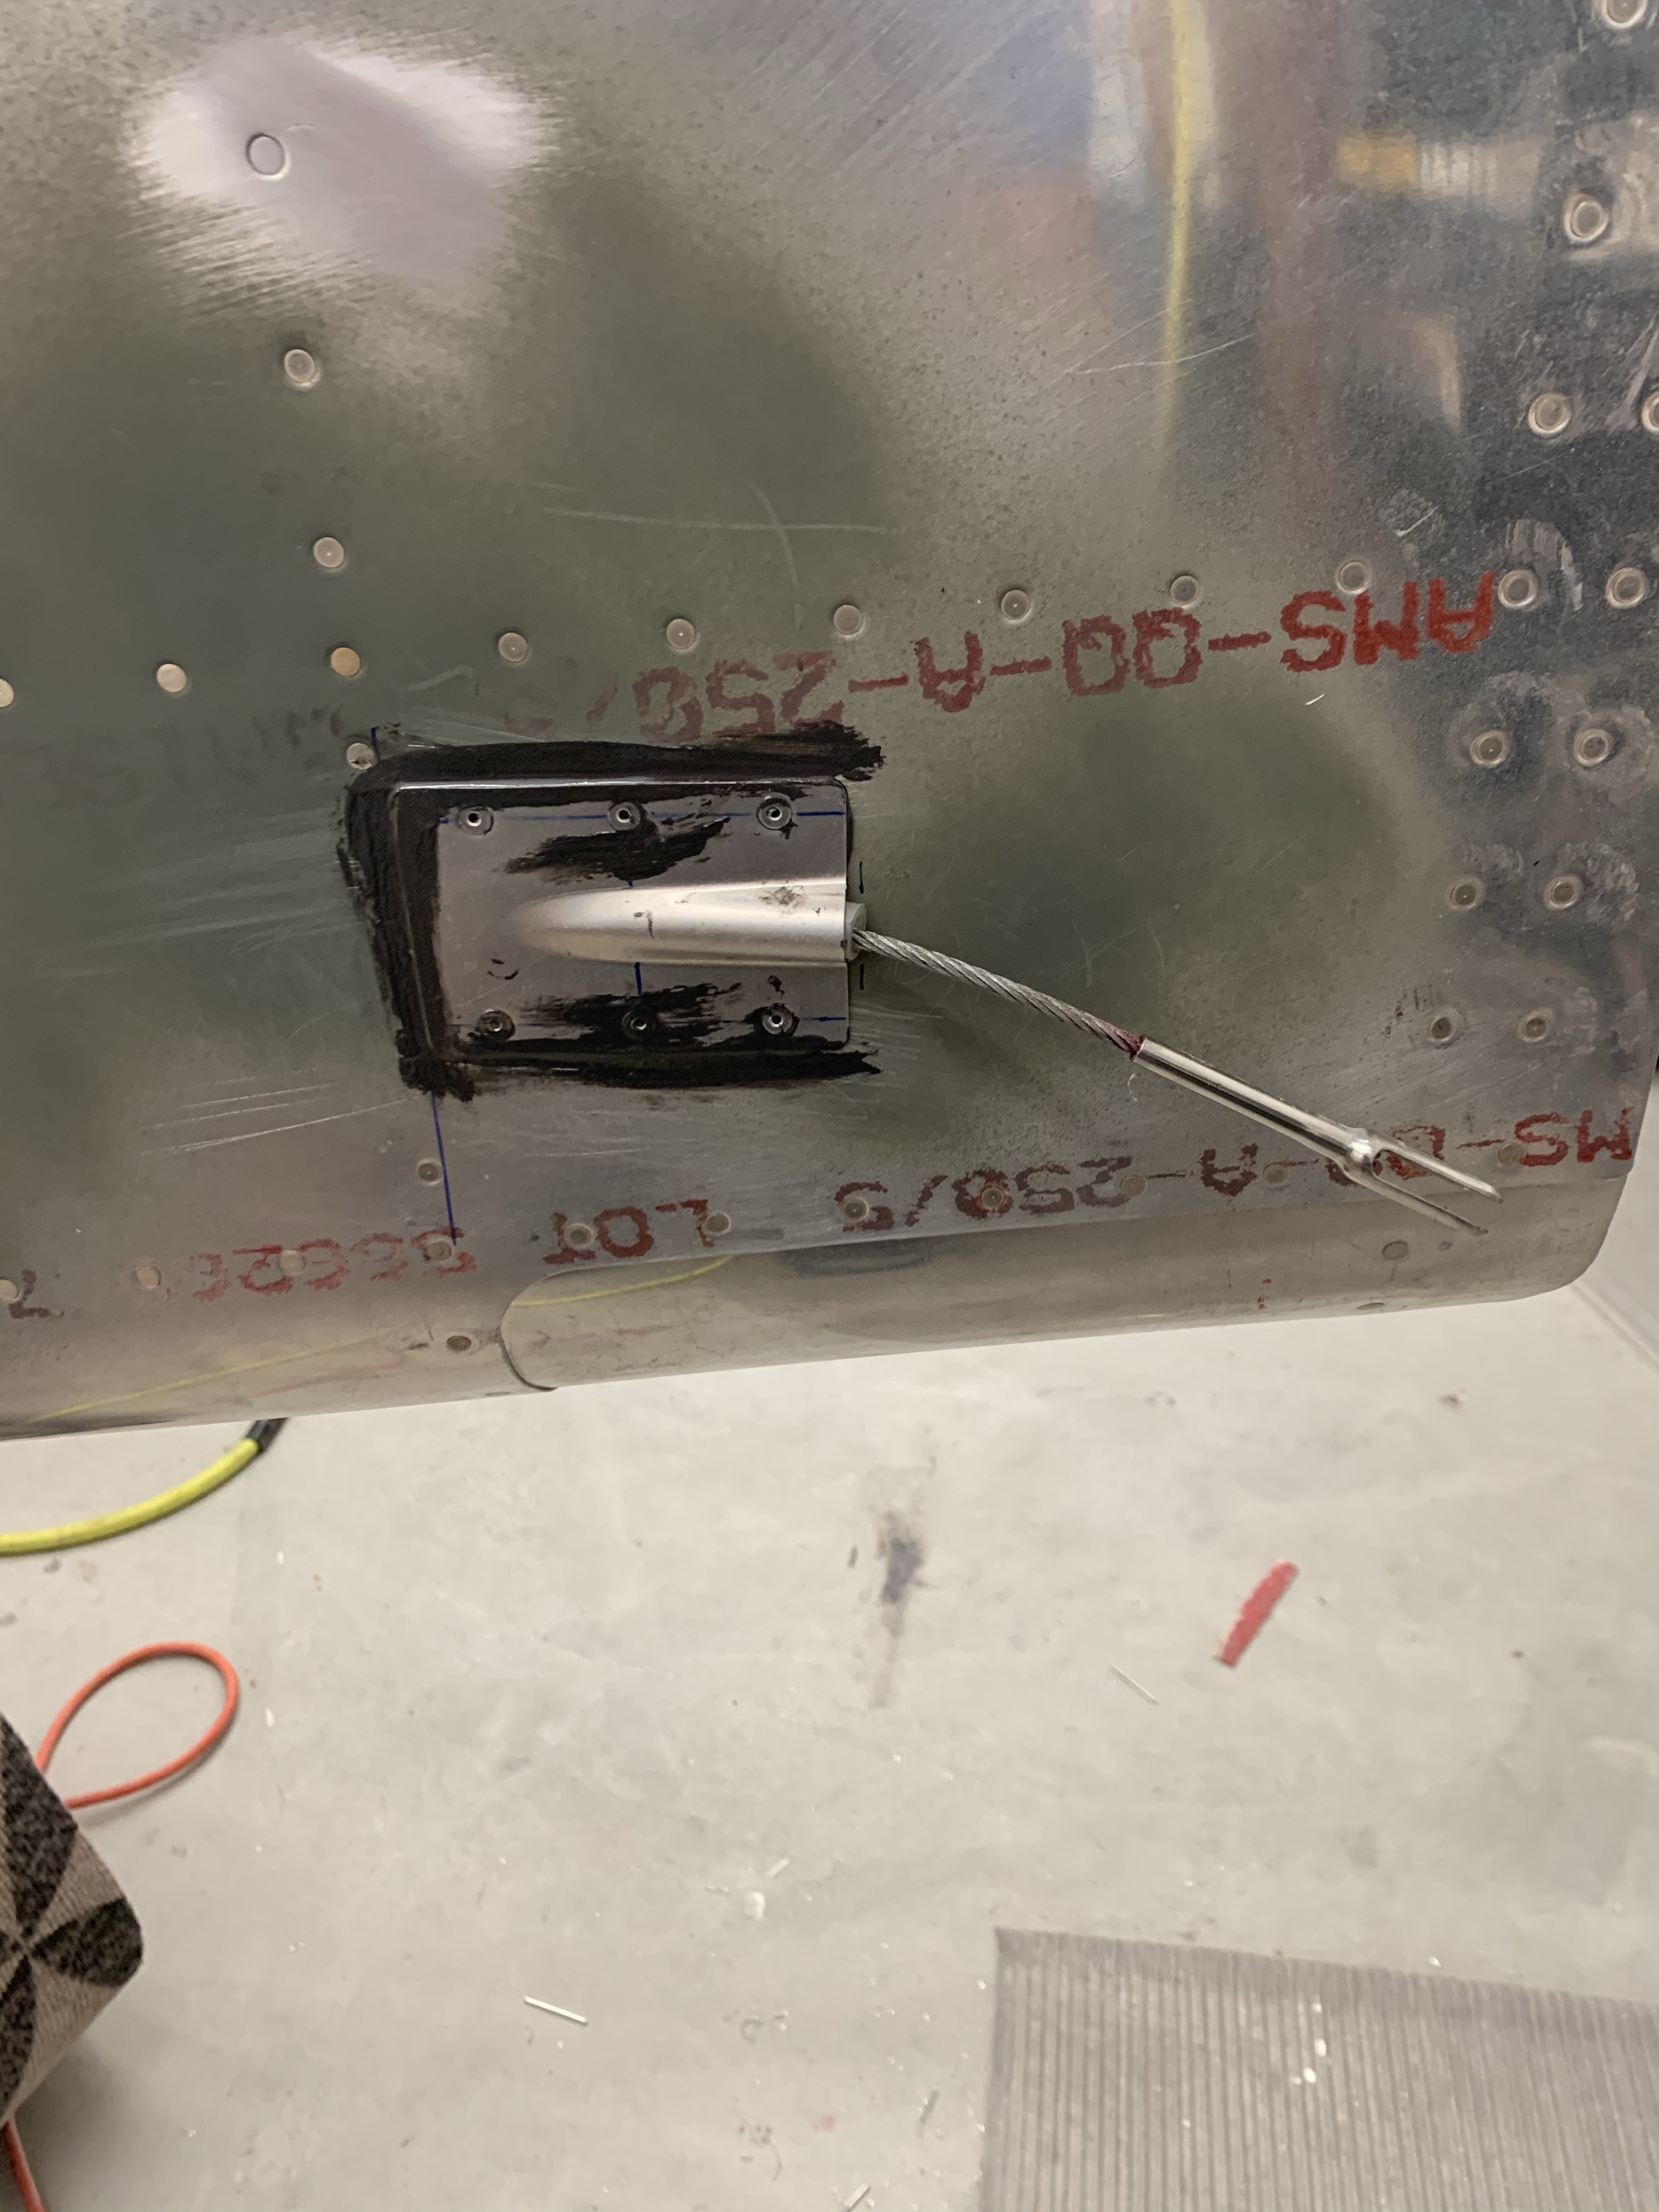
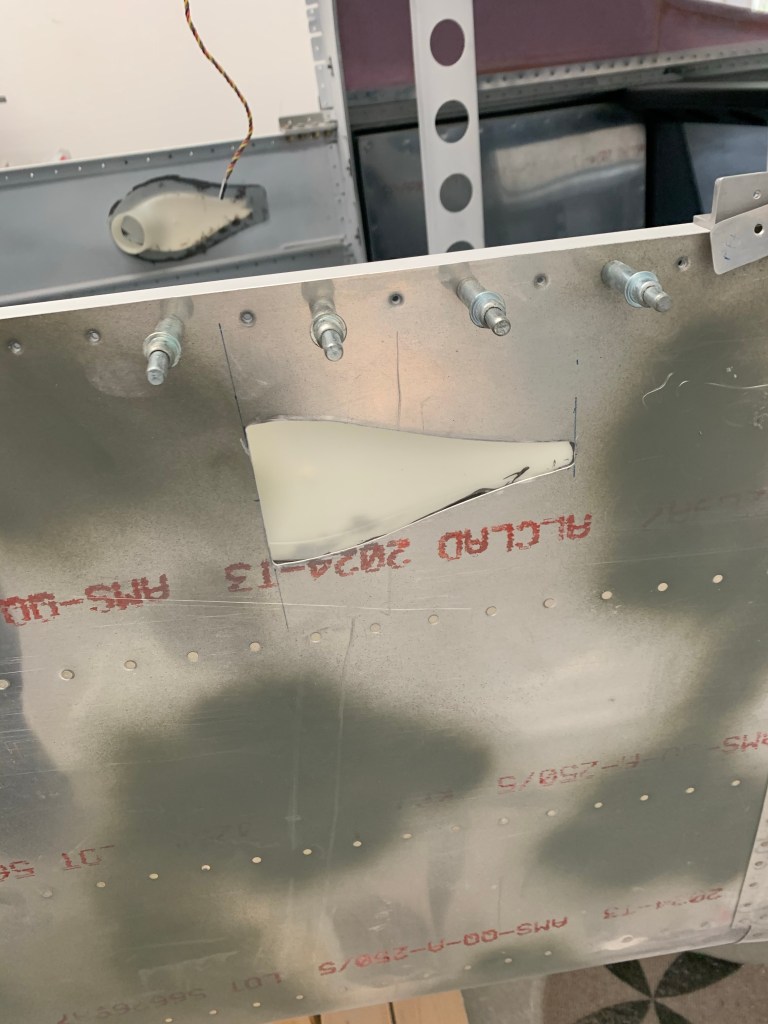
In between paint sessions I spent some time doing some odd and ends like attaching the rudder cable fairings and rear NACA vents with Proseal. I also drilled some holes and riveted on nut plates to accept #6 screws on the bottom cowl plates I added to the firewall some time back. Lots of progress!