
Starting off from where I left off.. I slobbered a fair amount of micro around the bottom of the door openings to blend it with the adjoining structure and the previously done sections of the cabin top.


After sanding smooth. Another application of micro.. rinse and repeat a couple time, mostly just filling in little divots and/or imperfections.
I also used micro to cover over the screws attaching the cabin top to the structure.

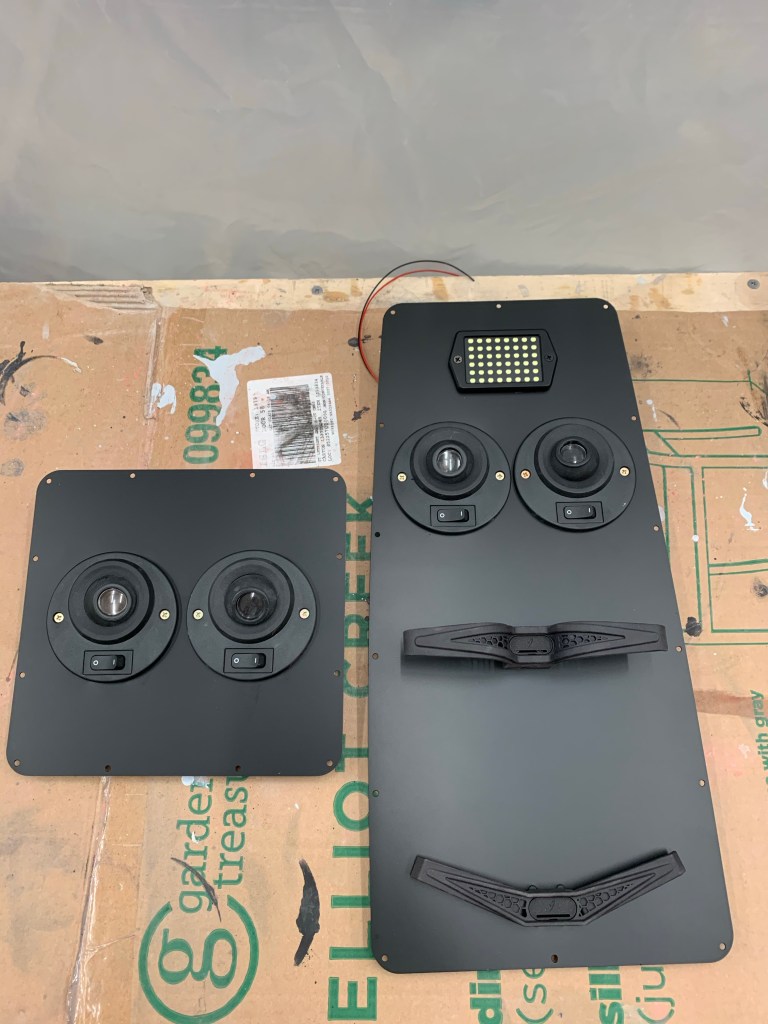
Of course in between sessions of sanding and applying micro.. I got to painting my overhead panels that house the lights. I think it came out really good and hope it blends in well with the dark natural look of the overhead console.
Some other goodies arrived as well. Tires and tube along with my Matco wheels and brakes. I went with Desser Retreads and their 90 degree stem tubes. The items I purchased are listed below:
| Qty | Description |
| 2 | 15/600-6 6 PLY AWBS RETREAD (RETREAD) SKU: 15/600-6 6 RT |
| 1 | 500-5 6 PLY AWBS RETREAD,ELITE PREMIUM 2 GROOVE (ELITE) SKU: 500-5 6 PLY RTO |
| 3 | 15/600-6 AERO CLASSIC TR-87-70 *BUTYL EASY VALVE (GL-1587) SKU: GL-1587B |
| 2 | 500-5 AERO CLASSIC TUBE, SHORT STEM 90 DEGREE (TR-87 STEM) SKU: GL-5087B |
Here are the wheel, brake, axle, and spacer combos from Matco that I purchased..
| WHLNW511.25 – NOSEWHEEL, 5″ 1.25 | 1 |
| MSCTRA1.5 – WASHER; A6 1.50 | 2 |
| WHLARV10SL – SPACER SLEEVE, AXLE RV-10 | 2 |
| WHLA24SPKIT – SPACER, AXLE24 KIT | 1 |
| WHLWI600XLT-2 – WHL &BRK WI600 RV-10 CONFIG | 2 |
| WHLAXLE24 – AXLE ASSEMBLY, A24 1.25 INCH | 1 |
I’m still a little ways away from putting the plane up on the gear, but it won’t be too terribly long from now.


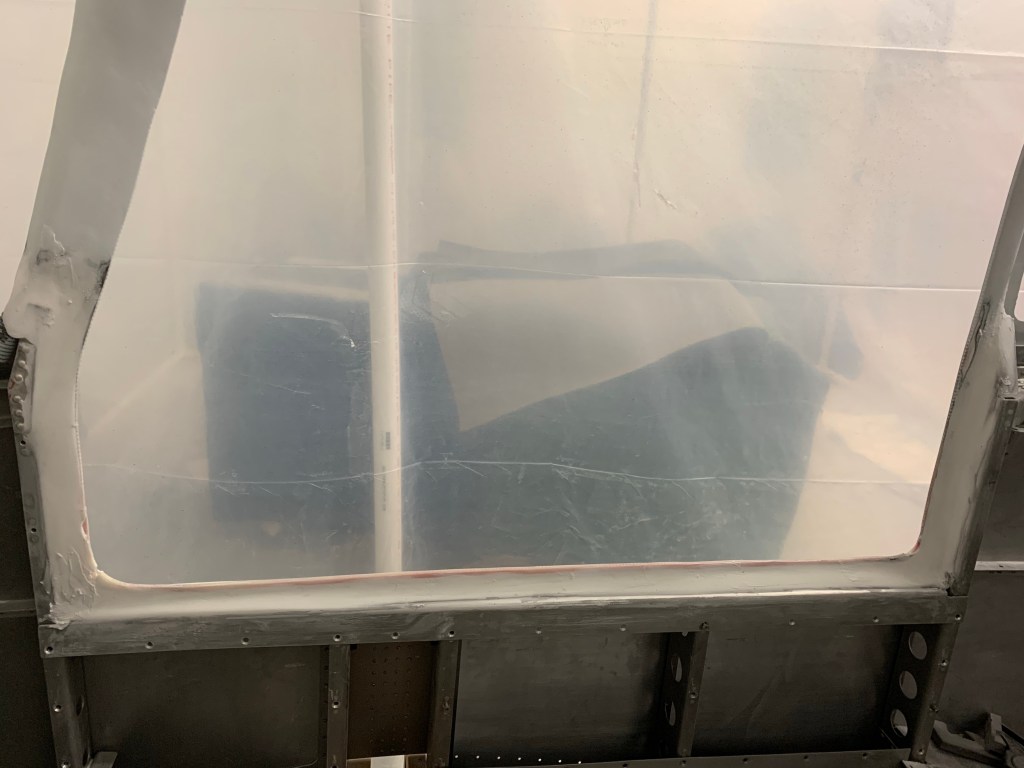
Then it was back for one last skim coat of micro around the doors and I placed a strip of fiberglass over the gap between the aluminum skin and the cabin top. Lots of bouncing around working mostly off plans for now.

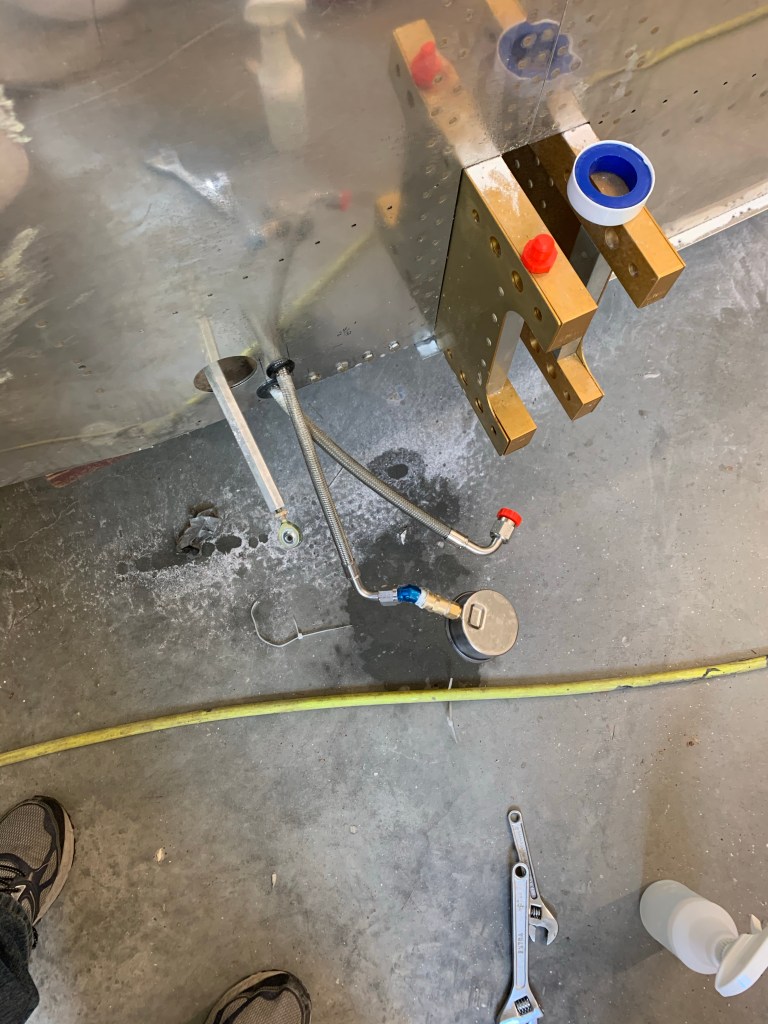
There was also one other thing that I’ve been meaning to do prior to getting too much further along and installing the upper forward fuselage sections and buttoning up the tunnel… I wanted to pressure test my brake and fuel lines to make sure there were no leaks. It would be much easier to fix now while things are still generally accessible. I used my air compressor with an inline regulator and a shut off valve to decouple the air compressor from the lines. I placed a pressure gauge on the other end. The procedure was to get pressure in the lines (I used 20-25psi for the gas lines and 50psi for the brake lines). Make note of pressure reading on the output. Shut off the ball valve and let it sit for about 5 minutes. There should be no loss of pressure. If there is.. you’d spray with soapy water to find any leaks, which I did anyways just to give me peace of mind.


I then tested the fuel supply line. I had to reverse things and measure at the firewall and insert the pressure from the wings. The fuel filters and pump are uni-directional and doing it the other way.. I couldn’t get any pressure to the other end of the line.

I used a slightly different setup for the brake lines. I got a 1/8″ to 1/4″ NPT adapter to connect into the brake fluid reservoir. I used a 1/4″ NPT tee to connect the gauge into and capped off the AN fittings that go to the gear.

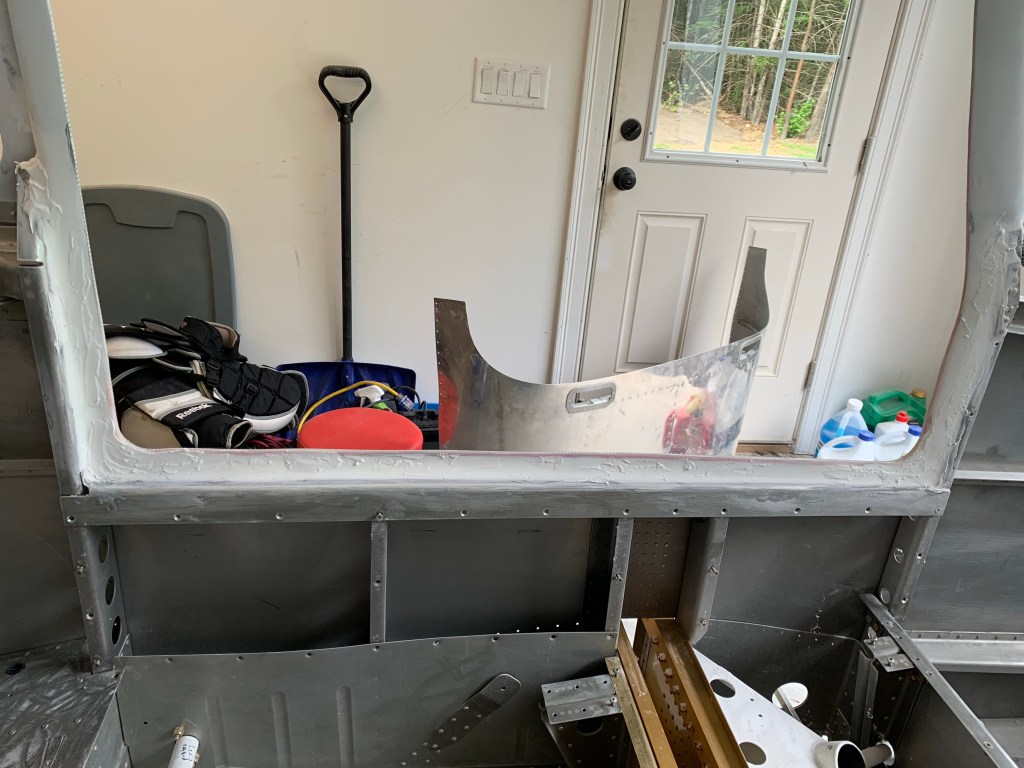
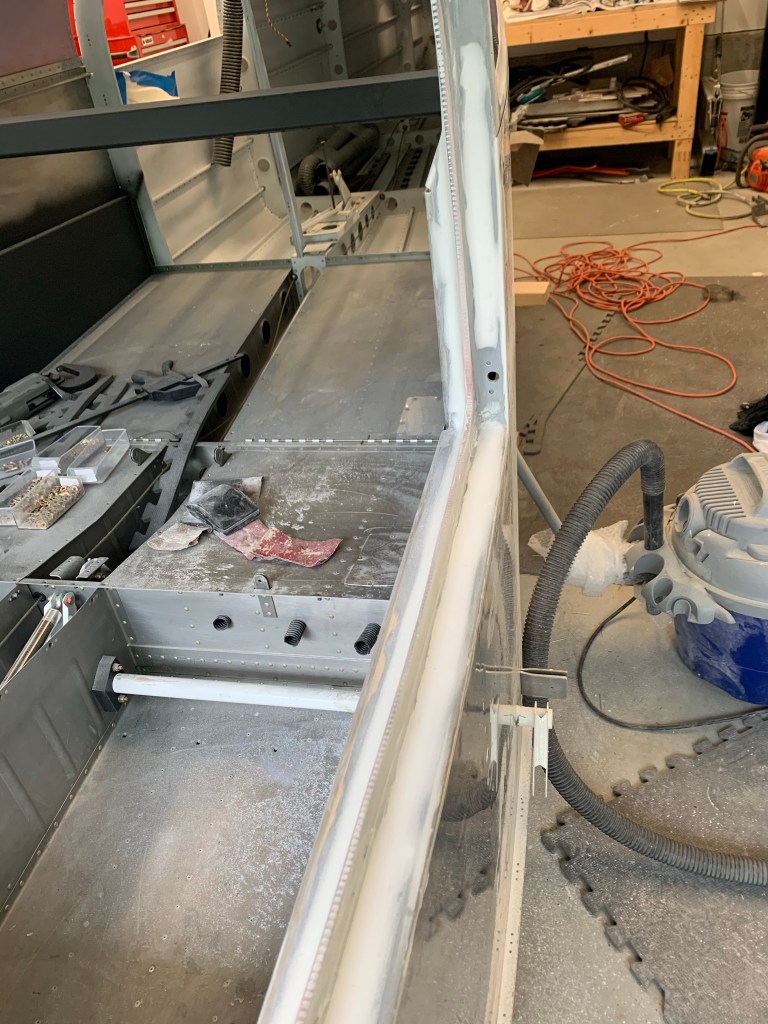
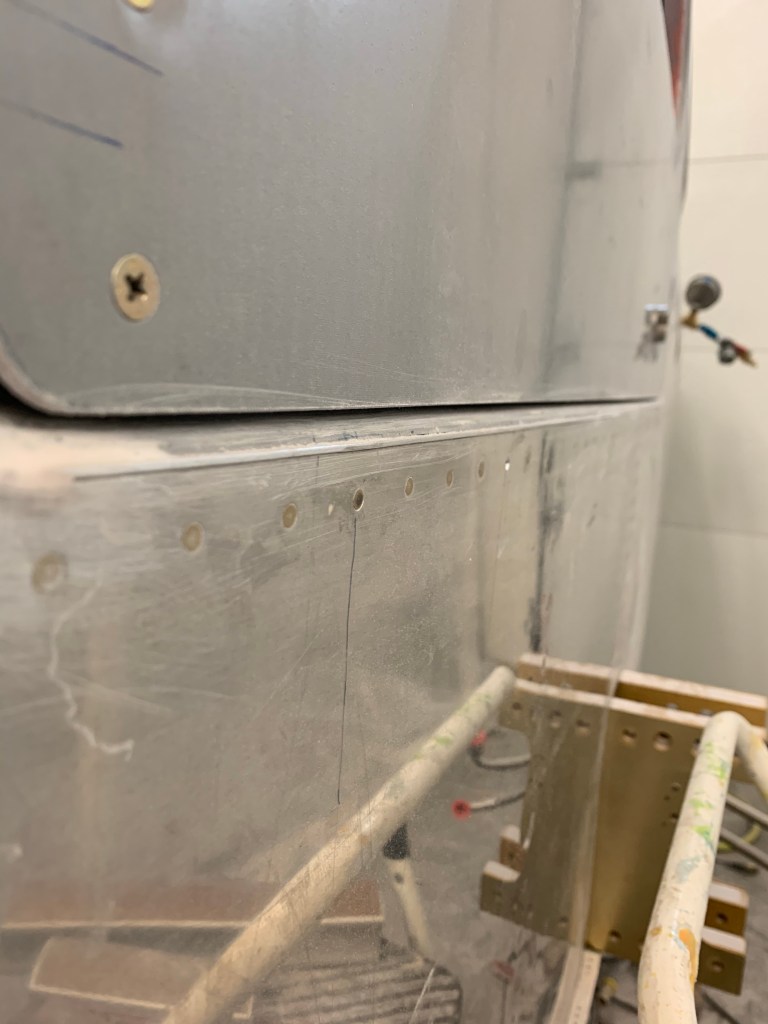
Then it was time to final gap the doors. I’m shooting for an approx 1/8″ gap. This will allow some space for paint, which will narrow that gap down significantly. To prep for that involved a lot of sanding. I re-installed the door handles and McMaster seals for this step so the door would be as close to its final position as possible. Then sand sand and more sanding. I used some thick scrap metal and wrapped 50 grit sandpaper over it to use as a gauge and to also sand back the last little bit by running it back and forth in the gap. Below are some pics during that sanding process.


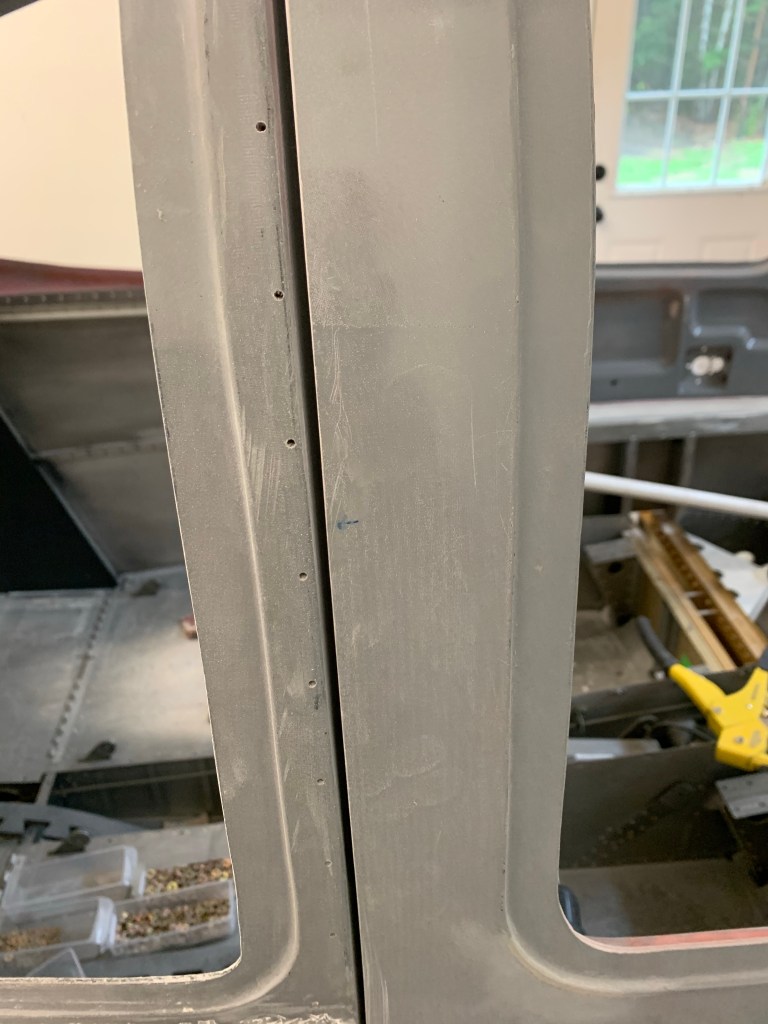


This was repeated for the left side..
So now it’s time to get the foam tape I ordered and place it between the door and the cabin top and micro on either side of the tape to get a really nice final gap. Micro will also be used to build up a couple of low areas of the cabin top to match the height of the door.
