
I was a little nervous walking into this part of the build. In the end, I’d say it wasn’t as bad as I had expected. My door halves are now bonded together! Before starting, I used packing tape to cover the cabin top all around the door opening so that any epoxy that squeezed out wouldn’t bond the door to the cabin top. I worked on one door at a time and only mixed enough epoxy and Cabosil for one doors worth. The plans have you first spread some straight epoxy on the three areas that actually bond the door together, the elbow cavity (shown below with fiberglass parabeam on it), the cranial cavity at the top of the door, as well as the latch cavity. You then wet out the Parabond material previously cut with straight epoxy and put it in place on the inner door shell. Then add some Cabosil to the mix until it thickens enough to not pour out of the cup. That mixture was then spread over the remaining mating surfaces (the window flange and the outer door flanges).

Once done, the outer door shell is placed on top of the inner shell and cleo’ed along the lower edge and 2 places in the upper window flange prior to placing it onto the fuselage.
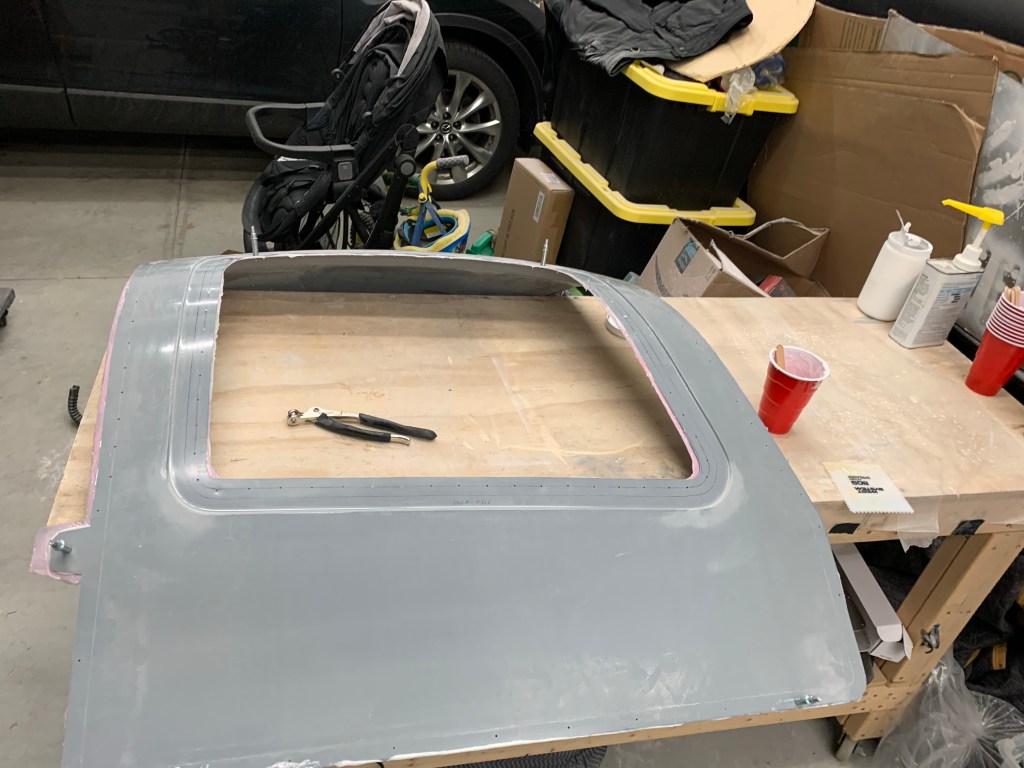
Attached to the cabin top and cleko’ing the window flange. A reasonable amount of epoxy squeeze out along the edges.

The entire door was cleko’ed to the cabin top so that it cures into the outer shape of the cabin top. The plans have you use clamps, tape, and weights. This, to me, is a much better method that I’ve seen other builders suggest.

I then left the garage heat on 60 degrees and let the doors cure over 2 days. I took the doors off and removed all the Clekos.
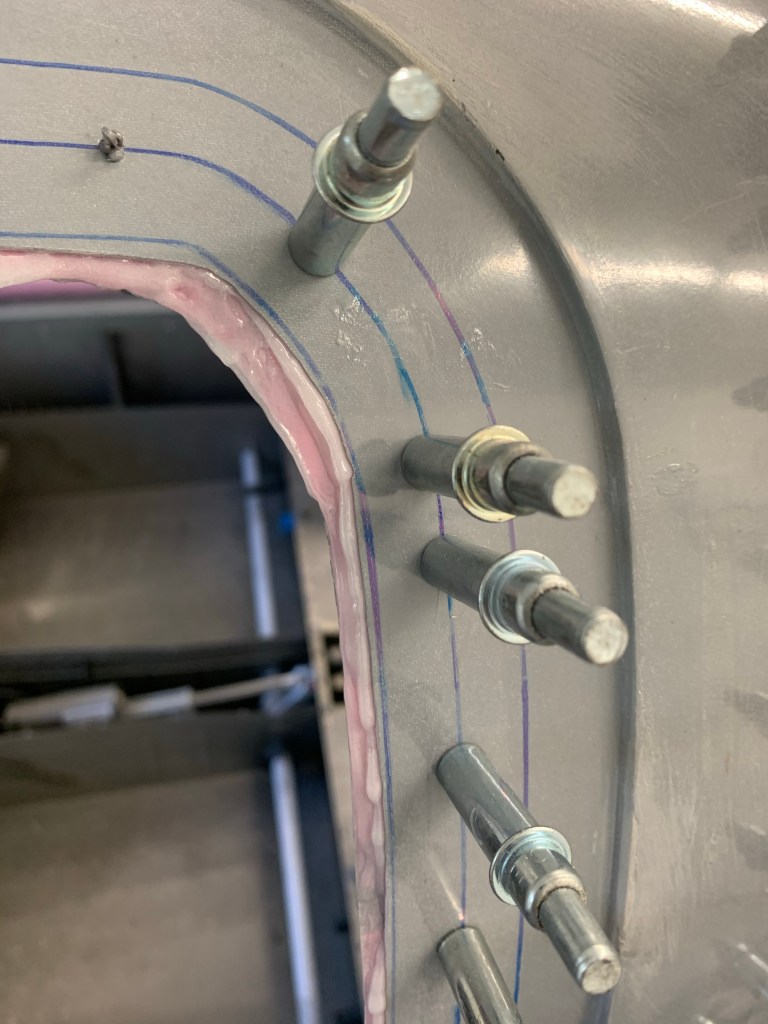
I then cut the window flange down to the 3/4″ line previously marked. Additionally, I made up a couple of angles and match drilled them to the forward and aft index holes and then drilled a couple of holes into the door to hold the doors in place so they could be trimmed. This will also allow me to keep the doors in the same position for all other door work without them moving.
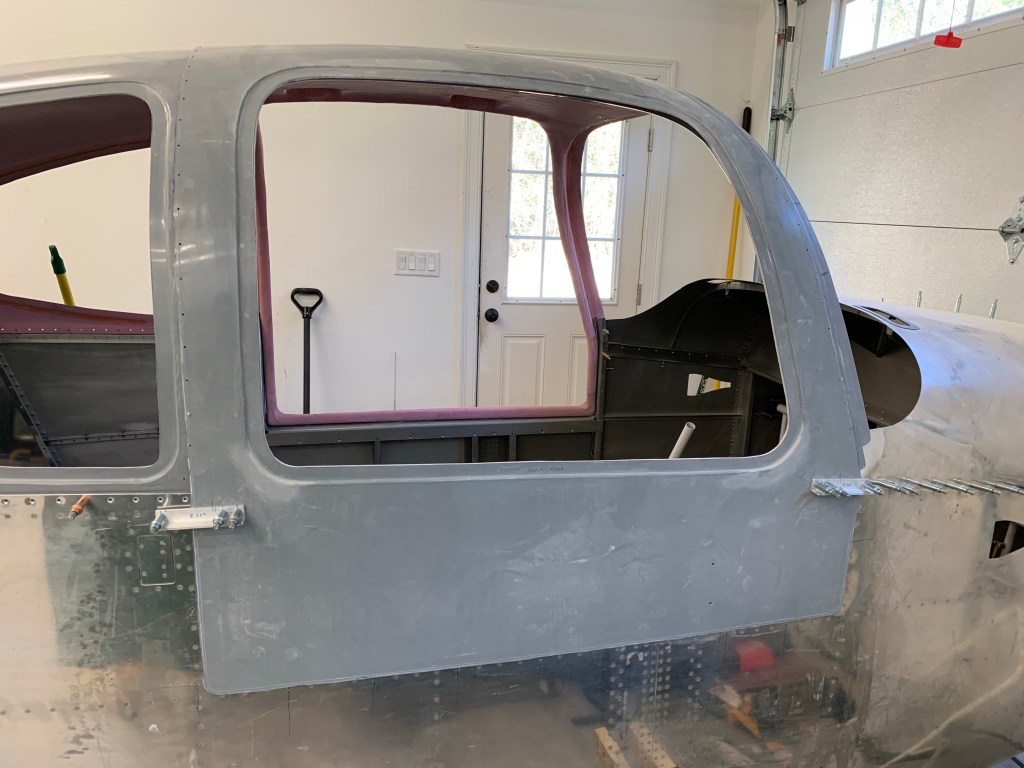
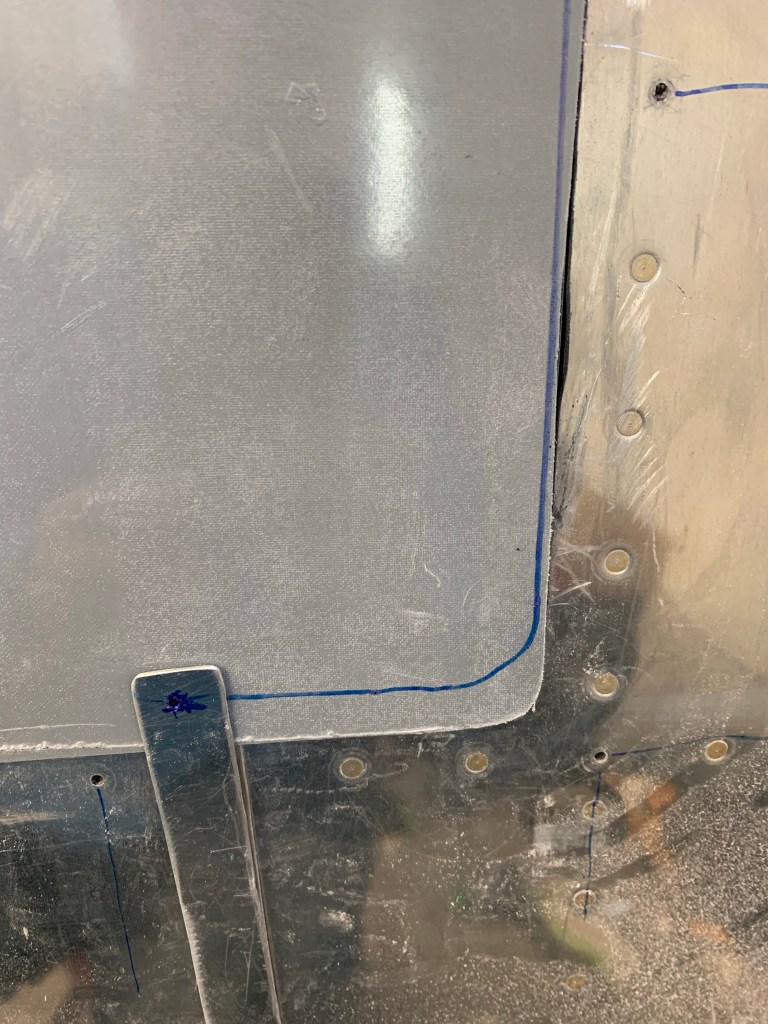
One of the next things is to trim the outer door edges to within 1/8″ of the scribe line, which I did. I then did something that I saw on Dr. Mark’s blog in terms of making a tool to mark the inside edge of the cabin top on the outside of the door. I riveted 2 pieces of metal together and bent one piece at a 90 degree angle to follow the inside cabin top door edge. I then drilled a 1/16″ hole aligned with the 90 degree bend to trace on the outside of the door where the inner edge was. That was the line I used to trim to for the entire perimeter of the door.

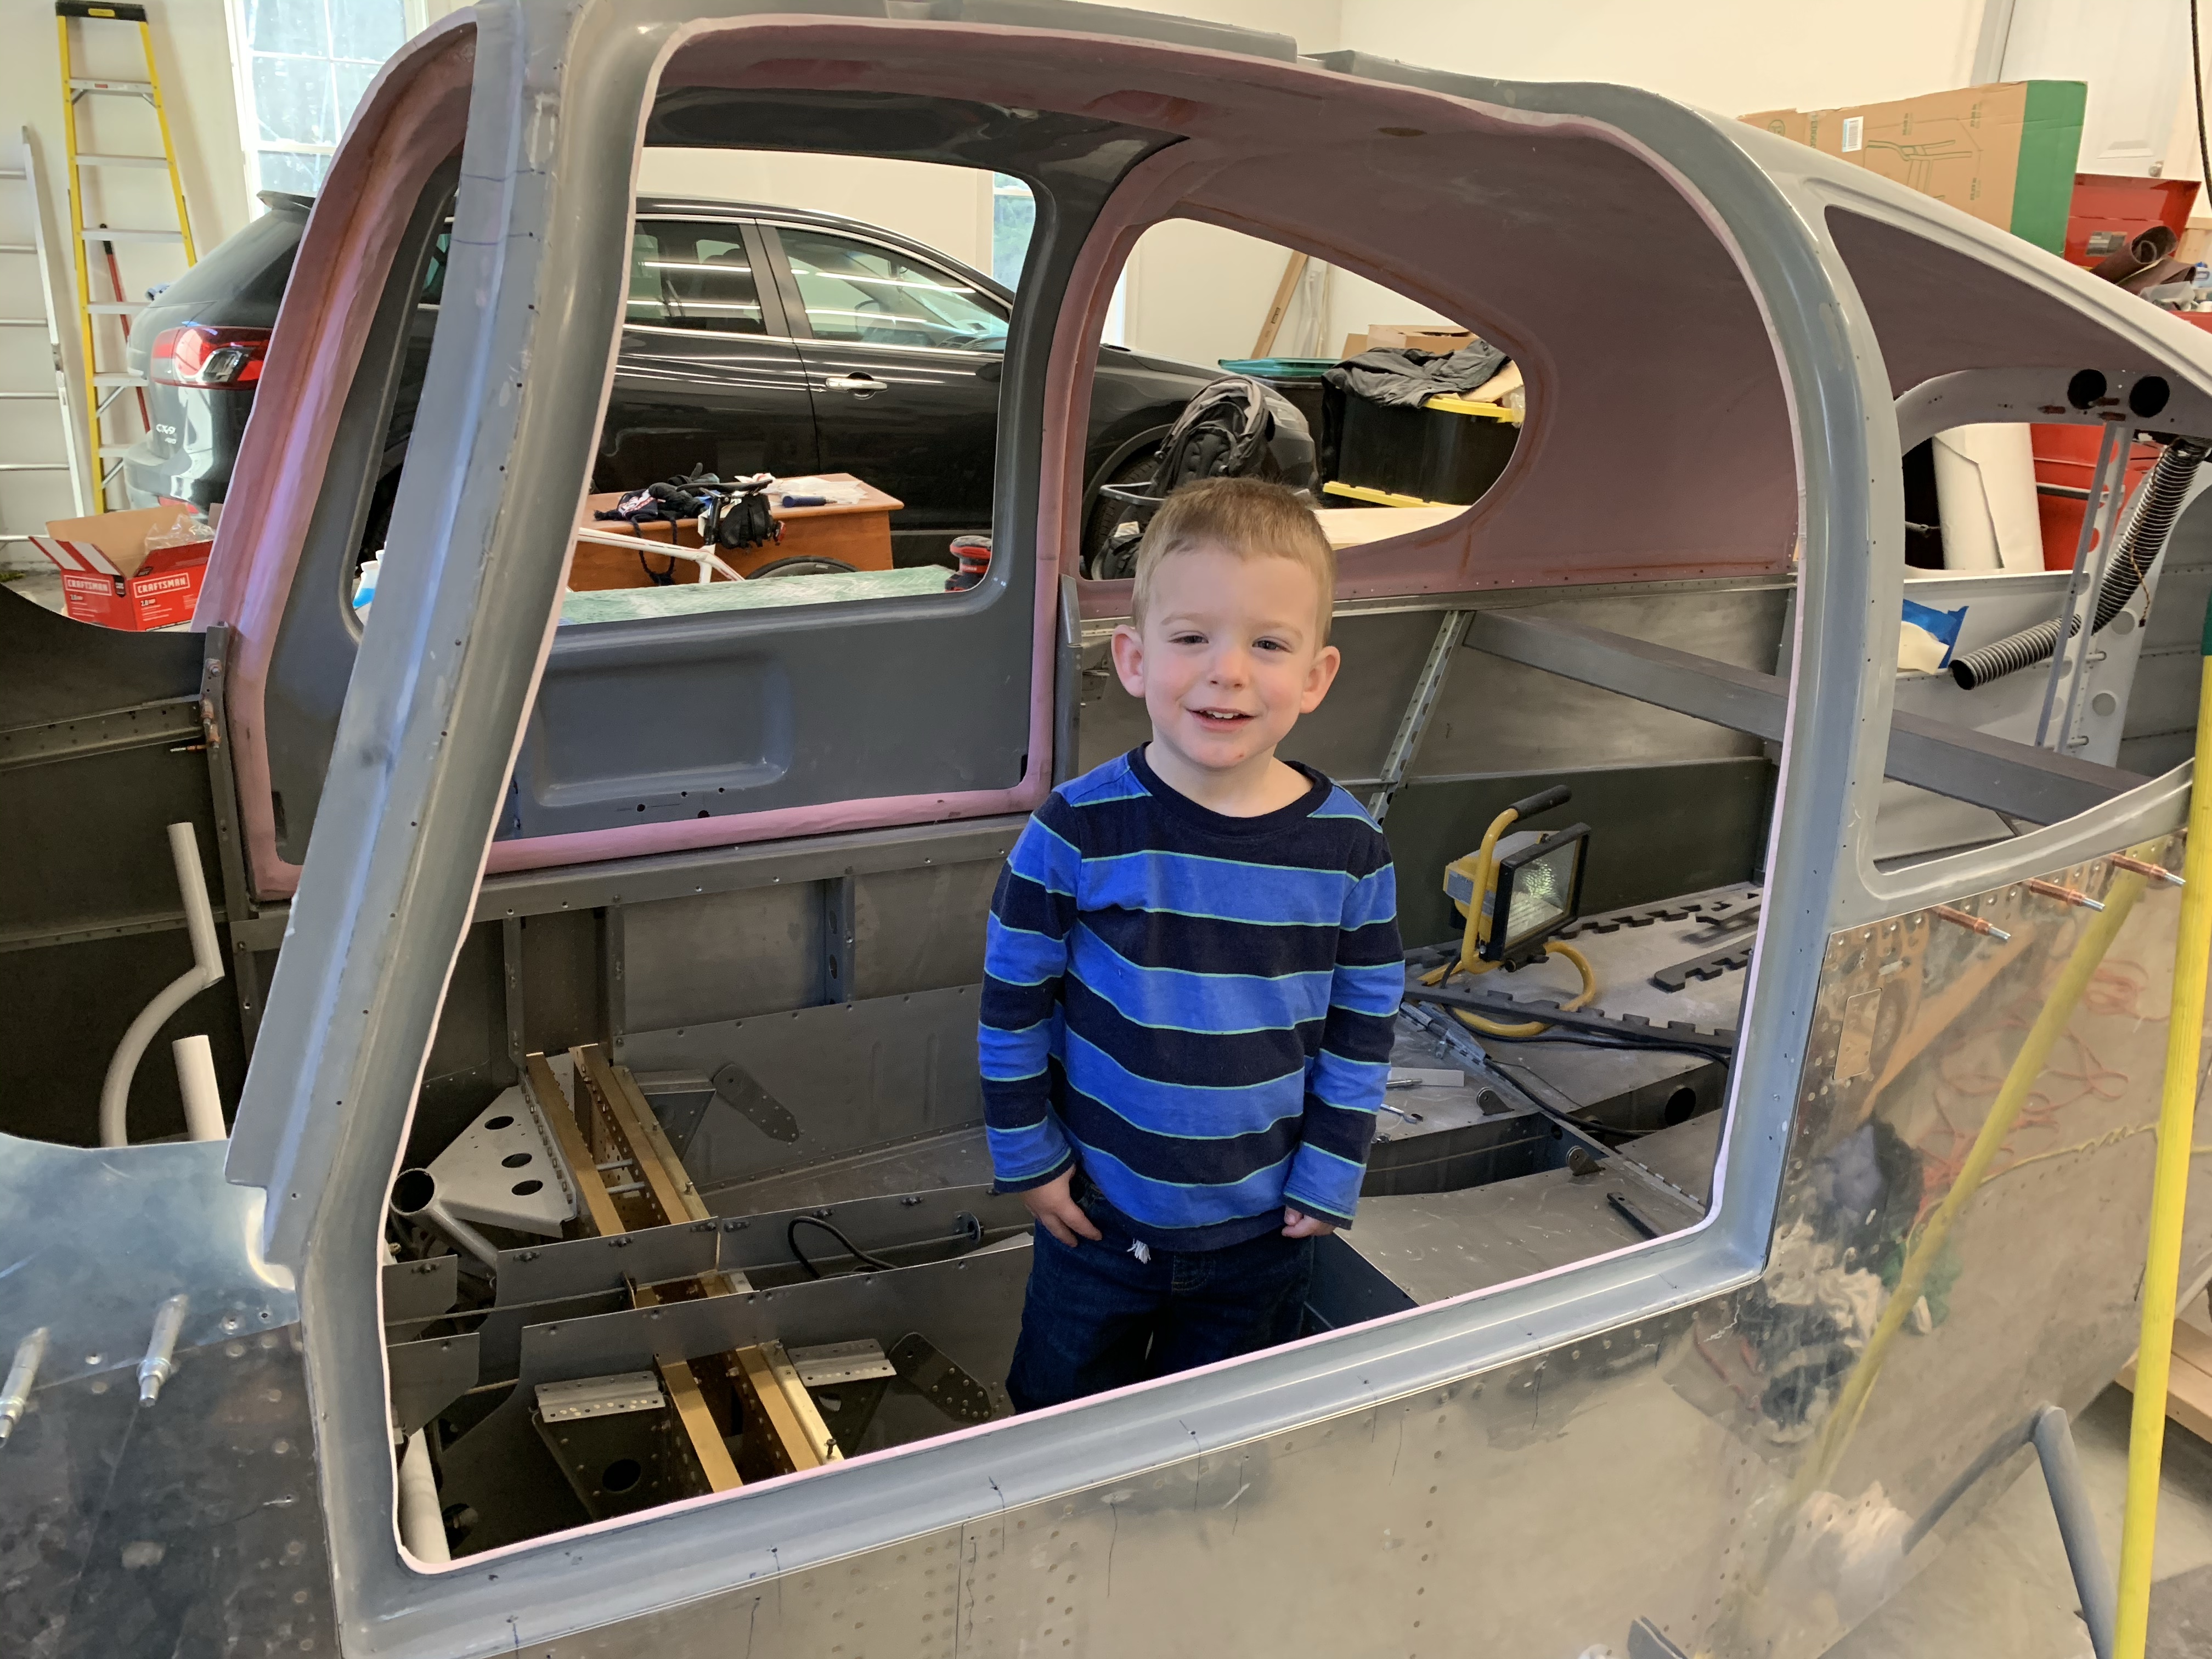
I then had my buddy come out and check out the progress.
This is the result after trimming to the line made by the tool. I’m at the point of needing to trim the cabin top rain gutter back some more in anticipation of using the McMaster door seals. The door won’t fully sit flush with the cabin top just yet until I do that. So that and door hinges are up next.

