
Slow progress lately…
This part of the build is somewhat challenging in that I am reading from 3 different sets of instructions from 3 vendors and trying to understand what to do next. Next up was to grind down the stock pin blocks in order to drill #12 holes into the doors to hold the blocks in place.


Then you take the new oversized blocks from PlaneAround and sand them to fit well into the recessed pockets of the door. Then match drill them to the holes you drilled with the stock blocks.

Then it was time to take the striker plate from the Aerosport Low Profile handle kit and center it in the handle pocket by rounding off the forward corners and drilling the holes needed for the inner ring and lock.

Once that was done, the inner handle assembly was completed per plans with some modifications based on the Aerosport instructions. One modification that I did was to cut a longer slot in one side of the handle assembly so that the handle would only lock in the closed position and not the open position too. I didn’t take any pictures of that.

I then took some scrap metal and made it the width of a rack without teeth and just long enough to stay in the handle gear mechanism while marking the sidewalls of the handle cavity where the racks will come out and need a hole for clearance.


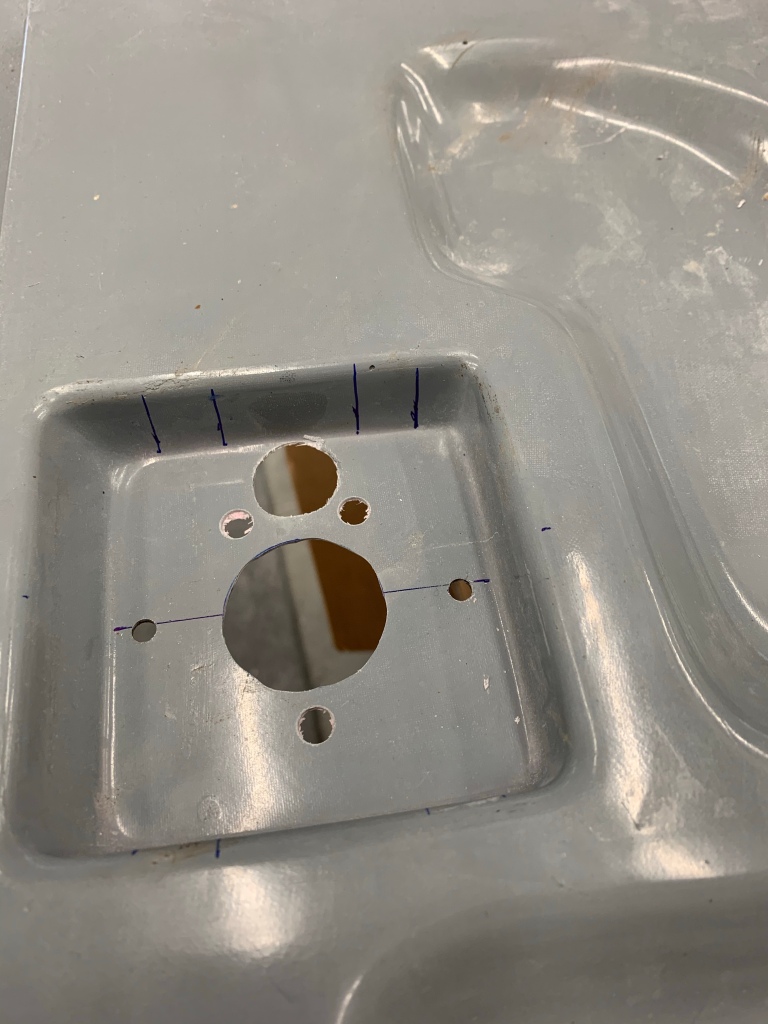
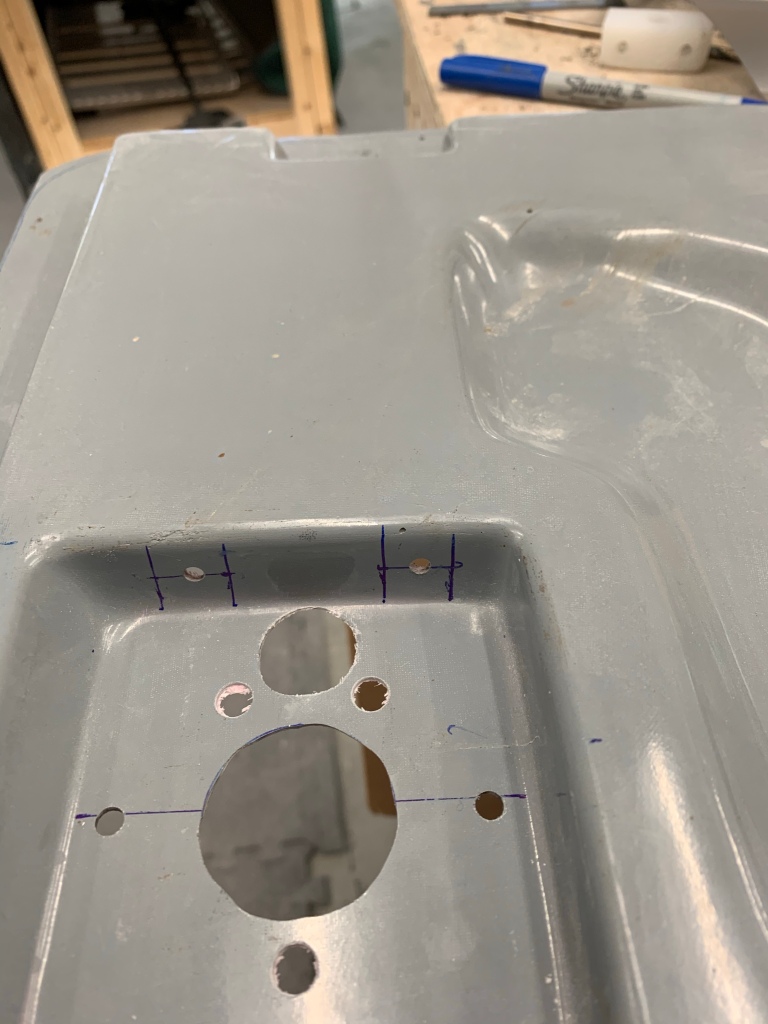

Clearing out the area for rack clearance.
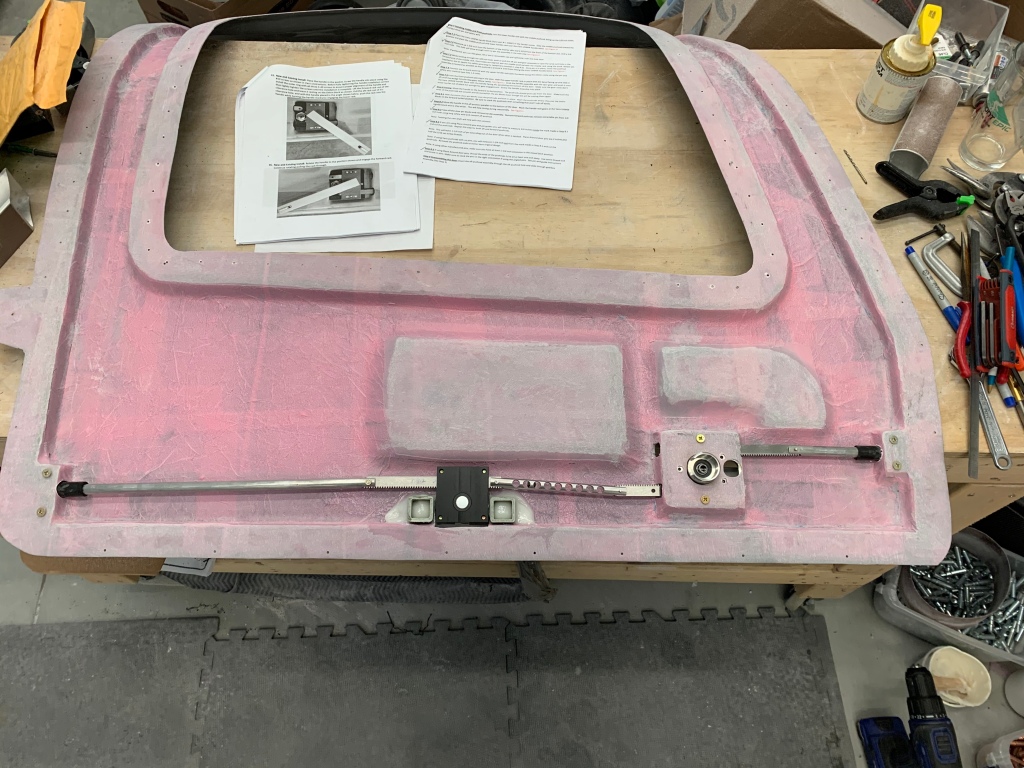
I then assembled the push rods with the Planearound 3rd latch system and got everything the way I wanted it. This allowed me to mark the push rods for 1.5″ protrusion from the sides of the door and about 1/2″ retraction into the Derlin pin blocks.

I’m also using the angled machined pins from Planearound. The push rods were cut down 2 more inches to accommodate the length of the pins themselves, and tapped with a 5/16″ x 24 tap to attach the pins with a screw.


Below is a quick video that I made to explain the operation of the door handle and pin/latch operation.
