Tail Kit is here!!

Today the tail kit arrived at the trucking company. I made arrangements to rent a UHaul and go pick it up from the dock. Logistically that just worked better. It’s rather difficult to get help come in the middle of the day and be here exactly when the truck arrives, so I figured renting a truck made the most sense. That way, I could just arrive at home and wait for people to come to help out. It went pretty smoothly. A two wheeler in front and 2 of us pushing from the back, it slid right down the UHaul ramp and into the garage.

Thankfully there was no damage to the crate at all, and I cracked her open to take a quick peek inside. Everything seems okay.

Inventory and shop prep are next on the agenda.

Now the fun can really begin!


Have some tools

Today the initial shipment of tools finally arrived after UPS “missorted” my package and took an extra week to get here

Still waiting on the DRDT-2 dimpler and the back rivet set, which was on back order.


I also received notification from Van’s that my tail kit shipped today. Should arrive in about a week. Then the inventory can begin.

Reservations

with the FAA, that is.

Today I received the official letter that my N number is reserved!!

In choosing an N number, I really wanted the numbers 10 to signify it being an RV-10, and my initials (AB). I searched all possible combos, and only found two available: N810AB and N910AB. I chose the 810 variant as it rolls off the tongue a bit smoother (niner) and has less syllables.

Neither 8 nor 9 have much meaning, it’s just what was available, so I went with it. I’ll keep my eye out for a more desirable number if one becomes available, but I’m okay with this one.

Making Space and Tool Purchase

In order to transform my garage into an airplane factory, I needed to clean all the crap out of it. It’s a wonder we’re still able to fit both cars in there. There’s a motorcycle, generator, lawn tractor, snowblower, and numerous rakes, shovels, etc.. Not to mention, I could really stand to get the enormous pig roaster out of my basement.

So I went ahead and ordered a humongous shed. A 20’x14′ Cape Ann style shed, vinyl sided to match the house. There should be more than enough room to store a ton of stuff (yeah, I say that now…) and clean out the garage and basement.

Today (the day before Christmas) it got installed. Merry Christmas to me. 🙂 Some pics below:


 Also, yesterday I placed my order for a full RV toolkit. I have tons of tools, but none of the specialty tools that I’ll need for metal work and building an airplane. There are a few different vendors to chose from, but I ended up going with the full kit from Isham (planetools.com).

FullRVKitPhoto.3

My main attraction to this vendor was the fact that their kit includes the very nifty DRDT-2 dimpler (shown here with a small “table” built around it to support metal skins, while using it):

SAMSUNG

SAMSUNG

This tool seems to be much easier to use and produces more consistent results compared to using the more traditional c-frame tool where you have to hit it with a hammer until it’s right. Isham’s tool kit also comes with what some would call a luxury item; a pneumatic squeezer. This will help make squeezing rivets much more consistent and easy (hopefully)

download

Based on reading some builder blogs, I decided to get the following add-on options to the kit:

an angle drill, adjustable set holder for the squeezer, both the longeron and 4″ thin nose yokes for the squeezer, and the RV-10 package (which gives you some special shaped bucking bars, additional die sets, and more clecos).These seem like things that I’ll need relatively early on in the build, so might as well get them now.

I’m sure that I’ll still need to buy some additional things as I go, but this kit should hopefully get me most of the way to having the right tools for the job. They certainly aren’t cheap, but I’ve learned long ago that I’ll end up being 100 times more frustrated and probably just end up damaging parts if I try to do something without the proper tool for the job.

Below is the complete list of tools that I’ll be getting in the kit:

Commercial Quality Dimpler
Pneumatic Rivet Squeezer
3″ C-Yoke Installed on Squeezer
Adjustable Set Holder for Pneumatic Squeezer
3600 RPM Palm Air Drill, fast, smooth & quiet like Sioux
3X upgraded Rivet Gun with excellent teasing trigger
EZ change spring for straight rivet sets
EZ Change Spring for flush sets
Swivel and Air Flow Restrictor with fine precision adjustment
1″ Diameter Flush Rivet Set
3/32″ Cupped Rivet Set 3.5″ long
1/8″ Cupped Rivet Set 3.5″ long
3/16″ Cupped Rivet Set 3.5″ long
1/8″ Double Offset Rivet Set
Back Rivet Set (Special cut on one edge for close edge work on RV parts)
Tungsten Bucking Bar
Microstop Countersink Unit, needle-bearing, non-chattering with nylon foot
#40 Countersink Bit, 3/32″
#30 Countersink Bit, for 1/8″ & #6 Screw
#8 Countersink Bit, #8 Screw
#10 Countersink Bit, #10 Screw
Left Cut Snips, easy to use offset type
Right Cut Snips, easy to use offset type
Straight Cut Snips, easy to use offset type
#40 Aviation Cobalt Drill Bits for 3/32″ rivets, 8 each
#30 Aviation Cobalt Drill Bits for 1/8″ rivets, 6 each
#27 Aviation Cobalt Drill Bit
#21 Aviation Cobalt Drill Bit
#19 Aviation Cobalt Drill Bit
#12 Aviation Cobalt Drill Bit
1/4″ Aviation Cobalt Drill Bit
12″ Aviation Extra Long #40 Drill Bit
12″ Aviation Extra Long #30 Drill Bit
Deburr Tool, Speed Handle Type for small & large holes
Cleco Pliers
4 Cleco Clamps, 1/2″
4 Cleco Clamps, 1″
Pop Rivet Tool, Professional Heavy-Duty unit with Swivel Head
3/32″ Universal Cupped Squeezer Set
1/8″ Universal Cupped Squeezer Set
5/32″ Universal Cupped Squeezer Set
3/16″ Universal Cupped Squeezer Set
Flat Squeezer Set 1/8″, 2 EACH
Flat Squeezer Set 1/4″
Flat Squeezer Set 3/8″
3/32″ Rivet Dimple Die
1/8″ Rivet Dimple Die
5/32″ Dimple Die
3/16″ – #10 Screw Dimple Die
#8 Screw Dimple Die
#6 Screw Dimple Die
Squeezer Set Organizer
Squeezer Set Adjustment Washers
Stainless Steel Rule, 12″
Unibit 1/4″ – 3/4″ by 1/16ths,
3 Permanent Markers, Sharpie
3M Cut & Polish Wheel 6″
1/2 x 1 Reducers for 3M Wheel
325 Cleco Fasteners, 3/32″
175 Cleco Fasteners, 1/8″
10 Cleco Fasteners, 5/32″
10 Cleco Fasteners, 3/16″
Edge Deburring Tool, Hex Swivel type
2013 Updated High-Leverage Fluting Pliers
Rivet Cutter
Air Tool Oil
Drill Stop Set of 4
Rivet Set DOTS, Easier than Rivet Tape
3/32″ Pop Rivet Dimple Die,
1/8″ Pop Rivet Dimple Die,
Hand Seamer
3/32″ Drive Pin Punch
1/8″ Drive Pin Punch
Scotch Brite Hand Pads, 4 each
Rivet Length Gauge
Rivet Shop Head Gauge, 4-piece
Technical Resource Manual
RV-10 Option adds 175 3/32″ Cleco Fasteners and 125 1/8″ Cleco Fasteners, Special Bucking Bar and additional Squeezer Sets

A Trip to Maryland

After my visit to see Jim’s RV-10, I left there still thinking that I needed to see a finished RV-10 in person. I decided to reach out to Van’s East Coast Rep, Mitch Lock. Mitch is located at St. Mary’s airport (2W6) in Maryland. He has an RV-10, RV-12, and is almost finished building an RV-14. The -10 and -12 are available for demo flights. St. Mary’s is about a 2.5 hour flight in the Trinidad, so easily doable in a day, if need be.

Mitch and I made plans to meet on Oct 31st, to take a demo flight in the RV-10 (N220RV).

Jeanine and I have good friends, Gary and Mary Mascelli, that live nearby in Ocean City, MD. So we decided to see if they would be around that weekend, and visit with them while we were in the area.

We headed down to MD on Friday night after Jeanine got off of work, arriving in Ocean City right around 9pm. Gary and Mary were tracking our flight and were ready and waiting for us at the airport.

2015-11-10 21_21_25-Clipboard

Gary’s airplane was out for maintenance, and he was so gracious as to let us park in his hangar for the night.

12189649_10152997908451330_6680051039955411064_n

We had a very enjoyable late dinner, which I felt terrible about having our friends have to wait so long to eat, and then spent some time catching up afterwards, and in the morning over breakfast.

Once done, we said our goodbyes, and made the quick hop (25 minutes or so) over to St. Mary’s to meet Mitch.

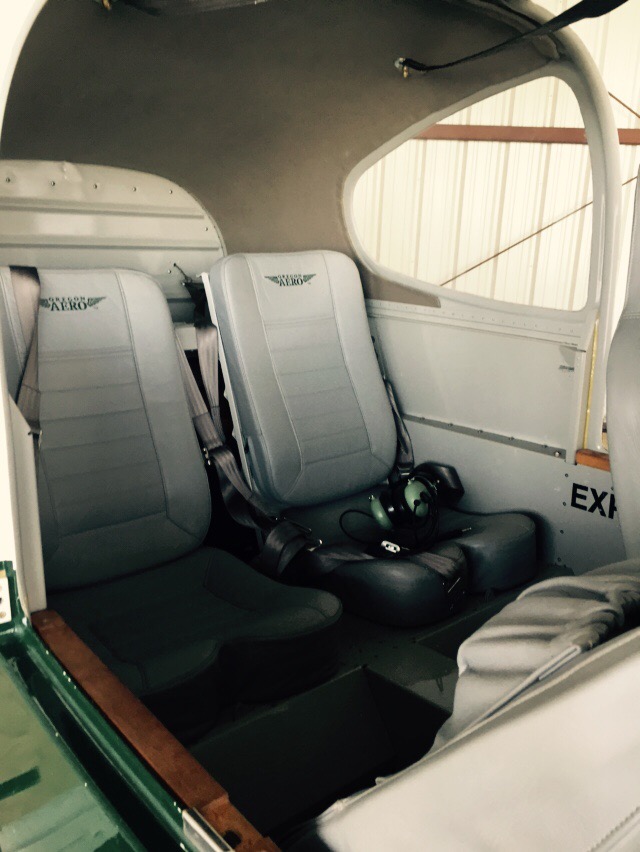
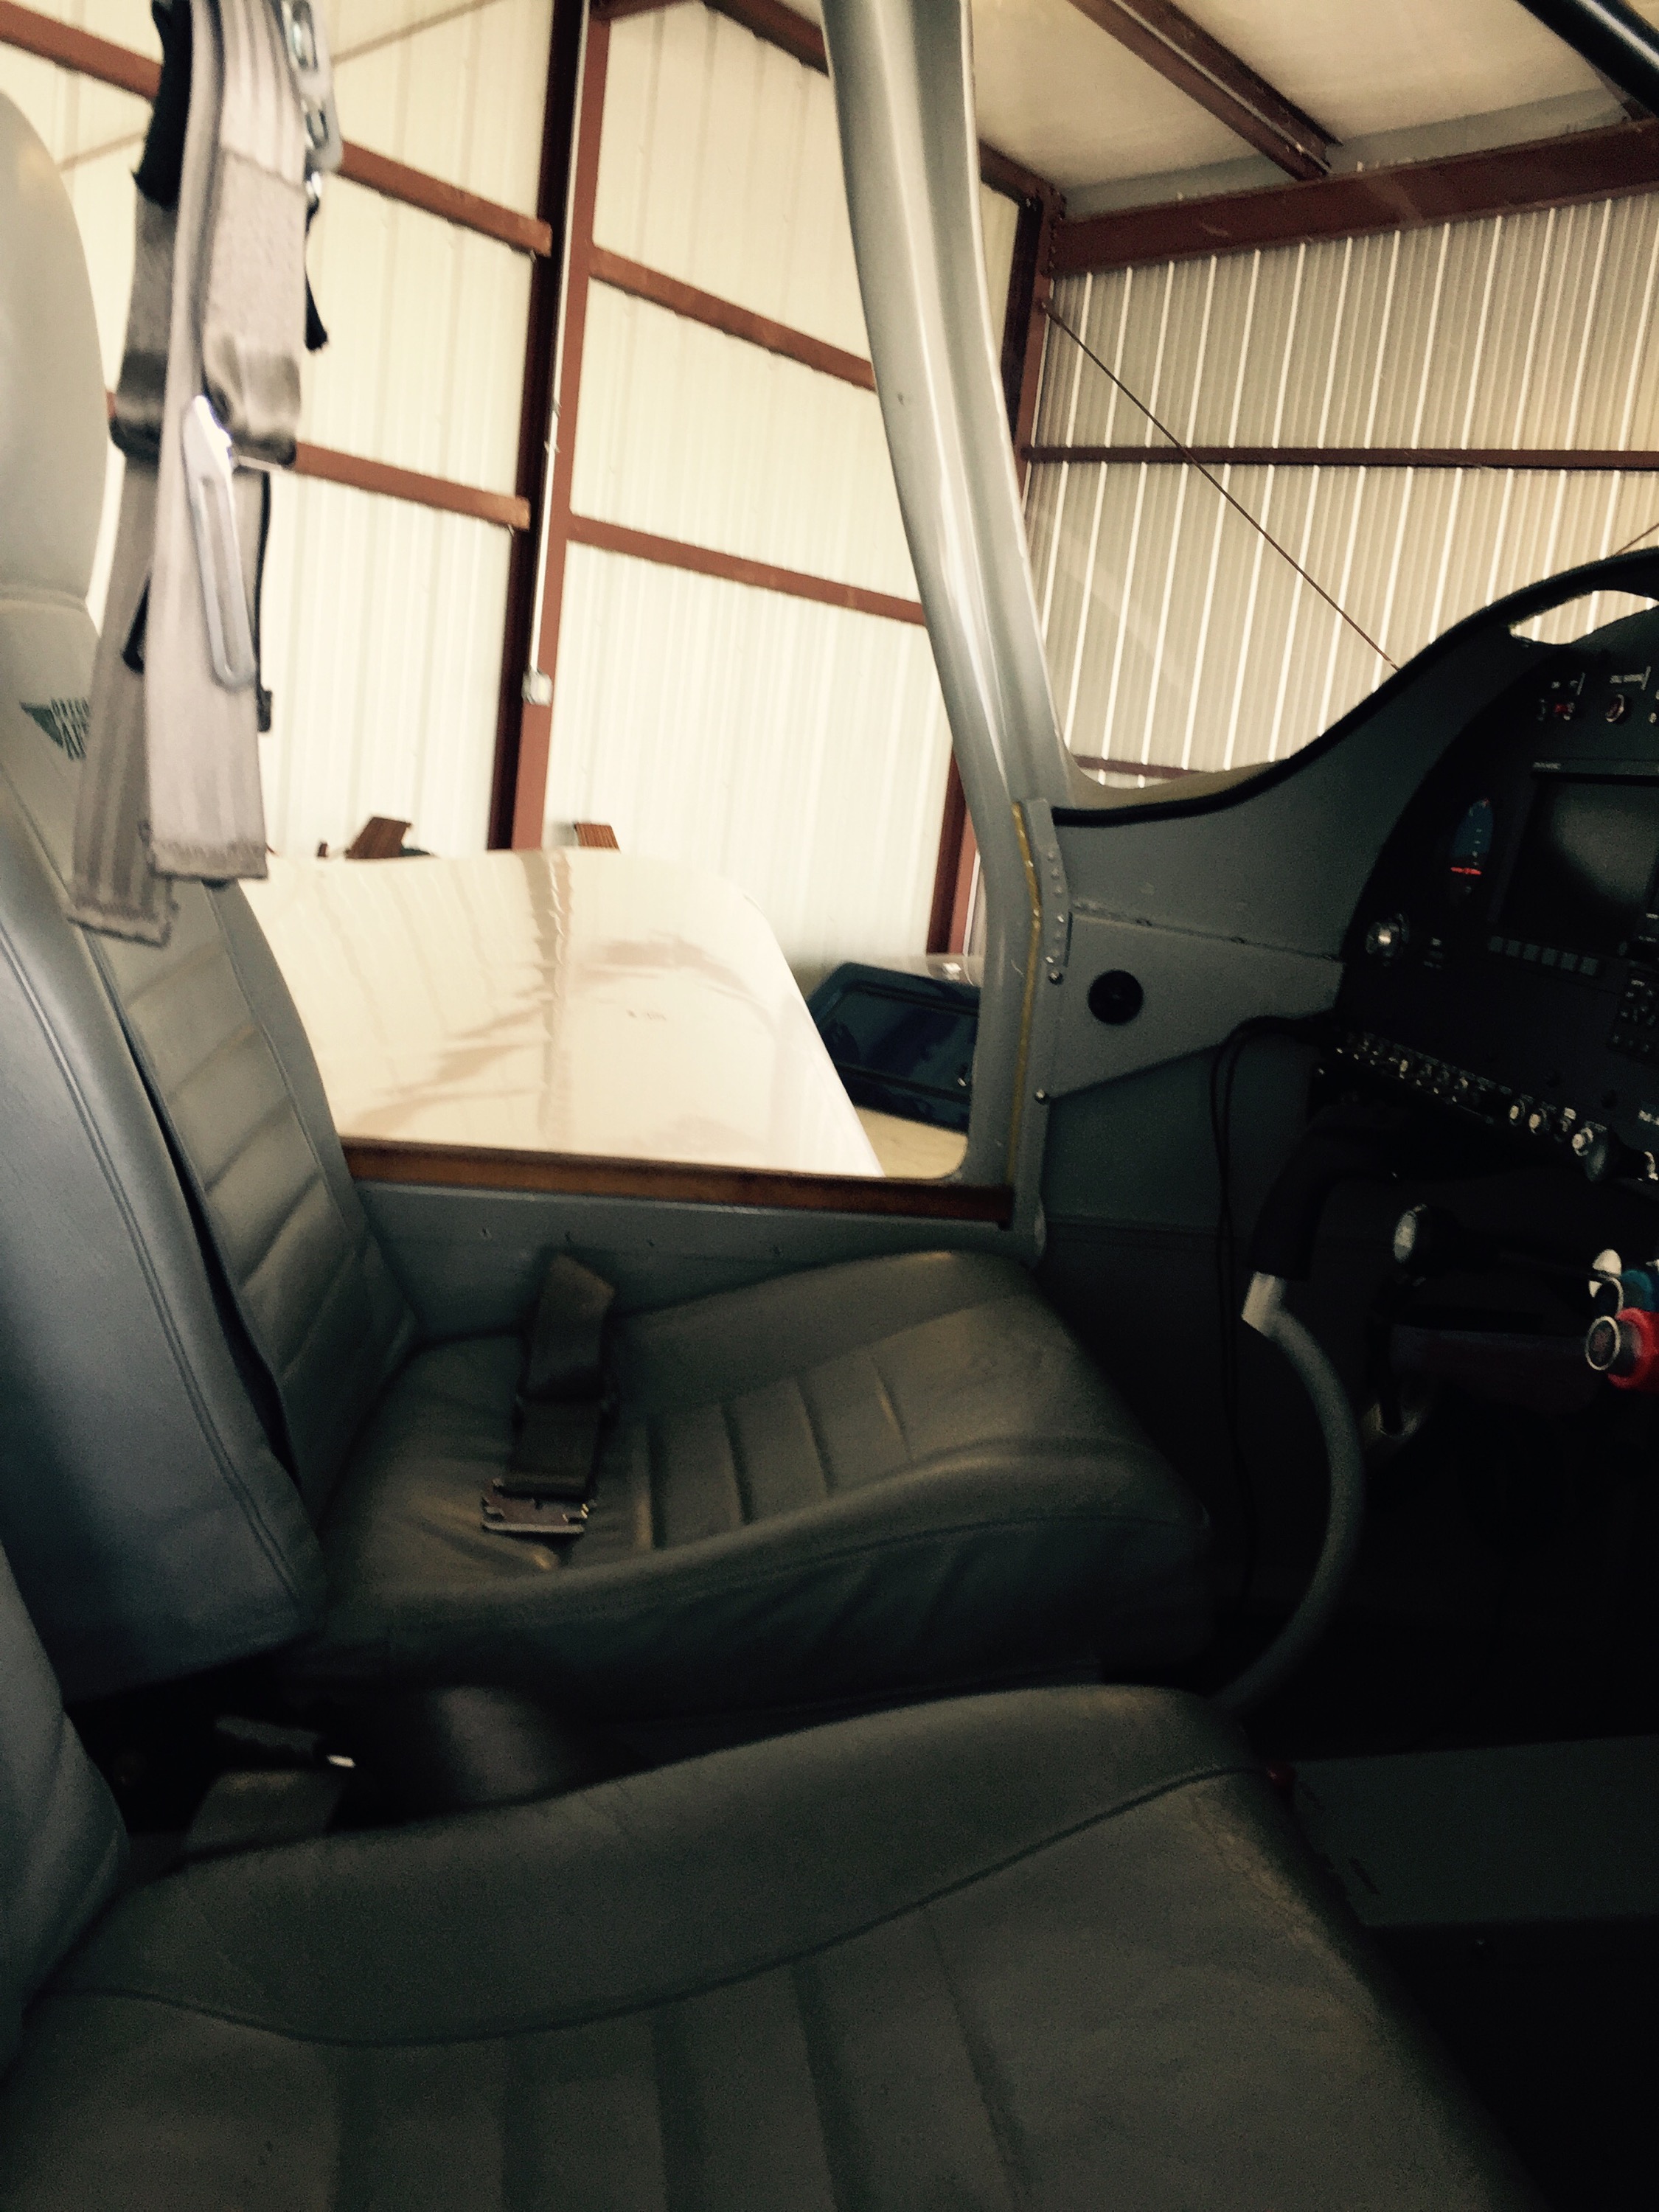
We talked a bunch as he pre-flighted the RV-10, and I took an opportunity to sit in both front seats and rear seats to get a good sense of the interior space.

We then taxied out and took about a 15-20 minute flight doing various maneuvers. Mitch took the opportunity to demonstrate the stability of the airplane by having me put it in a 30 degree bank and taking all hands and feet off the controls. The plane just stayed there, in that attitude, stable as could be. He commented that it would stay like that until it ran out of gas. I was relatively impressed with the plane, and it’s handling characteristics. Seems like it would be a perfectly suitable IFR platform, and a good cross country performer (160-170kts TAS) for our needs.

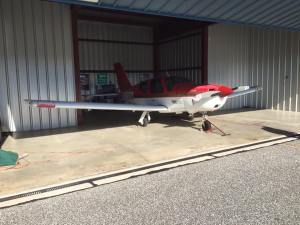
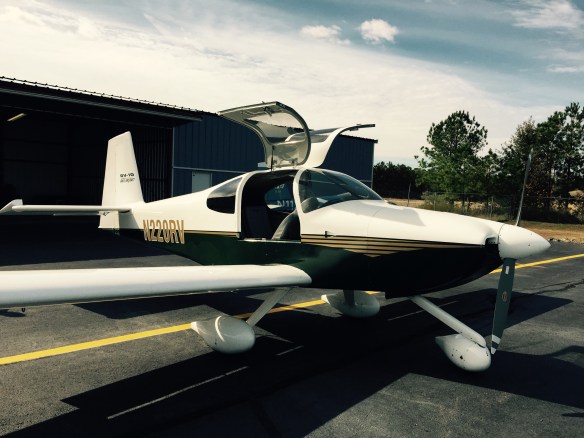
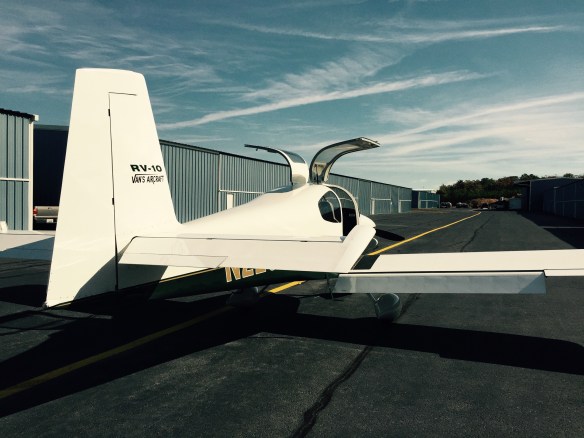
Some pics of the Van’s demo model:


 We then hung out with Mitch in his hangar asking questions, along with another couple who was there to see him next. It was a good Q&A session. I didn’t have a ton of questions, mostly because I feel I’ve done so much reading on the message boards, and various builders websites, that I have a pretty good idea of what to expect.

At some point we decided we should shove off and said our goodbyes. Mitch said he hoped he would have an opportunity to welcome us to the Van’s family someday soon.

We fueled up and then headed off to Concord, NC to visit with my college friend Kevin, and his wife, Becca, who had recently just moved from NH down to NC. We were already so far south, that it was only another hour and forty minute flight to get to their place. I had hesitated earlier on continuing on with this leg of the trip with the way weather was shaping up in NC for Sunday. But the forecast seemed to hold solid that the worst weather would be later in the day, and we’d be running away from it as we continued northeast bound, so I made the call to continue on.

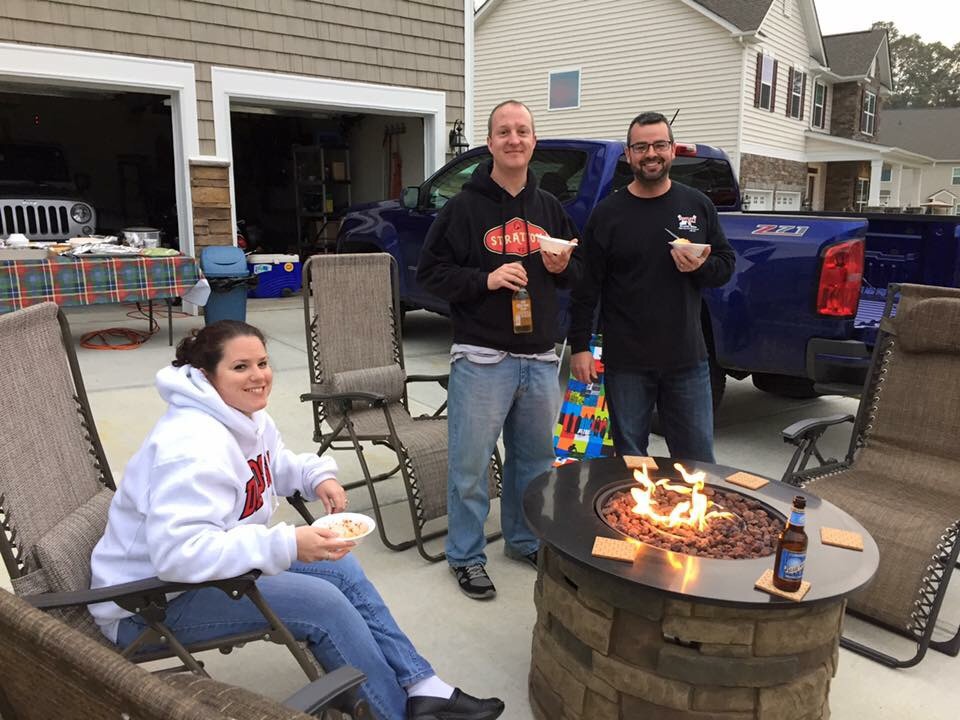
We had a great visit to their gorgeous new home, got to meet a good part of their neighborhood as it was Halloween and the neighbors got together to party while handing out candy to the kids in the neighborhood.


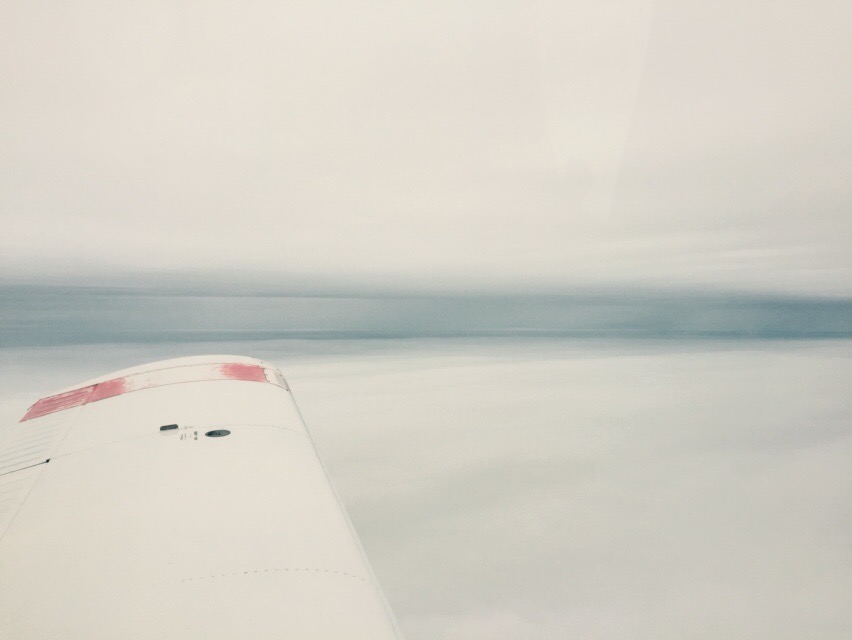
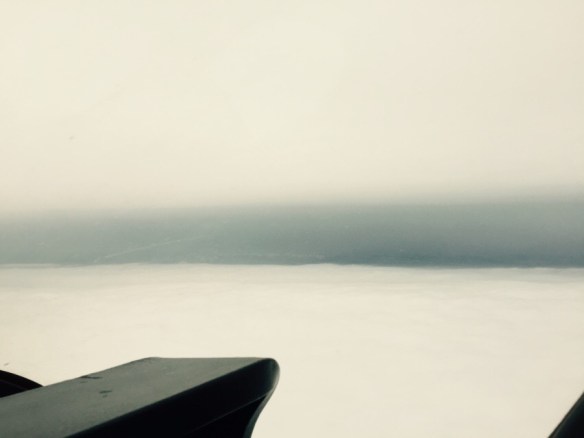
 Almost as quickly as the fun started, it was Sunday morning and we needed to depart for home. The weather was a bit scuzzy, at 500 overcast, 5 miles visibility, light rain, and no wind. Weather along our route was reporting improving conditions as we ventured along, so we launched for home. As soon as the wheels came up, we entered the scuzz. Less than 1000′ of altitude later, we were through the low-level crud and making our way home between cloud layers with some light precip, and a smooth ride. This was one of those days where having an instrument rating is so worth it. We made it home nonstop, with a slight tailwind, in 4 hours.


What a great weekend filled with friends, fun, and airplanes.