
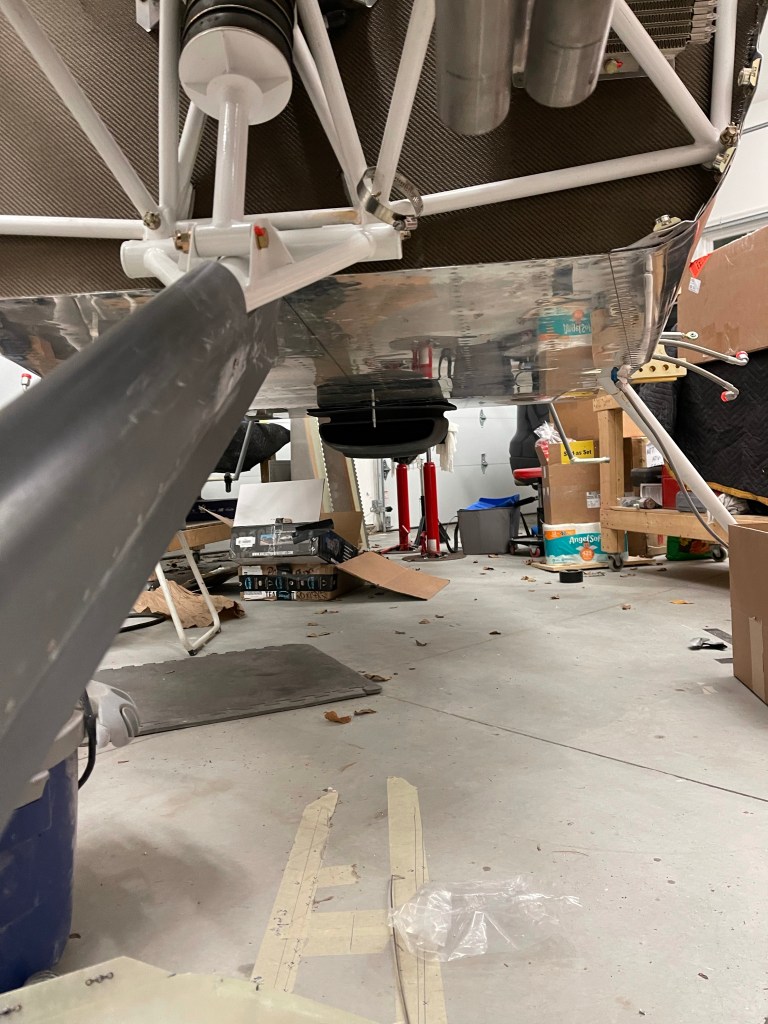
During various periods of downtime waiting for epoxy to cure or waiting on parts to come in.. I continued some work on the Air Conditioning Scoop that houses the Condenser on the belly. The first step was to mark the center line front and back as well as a line around the perimeter for the screw holes to line up to.

I then placed a string between the center point at the firewall and the center point at the tail to line up the centerlines marked on the scoop. A single hole was drilled for a cleco to hold the scoop in place fore and aft.

I then drilled approx 32 holes around the perimeter per the instructions making sure to not drill into any underlying structure. The corners are where you have to be really careful as they approach the rivet lines for the ribs.
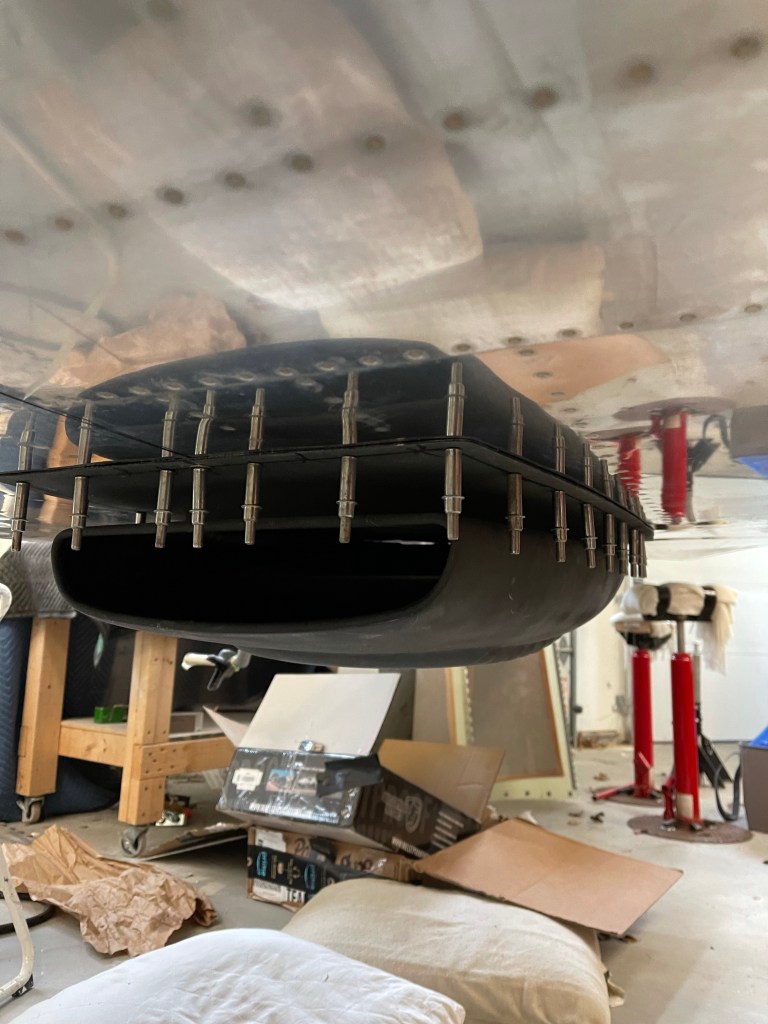
As most of these holes are blind and there is no access from the inside, I had to install rivnuts to accept #8 screws. I practiced on some scrap that I had prior to doing it for real so I could get a feel for the tool and how rivnuts work in general.

Below you can see the rivnut squeezed down and onto the metal on the inside holding it in place.

I enlarged all of the #40 holes that were drilled to the proper size (#2) for the rivnut installation. The holes on the scoop were countersunk to accept #8 flat head screws with a tinnerman washer.

Below is a picture of me using the tool to set the rivnuts into their holes with a small amount of red loctite on the barrel of the rivnut.
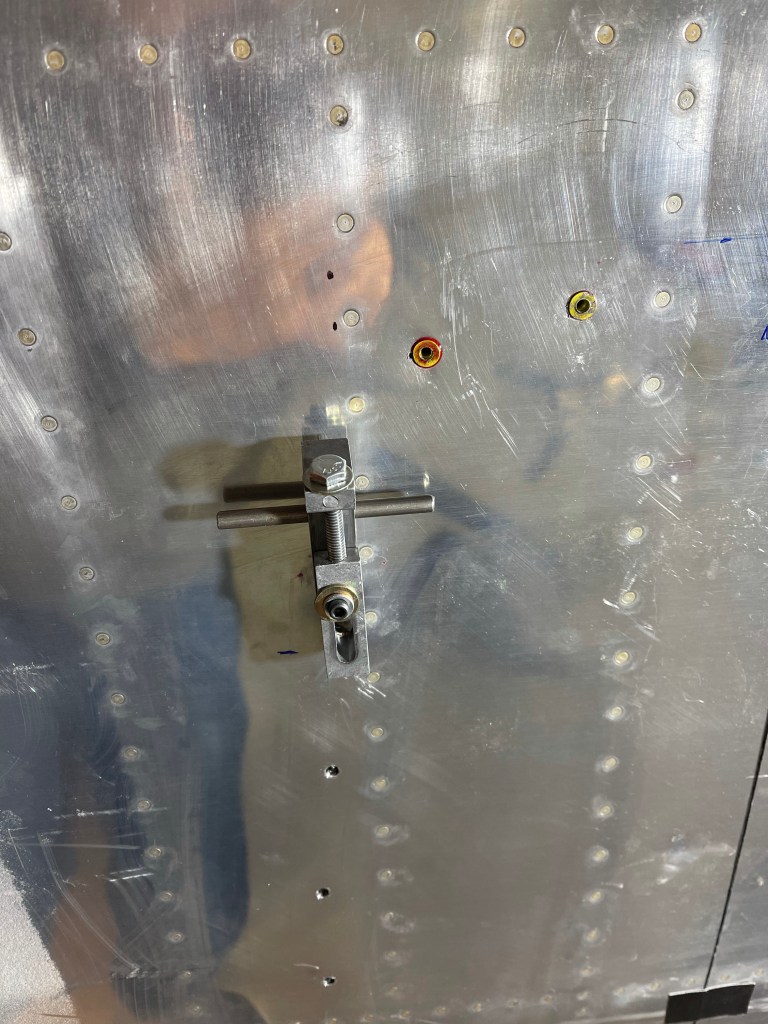
Each rivnut has a “key” feature on the inner face of it to help prevent it from ever rotating. A notch had to be added to each hole to accommodate this feature of the rivnut. An example is shown below. I used a flat file to do this..

Seeing I had previously removed the seat pans and baggage area floors on the right side, I oped to use nut plates instead of rivnuts in this area. Also any holes in the tunnel utilized nut plates as well. Given access, using nut plates will always fare better than rivnuts, which could potentially spin in the future and make it impossible to get the screw loosened or tightened without drilling it out.
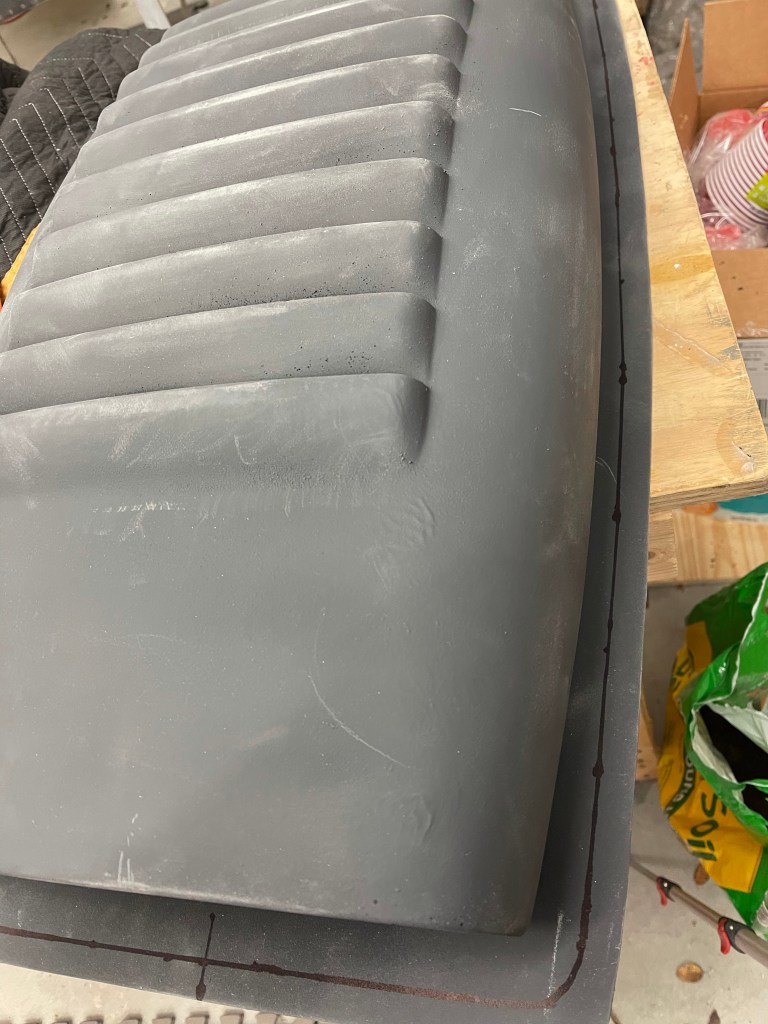
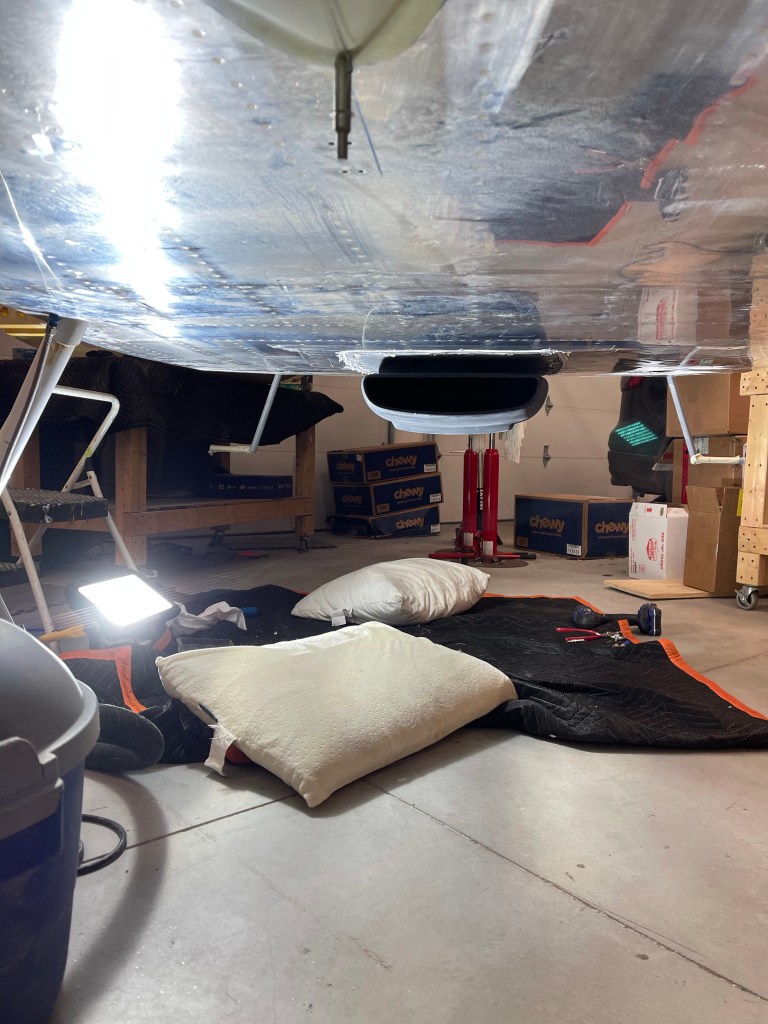
One of the thing about the scoop, is it didn’t sit very flush to the bottom of the fuselage skin.. so I applied packing tape to the bottom skin in the area and then applied a generous amount of micro around the flange and screwed the scoop into place to cure and fill in the gaps etc.. between the scoop and the skin.


Once cured, I took the scoop off and sanded around the perimeter of the flange. (shown below prior to sanding.

The next step is to put the condenser coil in place and work on a template to drill holes into the bottom skin for the hose connections inside of the plane.
