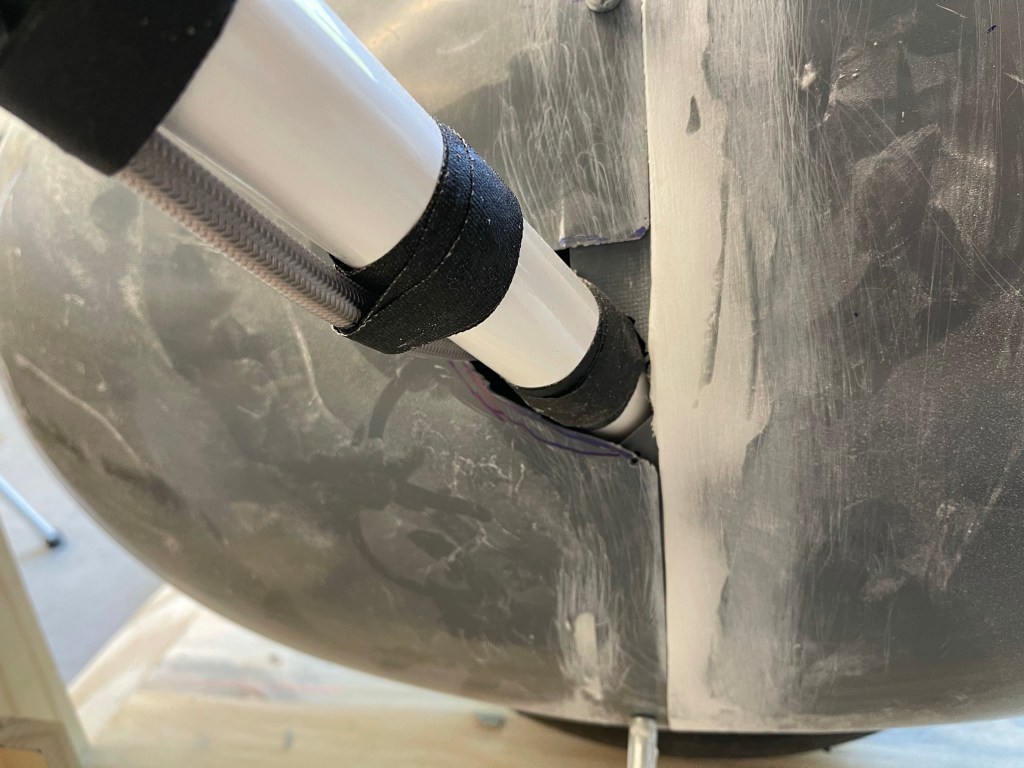
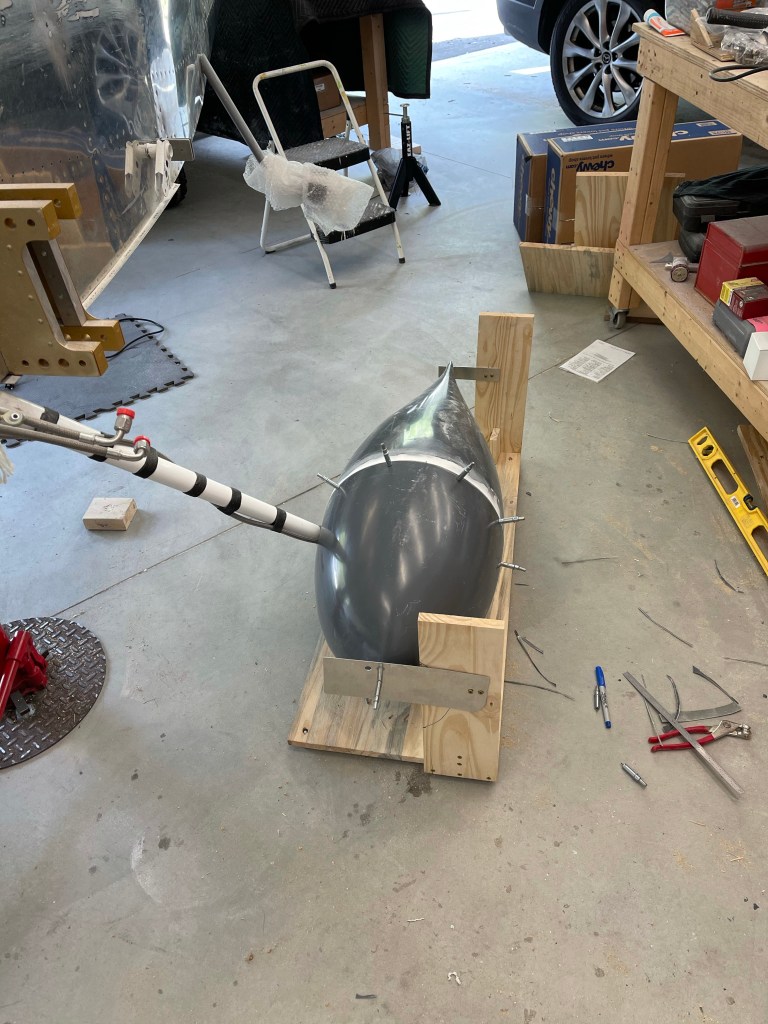
With the jig leveled off and touching the bottom of the tire, the rear of the gear pant was put into place to trim a small amount to accommodate the gear leg. You continue trimming until the gear fairing extension hole is coincident with the aft “step” of the flange on the pant. then just make sure that you have some small gap all the way around the gear leg.

Then the same thing is done with the front pant. Trimming until you can fit it on the rear and have a small gap around the gear leg itself. One thing I did a little different on the right side (the 2nd one I worked on) was to mark out the extended centerline sooner and have the alignment of the pant at least close to where it needs to end up. On the left, I was slightly off and ended up trimming more than I should have. Nothing that the intersection fairing won’t cover up, but still a little too much. The plans don’t really have you aligning things to the centerline until after the trimming is done..
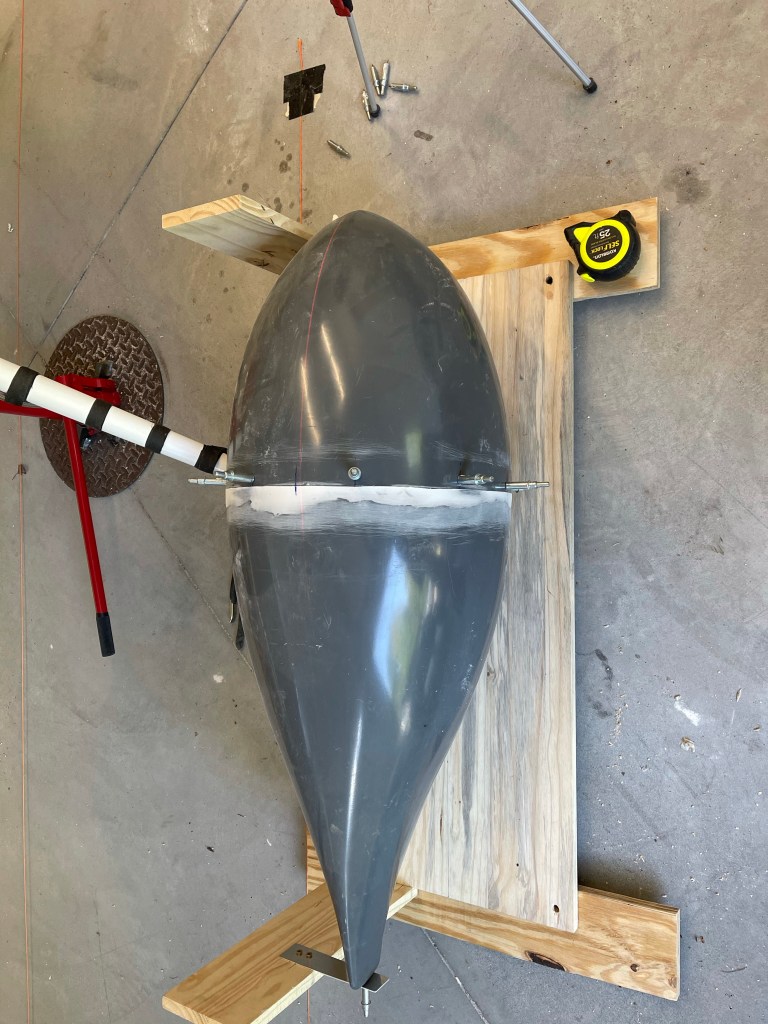
I then dropped a plumb bob on the centerline of the plane and marked it with a string.
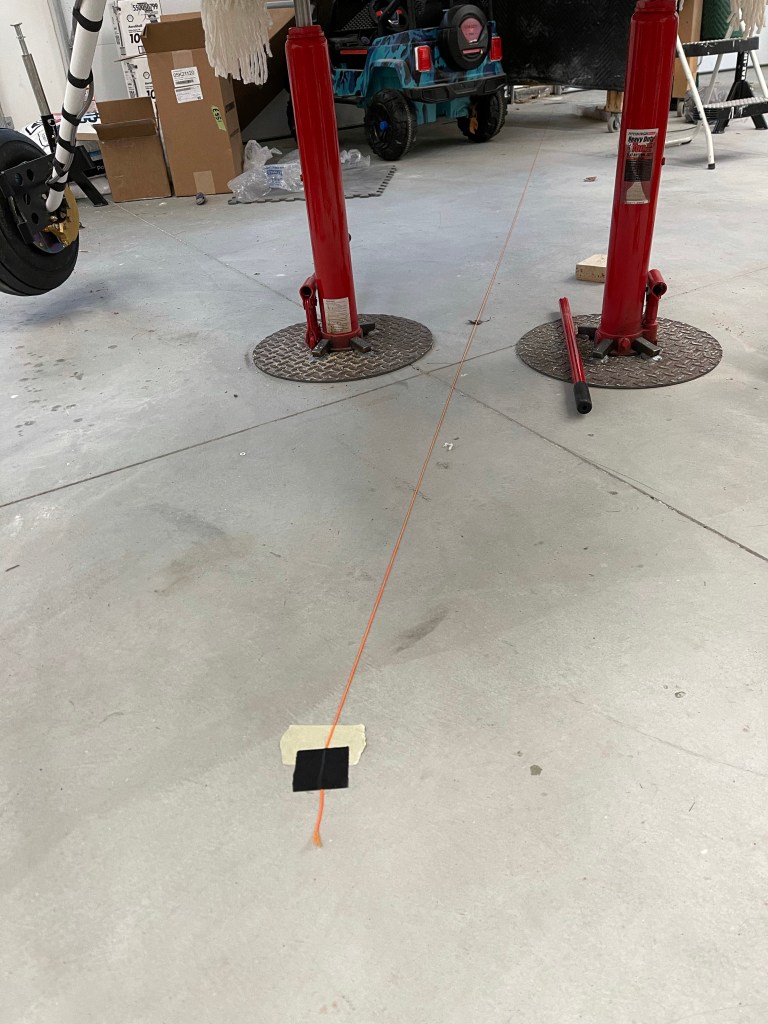
I then took a square and measured a random distance over that would provide a good displaced centerline reference closer to the pant/jig itself. I also used a string to mark this on the floor.
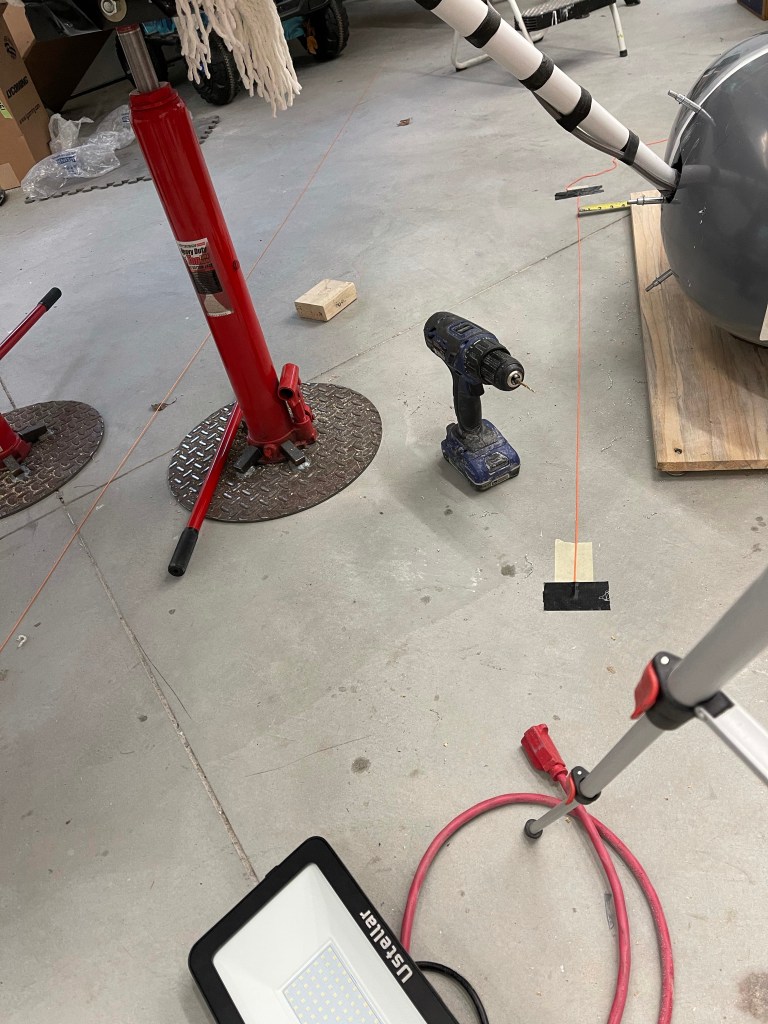
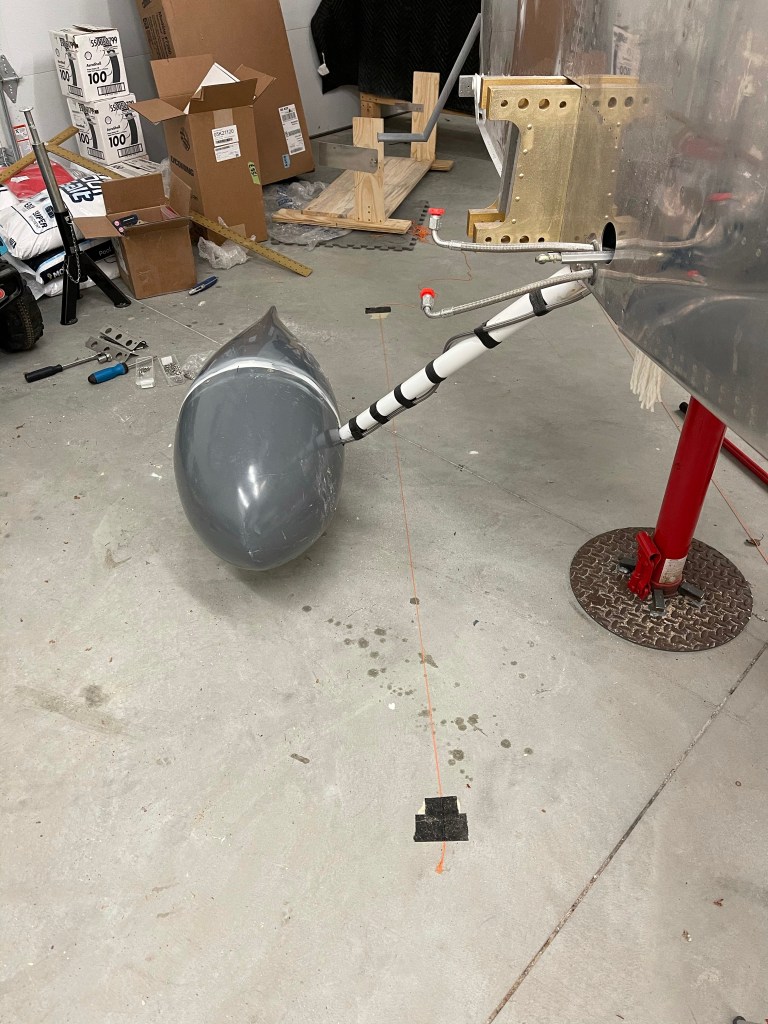
The jig and pant combo was then aligned to the centerline by marking the centerline of the pant in the jig and making sure the measurements from the displaced centerline to the jig centerline matched as perfectly as possible front to back. It’s then that you drill the holes through the pants lining up with the holes in the fairing brackets. This is done by shining a light on the inside so you can see the outline of the hole against the gel-coated fiberglass surface. Once those holes are done and oblonged as needed to align things perfectly.. The area on the inside of the pant, where the screw goes through and mates with the fairing bracket needs to be beefed up with flox. This was done by drilling several small holes around the screw and squirting the epoxy/flox/cabo mixture into them with a syringe.
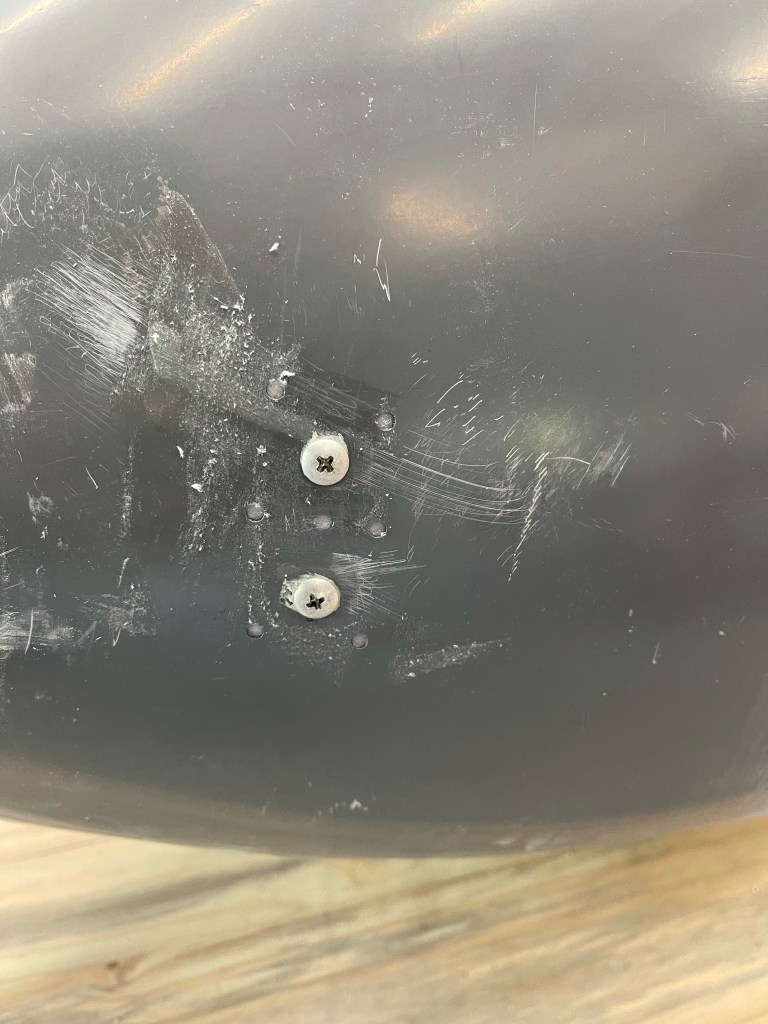
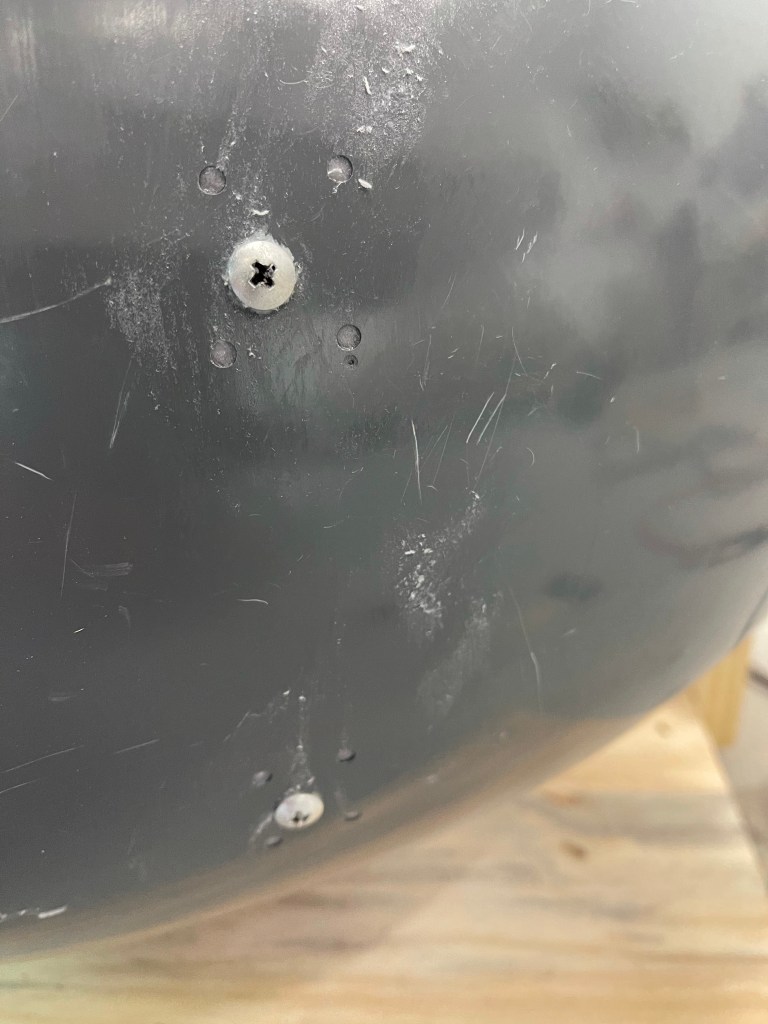

You then also beef up the area where the gear extension is with a flox/cabo mixture. After that cures, you take the pants apart and place nut plates for #6 screws where the cleco holes were.

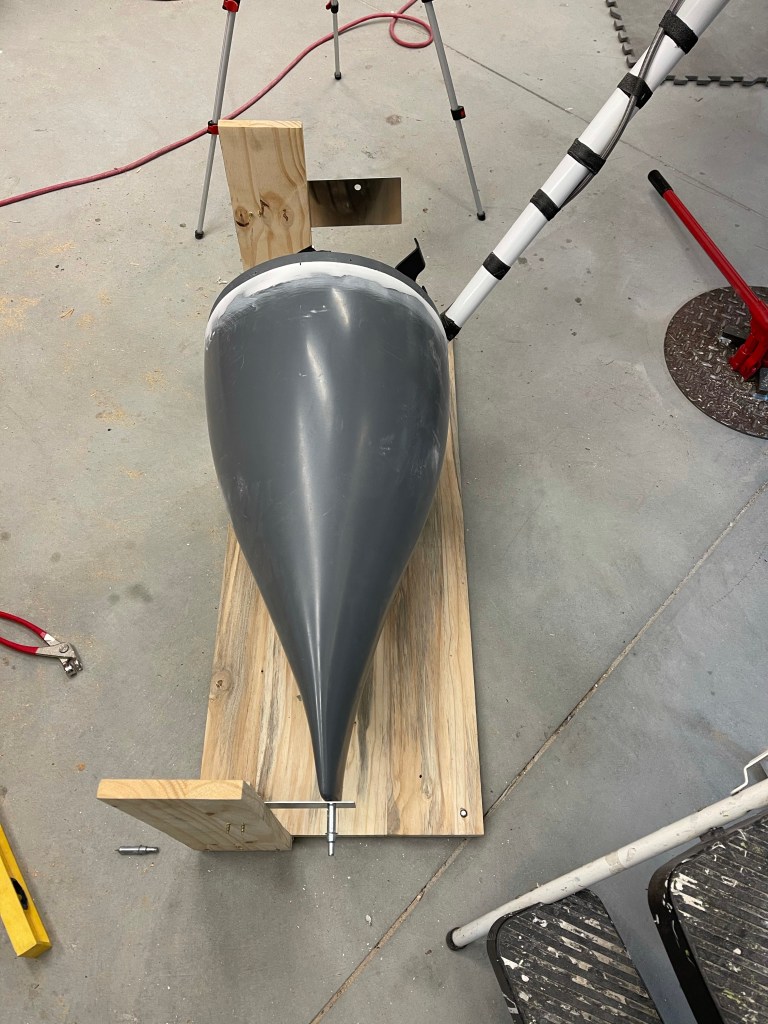
All of the same things were repeated on the right side. Below are some better pics of the trimming reliefs for the gear leg.