
Another task to do before the engine arrives and gets hung is to install the wheel pants and leg fairings. This step requires you to jack the plane up to get the weight off the wheels. I’d like to get this step done now before the plane bulks up another approx. 400lbs. Otherwise I’d likely end up waiting until the wings are on and jacking it up by the tiedown locations, which means I’d probably procrastinate and have to do this after I’m flying.
You start the wheel pants by sanding the two halves of the pants where they are built up to make them fit together well. The plans then have you trim/sand the front flange as required to get a square fit. This was accomplished by running a sharpie around the circumference of the pant on a flat table. I then trimmed to that line.

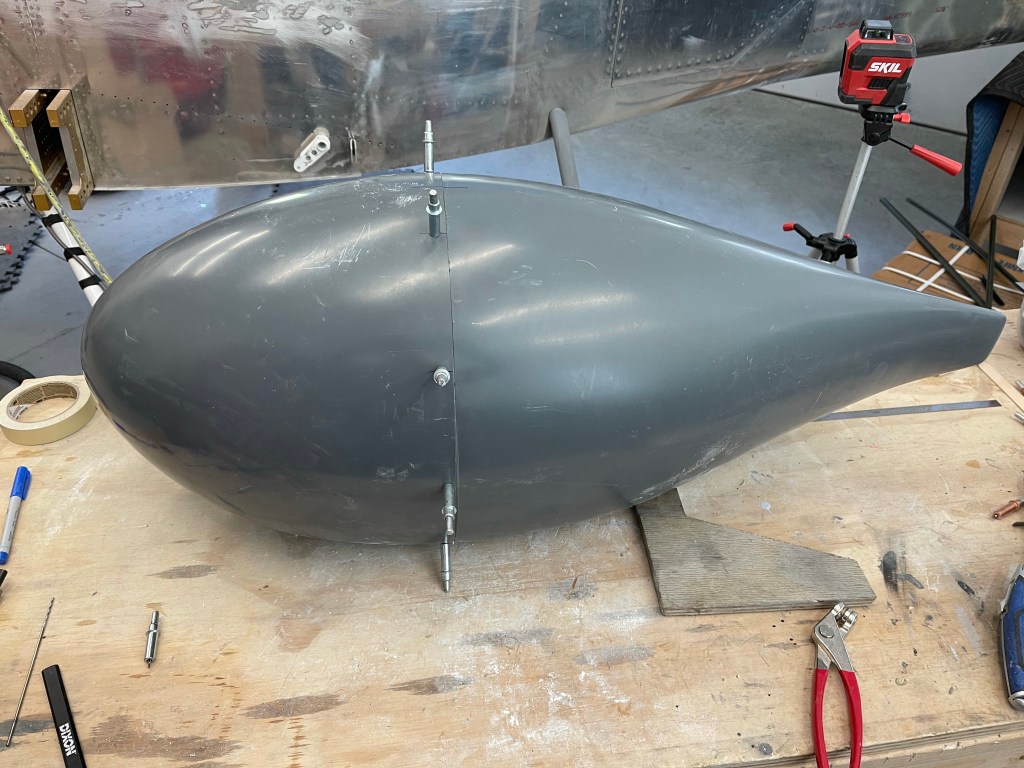
The next steps have you find the vertical and horizontal center of the aft end of the pant. The use of a laser level helps here.

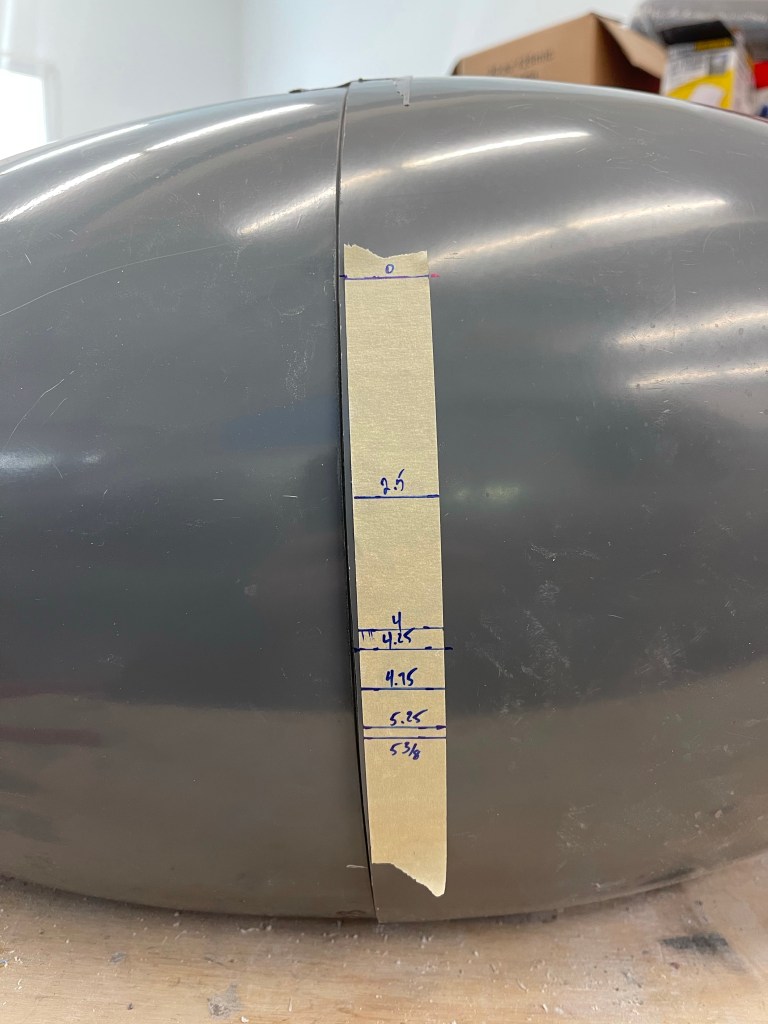
You then mark the locations to drill holes to mate the two parts as called out in the plans. I used a piece of tape with the various measurements needed to accomplish this paying attention to left vs right as the dimension are different on each side and are mirror images of each other.
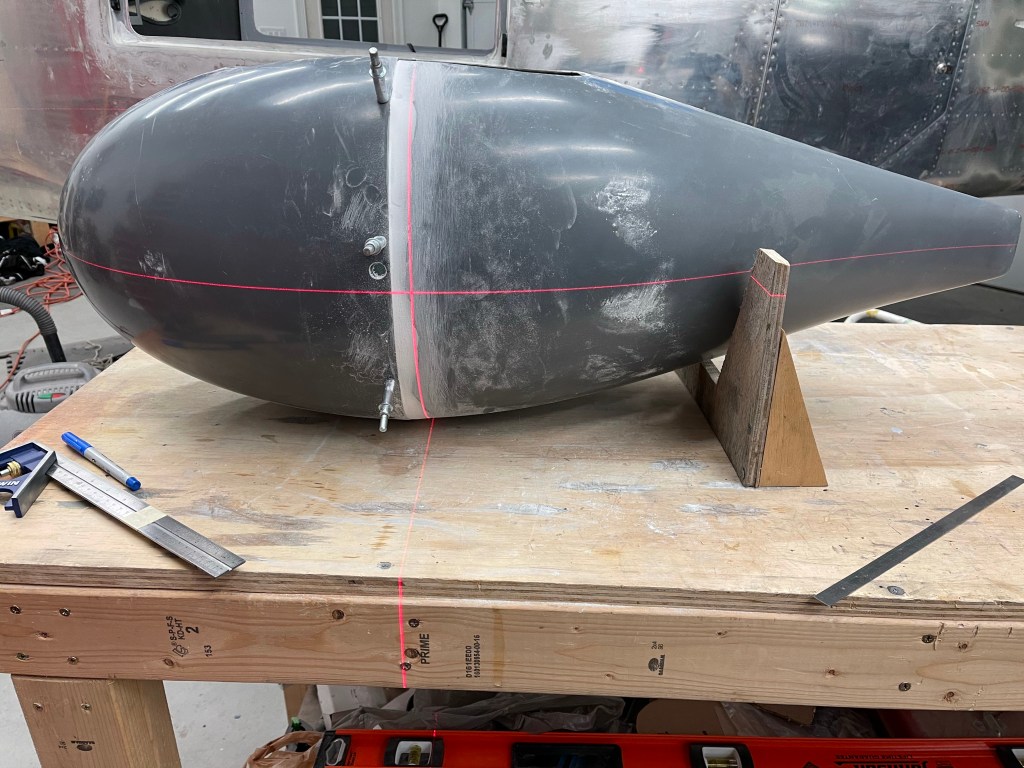
The next task is to mark the equivalent horizontal mid point on the front of the wheel pant. You use a wooden fixture to help hold the pant into position while making sure the aft end is at the plans specified height. Also making sure to make sure everything is plumb and square.

Again a laser level makes easy work to transcribe this line to the front of the pant. I used the square with the tape mark on it to double check that is was correct.
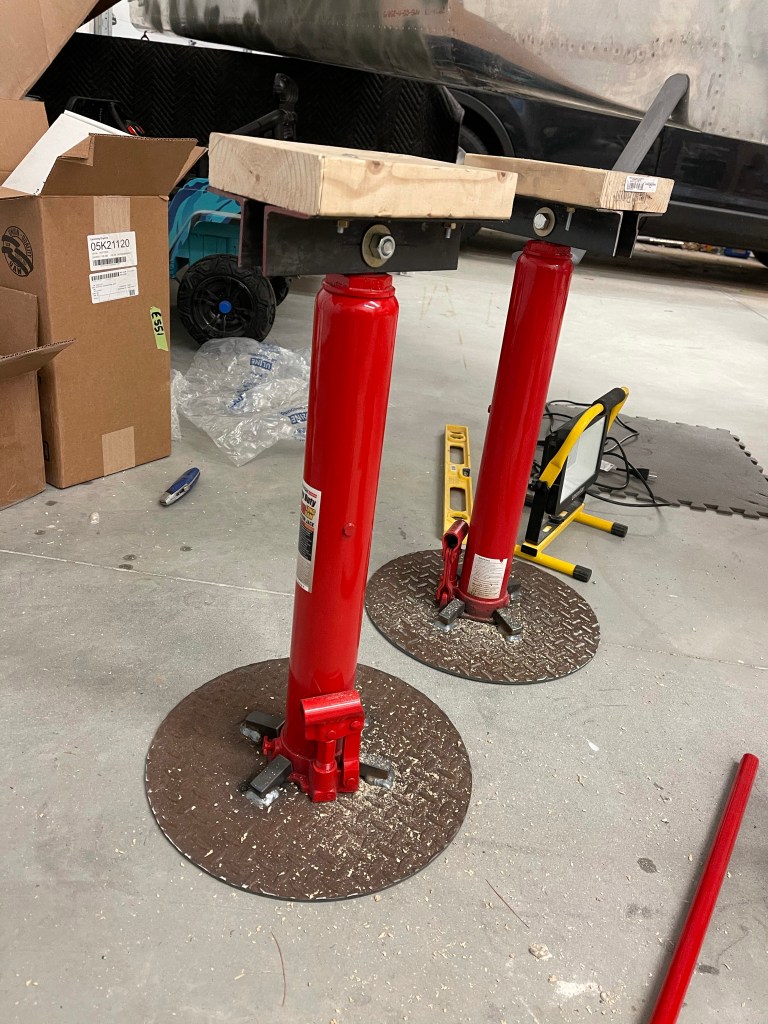
Now comes the point where you need to jack up the plane. The plan is to place jacks under the main wing spar on either side of the plane and jack up the plane. Then you must make sure that the plane is in flight level attitude as described in the plans. Levels were used to confirm this. I had some adjustable screw-style jacks that I had planned to use for this, but what I found out is that the adjustable height nature of them made for too much wobble side to side, which made me very uncomfortable. The one thing you do need to make sure of is that you’re careful when jacking this thing up entirely off the ground. It can easily fall off the jacks and cause damage or worse injury… So I decided to go buy better jacks that I’ve seen many people use from Harbor Freight and have a local guy weld some bases on so they won’t tip over. I will most likely be using these on at least an annual basis during condition inspections to lift the plane up, so the investment is not wasted.
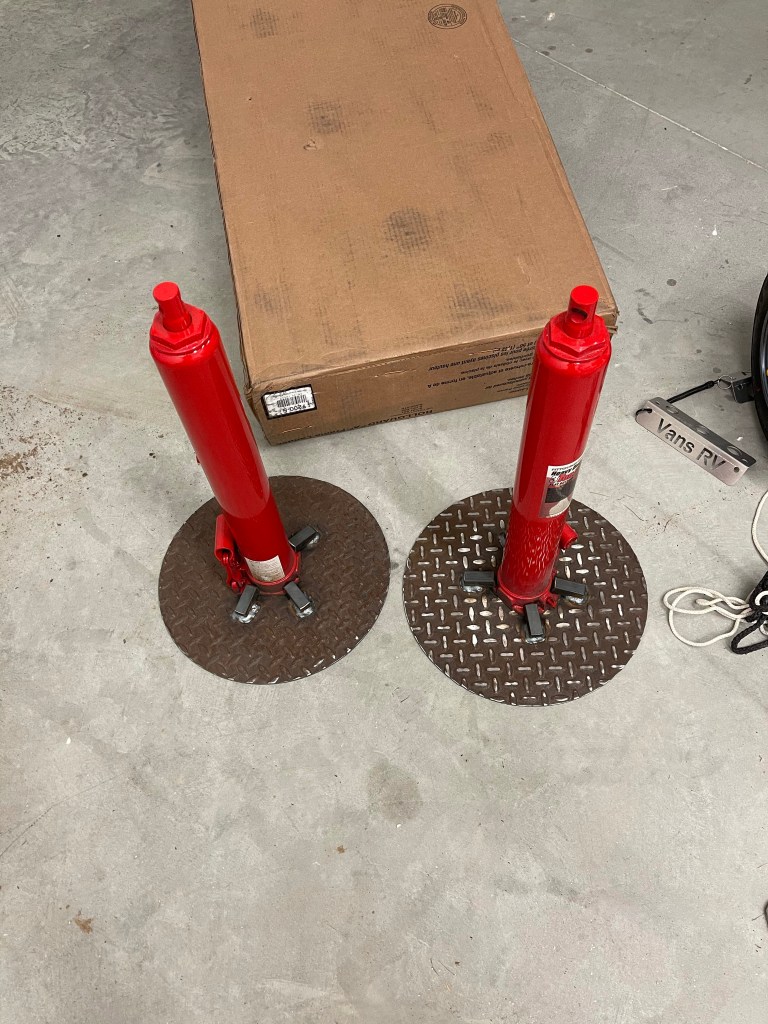
I then used some steel angle I picked up at the hardware store and a length of 2×6. I make 1/2″ holes on one side to go through the large hole at the top of the jack and a couple of holes to attach the 2×6 to the angle with a couple of bolts per side. I then added padding to the 2×6’s and the end result was much more stable.

I then worked on making a jig to hold the pants into position for me as I’ve seen others do. This will help hold the pant perfectly in place the correct distance to the “floor”, which becomes the top surface of the jig. In each corner there are adjustable feet so I can get things perfectly level.
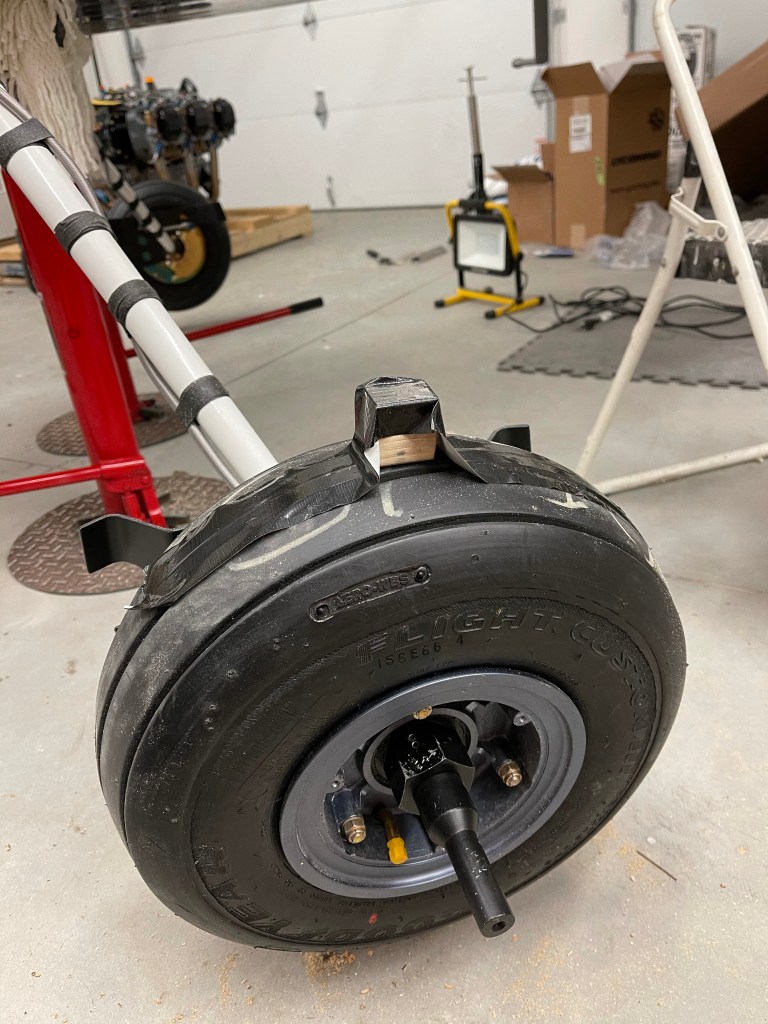

Up next is to start drilling holes and getting the pants properly lined up on the wheel assembly itself.
