
A long overdue update… Finishing the cabin top paint has dragged out longer than anticipated… After some discussion on VAF, I decided to use PPG paints. The suggested method was to use a darker epoxy based primer (like PPG DPLF) and then spray their K36 high build primer over it, wet on wet application. The darker DPLF serves as a guide coat of sorts, but also helps with adhesion. You spray 1 coat of the DPLF let it flash and then spray two coats of the K36. Let it dry, then block sand it stopping if you ever see dark come through. Clean up and do it again. The idea is to sand down the highs, while building up the lows and get something that is optically flat in the end. Knowing that these paints are pretty toxic and smelly.. I first had to setup a spray booth in my garage in order to exhaust all the fumes and overspray out. I looked online and at what a few others had done and built a 10×12 booth out of 1.5″ PVC, plastic sheeting, and a lot of duct tape. This took a while as I had to get all the supplies and do the build itself.


I decided to buy a 12″ “Explosion proof” fan for the exhaust. This basically is a sealed motor type of fan. I’ve seen many people say that they’ve successfully used a standard box fan from Walmart or the like, but I wanted to be as safe as possible and not risk blowing up my house. I am using 20″x20″ furnace filters; 2 for the inlets; and 1 for the exhaust. I am using standard 20″ box fans for the inlet air as those blow shop air into the filter and shouldn’t have hazardous fumes passing through them. A single 20″x20″ furnace filter would catch most of the over spray prior to being sucked out by the exhaust fan.


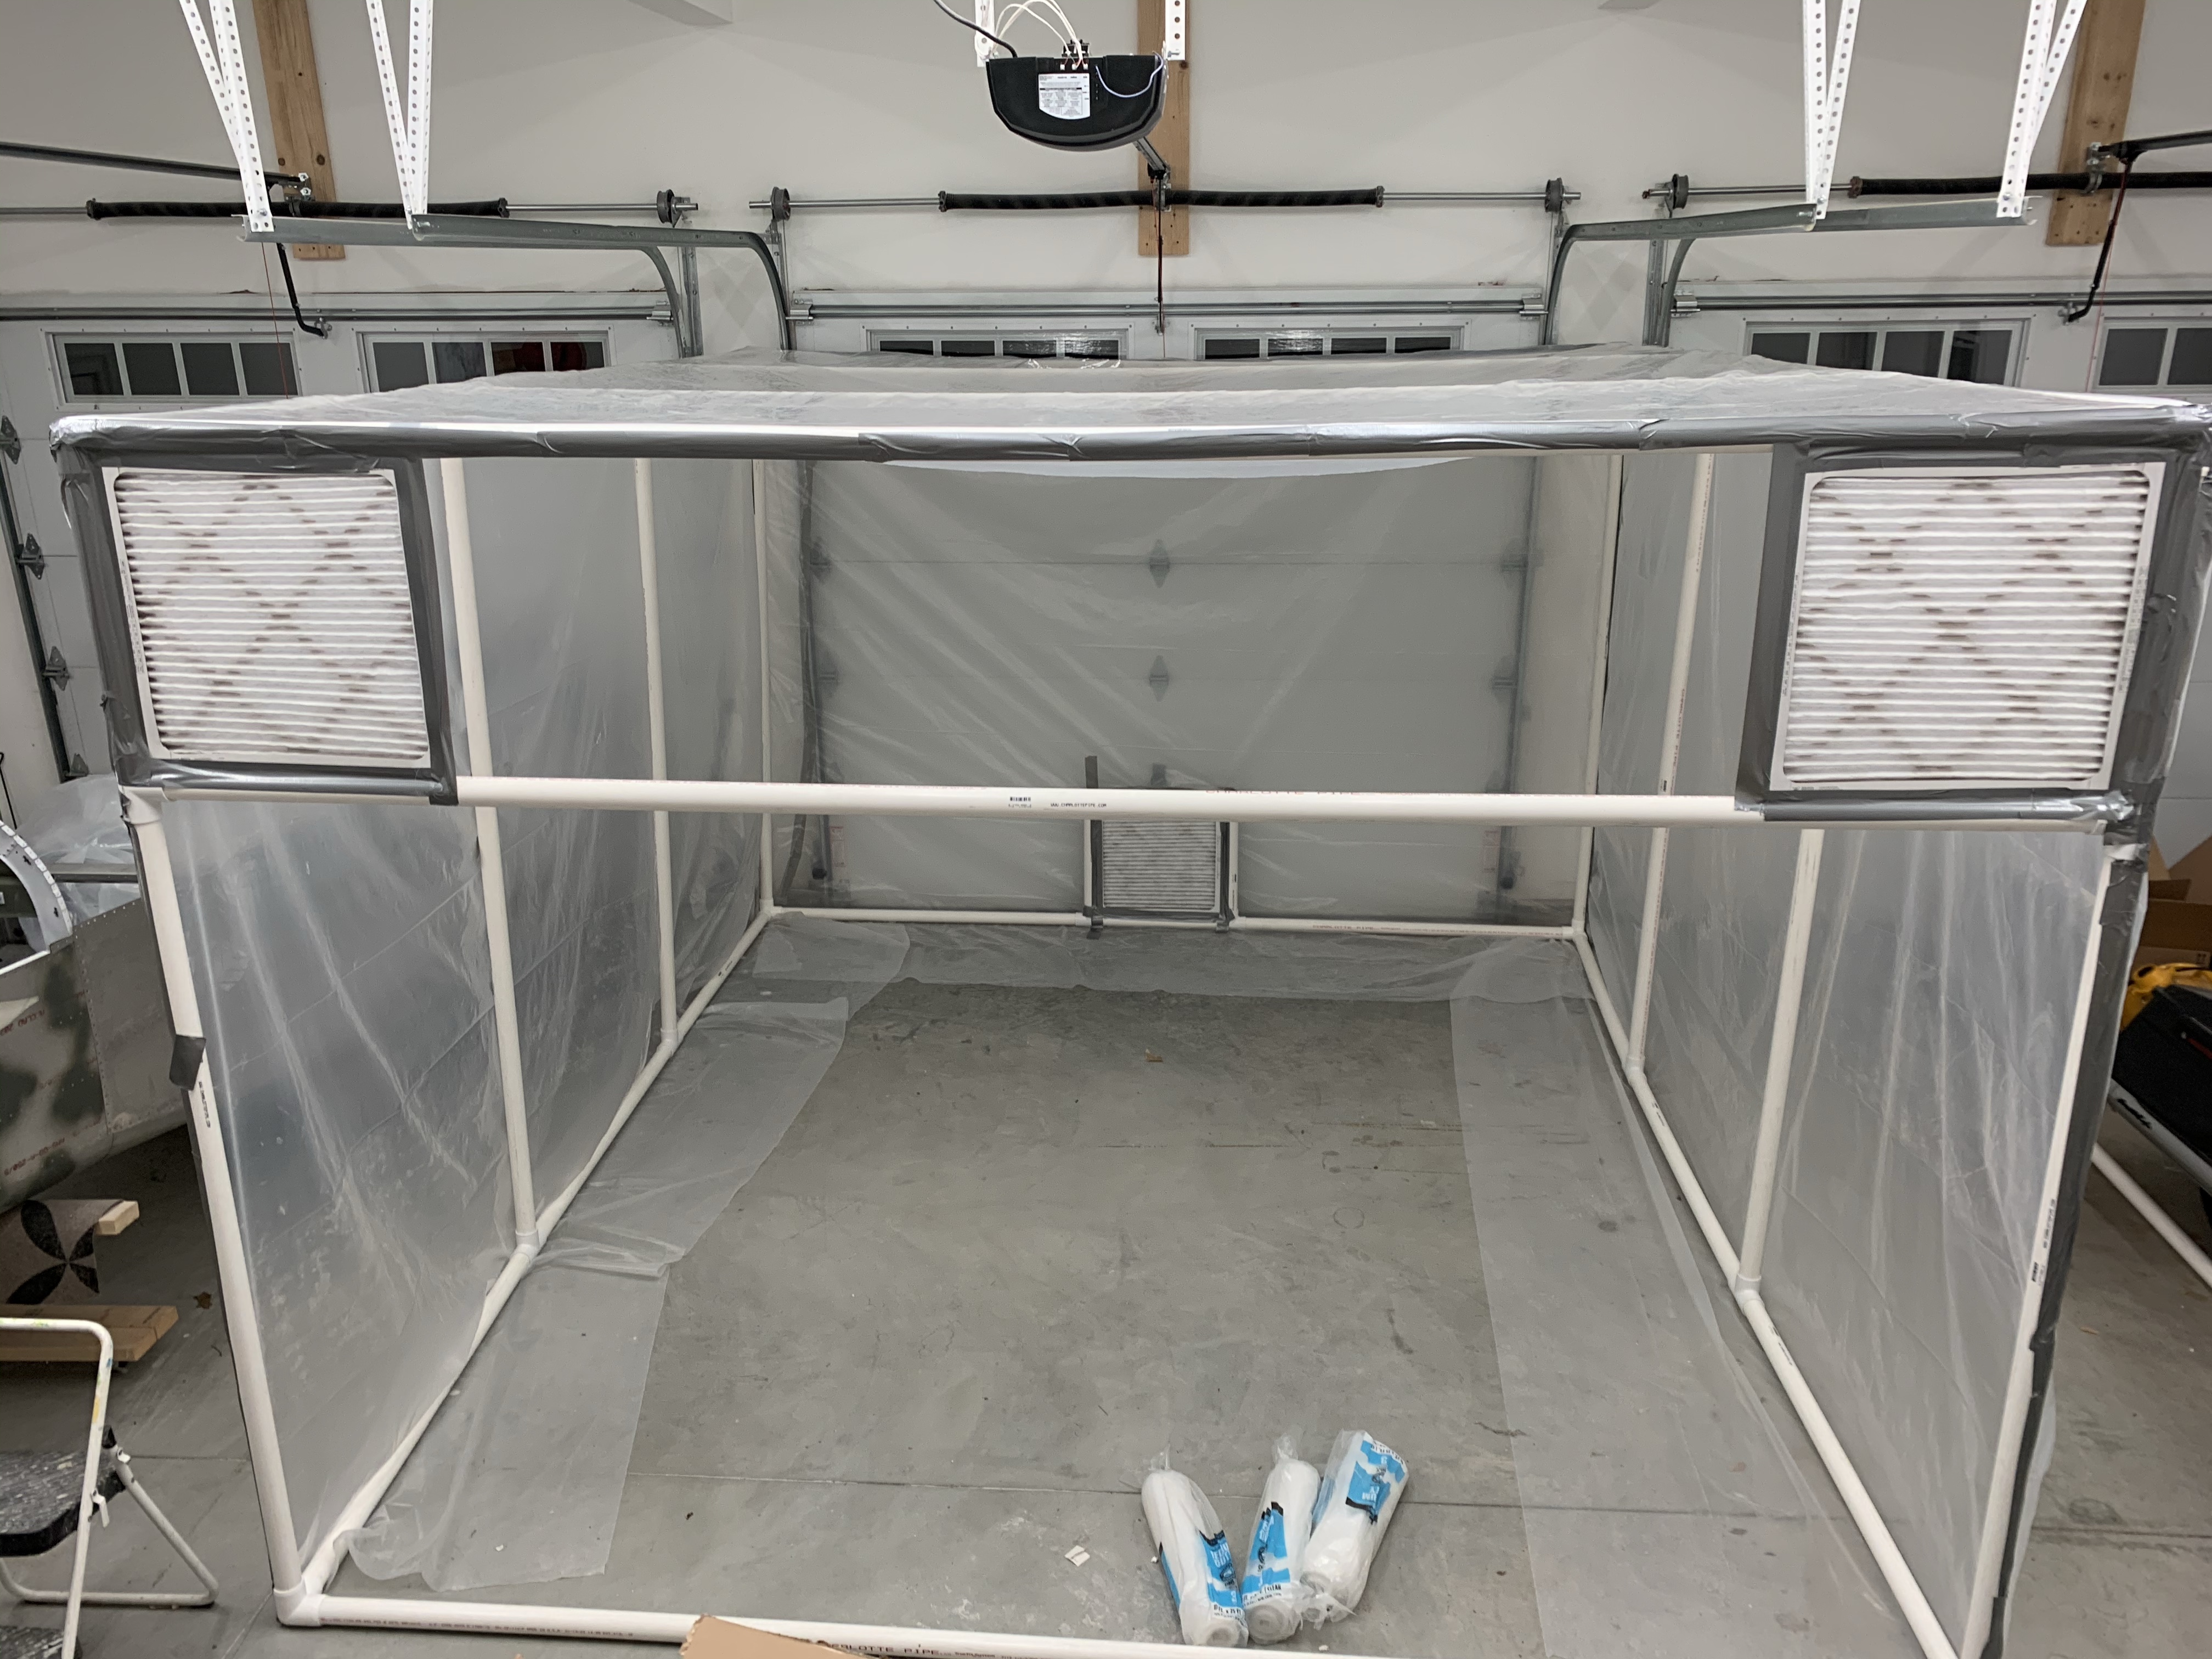
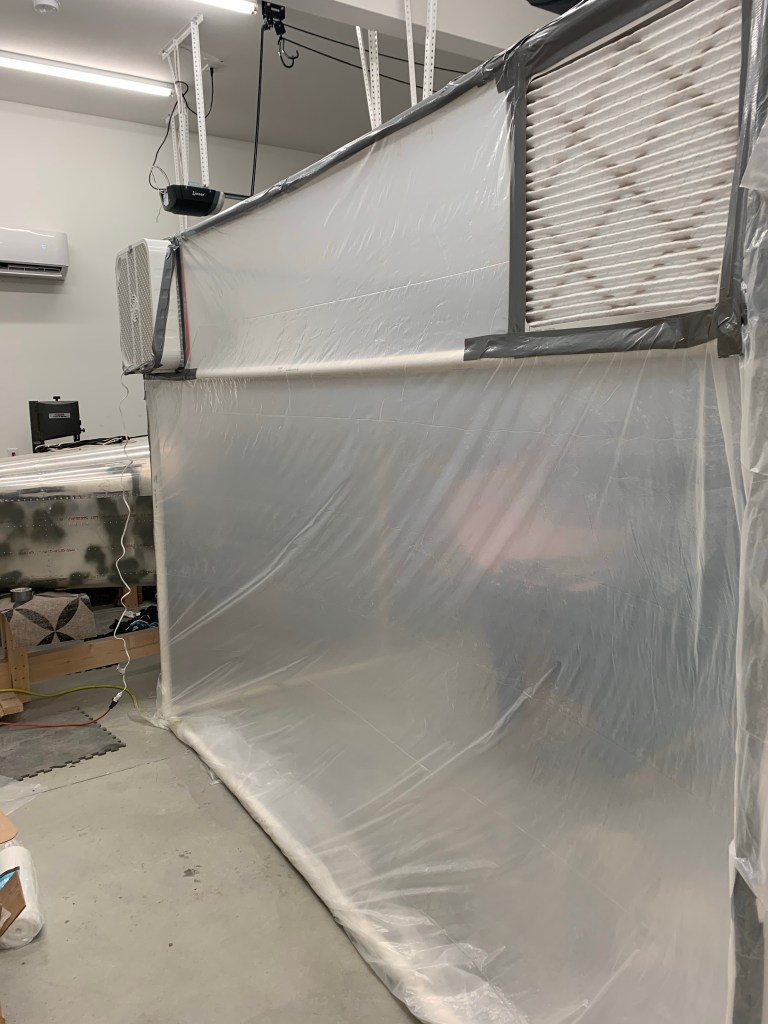
I was going for a negative pressure booth and as I got to testing it, I believe I achieved it as the plastic side walls were being sucked inward with the fans on. In this pic, I only have 1 inlet fan, but did add a 2nd one for more airflow.

The next several pictures are of various stages of the DPLF and high build application. I didn’t take many pics of the black DPLF, because I had to spray the K36 high build about 5-10 minutes after applying the DPLF, so it didn’t leave a lot of time to take pics.


The interior I’m going after is a two-tone graphite and Oxford white combo. Aerosport told me that their fabrics closely match SEM based paints. So I asked my local PPG dealer to make that color for me wanting to stick with PPG paints at this stage. They were really great to work with. Here is the Oxford White paint for the Cabin Top.

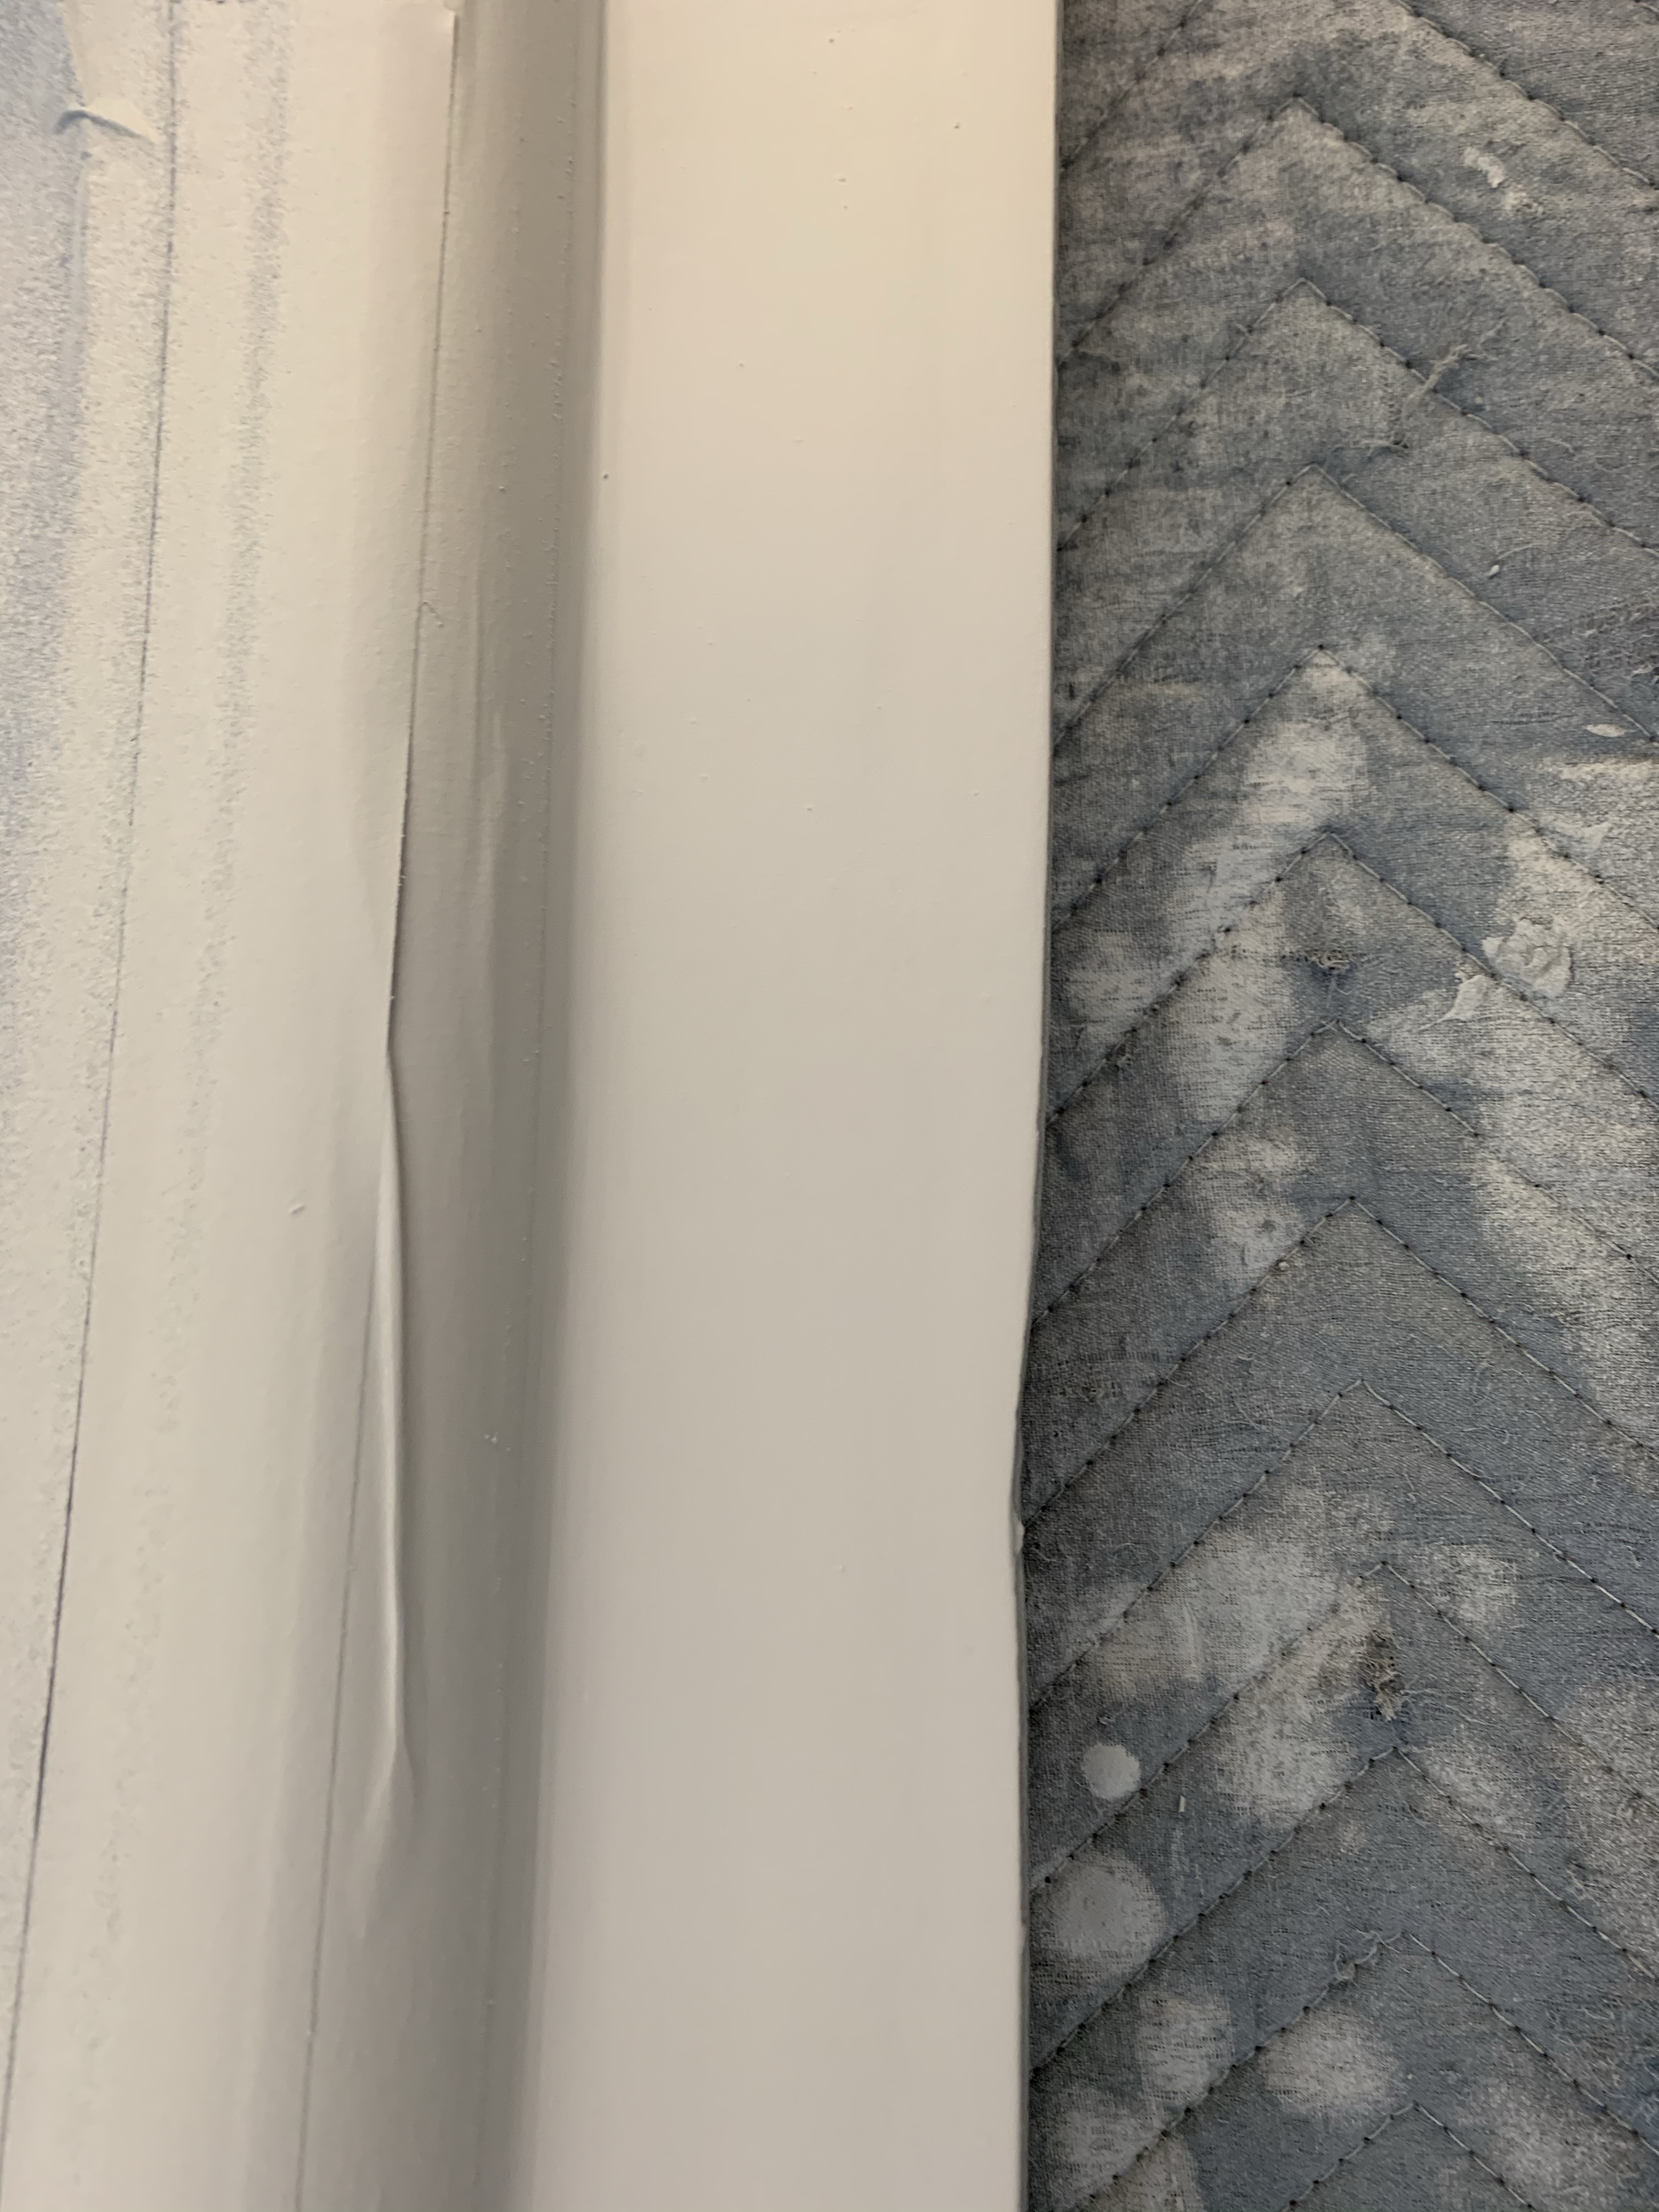
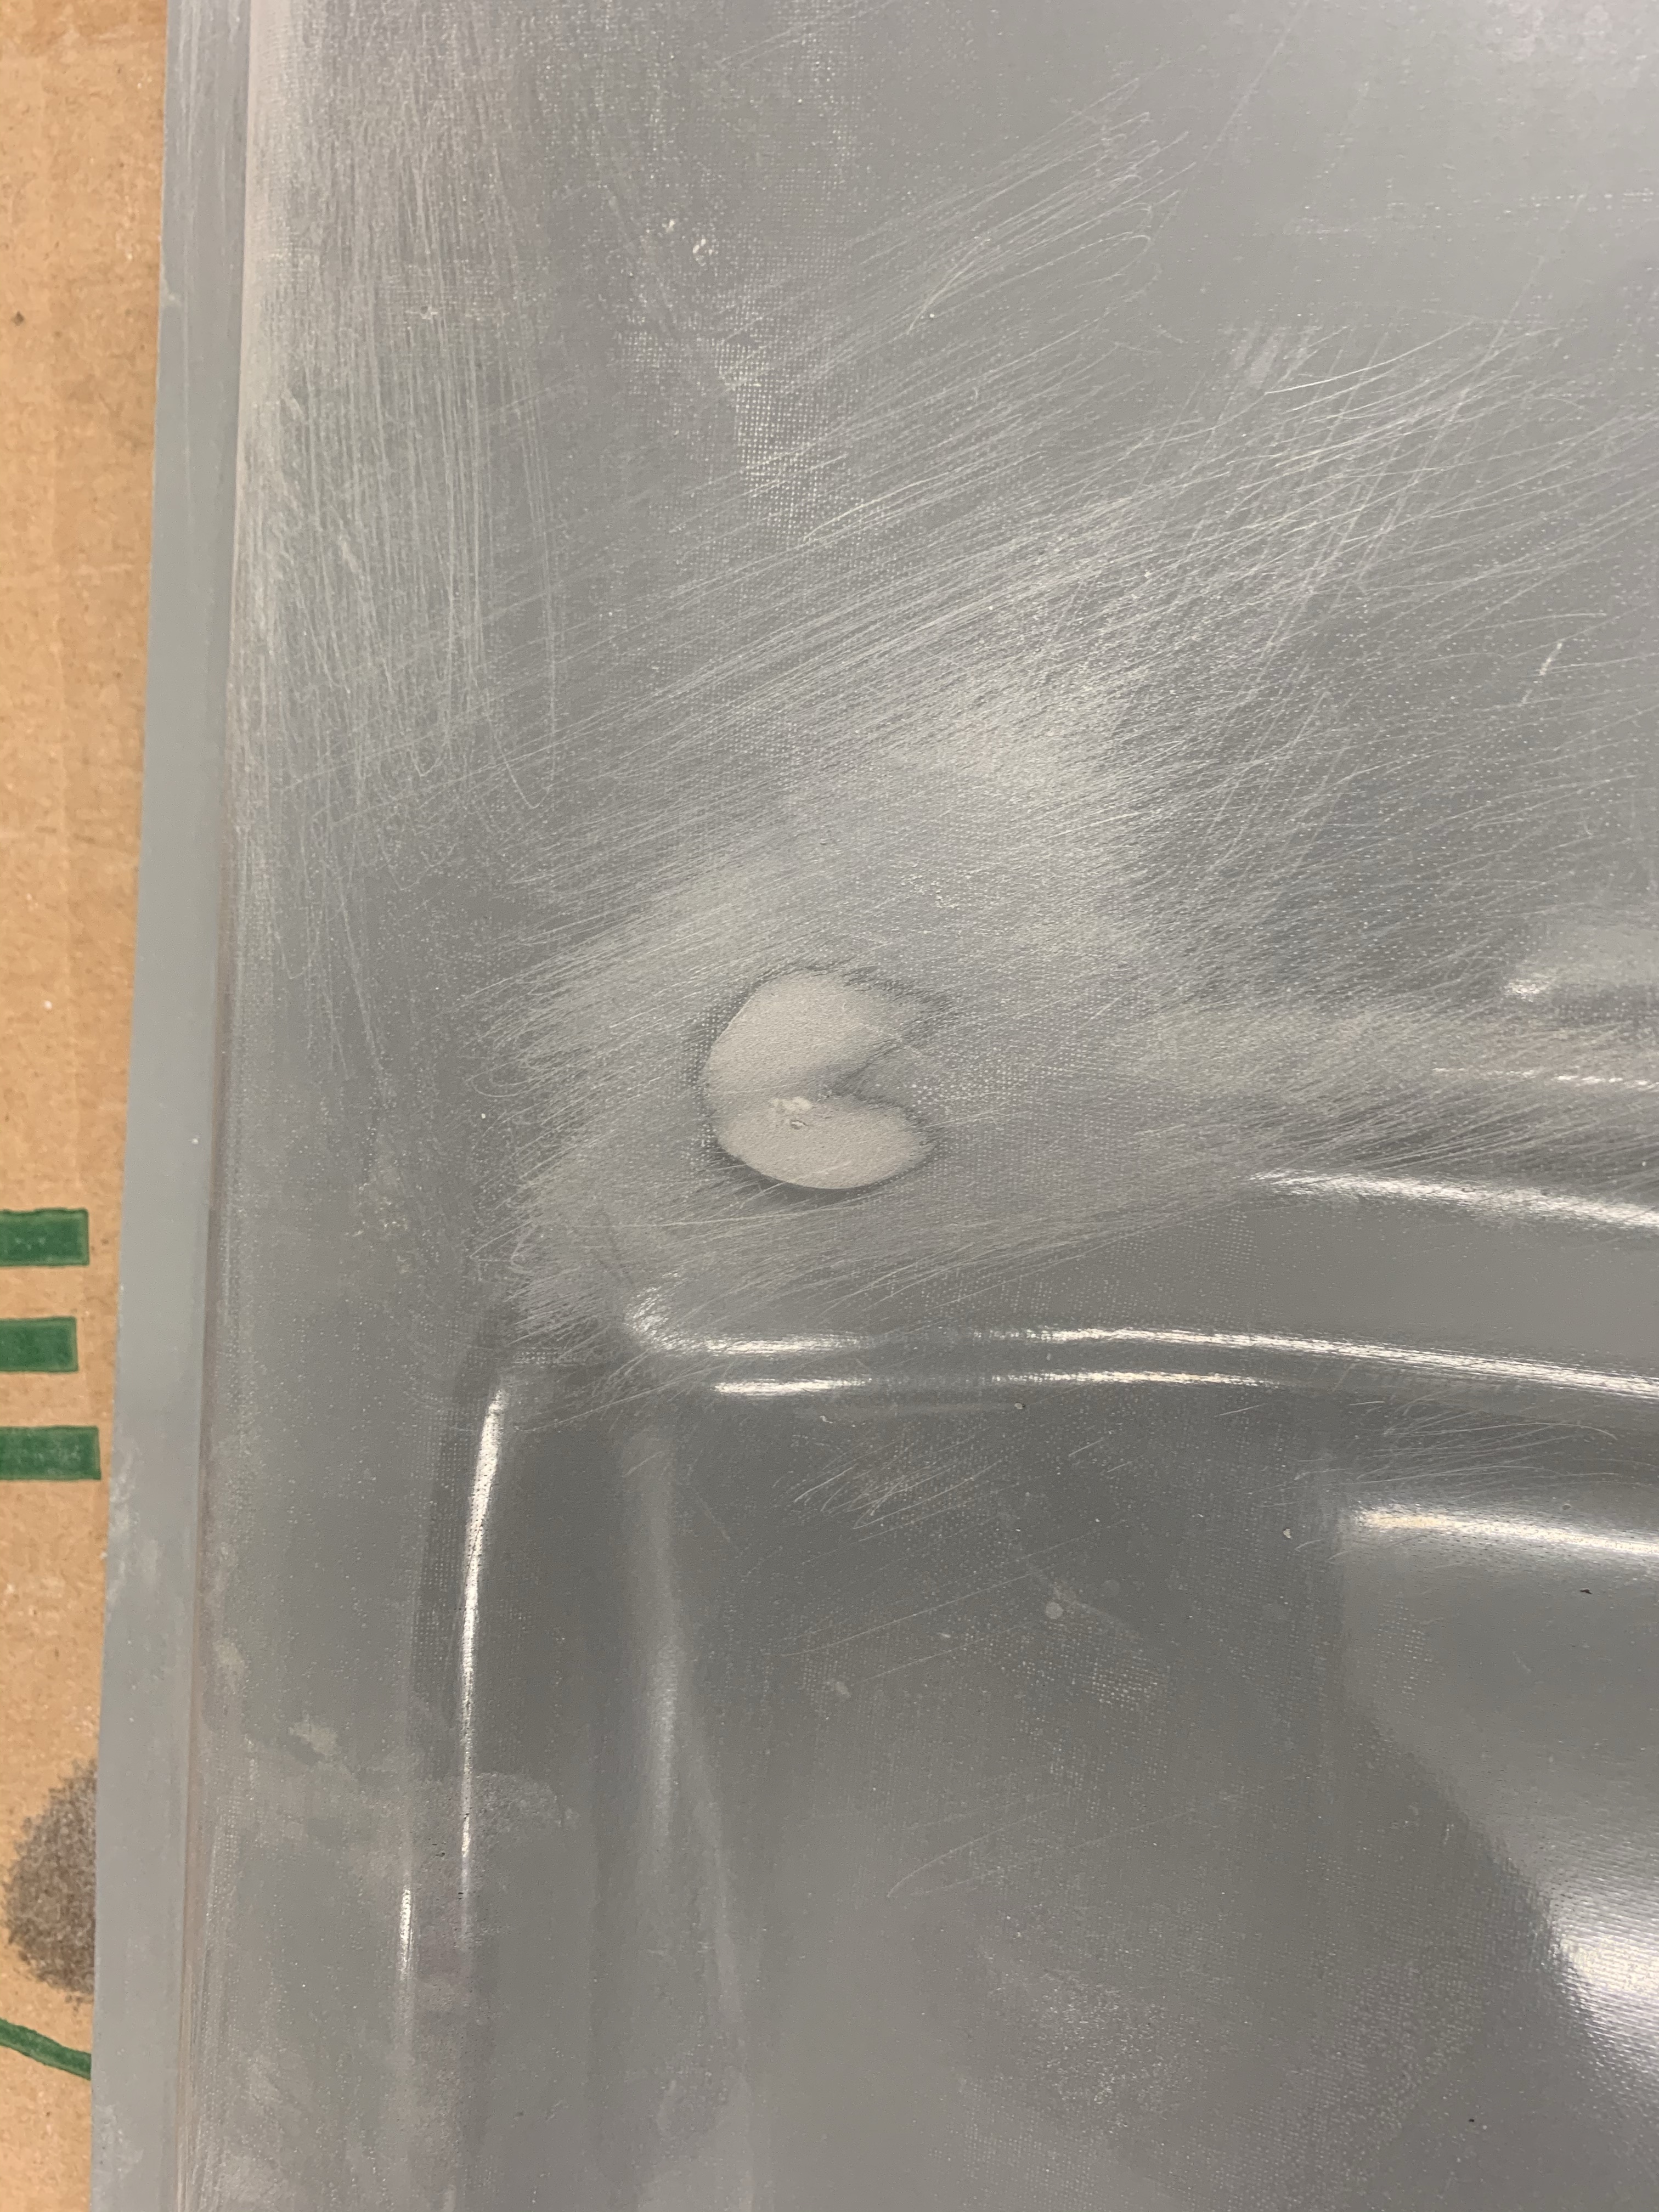
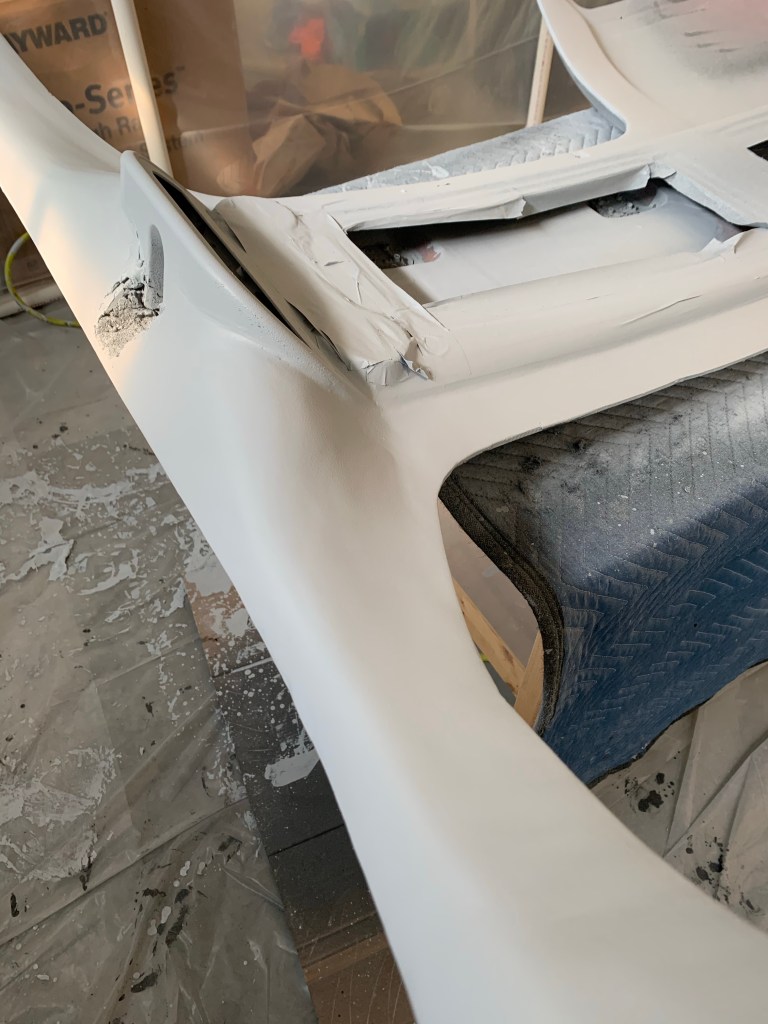
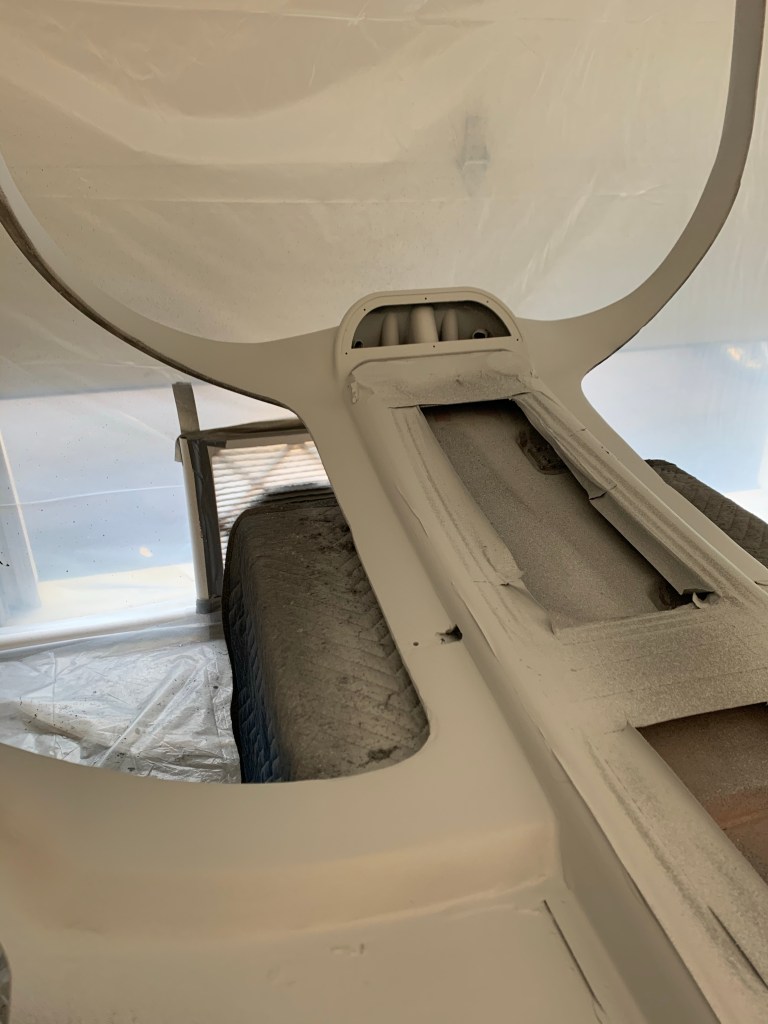
A couple more pics low to the surface.


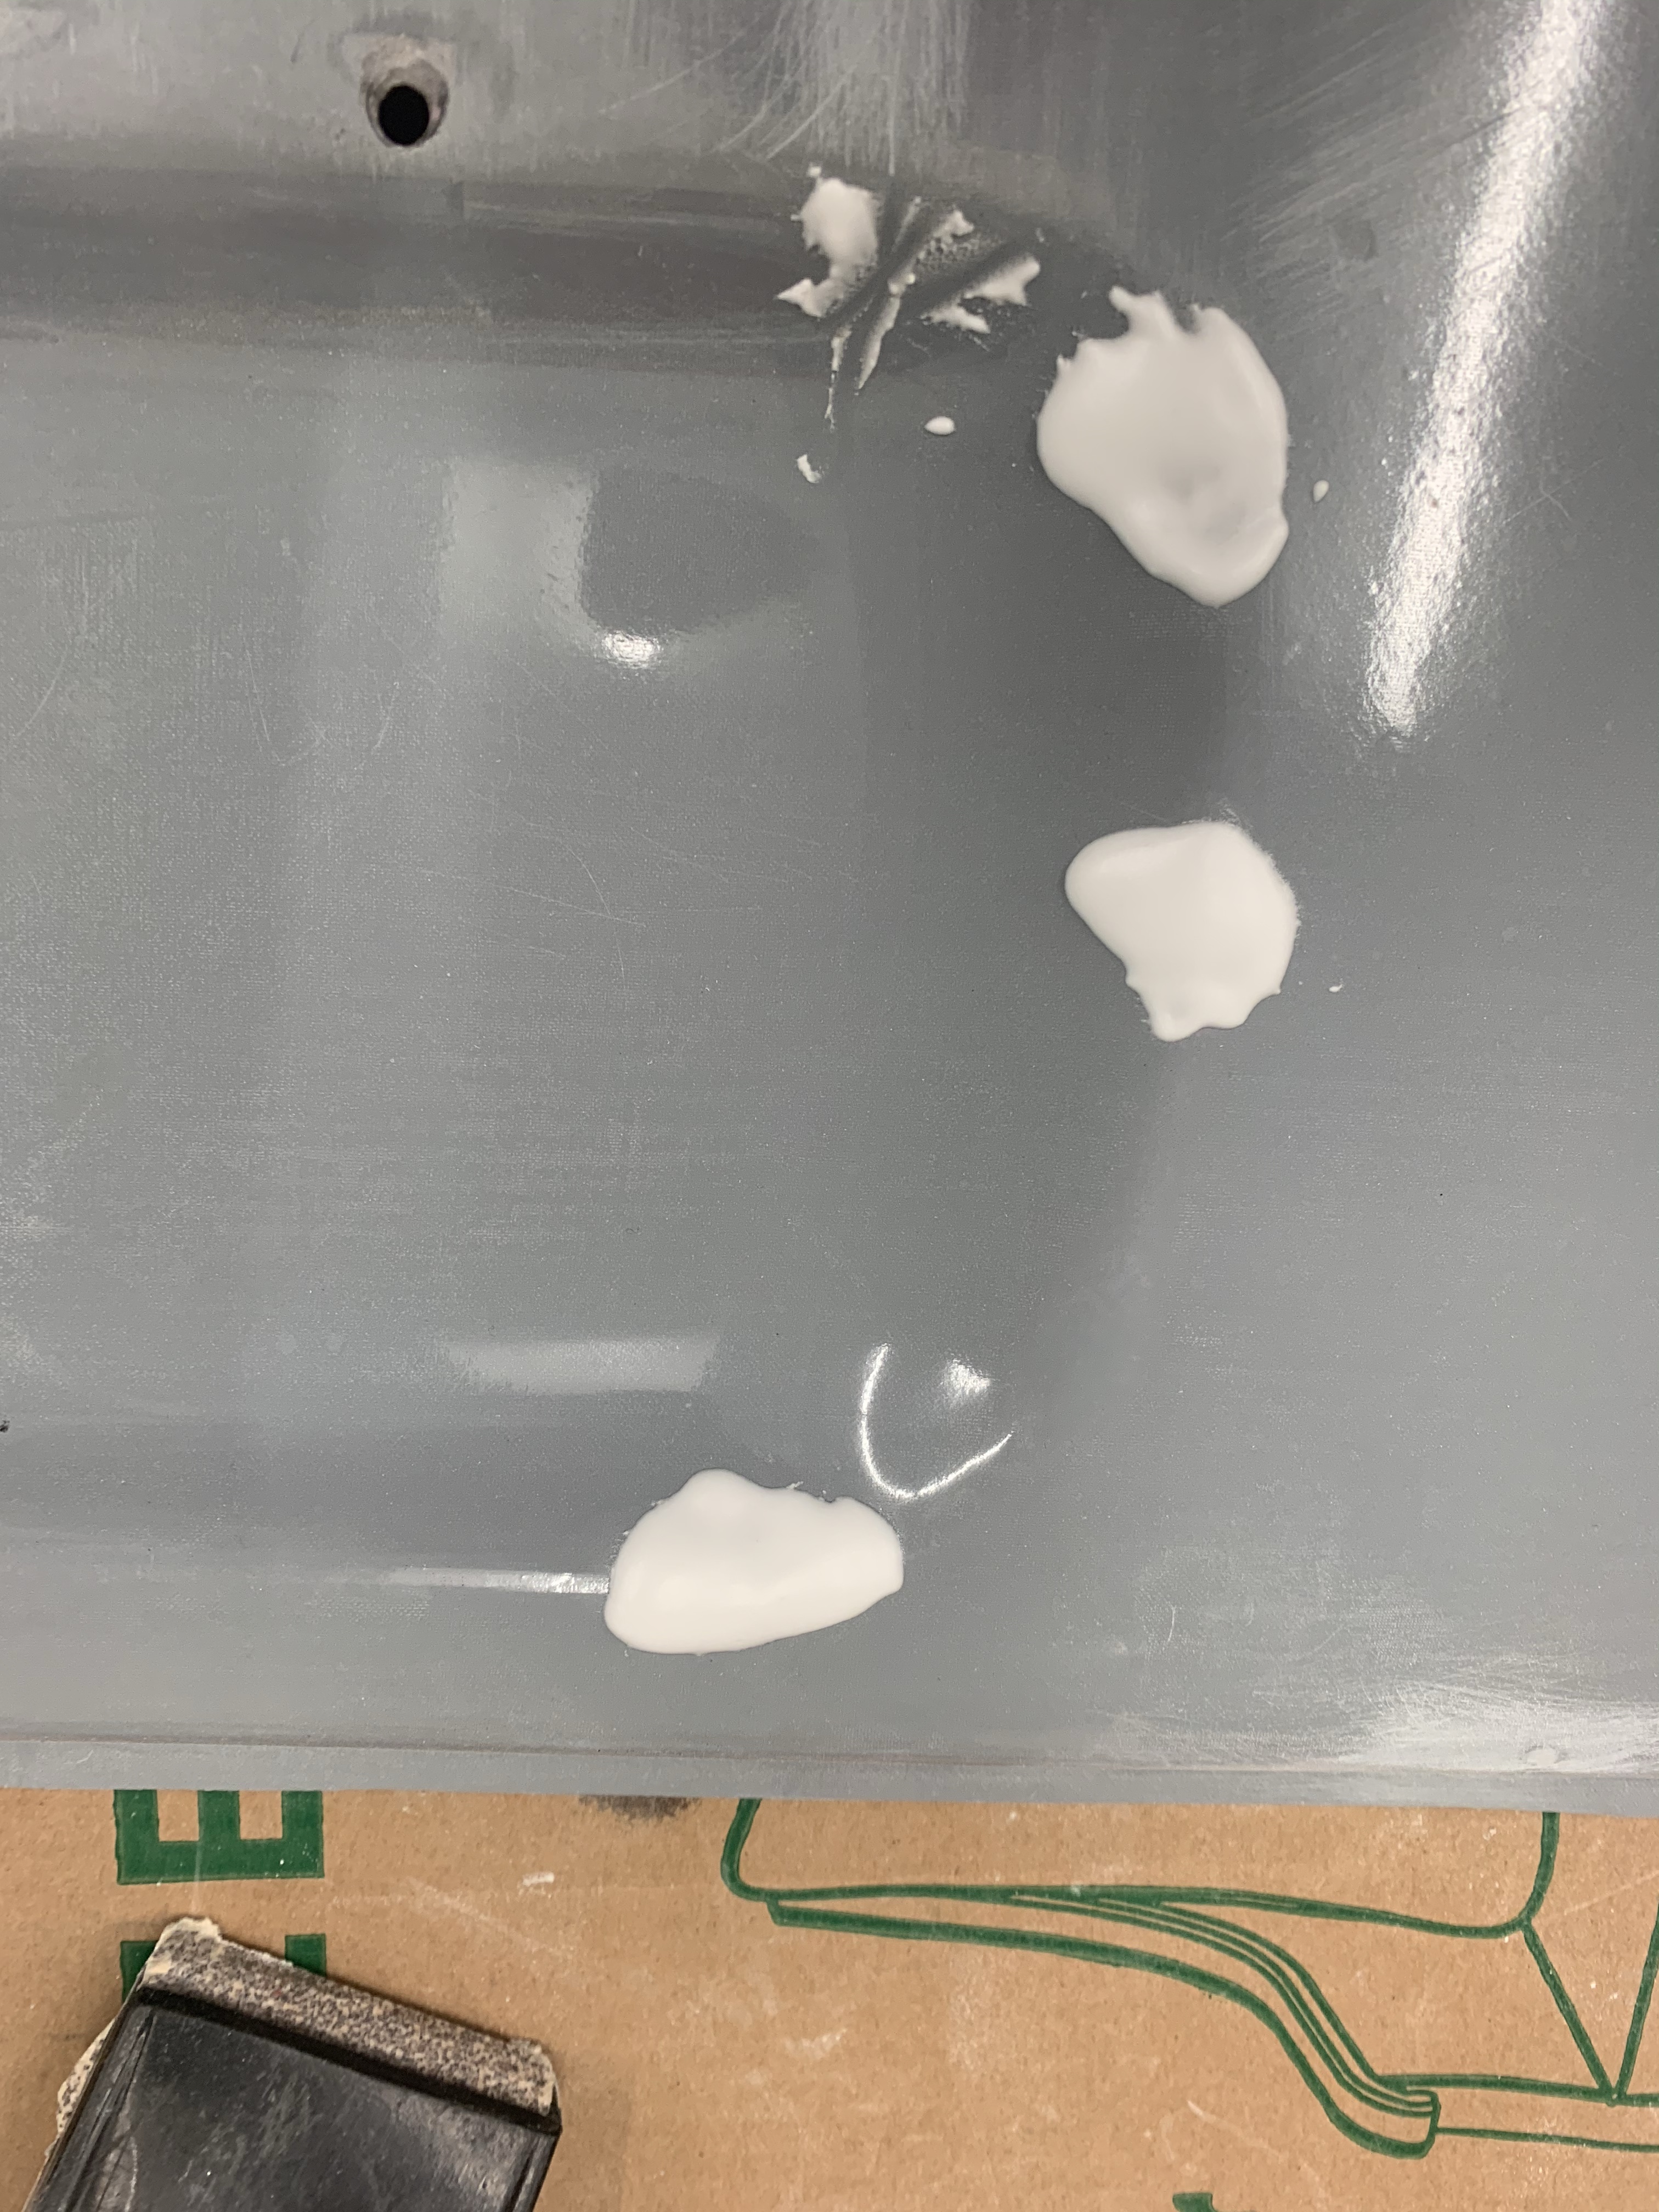
While waiting for paint to dry etc.. I had some time to work on the doors. There were a few dings and nicks in the doors, which I filled with Micro and sanded smooth as shown below.

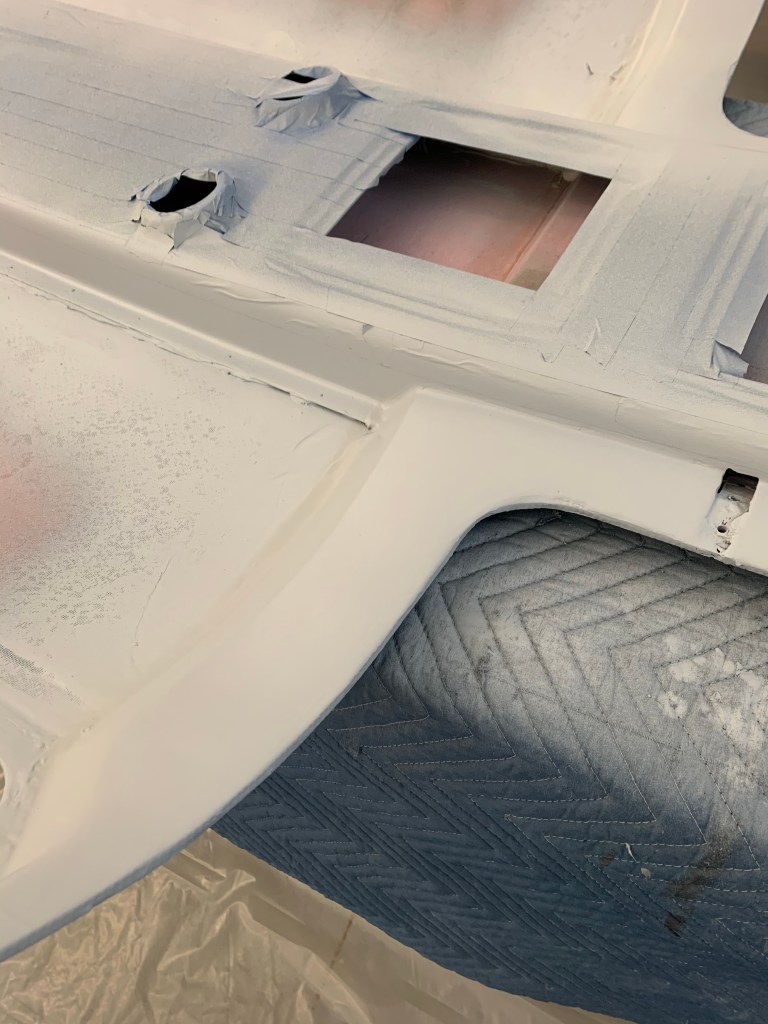
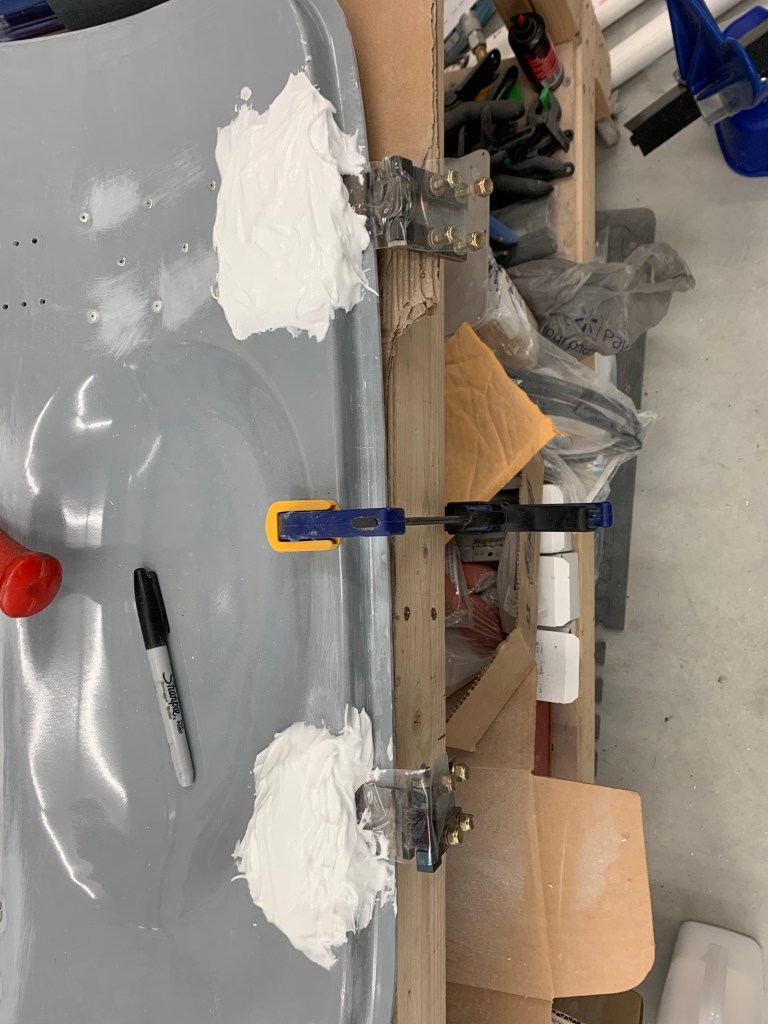
I then spent some time on filling in the door hinge pockets. This is needed to have a continuous surface for the McMaster door seal to seat against. I bolted the hinges in place with packing tape around them and used some micro/flox/cabo mixture to fill in the pocket, while leaving enough room for the hinge to slide out.


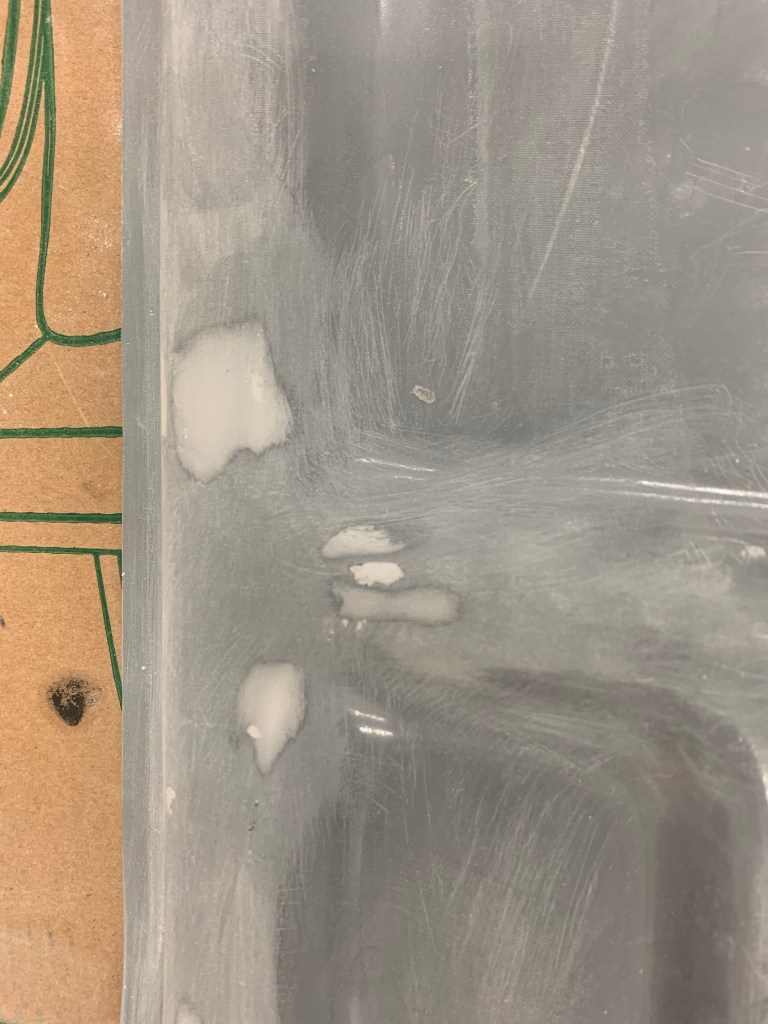
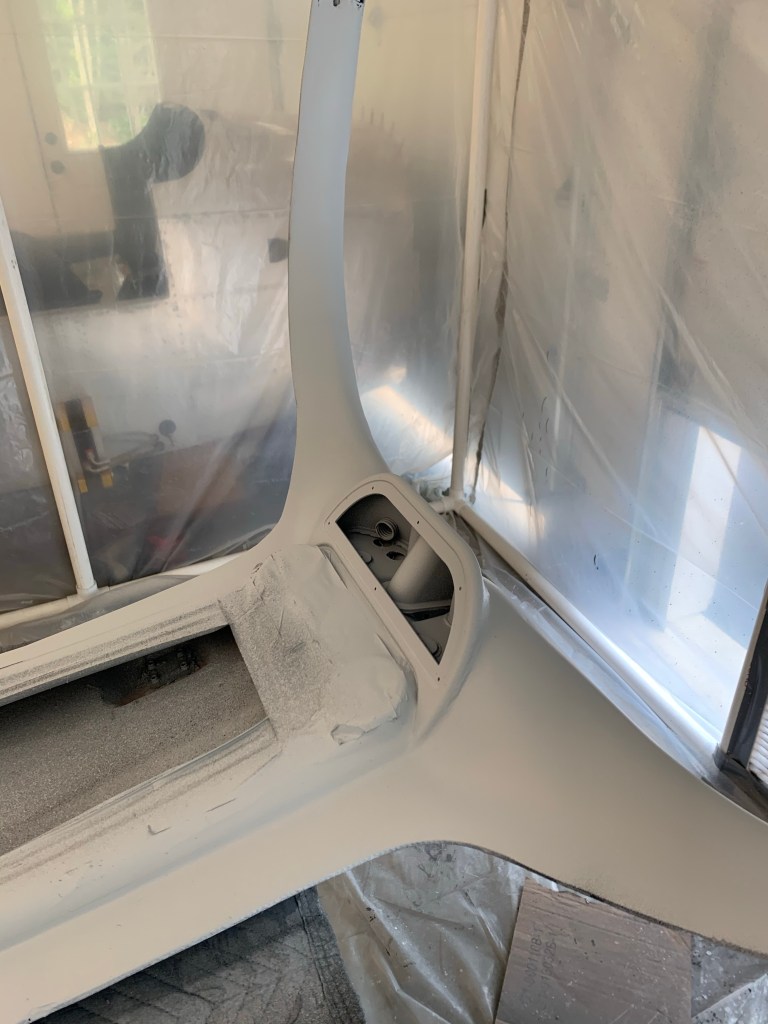
Here you can see a coat of the K36 high build with some hints of the darker DPLF coming through after sanding.
Then disaster struck. I had bought a disposable paint cup system ( a clone of the 3M system) to facilitate easier clean up and less use of harsh chemicals for cleanup.. First, while spraying the darker DPLF, I didn’t have the top of the paint cup seated well enough, and caused a slight drip, which I fixed, and then just dealt with it.. But then when I started spraying the K36, Well.. I must have not screwed down the top sufficiently enough because just after I had started to spray the K36 , the paint cup flew off of the spray gun getting paint (probably at least 16 oz.) all over everything… Leaving a big mess to clean up and me calling it a night at that point…


I then had to sand and start again for that coat.. it ended up okay in the end, but very frustrating when it happened… You can see here that I got some paint splatter on my hood. I opted for a fresh air system here as I did have a 3M cartridge-based system, but with these paints containing isocyanates, which don’t have an odor, there’s no good way to know for sure that your mask is working fine. Just because you don’t smell anything doesn’t mean you’re protected.

Then it was on to the top-coat. My PPG dealer suggested applying an Omni sealer on top of the last K36 coat, so I did that followed by a bunch of coats of the Oxford white.
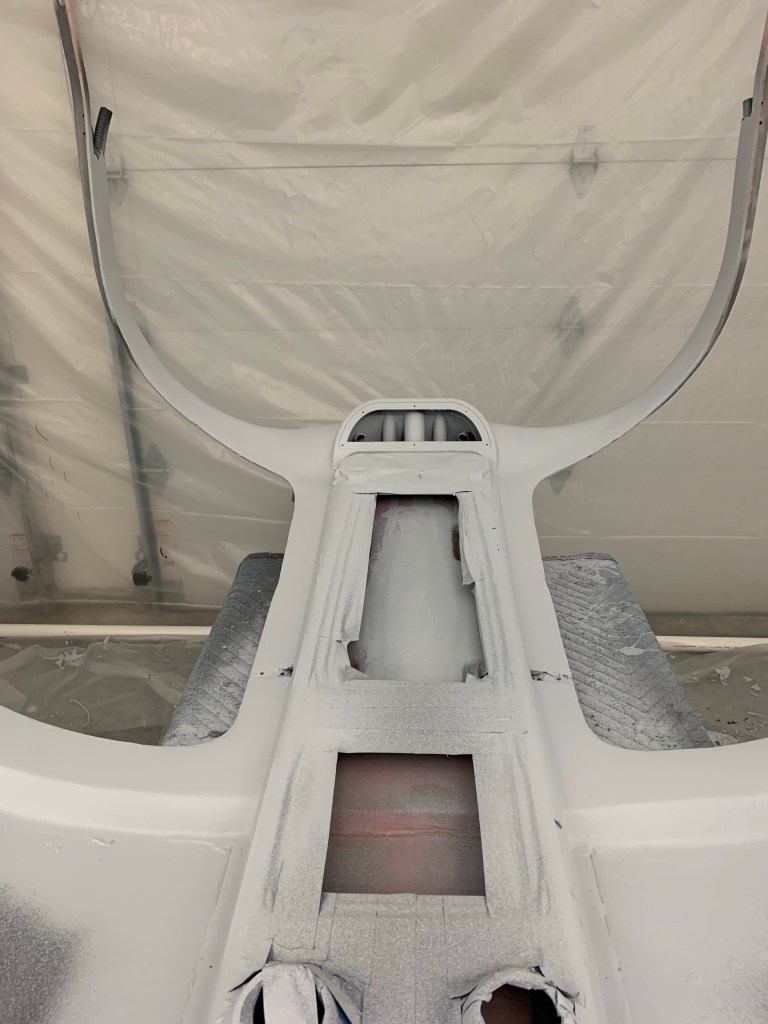

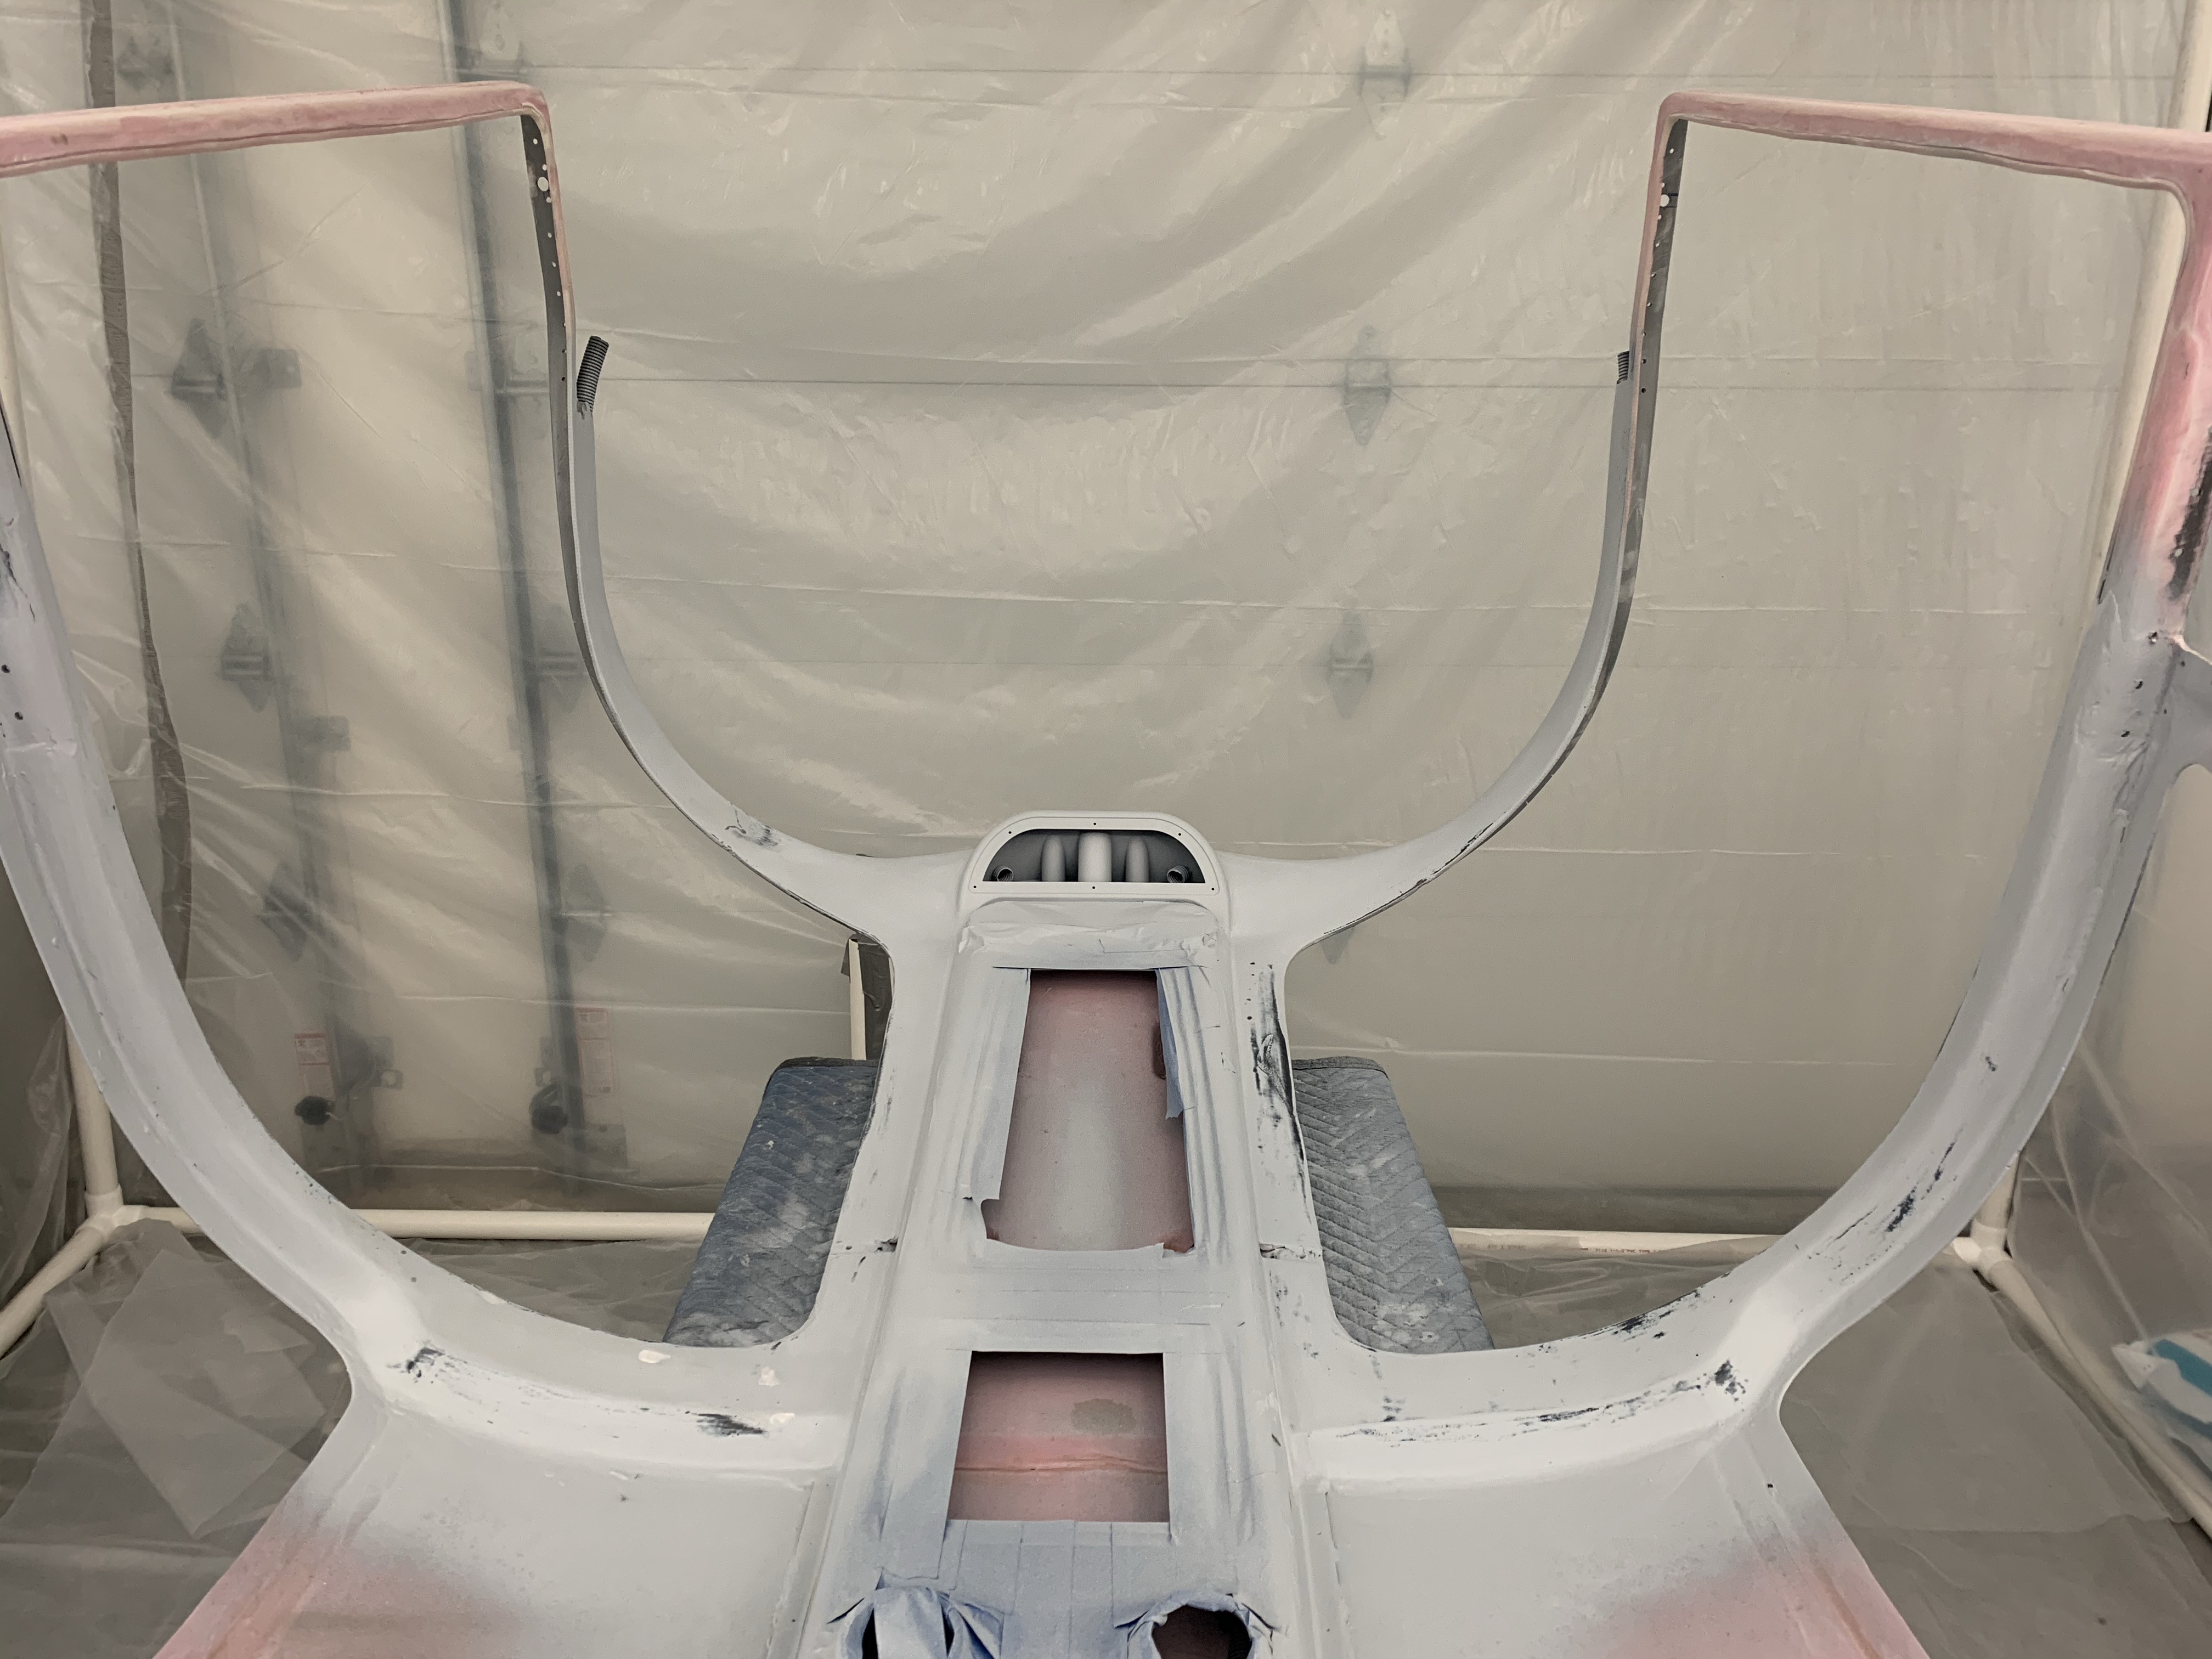
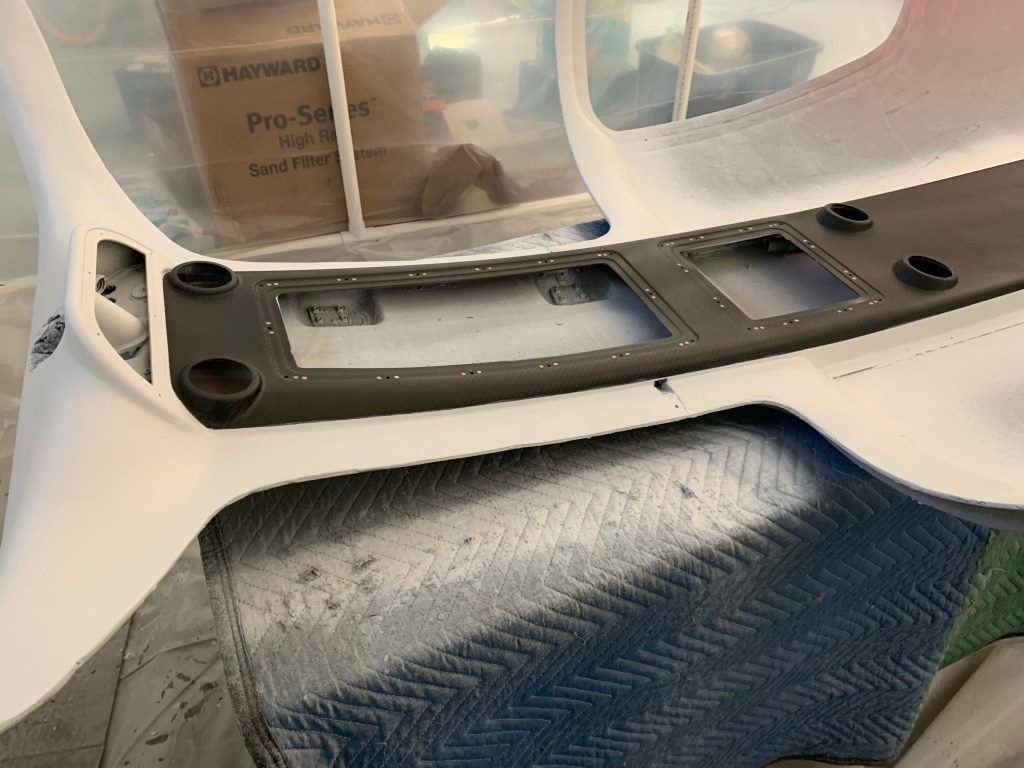
After the top-coats were done, I removed all the masking, did some basic cleanup and got ready to clear coat the darker natural looking carbon fiber of the cabin top and the Oxford white as well. The darker exposed overhead areas was sanded with 220 grit, 320 grit, and 400 Grit sandpaper and cleaned up. Then a matte clear coat by Eastwood was used to clear coat the entire finished top and below are the results, which I am very happy with. Again, not 100% perfect, but very acceptable, IMHO. The rear areas that aren’t 100% painted will be covered with a fabric headliner material. Cutting and affixing the fiberglass for that area is up next along with getting the interior of the doors ready for paint. I will likely hold off actually paining the interior of the doors until I mount the cabin top and final gap the doors.


I’ll be filling in the front area where the support bar comes in once the top is permanantly attached to the plane. For now, I need to leave this area to be able to bolt down the support bar.


I painted the cabin cover on the inside before I installed it permanently on the airframe. I remember it being a particularly tedious job getting the rough fiberglass smoothed out. It sure looks like you are doing a great job.
LikeLike