
I’ve been working on finishing the following things under the rear seat and baggage floor boards prior to closing them up:
- 4 Conduit runs per side all secured to ribs and tailcone bulkheads. – Done
- Drilling holes for the COM antennas under the rear seats and installing backing plates – Done.
- Fabricating access plates on the rear seat pans to access the COM antennas. – Done
- Installing sound proofing. – 50% complete.
Some pics of the progress.
Four conduit runs were added to each side (3 shown here). Catepillar grommits added to lighting holes. Sticky zip-tie bases were pop riveted to the ribs to secure the conduit to the ribs. I took some scrap metal and made a cover for the lighning hole coming into the tailcone area and drilled 3 holes in it to secure the conduit along with a small section of angle riveted with an Adel Clamp for another lighting hole. This setup is mirrored on the right side as well.

Securing the conduit
I then drilled holes for the Delta Pop bent whip COM antennas I am using. Both COM antennas are going under the rear seats in the 2nd bay. I used some 0.040″ sheet stock to fabricate up some backing plates to help with the extra drag imposed by the antennas on the skins. My friend Justin visited the project over the weekend and I was able to get him to help rivet the backing plates on. Thanks, Justin!

Antenna hole pattern drilled

Backing plate ready for riveting
I then needed to fabricate access plates for the rear seat pans seeing I’ll want/need access to the COM antennas to secure them and attach the coax cable at a later time. Not to mention it’s always good to have future access for maintenence.
Seeing the spacing between the ribs of the rear seats is pretty tight, I modeled the access plates after the VANs stall warning access covers just shrunk down.
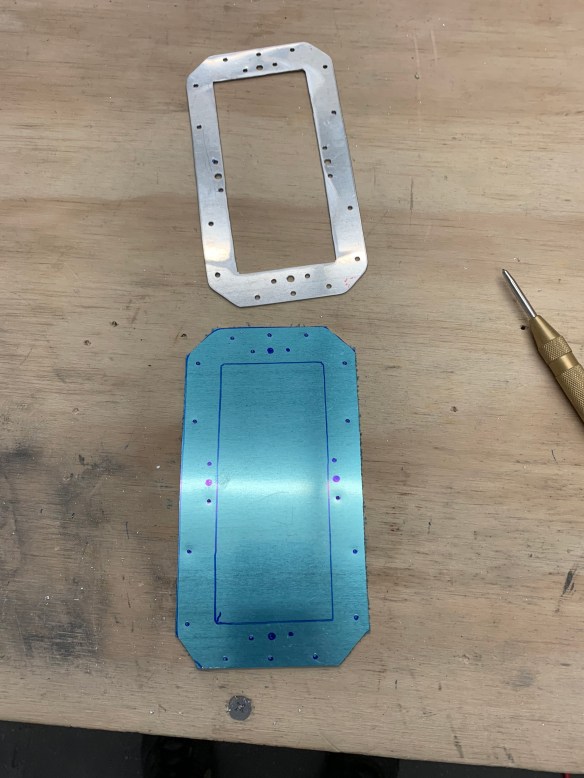
One backing plate done, another in process

Backing plate installed on seat pan

Custom cover screwed into place

Both left and right side access covers complete
I’ve also managed to cut templates out of cardbooard using the rivet hole pattern of the floor pans and then transferred them to the soundproofing material I’m using. All of that is cut out and will be the last thing I install prior to closing up the floors for good.
