
I didn’t take any pictures of the start of this process, but you basically cut a paper template out of the plans and tape it to the fairings as instructed to mark and make the top and bottom cuts that align to the bottom of the fuselage and the wheel pant. I then placed them on the gear legs to test the fit.


You then cut the piano hinge to length and start marking where it will go to hold the trailing edge together. One slight deviation from the plans was to mark out the drill holes on the hinge and actually drill them with a 3/32″ drill ahead of time. The plans want you to drill through from the outside, but that goes back to the times when these fairings weren’t gel coated and were transparent. I then used the undersized holes in the hinge to match drill #40 into the fairing from the inside with a right angle drill.
You then re-install the leg fairings and insert the hinge pin, which is sort of a PITA. Once that task was over, the plans walk you through how to align the fairings properly. Getting this wrong can cause yaw, so you want them as perfectly aligned as you can. The plans have you wrap a string around the leg faring and clamp it to the step. I also feel that that plans walk you through placing a displaced centerline mark at a random location.. I basically reused the string I already had on the floor from the wheel pant install. The issue I ran into was my location.. and just some random location, as mentioned in the plans, isn’t the correct location when the string is perfectly level. So my advice would be to level the string, then use a plumb bob to mark the forward location of the string on the floor. Then duplicate the measurement from the airplane center line behind the step. Place the string that is the displaced centerline of the aircraft and use a plum bob to transfer the location to the step. You then move the aft part of the string to this mark on the step so the string ends up both level and parallel to the aircraft centerline.
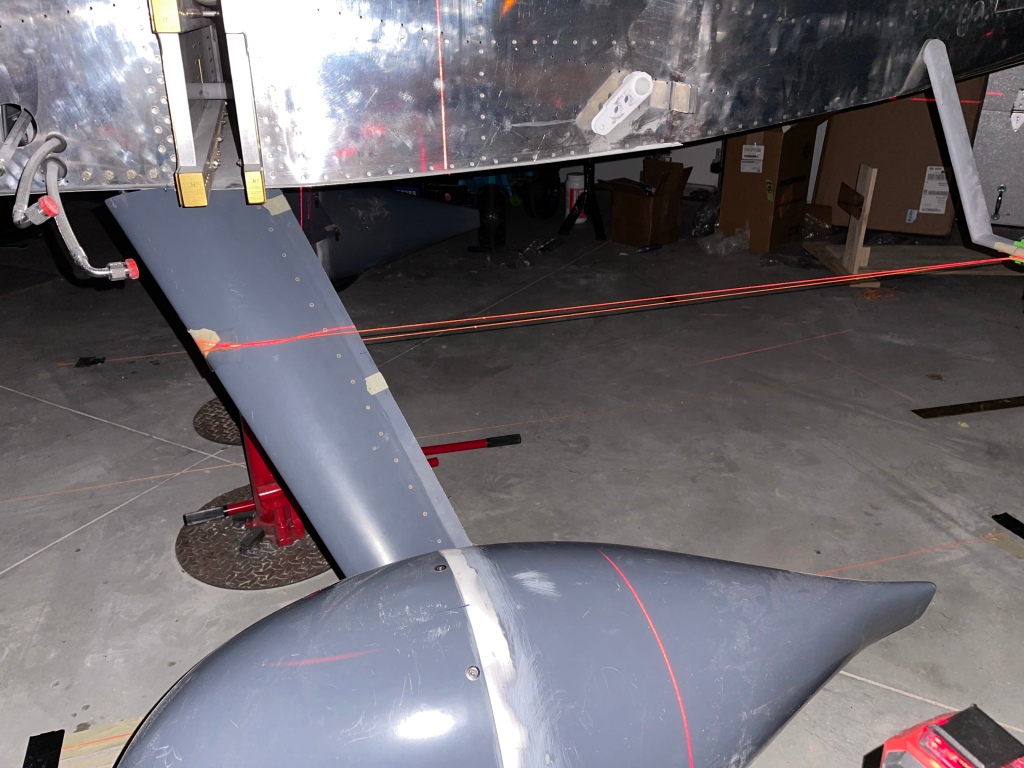
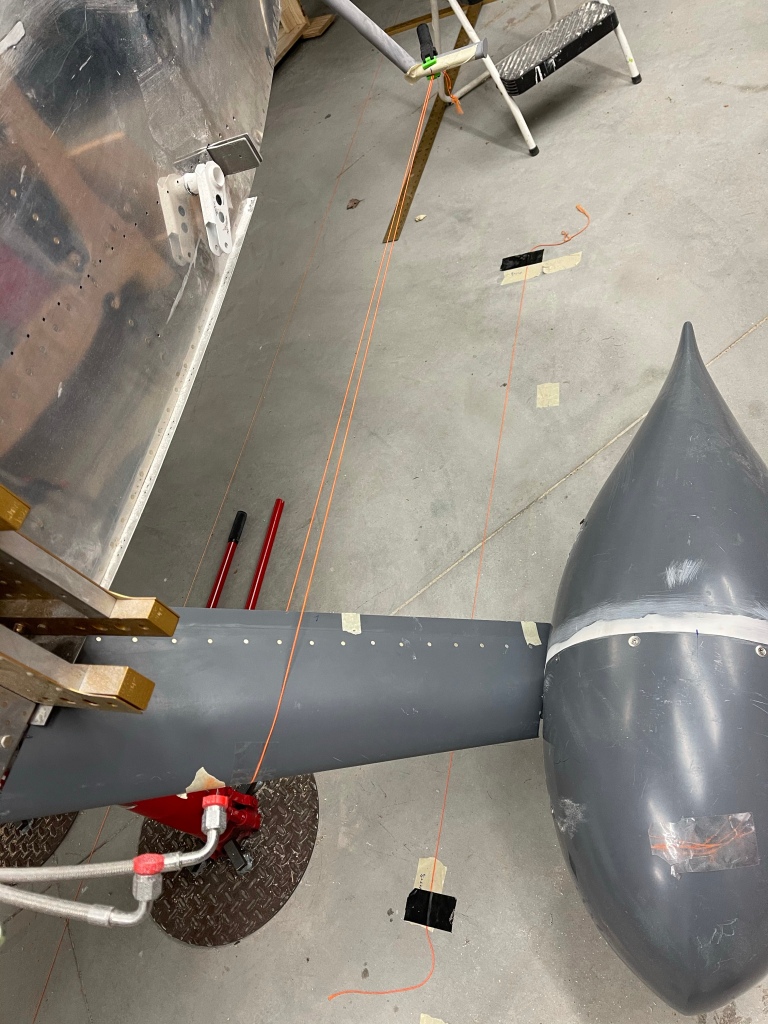
You then adjust the rotation of the fairing until there is an equal distance between the trailing edge of the fairing and each side of the string.

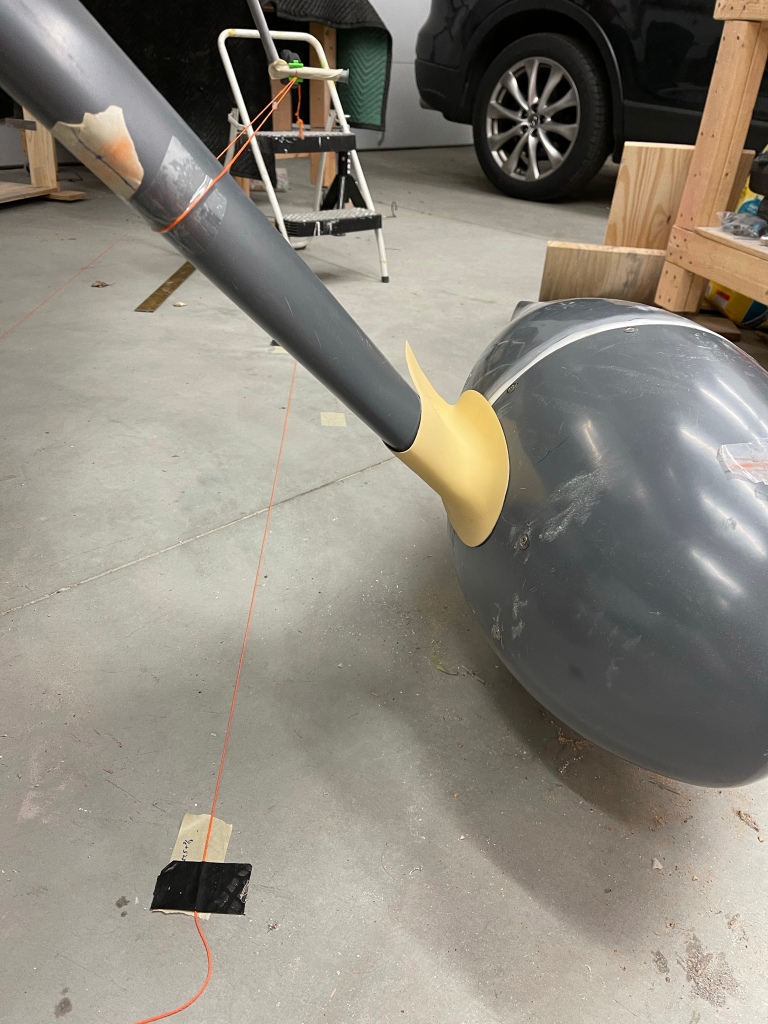
To lock this positioning in place, you move on to install the intersection fairings. I used the intersection fairings from RVBits instead of the stock ones, which need lots more work. The lower left fairing was slid on using care to not change the alignment, which of course was re-checked multiple times.

I’ve decided to bond the lower intersection fairings directly to the wheel pant instead of using more screws to hold them in place. Doing this will require cutting these intersection fairings where the wheel pants separate from each other. It will also require me to add a flange onto the rear pieces so they stay locked in place under the front pieces with no way to get airflow under them.
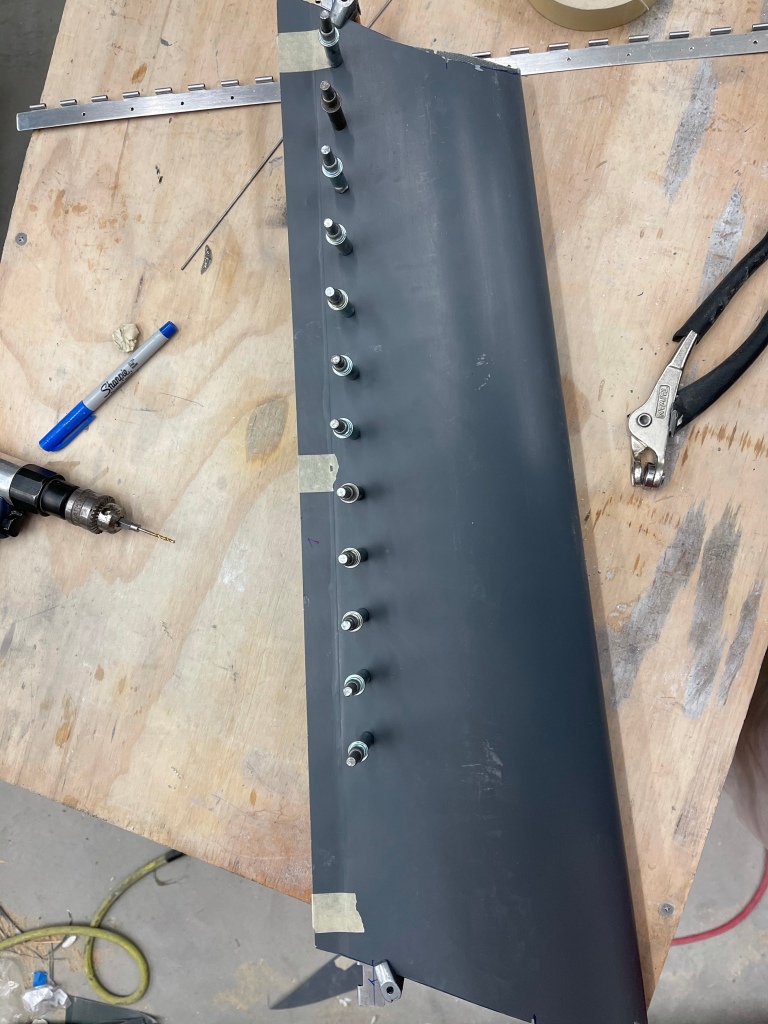
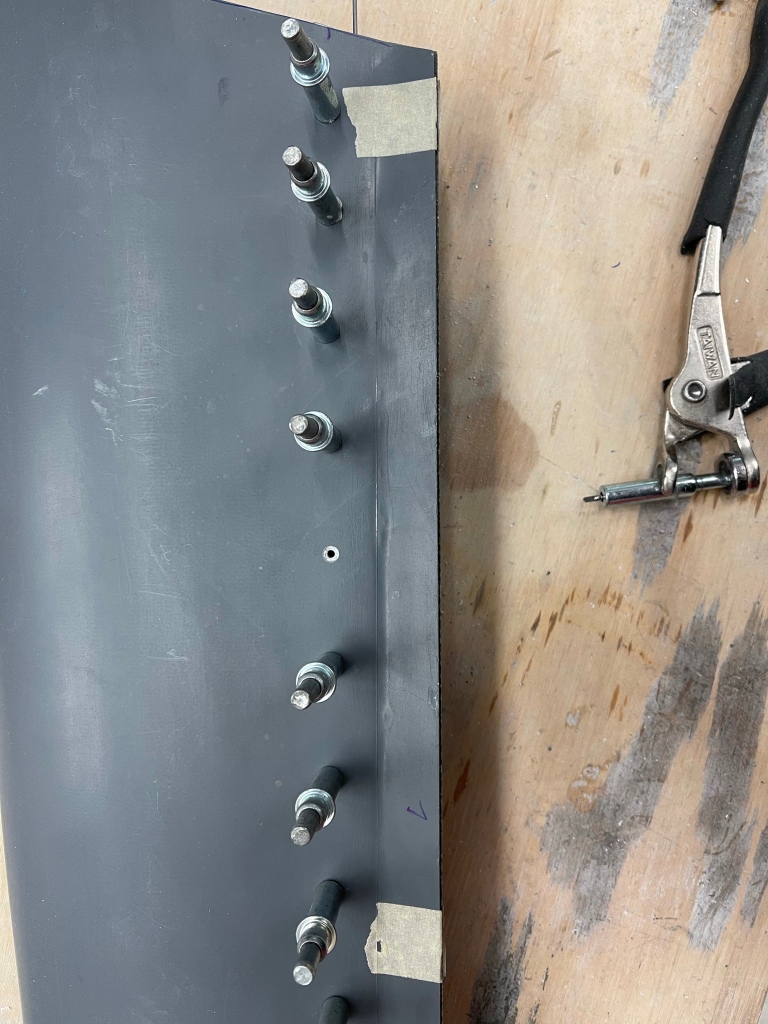
I drilled a bunch of holes in prep to bond the 2 surfaces together.

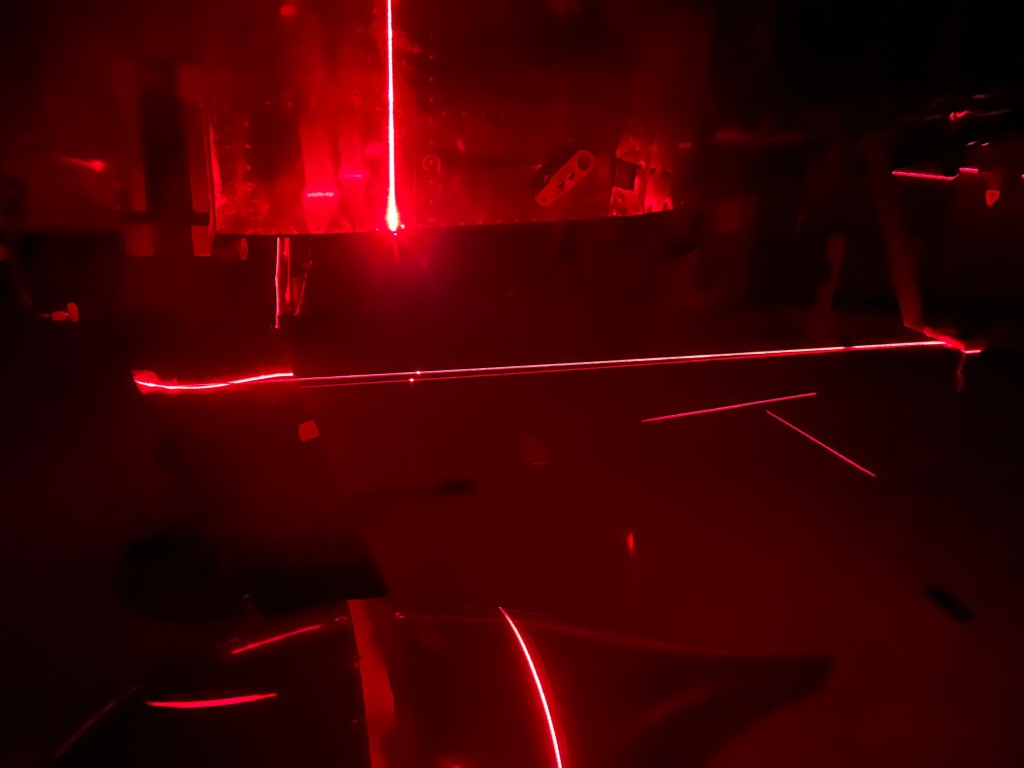
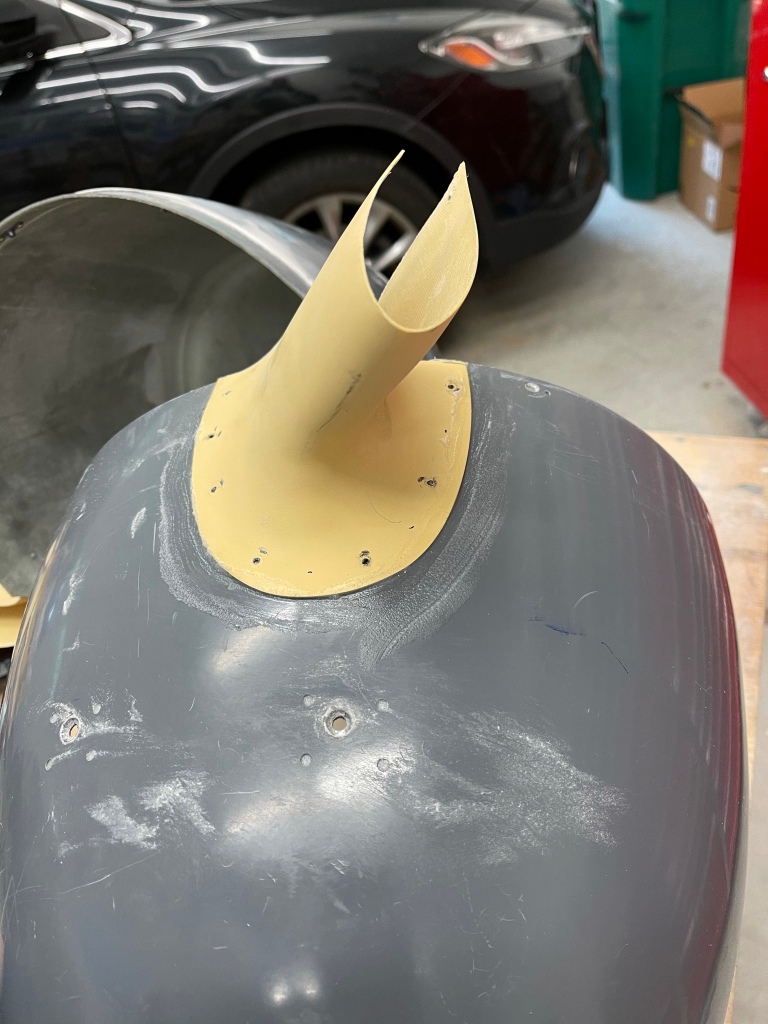
The below picture was taken after I started taking clecos out, but I used a laser level to mark the fairing at the wheel pant split. I also decided to add a couple of additional clecos up at the top of the intersection fairing on either side of the cut. I did the same thing for the inside line as well (not visible here).

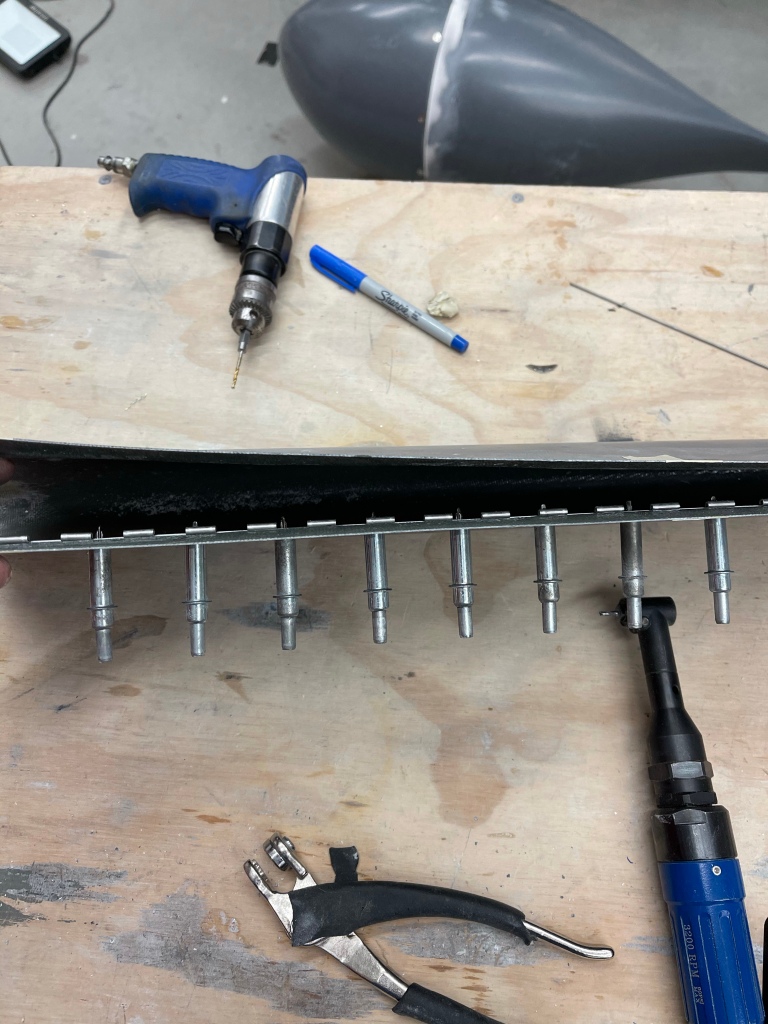
I then took things apart, cut the intersection fairing taped up the leg fairing so things wouldn’t stick together, and mixed up an epoxy/flox/cabo mixture putting things back together and letting them cure overnight.
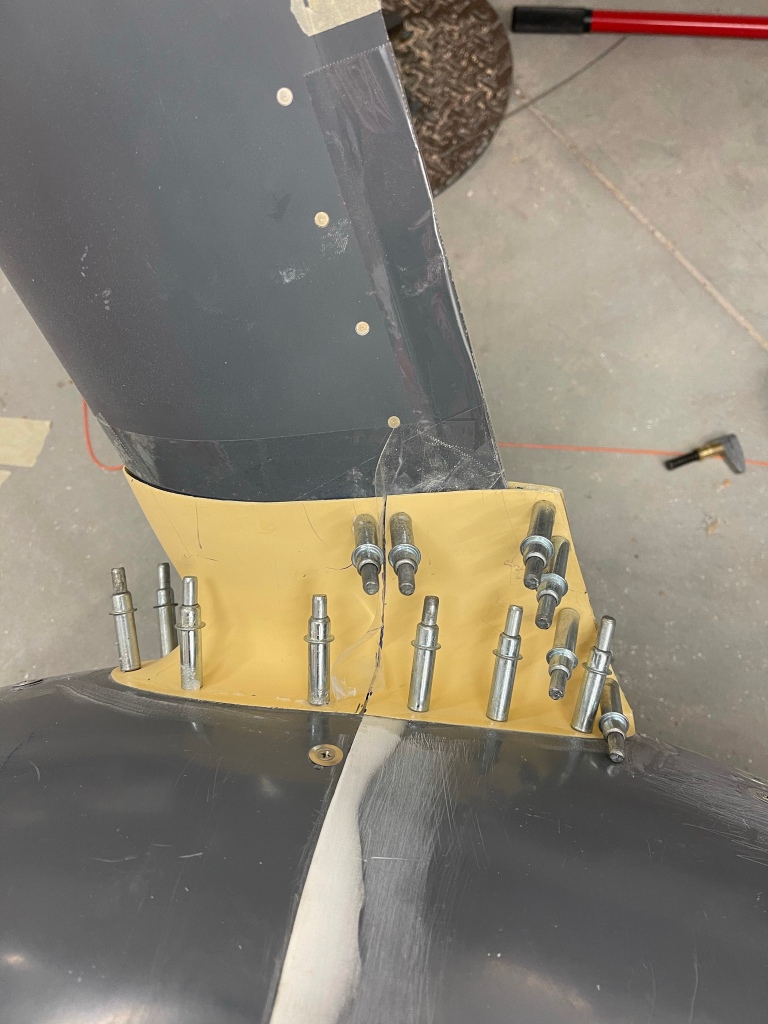
The next morning I took the wheel pants off and the separation of the intersection fairings worked out well as shown below..

A couple of pictures of the wheel pant put back together.


I then placed and drilled a small hole for clecos (for now) and placed the upper intersection fairing into position. This will later also attach to the wing root area.


Can’t thank you enough for taking the time to do these write ups! I went QB on my wings and fuse and have had to send both back because of corrosion. Studying your posts on brake and fuel lines helps me plane ahead for when the new kits come back!
LikeLike
I’m just glad someone can get some use from them. I know I frequent several builders logs to get ideas on how to do something coming up.
LikeLike